Mahmoud Afifi1,2, Konstantinos G. Derpanis1, Björn Ommer3, and Michael S. Brown1
1Samsung AI Center (SAIC) - Toronto 2York University 3Heidelberg University
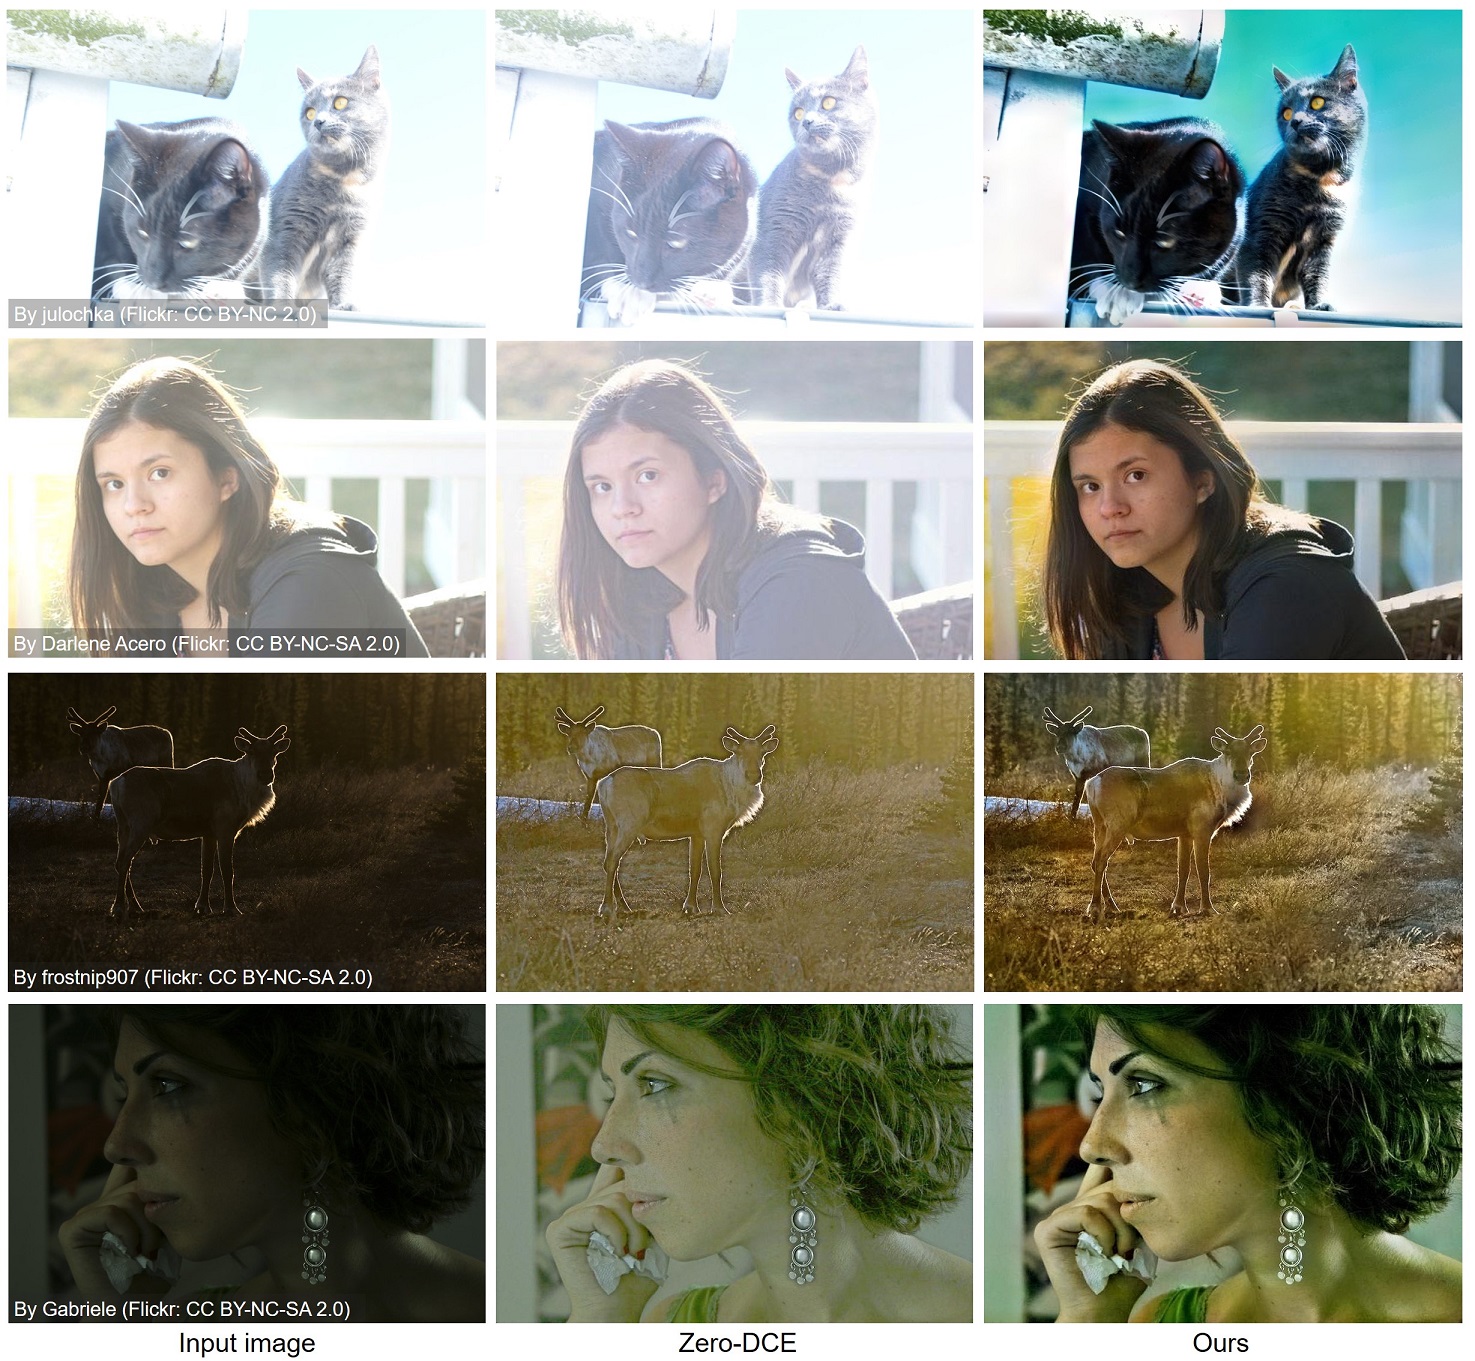
Project page of the paper Learning Multi-Scale Photo Exposure Correction. Mahmoud Afifi, Konstantinos G. Derpanis, Björn Ommer, and Michael S. Brown. In CVPR, 2021. If you use this code or our dataset, please cite our paper:
@inproceedings{afifi2021learning,
  title={Learning Multi-Scale Photo Exposure Correction},
  author={Afifi, Mahmoud and Derpanis, Konstantinos G, and Ommer, Bj{\"o}rn and Brown, Michael S},
  booktitle={Proceedings of the IEEE Conference on Computer Vision and Pattern Recognition},
  year={2021}
}
Download our dataset from the following links: Training (mirror) | Validation (mirror) | Testing (mirror) | Our results
As the dataset was originally rendered using raw images taken from the MIT-Adobe FiveK dataset, our dataset follows the original license of the MIT-Adobe FiveK dataset.
- Matlab 2019b or higher (tested on Matlab 2019b)
- Deep Learning Toolbox
Run install_.m
- Run
demo_single_image.mordemo_image_directory.mto process a single image or image directory, respectively. If you run the demo_single_image.m, it should save the result in../result_imagesand output the following figure:
- Run
demo_GUI.mfor a gui demo.
We provide a way to interactively control the output results by scaling each layer of the Laplacian pyramid before feeding them to the network. This can be controlled from the S variable in demo_single_image.m or demo_image_directory.m or from the GUI demo. Each scale factor in the S vector is multiplied by the corresponding pyramid level.
Additional post-processing options include fusion and histogram adjustment that can be turned on using the fusion and pp variables, respectively in demo_single_image.m or demo_image_directory.m. These options are also available in the GUI demo. Note that none of the fusion and pp options was used in producing our results in the paper, but they can improve the quality of results in some cases as shown below.
We train our model end-to-end to minimize: reconstruction loss, Laplacian pyramid loss, and adversarial loss. We trained our model on patches randomly extracted from training images with different dimensions. We first train on patches of size 128×128 pixels. Next, we continue training on 256×256 patches, followed by training on 512×512 patches.
Before starting, run src/patches_extraction.m to extract random patches with different dimensions -- adjust training/validation image directories before running the code. In the given code, the dataset is supposed to be located in the exposure_dataset folder in the root directory. The exposure_dataset should include the following directories:
- exposure_dataset/
         training/
              INPUT_IMAGES/
              GT_IMAGES/
         validation/
              INPUT_IMAGES/
              GT_IMAGES/
The src/patches_extraction.m will create subdirectories with patches extracted from each image and its corresponding ground-truth at different resolutions as shown below.
After extracting the training patches, run main_training.m to start training -- adjust training/validation image directories before running the code. All training options are available in the main_training.m.
This software is provided for research purposes only and CANNOT be used for commercial purposes.
Maintainer: Mahmoud Afifi (m.3afifi@gmail.com)
- Deep White-Balance Editing: A deep learning multi-task framework for white-balance editing (CVPR 2020).


