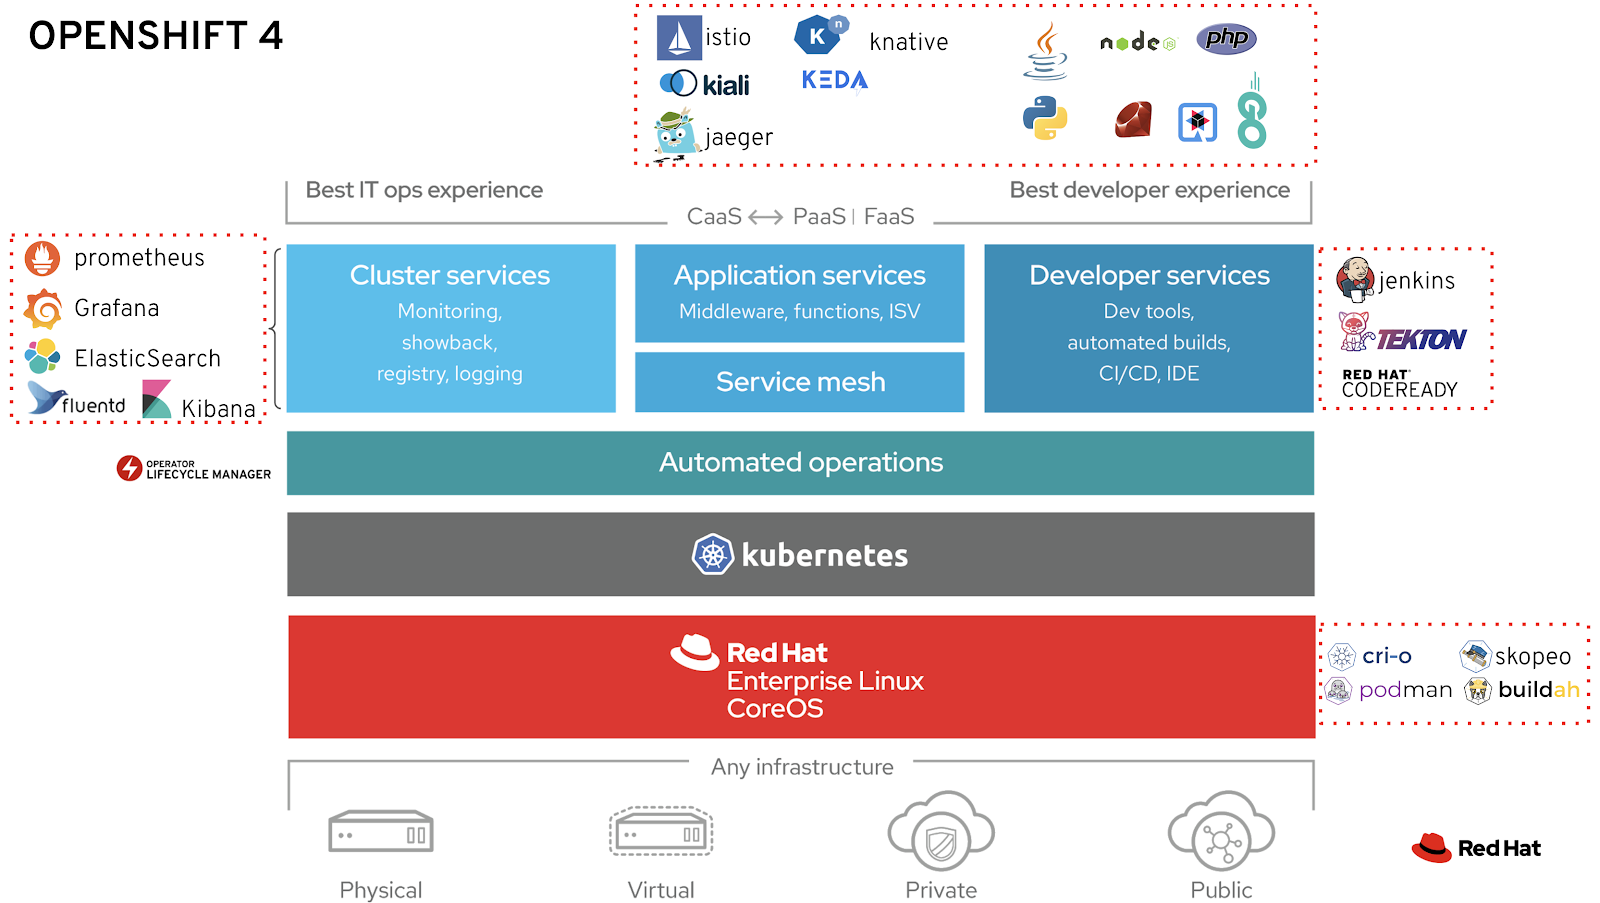
Red Hat® OpenShift® is an enterprise-ready Kubernetes container platform with full-stack automated operations to manage hybrid cloud and multicloud deployments. Red Hat OpenShift is optimized to improve developer productivity and promote innovation
CI/CD is one of the popular use-cases for OpenShift Container Platform. OpenShift scales the pipeline execution through on-demand provisioning in containers. OpenShift provides an end-to-end solution for building complete deployment pipelines and removes the wait time for running builds in large projects
- Important Terminologies
- Understand CICD Workflow in RedHat OpenShift
- Fork the GitHub repository
- Get RedHat OpenShift CodeLab
- Deploy an application using S2I Method
- Update some code to check continuous Integration and Delivery
Source-to-Image: Developers do not need to be experts in Dockerfiles or either operating system commands. S2I is responsible to create resources for developers, we only need to pass our central repository URL.
Build Config: The build config is responsible to fetch the code from central repo and build an image in OpenShift and push them in the internal Docker registry.
Deploy Config: Once the image is successfully built then deploy config is responsible for deploying the application in pods into OpenShift.
- First, when we pass oc new-app it will create a Build Configuration.
- It will create a Builder pod that clones the application from the central repo.
- Once the source code successfully cloned it will create an image
- Builder pod pushes the image to the external and internal registry.
- Check if the image is created from the available images in OpenShift or need to create a fresh image layer.
- S2I image stream will check if there are any changes in the image.
- The change will be notified to Build Config
- Once the complete process of Build is done then comes the responsibility of Deployment Configuration to create the pods in OpenShift depending on the image specifications.
NOTE : This is a important step because in lab you will provide your fork repo or else change in the code will not trigger.
- Get a free lab from here
- Click on Access the OpenShift Lab and you will be redirected to the lab page (wait it will take some time to provision the lab resources)
- Once it is done you can see the below page.
- Click on Terminal on top.
- Run command
oc statusto check cluster is provisioned successfully, the current project as sn-labs-mahsankhan .(in your case it will be different) - Run command
oc new-app --name=bankapplication https://github.com/mahsankhaan/CICD-in-RedHat-OpenShift.gitto deploy the application (Please note GitHub URL will be your fork URL done in Step 3) - Build will start and you can see the logs by
oc logs -f bc/bankapplication - Run command
oc get pods -wand can verify build and deploy stages are successfully complete and one pod is running bankapplication-1-n6ddx (in your case it will be different) - Pass command
oc expose svc/bankapplicationto expose the application to the world. - Now get the route of the application
oc get routes. Open the host (bankapplication-sn-labs-mahsankhan.labs-user-sandbox-...) in the browser and check bank application is up and running.
- Open the repo (in your case kindly open your Fork repo) this is important because you can't make a change in this repo directly.
- Open Folder views -> admin_login.ejs (Open File at line 141 make it WELCOME ADMIN LOGIN), Click commit changes.
- Now again open the terminal and pass command
oc start-build bankapplicationnow complete workflow will take place as discussed in Step 2 . - Again run the command
oc get podsand now can check a new build-2 is running. A newly updated pod would be created bankapplication-2-vb8rg and the previous one would be deleted. - Open the same URL again and can verify the update.


