Monkey See, Monkey Do LINUX is a didactic linux distribution serving educational purposes. It offers a customly configured Linux Kernel, Glibc, BusyBox, DHCP networking support and BIOS/UEFI boot.
- Download msmd-linux repository
- Run make_install_iso.sh command to generate installation ISO
- Burn installation ISO to USB flash drive using burn-iso.sh
- Boot from your USB flash drive
- Connect to network by running ethernet or wifi (don't forget to change SSID/PASS)
- Run command install_base, this would install fdisk, mkfs.ext4 and others
- Create two GPT partitions of types ESP (100mb) and Linux (all the rest) on HDD
- Format first partition to FAT32 and second to EXT4
- Mount both partitions
- Copy /msmd-linux/EFI to ESP partition (this is bootloader)
- Copy /msmd-root/root contents to Linux partition (this is root fs)
- In ESP partition on a target drive in a EFI/ubuntu/grub.cfg adjust the UUID to match your drive
- In linux partition on a target drive in /boot/grub/grub.cfg set the UUID root to match your drive
- Disable secure boot in your UEFI firmware settings, you should be able to boot from your drive
Essentially you need to end up with two GPT partitions partitions like
/dev/sda1 (ESP, fat32) and /dev/sda2 (Linux, ext4). Script make-install-iso.sh allows you
to pick up custom block device names (e.g. /dev/nvme0n2p instead of /dev/sda2)
that would be used under initramfs init script to switch to the real root,
this is very important because if the target block device is not specified
properly switching from initramfs to actual root would fail.
Run ethernet command to connect to the ethernet network, this might be the case if you're running a demo ISO under QEMU. If you want to connect to WiFi run wifi after manually adjusting SSID and password under /sbin/wifi.sh.
I've been playing around with tce-load from Tiny Core Linux and generally it's
compatible if rootfs is adjusted accordingly, however it fails to save changes
after reboot because tcl packages reside under /tmp and get erased every reboot.
So I've created a custom package installer with a persistent storage of packages.
It's called dipi.
It would get installed after running command install_base.
Usage: ~$ dipi vim
If you're unsure whether package exists you can run the following command:
wget -O- http://tinycorelinux.net/14.x/x86_64/tcz | grep your_keyword
After installation you might want to install graphical desktop,
web browser and sound support. Assuming your kernel is configured
to support your hardware (or you may try luck with existing config)
you can install additional packages the following way:
Run install_xfbdev script to get basic desktop environment with Tiny X server rendering frames to /dev/fb0.
Alternatively run install_xorg to get Xorg server and GPU support, you might need to adjust packages to install
under /home/msmd/.X/packages-xorg.lst. To get sound run install_audio script, make sure to update /etc/profile,
you can simply uncomment last lines and adjust values if needed.
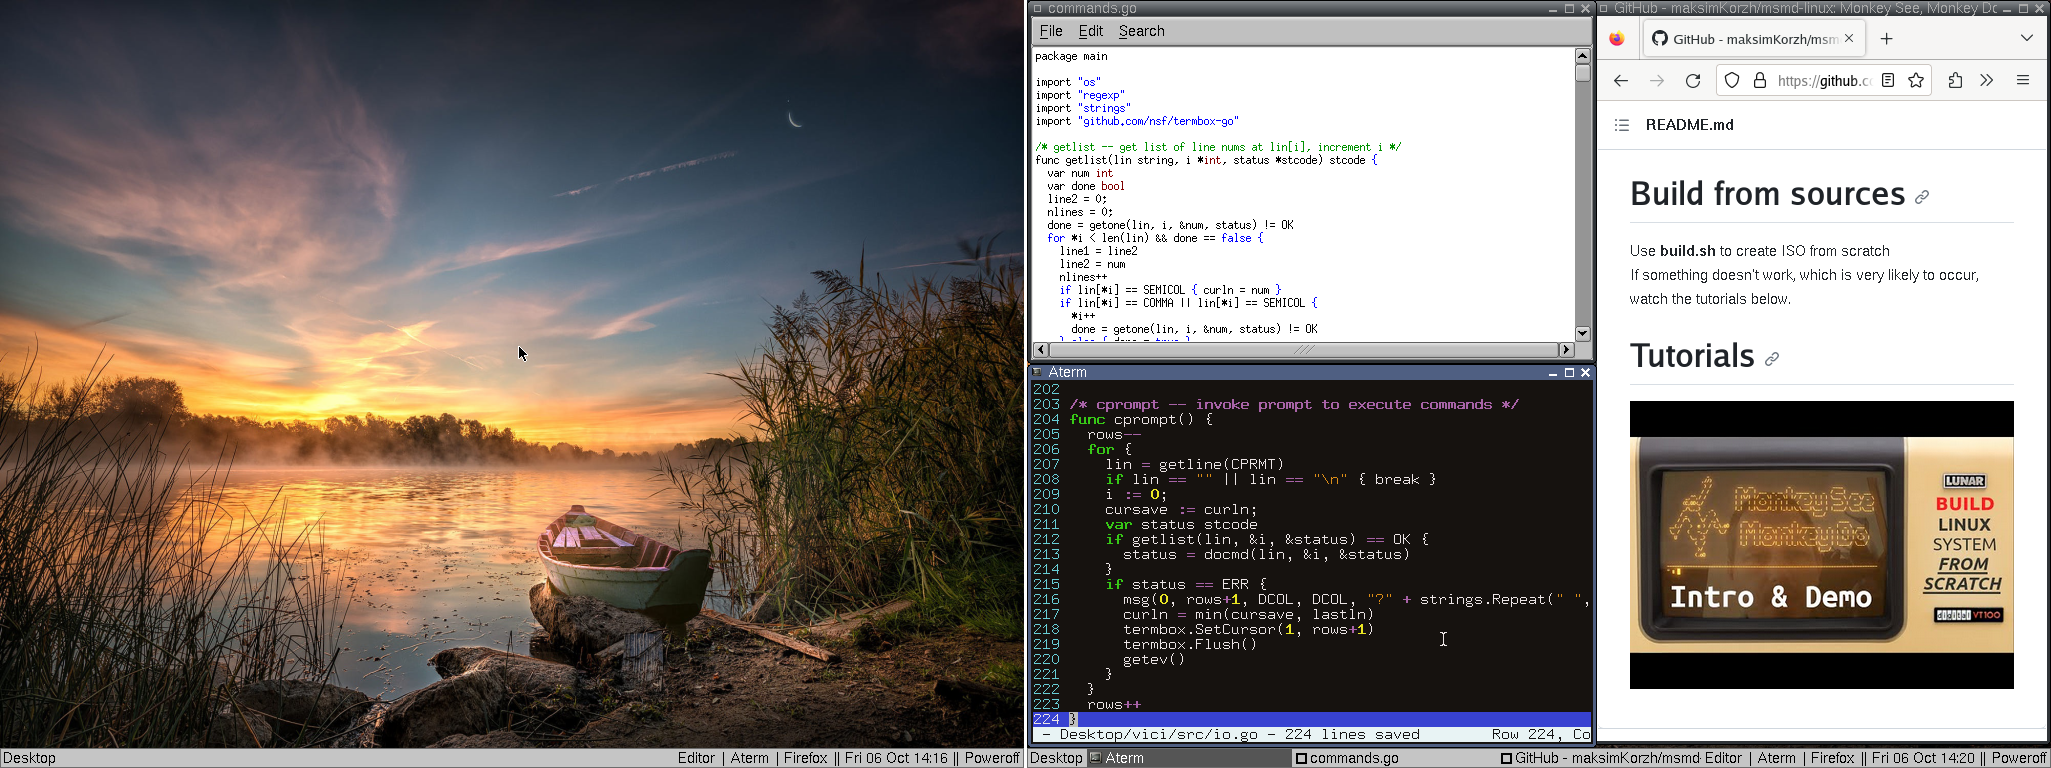
You should see graphical desktop and here the sound in Firefox after reboot.
Use build.sh to create ISO from scratch
If something doesn't work, which is very likely to occur,
watch the tutorials below.

