- Session #1: Views, URLs & Templates
- Session #2: Admin Panel, Models & Database Queries
- Session #3: Models Forms & CRUD
- Session #4: Static Files & Theme Installation
-
Start new project
django-admin startproject devsearchlive .The previous command will generate automatically all files needed for your project as listed bellow.
 ├── devsearchlive
 │   ├── asgi.py
 │   ├── __init__.py
 │   ├── settings.py
 │   ├── urls.py
 │   └── wsgi.py
 ├── manage.py
 ├── README.md
 └── requirements.txt
-
Run the server
Once the project created, you can start running the server anytime you would like by running the following command:
python manage.py runserver
-
Create new application
The following command will create a new
projectsapplication within the maindevsearchlivedirectorypython manage.py startapp projects
The new generated files therefore are:
 projects
 ├── admin.py
 ├── apps.py
 ├── __init__.py
 ├── migrations
 │   └── __init__.py
 ├── models.py
 ├── tests.py
 └── views.py
-
Register the application (add it to the installed applications)
Go to the
settings.pyfile within thedevsearchlivedirectory and add the name of the created application as shown bellow# Application definition INSTALLED_APPS = [ "django.contrib.admin", "django.contrib.auth", "django.contrib.contenttypes", "django.contrib.sessions", "django.contrib.messages", "django.contrib.staticfiles", "projects.apps.ProjectsConfig", ]
-
Add new
projects/urlOnce the application created, we can add now a new url to access that application. We need therefore, to crate a new project function (later we will be using views instead) and create new path to that function.
We need to modify the
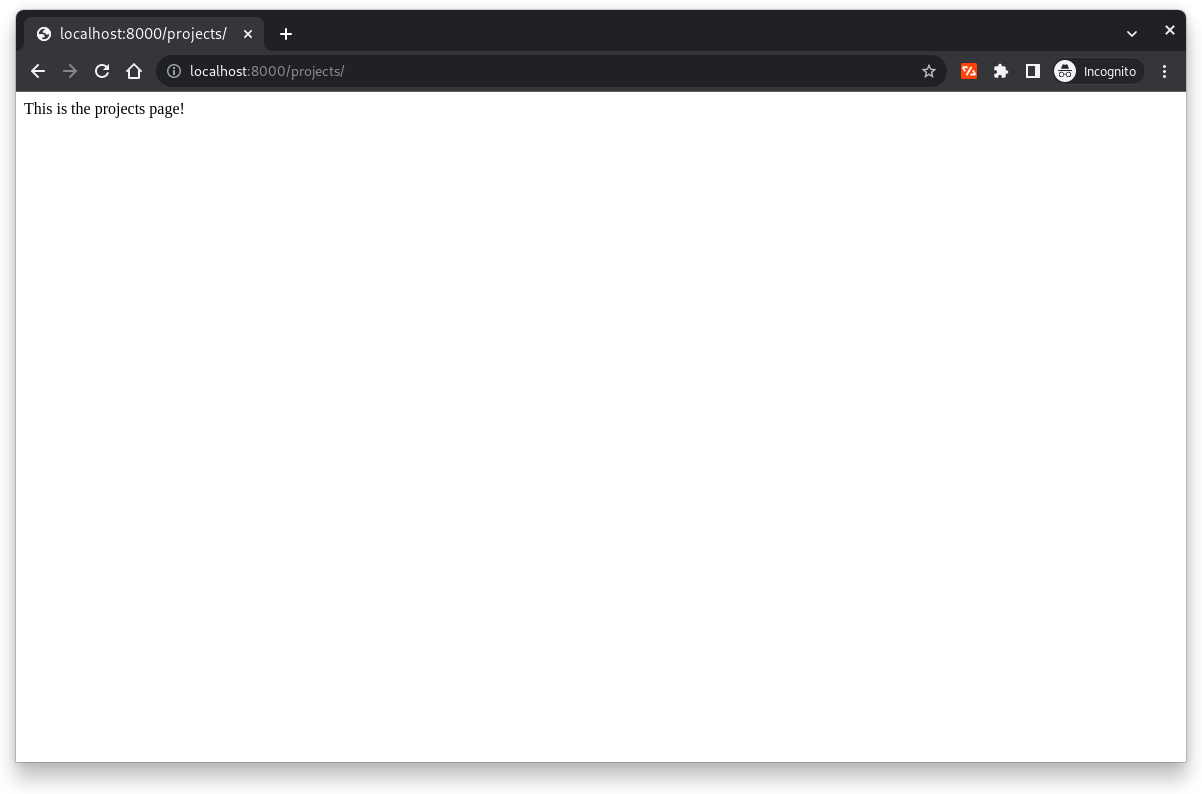
urls.pyfile within thedevsearchlivedirectory as following:from django.http import HttpResponse def projects(request): return HttpResponse("This is the projects page!") urlpatterns = [ path("admin/", admin.site.urls), path("projects/", projects), ]
-
Render dynamic pages
It's also possible to render dynamic pages by using
<int:pk>configuration in the url paths.Bellow an example using a simple function within the
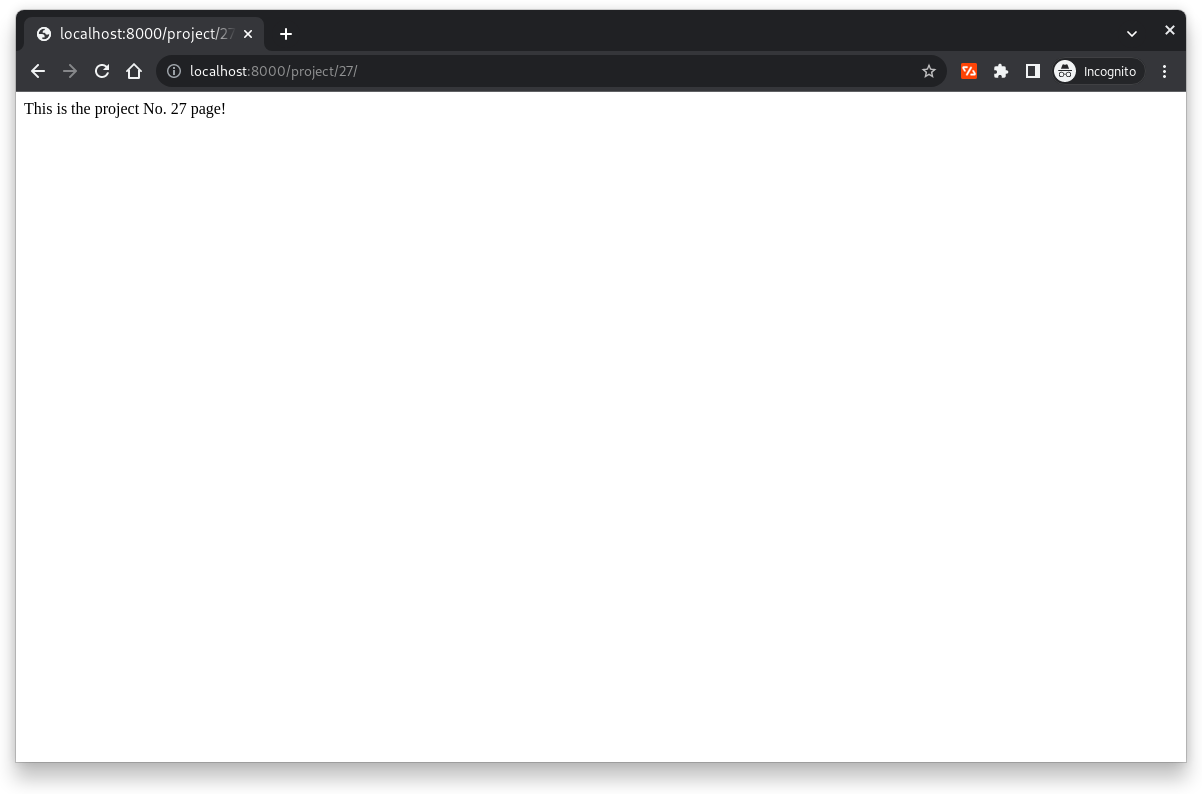
url.pyfile.from django.http import HttpResponse def project(request, pk): return HttpResponse(f"This is the project No. {str(pk)} page!") urlpatterns = [ path("admin/", admin.site.urls), path("projects/", projects), path("project/<str:pk>/", project), ]
-
Add a
urls.pyfor each applicationThe correct way of adding paths and views is to use a
urls.pyandviews.pyof each application.-
To do so, let move the
projectsandprojectfunctions to theviews.pyfile inside theprojectsapplication -
We create than a
urls.pyfrom django.urls import path from . import views urlpatterns = [ path("", views.projects), path("project/<str:pk>/", views.project), ]
-
Include the
projectsapplicationurls.pyinto the maindevsearchlivedirectoryurls.pyfilefrom django.contrib import admin from django.urls import path, include urlpatterns = [ path("admin/", admin.site.urls), path("", include("projects.urls")) ]
-
-
Templates and Template Inheritance
One possible configuration is inside the root directory, we add
templatesdirectory. ├── assets ├── devsearchlive │ └── __pycache__ ├── projects │ ├── migrations │ │ └── __pycache__ │ └── __pycache__ └── templatesOnce the templates are used, we will be no longer using the
HttpResponsein views but therenderdef projects(request): return render(request, "projects.html")
However, before using the templates we need to tell Django where they are located, so we have to update the
settings.pyfileimport os TEMPLATES = [ { "BACKEND": "django.template.backends.django.DjangoTemplates", "DIRS": [ os.path.join(BASE_DIR, "templates") ], "APP_DIRS": True, "OPTIONS": { "context_processors": [ "django.template.context_processors.debug", "django.template.context_processors.request", "django.contrib.auth.context_processors.auth", "django.contrib.messages.context_processors.messages", ], }, }, ]
Another way to use templates is for each application, we add a specific templates directory. This is the Django recommended method
 .
 ├── assets
 ├── devsearchlive
 │   └── __pycache__
 ├── projects
 │   ├── migrations
 │   │   └── __pycache__
 │   ├── __pycache__
 │   └── templates
 │       └── projects
 └── templates
In this case the view function will be modified by specifying the name of the application inside the render method
 def projects(request):
     return render(request, "projects/projects.html")
The aim here is to build the DB, manage interactions and design queries.
-
Use the default SQLite database, before creating models or using the Admin panel we need to migrate all changes
python manage.py makemigrations
python manage.py migrate
-
Create superuser account for the administration of the application
python manage.py createsuperuser
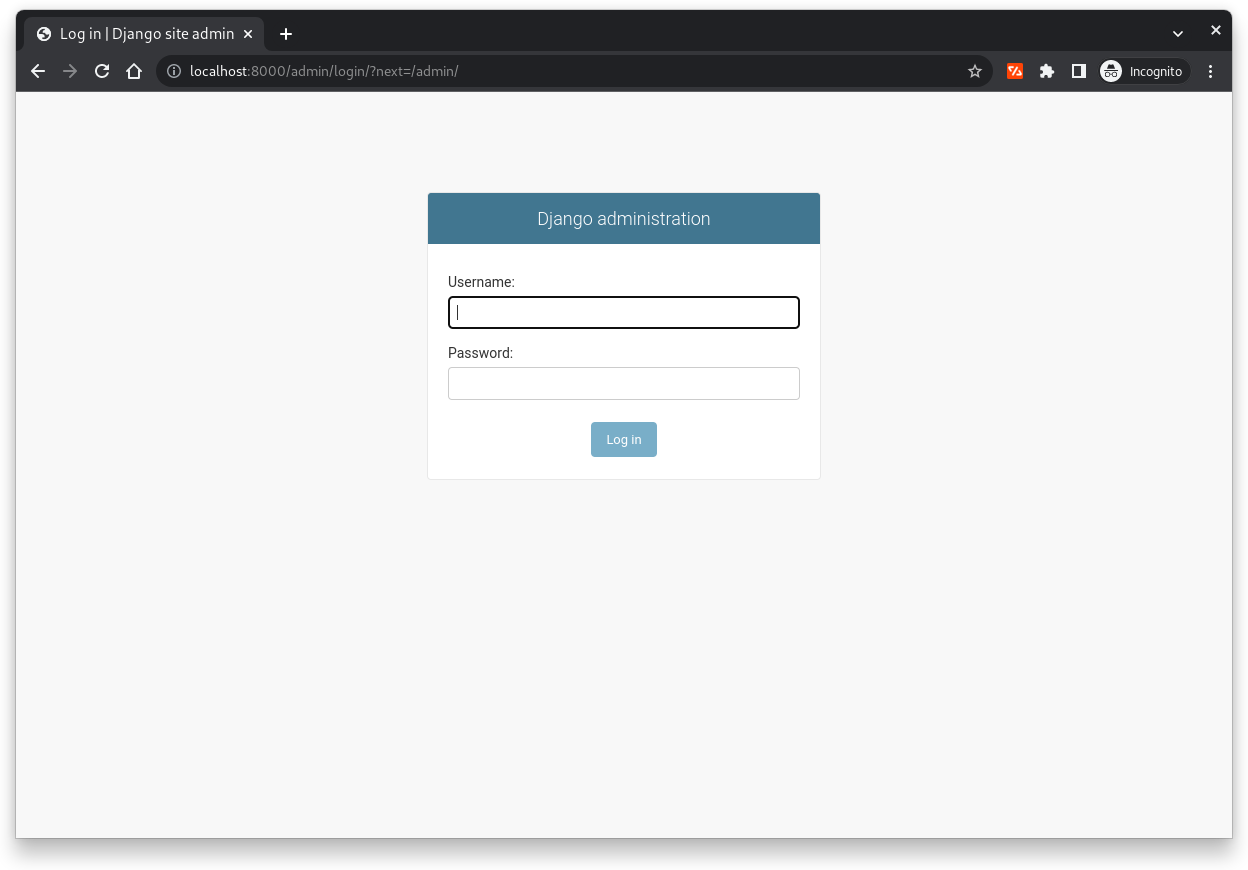
We can now access the admin panel using the chosen username and password
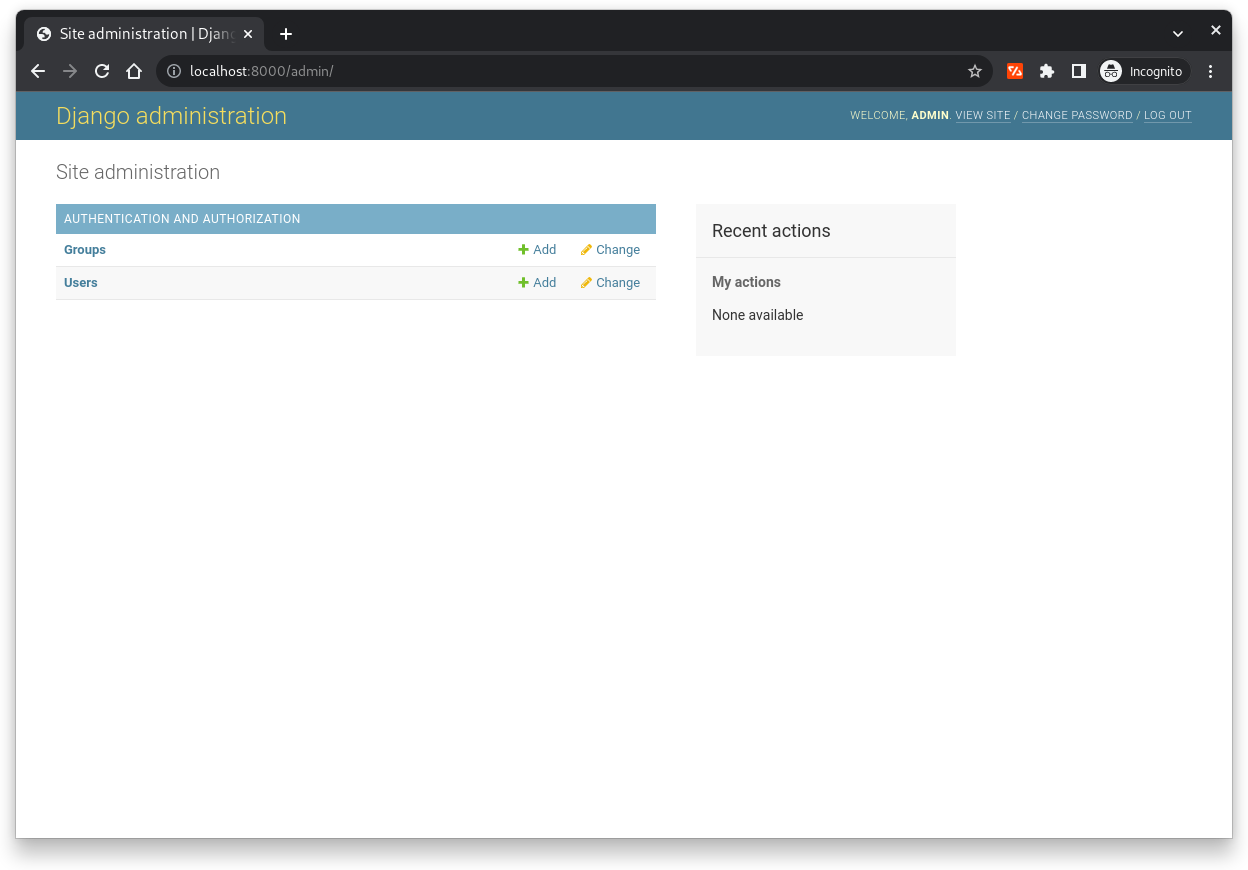
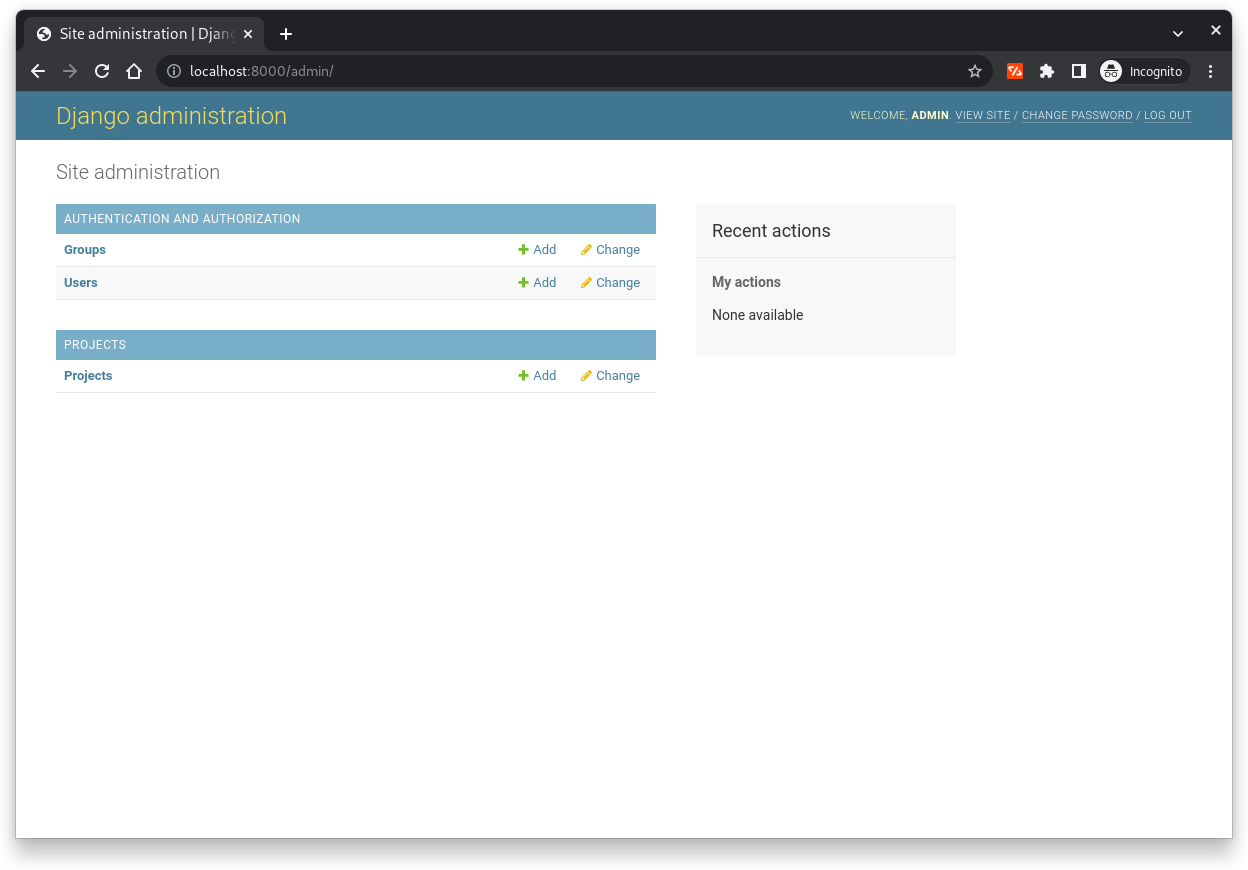
Now if you access successfully to the Django Admin interface you'll see the following dashboard
-
Create our own Models by adding our DB tables to the
models.pywithin the application directoryfrom django.db import models import uuid class Project(models.Model): # owner = WILL BE COMPLETED LATER title = models.CharField(max_length=200) description = models.TextField(null=True, blank=True) # feature_image = WILL BE COMPLETED LATER demo_link = models.CharField(max_length=1000, null=True, blank=True) source_link = models.CharField(max_length=1000, null=True, blank=True) vote_total = models.IntegerField(default=0) vote_ratio = models.IntegerField(default=0) created = models.DateTimeField(auto_now_add=True) id = models.UUIDField(default=uuid.uuid4, unique=True, primary_key=True, editable=False) def __str__(self): return self.title
-
Make new migration to update the DB with the new model just created
python manage.py makemigrations
python manage.py migrate
-
Register the model within the admin panel to be visible in the admin interface, therefore, we need to update the
admin.pyfile of the application as followingfrom django.contrib import admin # Register your models here. from .models import Project admin.site.register(Project)
Now we can see our Model inside the Admin panel
-
Now models can be used within the
view.pyfile
Two ways are possible under django to deal with CRUD (i) function based views or (ii) class based views. The class based views is the easiest way, however, here we will be using the function based view to see the complete flow of the views.
-
We start by creating
form.pyfile inside theprojectsdirectoryfrom django.forms import ModelForm from .models import Project class ProjectForm(ModelForm): class Meta: model = Project fields = "__all__"
-
We can import now the created form inside the
views.pyfrom .forms import ProjectForm
-
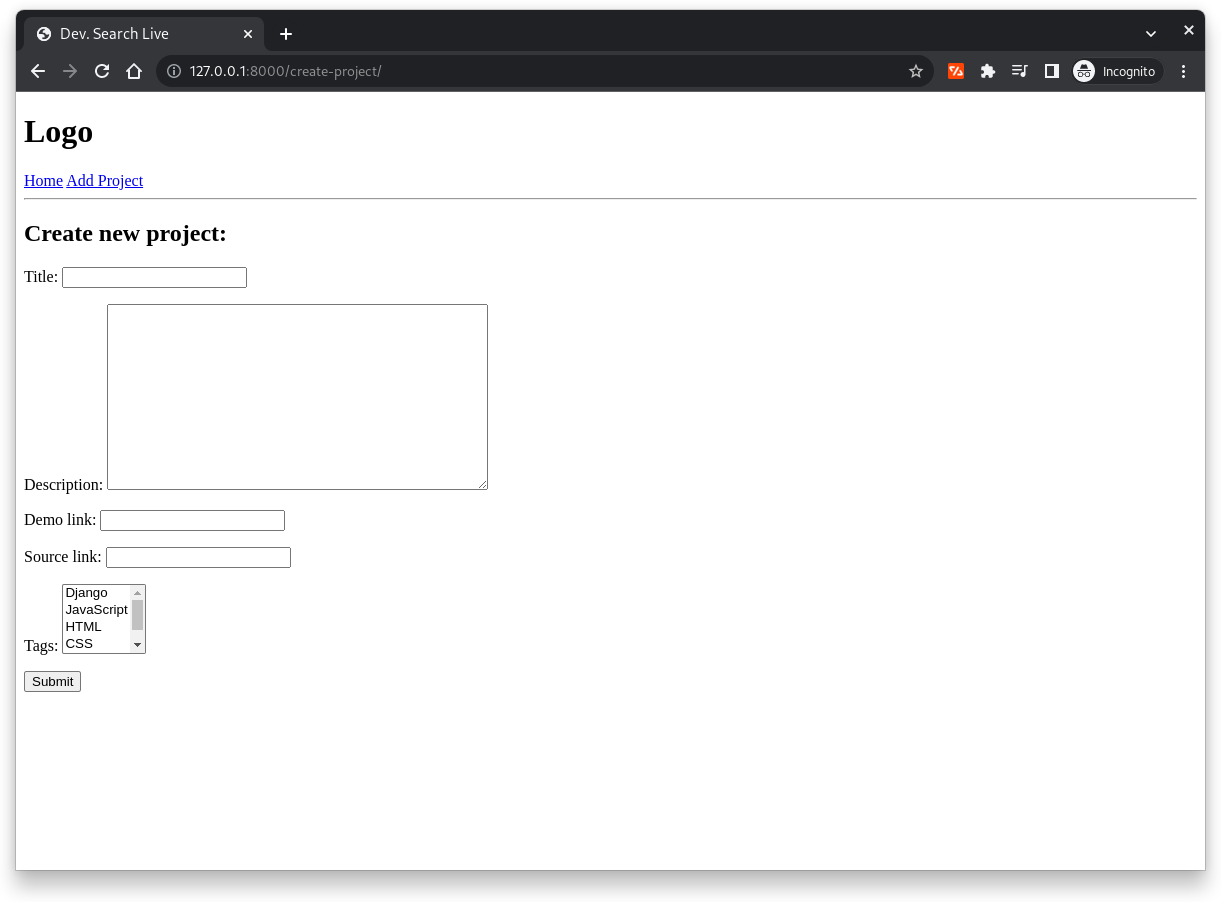
The next step is to render the created model. We start by adding a
create projecton the navbar<h1>Logo</h1> <a href="/">Home</a> <a href="{% url 'create-project' %}">Add Project</a> <hr />
-
Then, we create a new function view under the
views.pydef createProject(request): form = ProjectForm() context = {"form": form} exclude = ["vote_total", "vote_ratio"] return render(request, "projects/project-form.html", context)
-
Next step consists of creating the
project-form.htmltemplate{% extends "main.html" %} {% block content %} <h2>Create new project:</h2> <form method="POST" action=""> {% csrf_token %} {{form.as_p}} <input type="submit" value="Submit" /> </form> {% endblock content %} -
Finally, we need to update the
urls.pyfile inside theprojectsdirectoryfrom django.urls import path from . import views urlpatterns = [ path("", views.projects, name="projects"), path("project/<str:pk>/", views.project, name="project"), path("create-project/", views.createProject, name="create-project"), ]
-
Create - Under
view.pywe have to add the following code within thecreateProjectmethod. Theredirectwas also imported for this methoddef createProject(request): form = ProjectForm() if request.method == "POST": form = ProjectForm(request.POST) if form.is_valid(): form.save() return redirect("projects") context = {"form": form} return render(request, "projects/project-form.html", context)
-
Update - We will create new method
updateProjectwithin theviews.pyfile which is similar to thecreateProjectdef updateProject(request, pk): project = Project.objects.get(id=pk) form = ProjectForm(instance=project) if request.method == "POST": form = ProjectForm(request.POST, instance=project) if form.is_valid(): form.save() return redirect("projects") context = {"form": form} return render(request, "projects/project-form.html", context)
We need to update the
urls.pytoofrom django.urls import path from . import views urlpatterns = [ path("", views.projects, name="projects"), path("project/<str:pk>/", views.project, name="project"), path("create-project/", views.createProject, name="create-project"), path("update-project/<str:pk>/", views.updateProject, name="update-project"), ]
-
Delete - We start by creating a validation template
delete.html{% extends "main.html" %} {% block content %} <h2>Delete {{ object }}:</h2> <form action="" method="POST"> {% csrf_token %} <p>Are you sure you want to delete {{object}}?</p> <a href="{% url 'projects' %}">Go Back!</a> <input type="submit" value="Delete" /> </form> {% endblock content %}Then we create the
deleteProjectmethod inside theviews.pyfiledef deleteProject(request, pk): project = Project.objects.get(id=pk) if request.method == "POST": project.delete() return redirect("projects") return render(request, "projects/delete.html", {"object":project})
We need to update the
urls.pytoofrom django.urls import path from . import views urlpatterns = [ path("", views.projects, name="projects"), path("project/<str:pk>/", views.project, name="project"), path("create-project/", views.createProject, name="create-project"), path("update-project/<str:pk>/", views.updateProject, name="update-project"), path("delete-project/<str:pk>/", views.deleteProject, name="delete-project"), ]
The way we will be using static files here, is by keeping them ona separate static directory within the root folder.
-
Create a
staticdirectory inside the project root folder. ├── assets ├── devsearchlive │ └── __pycache__ ├── projects │ ├── migrations │ │ └── __pycache__ │ ├── __pycache__ │ └── templates │ └── projects ├── static └── templates -
Connect the static files/folders with the main
settings.pyfile by adding the following commandsSTATICFILES_DIRS = [ # BASE_DIR / "static" os.path.join(BASE_DIR, "static"), ]
-
We need to load the static files inside the main template
<!DOCTYPE html>
<html lang="en">
  {% load static %}

  <head>
    <meta charset="UTF-8" />
    <meta http-equiv="X-UA-Compatible" content="IE=edge" />
    <meta name="viewport" content="width=device-width, initial-scale=1.0" />
    <title>Dev. Search Live</title>

    <link
      rel="stylesheet"
      type="text/css"
      href="{% static 'styles/main.css' %}"
    />
  </head>

  <body>
    {% include "navbar.html" %} {% block content %} {% endblock content %}
  </body>
</html>
-
Now, we can update our model to be able using the profiles pictures
class Project(models.Model):
   # owner =
   title = models.CharField(max_length=200)
   description = models.TextField(null=True, blank=True)
   feature_image = models.ImageField(null=True, blank=True, default="default.jpg")
   demo_link = models.CharField(max_length=1000, null=True, blank=True)
   source_link = models.CharField(max_length=1000, null=True, blank=True)
   vote_total = models.IntegerField(default=0)
   vote_ratio = models.IntegerField(default=0)
   tags = models.ManyToManyField("Tag", blank=True)
   created = models.DateTimeField(auto_now_add=True)
   id = models.UUIDField(default=uuid.uuid4, unique=True, primary_key=True, editable=False)

   def __str__(self):
      return self.title
-
To avoid Django uploading images within the root directory, we can change the
mediasettings, and we need to add aMEDIA_URLtooMEDIA_URL = "/images/" MEDIA_ROOT = os.path.join(BASE_DIR, "static/images")
-
We can update the main
urls.pyas followingfrom django.conf import settings from django.conf.urls.static import static urlpatterns += static(settings.MEDIA_URL, document_root=settings.MEDIA_ROOT)
-
The images are accessible now via the html templates, for a single project, we can modify the
project.htmlas shown bellow:<img style="max-width: 500px;" src="{{project.feature_image.url}}" alt="Project image" />
-
The following modifications are needed to be able uploading images using our form instead of the admin dashboard
-
The
project-form.htmlfile will be updated as following:{% extends "main.html" %} {% block content %} <h2>Create new project:</h2> <form method="POST" action="" enctype="multipart/form-data"> {% csrf_token %} {{form.as_p}} <input type="submit" value="Submit" /> </form> {% endblock content %} -
The
views.pyalso will be updateddef createProject(request): form = ProjectForm() if request.method == "POST": form = ProjectForm(request.POST, request.FILES) if form.is_valid(): form.save() return redirect("projects") context = {"form": form} return render(request, "projects/project-form.html", context) def updateProject(request, pk): project = Project.objects.get(id=pk) form = ProjectForm(instance=project) if request.method == "POST": form = ProjectForm(request.POST, request.FILES, instance=project) if form.is_valid(): form.save() return redirect("projects") context = {"form": form} return render(request, "projects/project-form.html", context)
-
- Django==4.1.6
- Pillow==9.4.0

