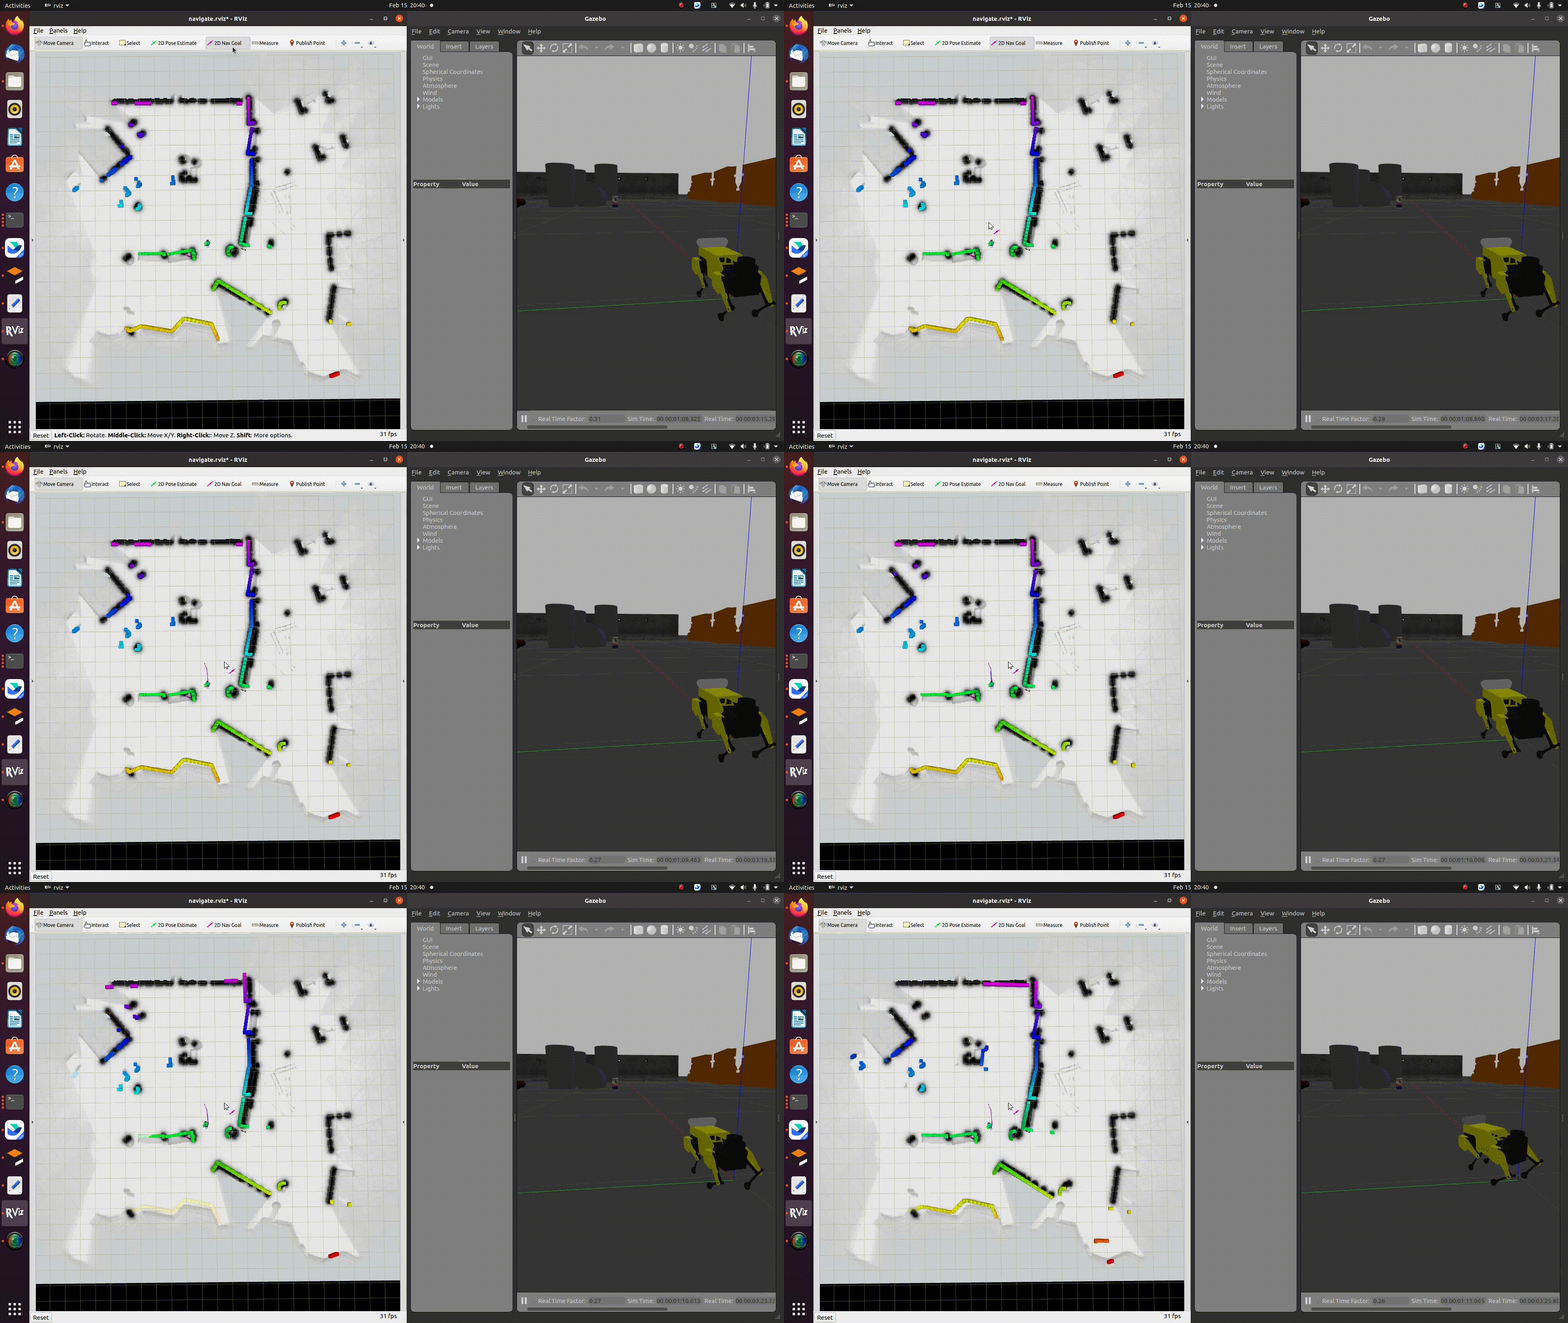
create a development environment in aws robomaker console,
check this link
remember to set "pre-installed robot software suite" to "Melodic"


sudo apt-get update
sudo apt-get install python3-pip python3-apt
pip3 install -U setuptools
pip3 install -U colcon-common-extensions colcon-ros-bundlesudo apt install ros-melodic-ecl-threads ros-melodic-robot-localization ros-melodic-controller-manager ros-melodic-hector-sensors-description ros-melodic-map-server ros-melodic-move-base ros-melodic-iris-lama ros-melodic-iris-lama-ros sphinxsearchpip install --upgrade requests
pip3 install --upgrade requestscd ~/environment
git clone --recursive https://github.com/0nhc/aws-robomaker-mini-pupper-application.git
cd aws-robomaker-mini-pupper-application
git submodule init
git submodule update
cd robot_ws
colcon build
colcon bundle
cd ..
cd simulation_ws
colcon build
colcon bundle
echo "source ~/environment/aws-robomaker-mini-pupper-application/robot_ws/install/setup.bash" >> ~/.bashrc
echo "source ~/environment/aws-robomaker-mini-pupper-application/simulation_ws/install/setup.bash" >> ~/.bashrc
source ~/.bashrccreate S3 buckets for mini pupper
check this link
set "bucket name" to "mini-pupper-bucket"

return to aws development environment

cd ~/environment/aws-robomaker-mini-pupper-application/robot_ws/bundle
aws s3api put-object --bucket mini-pupper-bucket --key mnpp_robot.tar --body output.tar
cd ~/environment/aws-robomaker-mini-pupper-application/simulation_ws/bundle
aws s3api put-object --bucket mini-pupper-bucket --key mnpp_sim.tar --body output.tarreturn to robomaker console
then create a new robot application
check this link
set "name" to "mini-pupper-robot"
set "robot software suite" to "Melodic"
set "application" to "provide a colcon-bundled source file"
and then click "browse S3"
 choose "mini-pupper-bucket/mnpp_robot.tar"
then click "create"

return to robomaker console
then create a new simulation application
check this link
set "name" to "mini-pupper-simulation"
set "robot software suite" to "Melodic"
set "application" to "provide a colcon-bundled source file"
and then click "browse S3"
 choose "mini-pupper-bucket/mnpp_sim.tar"
then click "create"

return to robomaker console
then create a new simulation job
check this link
in section "simulation job details"
set "simulation job duration" to 1 hour(for saving money)
set "robot software suite" to "Melodic"
set "IAM role" to whatever you want
 in section "simulation job output"
click "browse S3"
 choose "mini-pupper-bucket"

in section "choose method"
click "select existing application"
in section "robot application"
choose "mini-pupper-robot"
in section "robot application configuration"
set "launch package name" to "mini_pupper_navigation"
set "launch file" to "navigate.launch"

in section "choose method"
click "select existing application"
in section "robot application"
choose "mini-pupper-simulation"
in section "robot application configuration"
set "launch package name" to "mini_pupper_gazebo"
set "launch file" to "gazebo.launch"

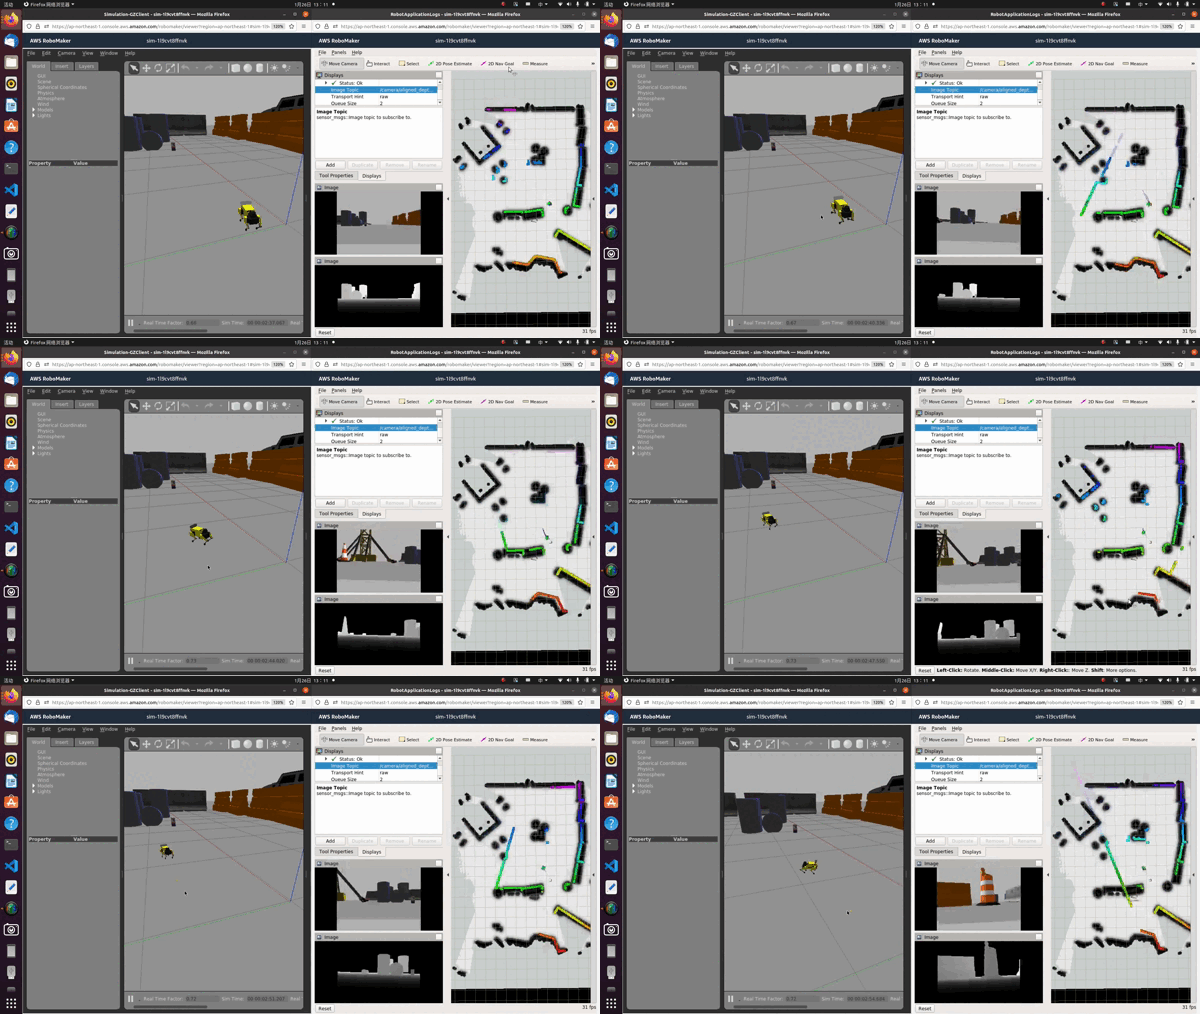
first, click this button
 then, drag the arrow at some point in the map


