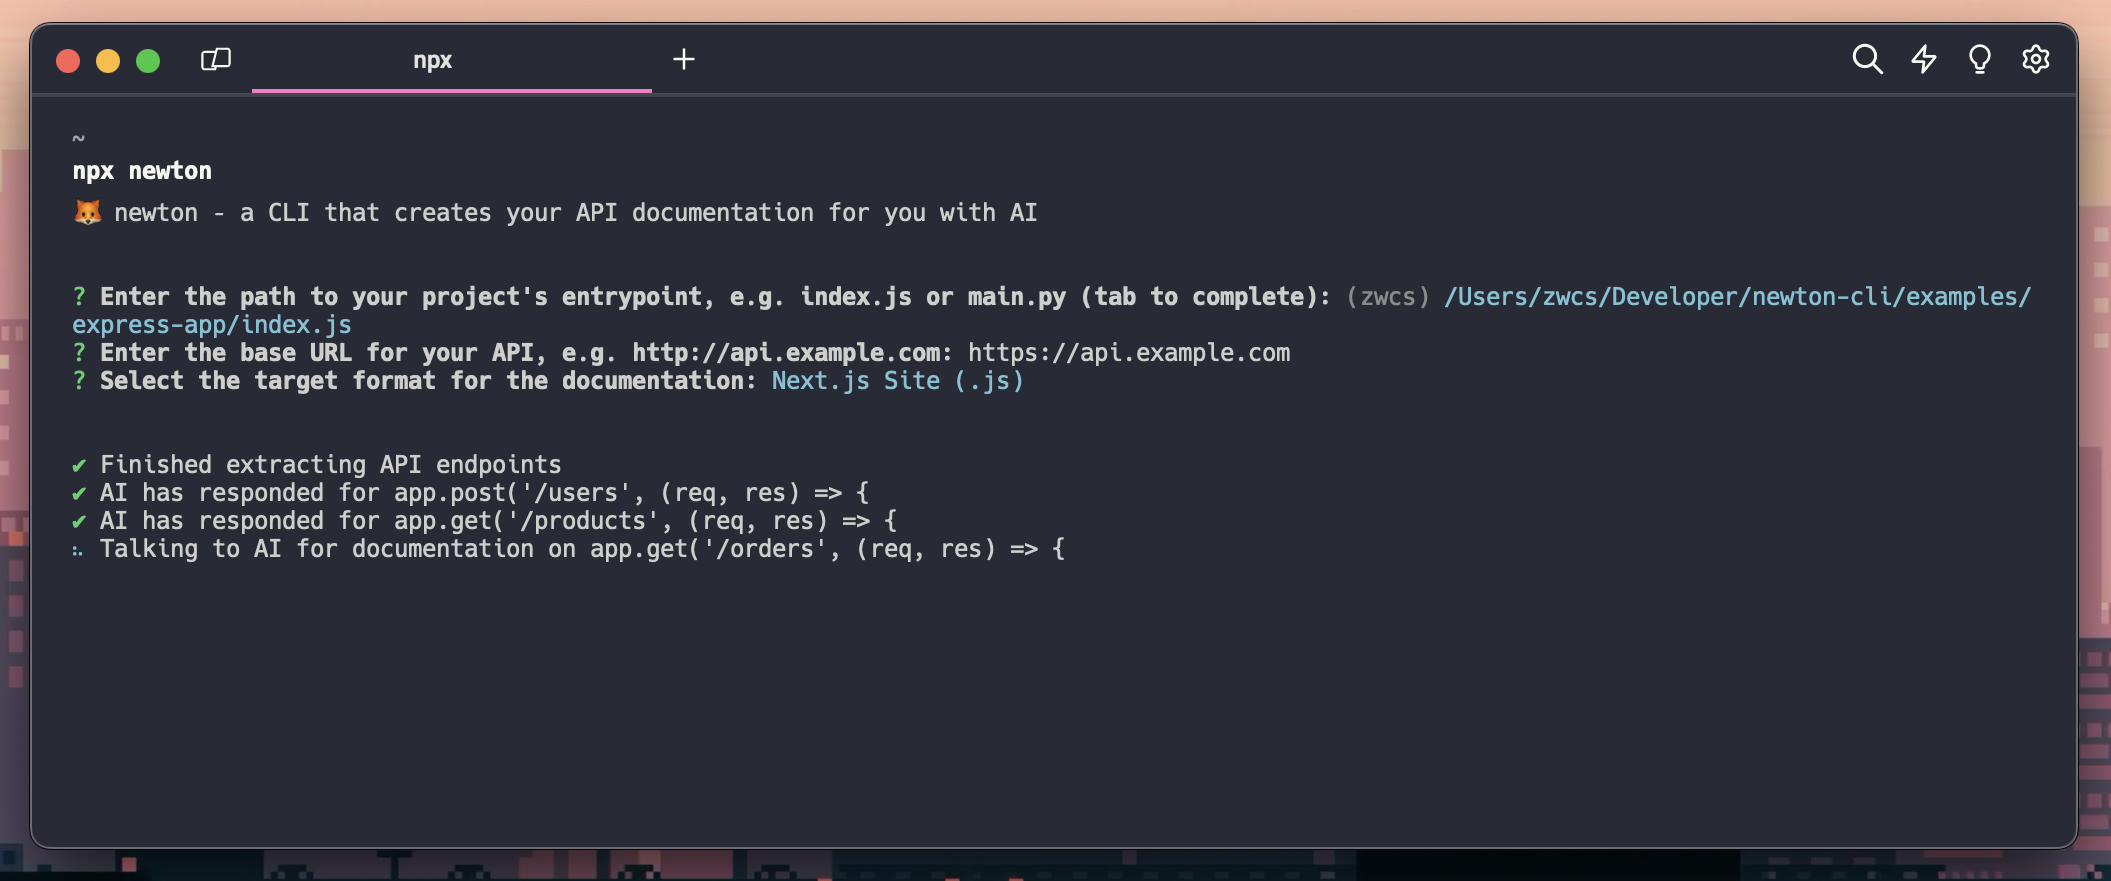
[showing input and outputs]
index.js as source (input) file:const express = require('express');
const app = express();
app.post('/users', (req, res) => {
const { username, email } = req.body;
res.status(200).json({ message: 'User created successfully', username, email });
if (!username || !email) {
res.status(400).send('Missing required arguments');
}
});
.
.
.
[full source in examples/express-app/index.js]
npx newton exported (output) to Next.js site:| Preview page here: https://newton-next-export.surge.sh/ | |
| Light | Dark |
|---|---|
 |
 |
npx newton exported to simple HTML page [source, preview]
npx newton exported to Markdown [preview]
npx newton exported to JSON [source]
- Install
newtonglobally:
npm install -g newton-aidocs
- Perform first time set up by configuring
newtonwith an OpenAI API key that has billing set up:
npx newton
Note: This creates a
.newtonfile in your home directory where this API key, along with any other future customizable newton configurations, is stored.
- Check the version you have installed:
npx newton --version
- If it is not equivalent to the latest version:
npm update -g newton-aidocs
To start an interactive prompt to provide newton with the details to generate the documentation for your API:
npx newton
If you have an existing api-documentation.json file previously generated by newton and want to export it to another newton format (i.e. Markdown, HTML, Next.js):
npx newton -t
stable
1.0.8- in default mode, validate filepath as it is input to ensure that it exists and is of the expected
.jsor.pyformat
1.0.7- updated interactive prompts for enhanced reliability and user flexibility:
- in default mode, now directly prompts for entrypoint filepath rather than project directory
- in transmogrify mode, now directly prompts for the newton-generated JSON filepath rather than project directory
- in transmogrify mode, validate filepath as it is input to ensure that it exists and is of the expected
.jsonformat
- fixes for Next export:
- added a prompt for base URL in transmogrify mode as it previously resulted in an undefined value
- modified code block for copy button to remain static while scrolling
- increased font size for endpoint titles
- updated interactive prompts for enhanced reliability and user flexibility:
pre-releases (beta)
1.0.61.0.51.0.4:- add search functionality on Next generated site, searching by endpoint title
- add dark color scheme as an option for exporting Next generated site
- add
npx newton -toption to allow converting of previously generated or existing newton-generated JSON to other export options
1.0.31.0.2:- add functionality to export generated documentation to responsive Next.js site
- add tab autocompletion for specifying project directory path
1.0.1:- add support for Flask (Python) projects
- allow user to specify their own OpenAI API key for saved locally for persistent use
1.0.0:- add functionality to generate documentation in JSON, Markdown, and HTML for Express.js (Node.js) APIs using GPT-3.5 Turbo
- For Express.js (Node.js) projects,
newtonworks best when:
- the input file contains Express.js routes, e.g. where each route begins on a new line with
app.{get, post, put, delete}:
const express = require('express')
const app = express()
const port = 80

app.use(express.json());

app.post('/api/auth', async (req, res) => {
  const uid = req.body.uid;
  const user = db.collection('users').doc(uid);

  await user.set({
    uid: uid,
    last_login: Timestamp.now(),
  });

  res.send('Logged in user with uid ' + uid);
});
.
.
.
- For Flask (Python) projects,
newtonworks best when:
- the input file contains the Flask routes, e.g. where each route begins on a new line with
@app.route:
from flask import Flask, request
.
.
.
app = Flask(__name__)

@app.route("/user/metadata", methods=['GET'])
def get_user():
    email = request.args.get('email')
    user = users.get_user(email)
    return user, 200

@app.route("/user/create", methods=['POST'])
def create_user():
    email = request.args.get('email')
    role = request.args.get('role')
    if role not in ["staff"]:
        return "Invalid role", 400
    user_created = users.create_user(email, role)
    return user_created, 200
.
.
.
Note: The files mentioned above are provided for illustrative purposes only and do not guarantee functionality. However, their formats served as a guideline for Newton's parsing functionalities.


