About The Project
Simple simulation for a program-driven vehicle with a top-down visualization.
Motivation
- Testing of simple navigation routines
- Preparation of IOT projects with autonomous vehicles
- JavaScript/Typescript only
Built With
The rover simulation uses the following 3rd party libraries:
Special thanks to Chris Veness!
Installation
To use the simulation create a new web project including a bundler like Webpack and install the package from github.
with npm
npm install github:davidlinner/roverUsage
Basic example:
import {Simulation} from 'rover';
// Create a simple control function which only tells the engines to go forward, left a bit slower, so we drive in a circle
// The control function will be called periodically in the control loop
const loop = ({location, heading, clock}, {engines}) => {
return {
engines: [0.5,0.8]
}
}
// Create a new simulation
const simulation = new Simulation({
// add above loop
loop,
// define the origin offset of the rover on the planet,
origin: {
latitude:52.477050353132384,
longitude:13.395281227289209
},
// select the DOM element the visualization canvas should be appended to as child
element: document.querySelector('main'),
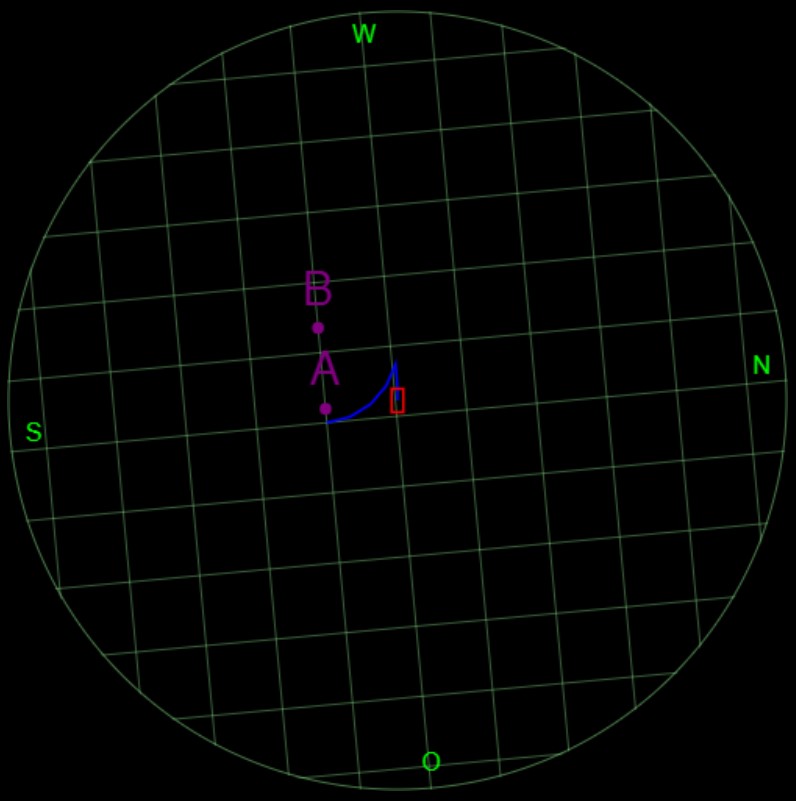
// define a list of static points to be rendered in the visualization (nice for waypoints)
locationsOfInterest: [{
latitude: 52.47880703639255,
longitude: 13.395281227289209,
label: 'A'
}],
// set rending options like size and colors
// consult the API docs for all switches and params
renderingOptions: {
width: 500, // width of created canvas
height: 500 // height of created canvas
}
});
// as soon as the simulation is created the visualization is rendered,
// but have to explicitely start the control loop
simulation.start();Additionally, you can configure a more realistic behavior for the simulation
by setting the physicalContraints property. Two constraint collections, AUTHENTICITY_LEVEL0 and AUTHENTICITY_LEVEL1,
are predefined, while the first means no error at all. AUTHENTICITY_LEVEL1, in contrast, adds
random measurement errors to heading and location and a little, random unbalance to the two engines.
Since the random seeds are different for each run of the simulation error correction has to
be added to the control loop.
Example with some environmental error:
// Import main Simulation class and error factory function
import {Simulation, AUTHENTICITY_LEVEL1} from 'rover';

// Create a simple control function which should make the vehicle move straight forward
const loop = ({location, heading, clock}, {engines}) => {
    return {
        engines: [0.8,0.8]
    }
}

// Create a new simulation
const simulation = new Simulation({
    // add above loop
    loop,

    // define the origin offset of the rover on the planet,
    origin: {
        latitude:52.477050353132384,
        longitude:13.395281227289209
    },

    // select the DOM element the visualization canvas should be appended to as child
    element: document.querySelector('main'),

    // Set the factory function for physical constraints
    // Predefined constraints are AUTHENTICITY_LEVEL0 and AUTHENTICITY_LEVEL1, while first means no error
    physicalConstraints: AUTHENTICITY_LEVEL1
});

// as soon as the simulation is created the visualization is rendered,
// but have to explicitely start the control loop
simulation.start();
Please consult the API Docs for details.
License
Distributed under the MIT License.