If you are using Event Engine follow all steps below. If you are using your own account start at SageMaker Studio access.
In this lab we will get access to an EventEngine AWS Account that we will use in the following labs. Once we have access to the AWS Account we will access SageMaker Studio and download the necessary content we will be making use of.
- Access EventEngine
- Access Amazon SageMaker Studio
- Download content from GitHub repository needed for the lab
Go to: Event Engine. You will be redirected to the page below.
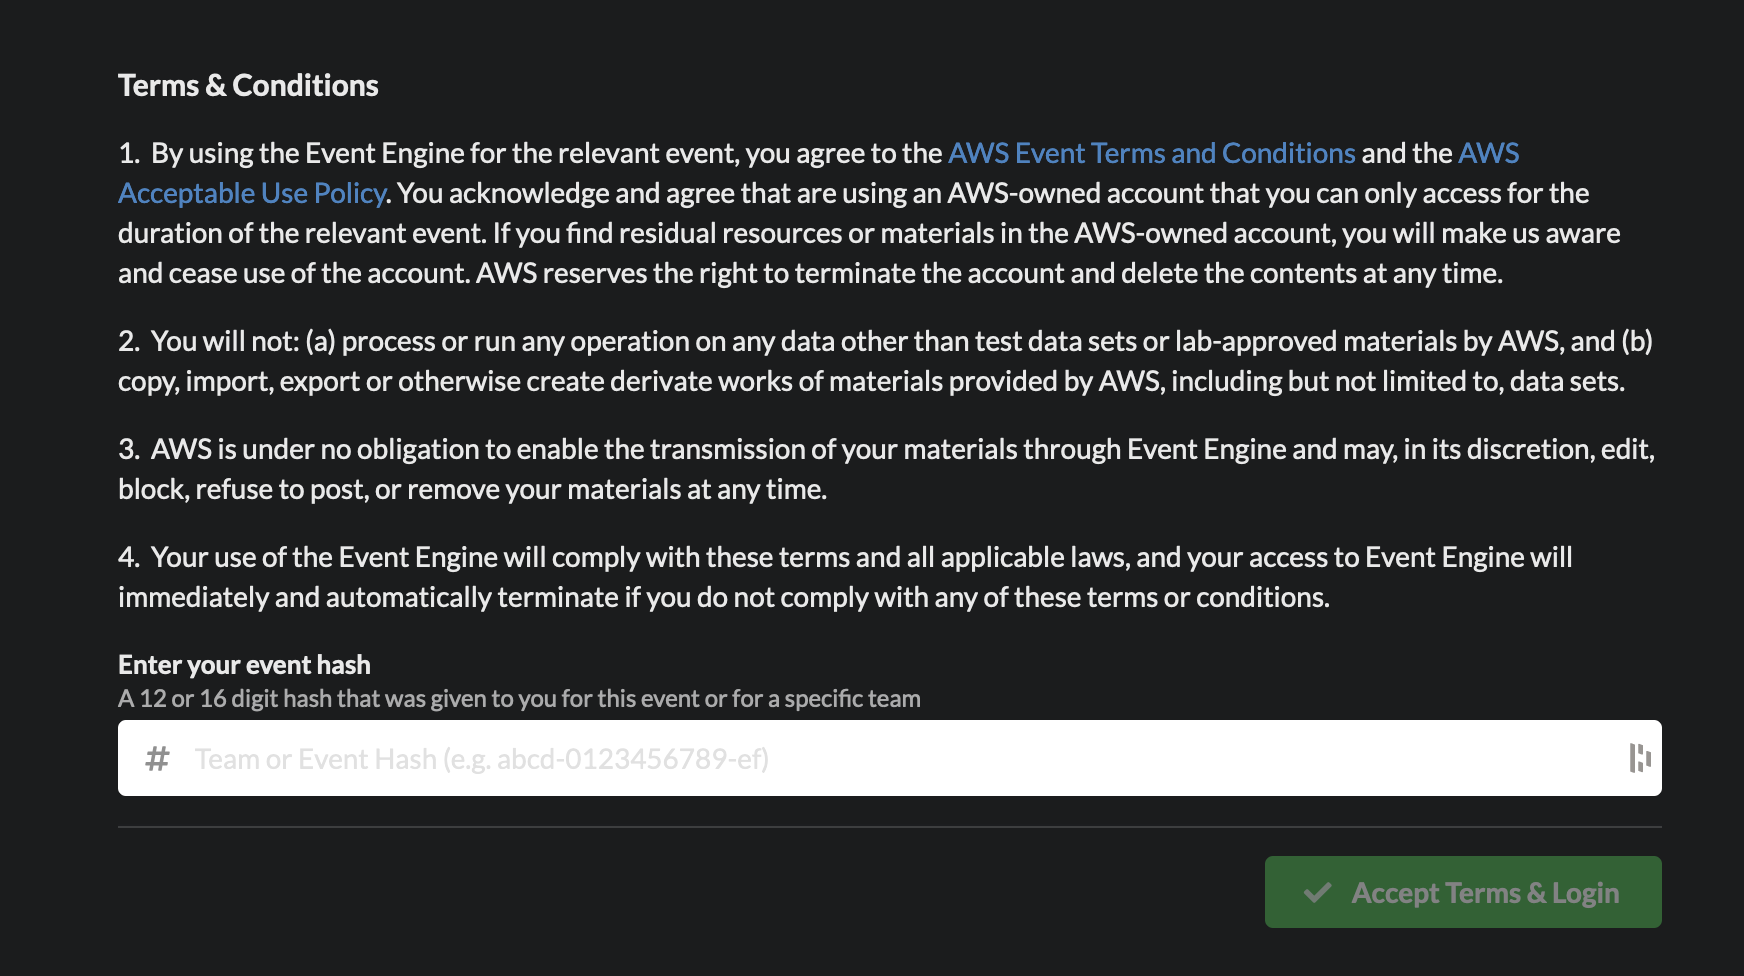
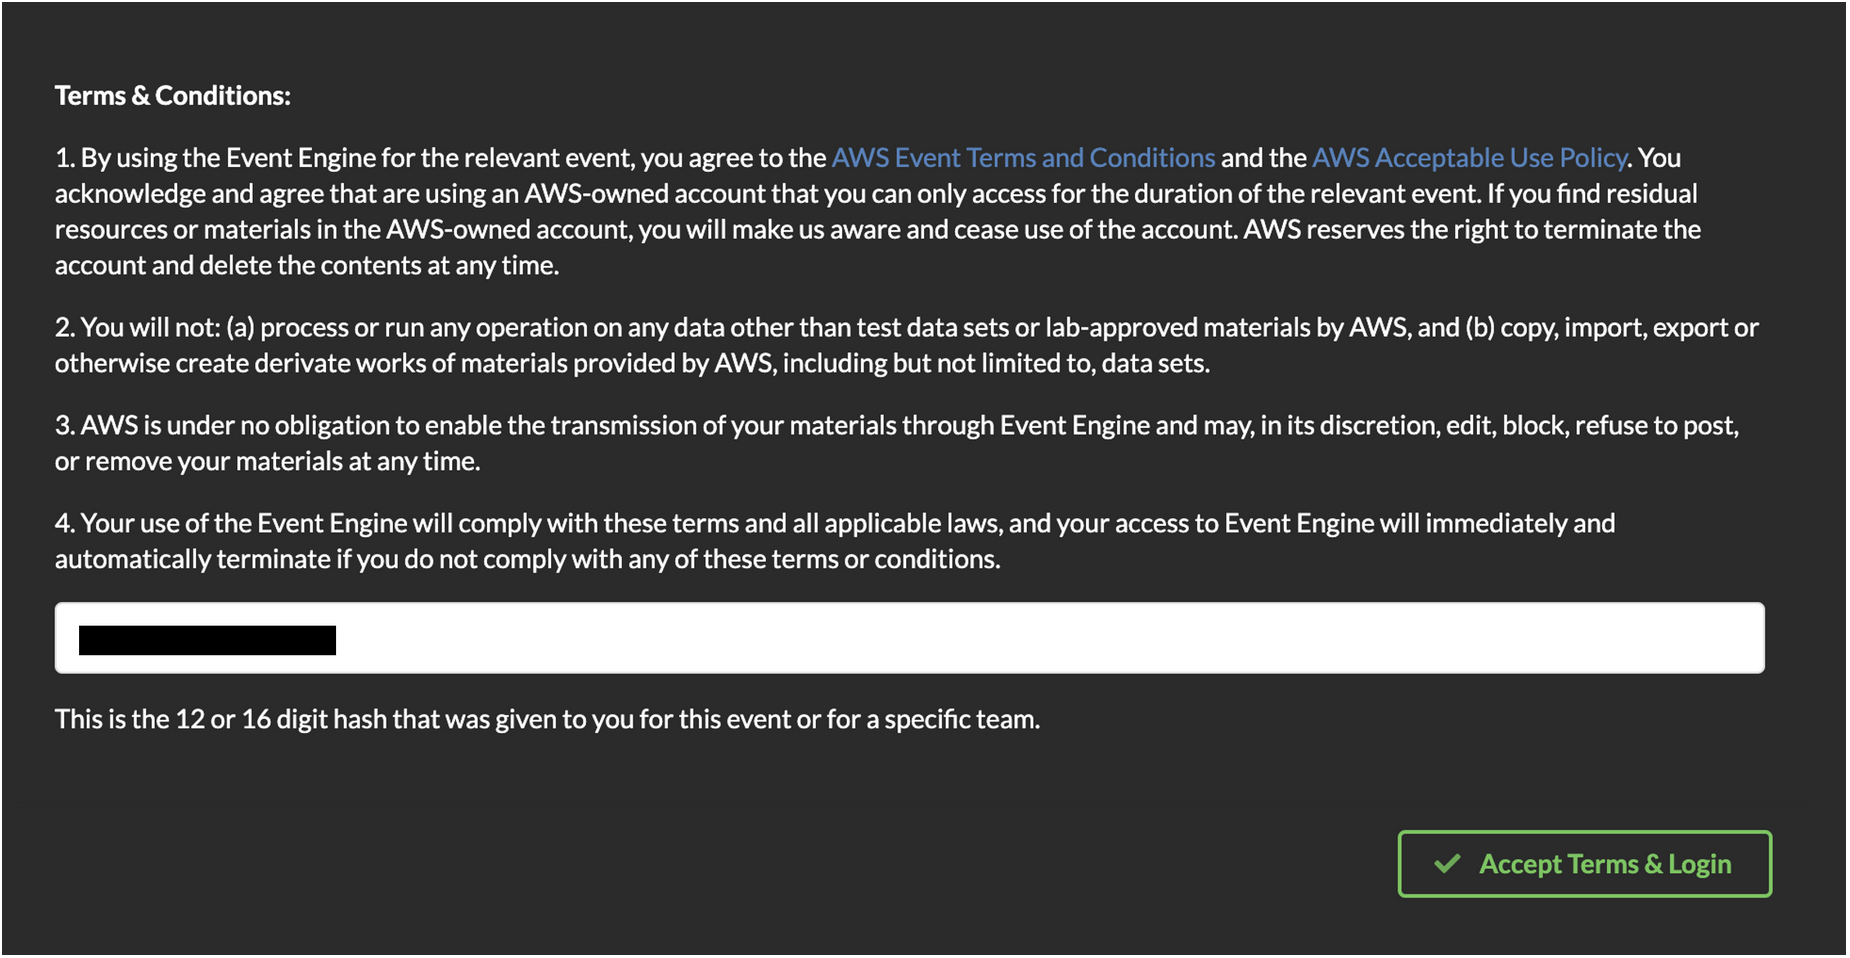
Enter the event hash you have received from your instructor.
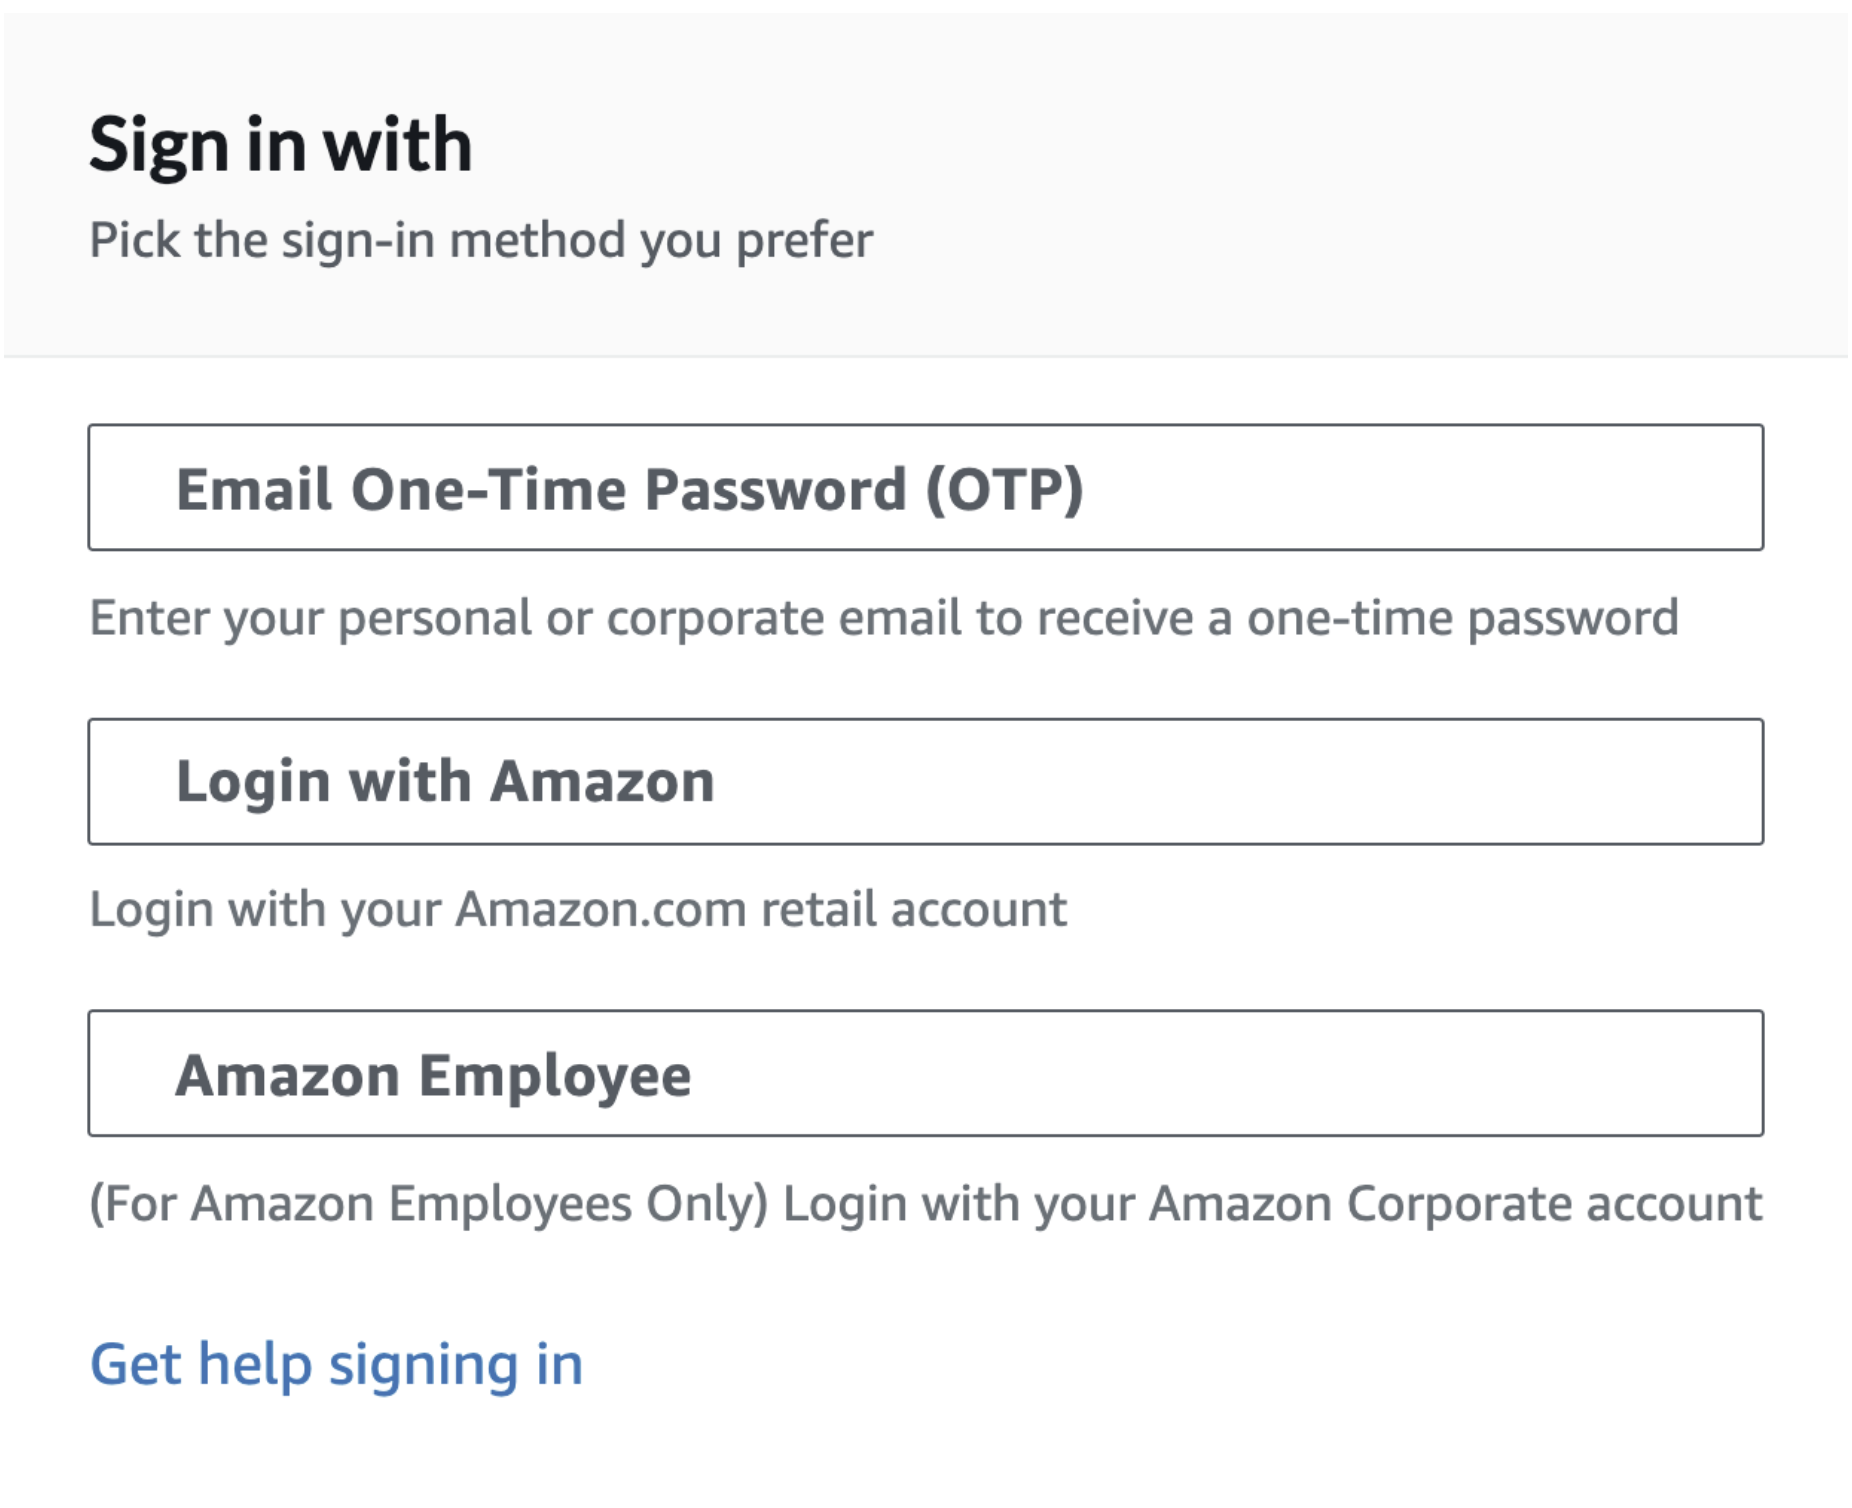
Click on Email One-Time Password (OTP).
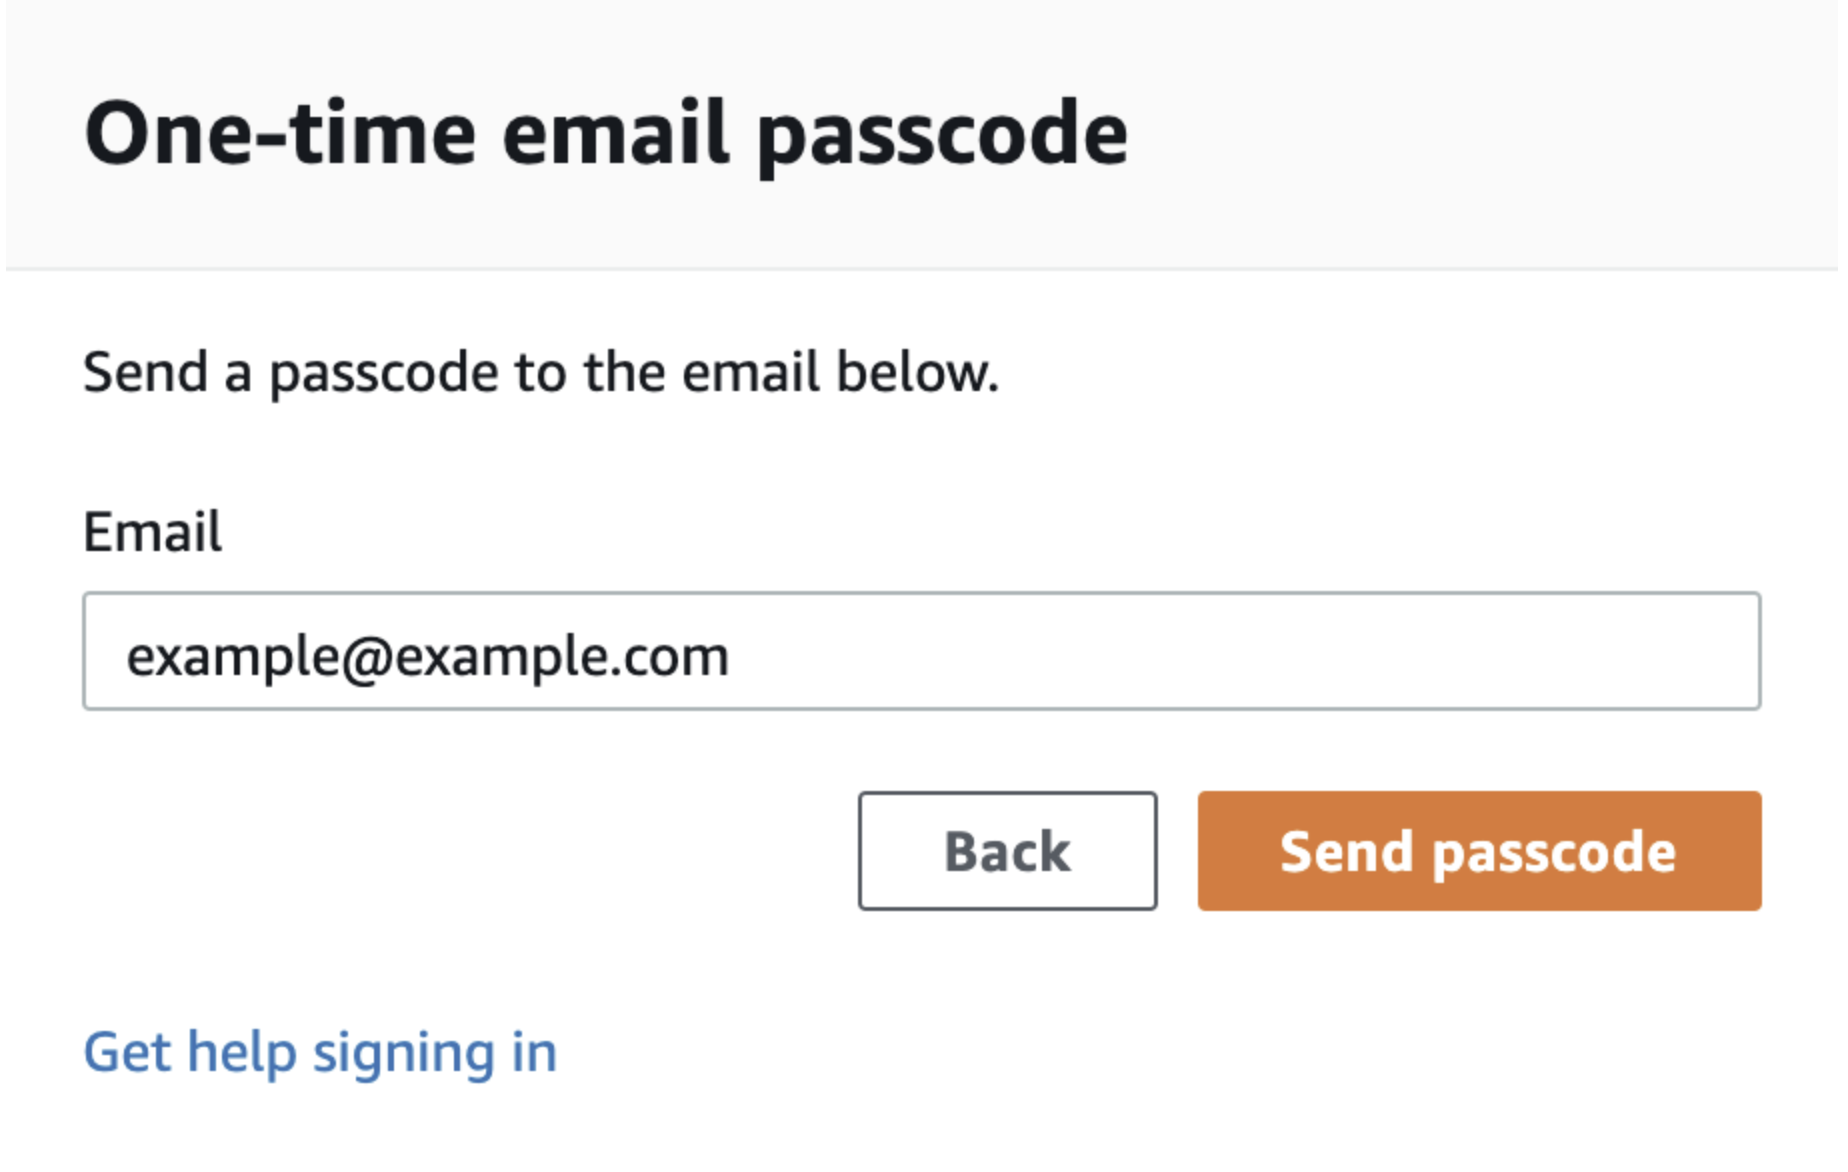
You are redirected to the following page:
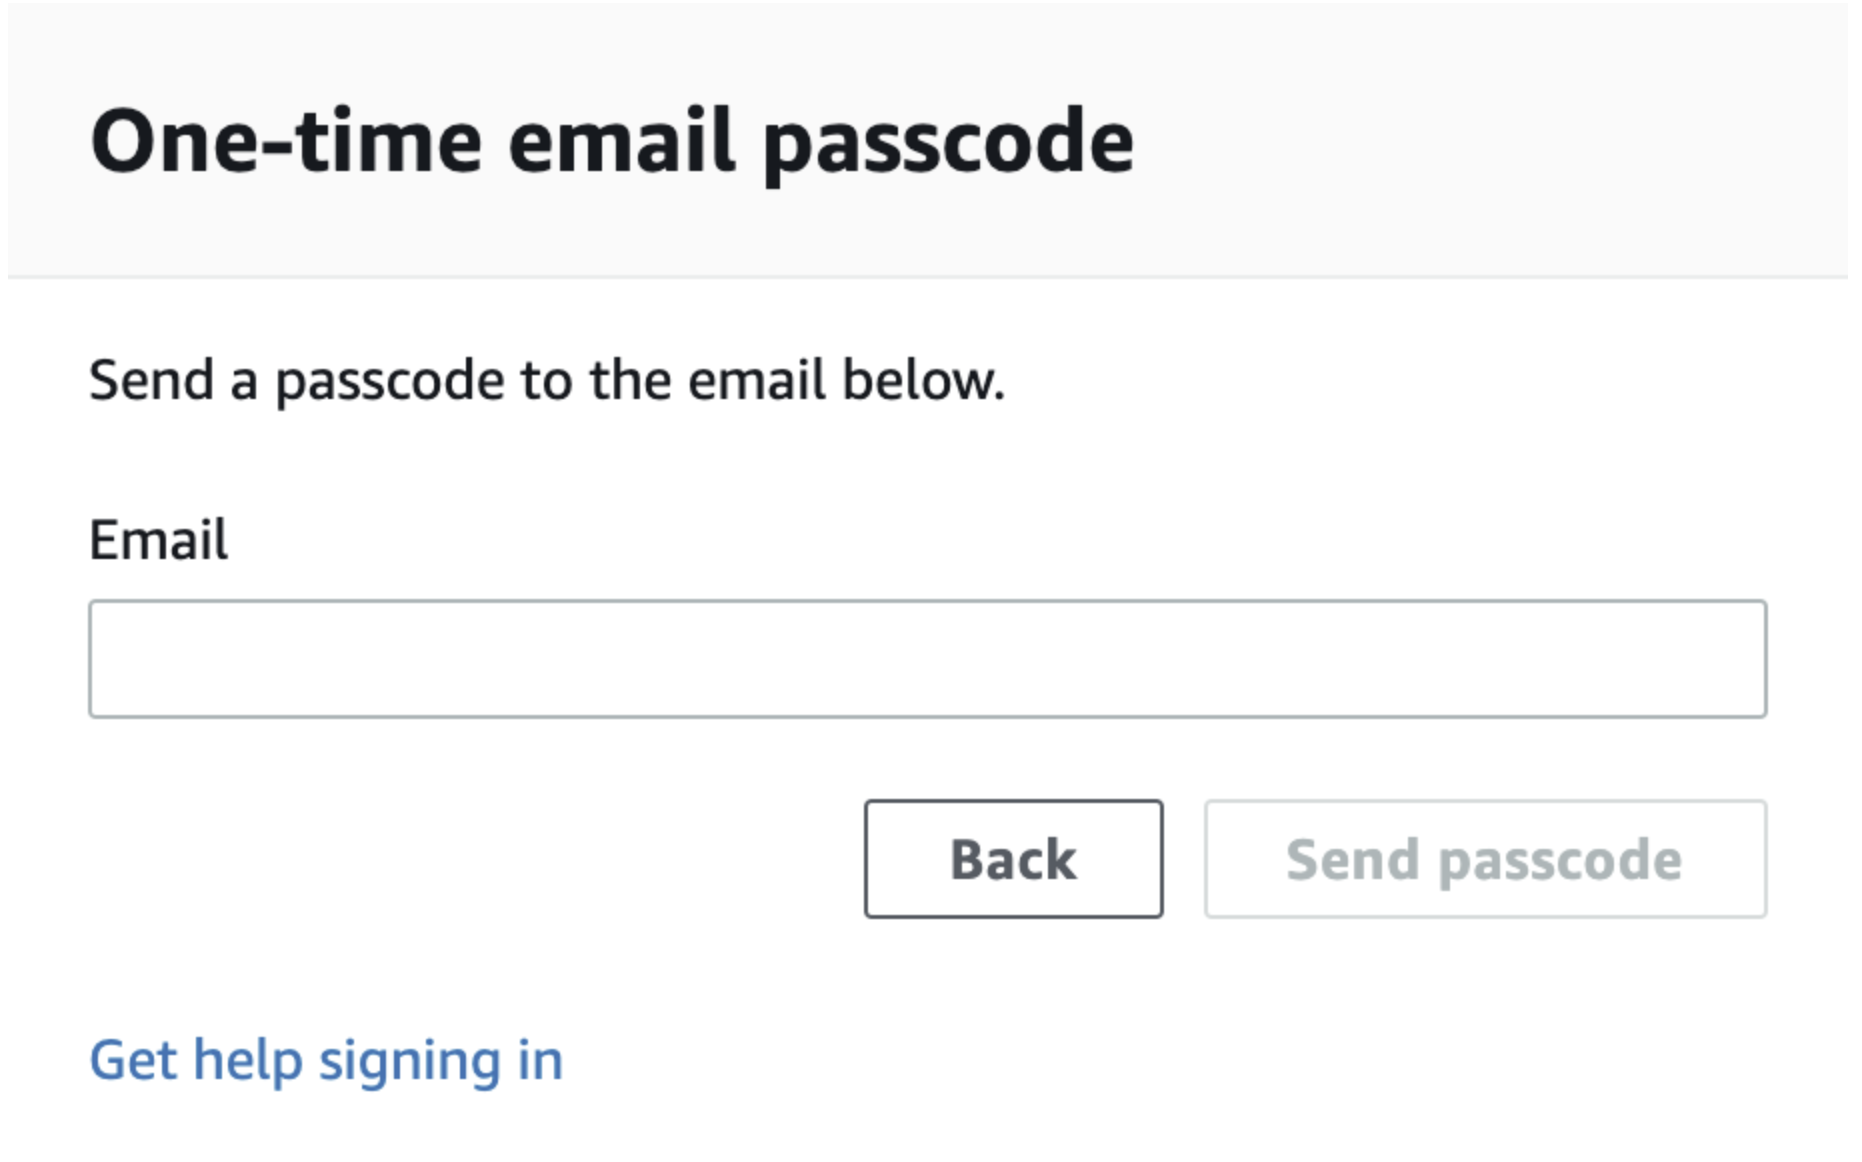
Enter your email address and click on Send passcode.
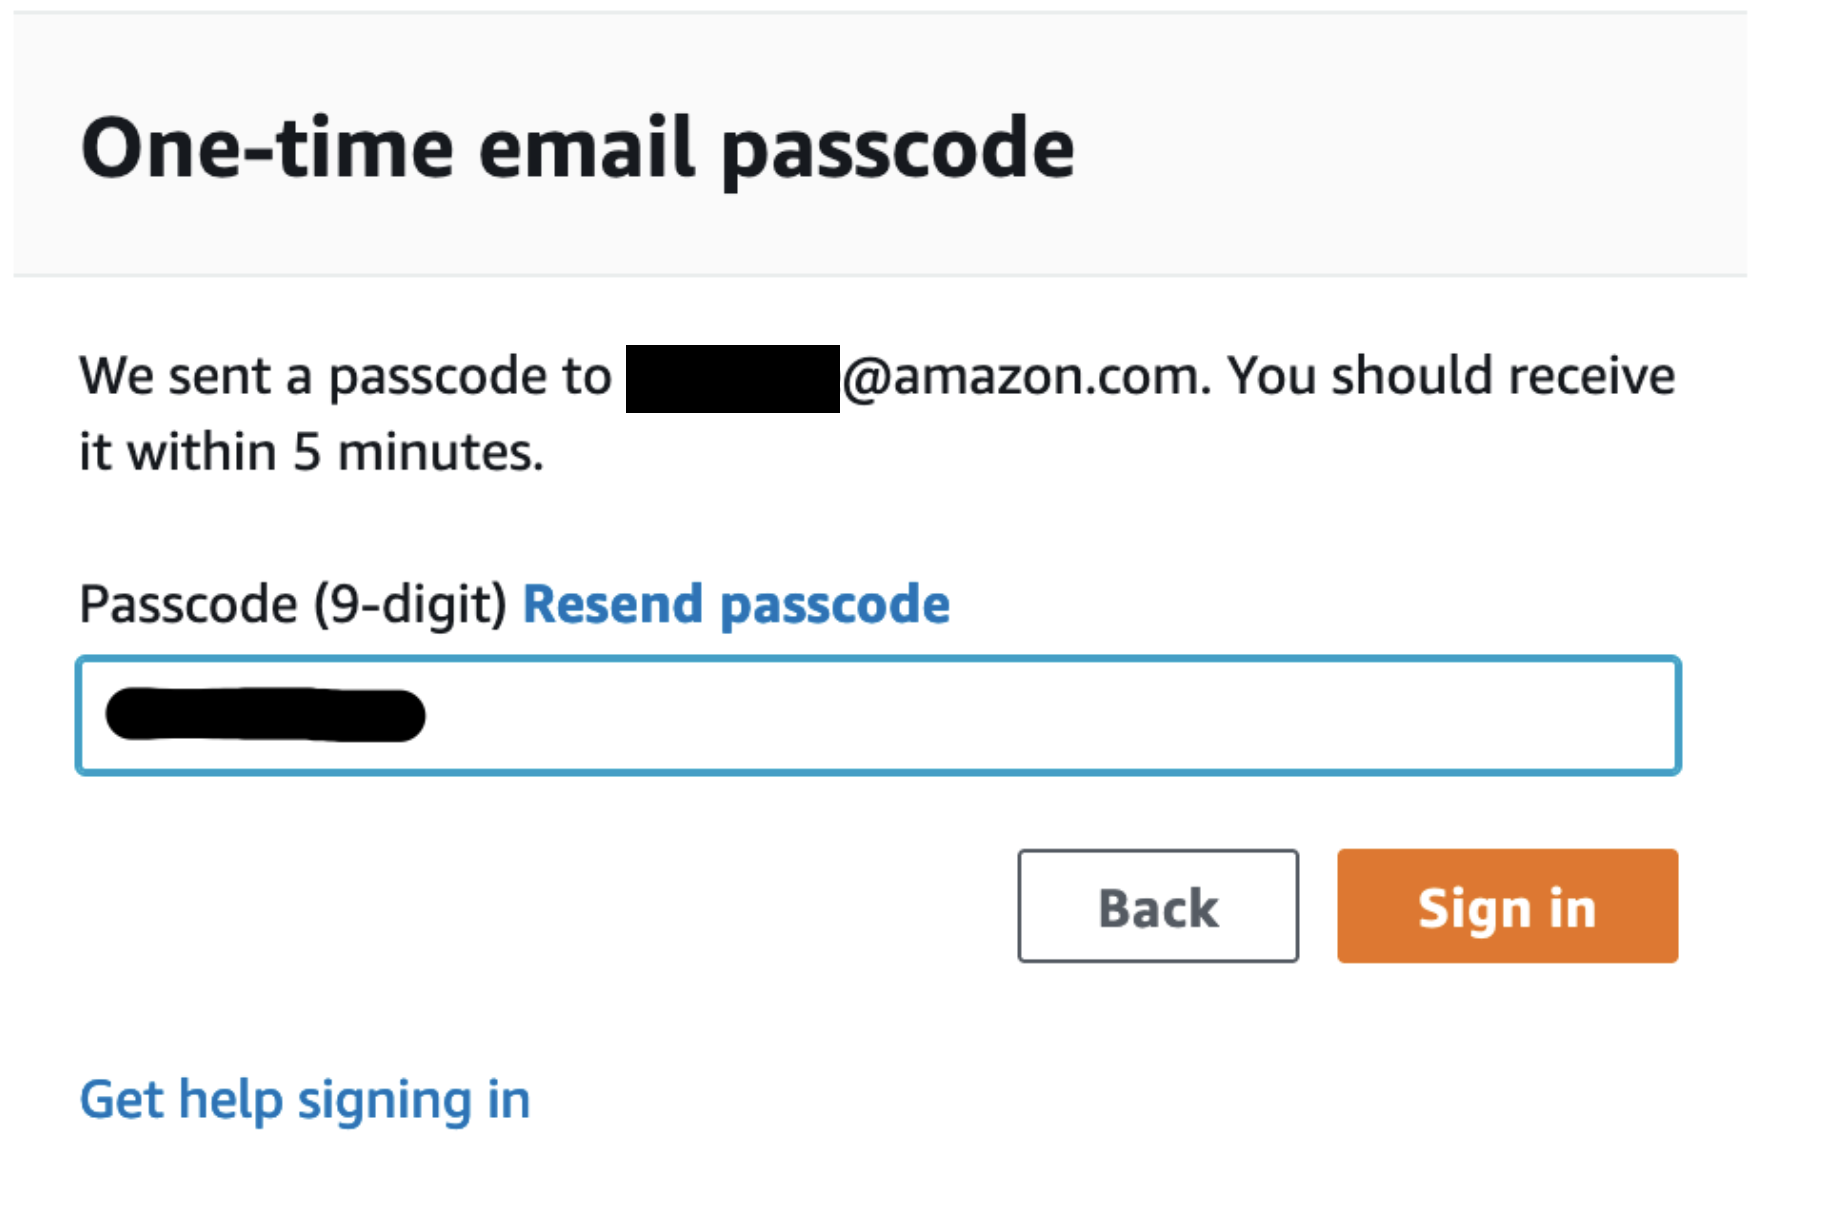
You are redirected to the following page:
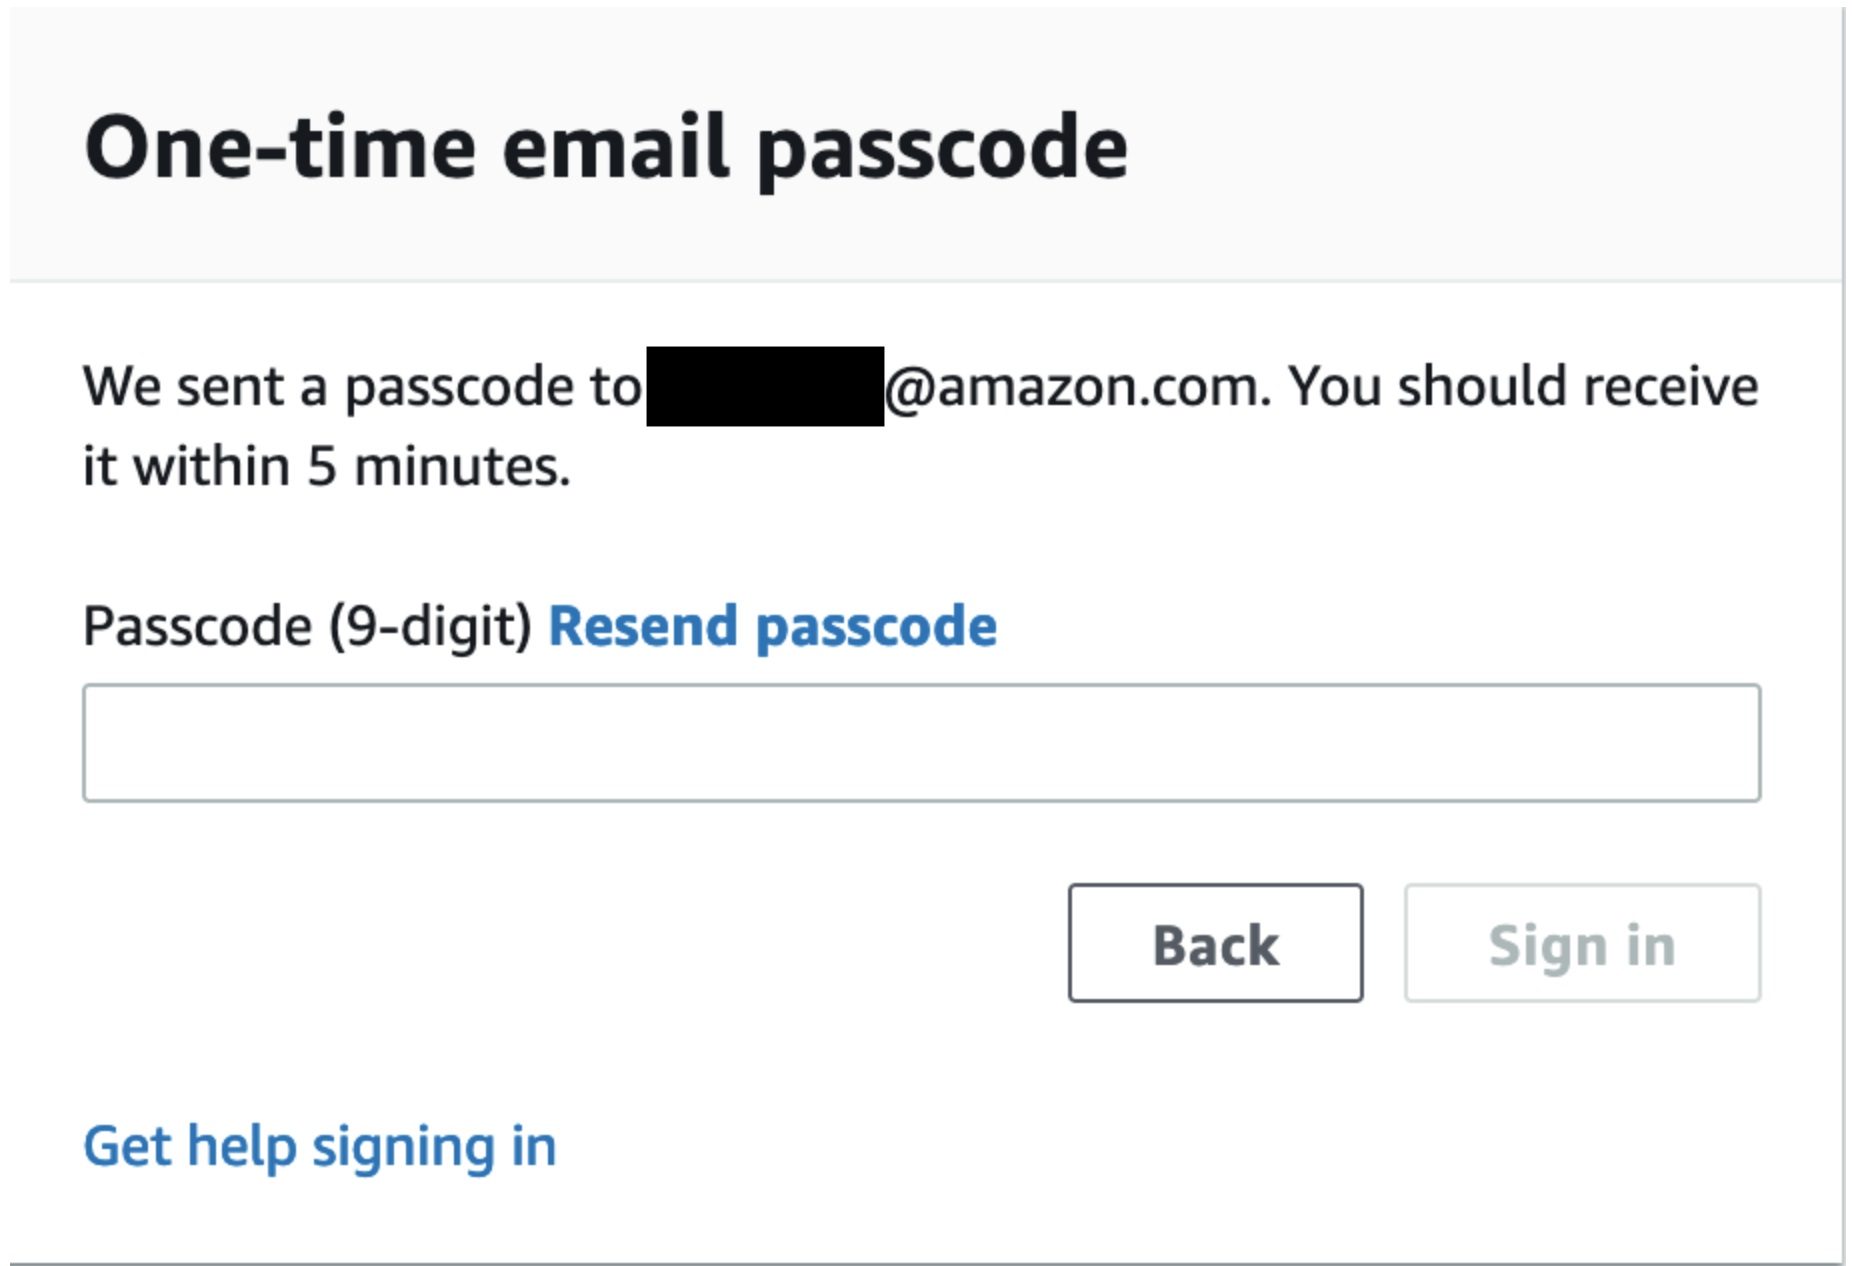
Check your mailbox, copy-paste the one-time password and click on Sign in.
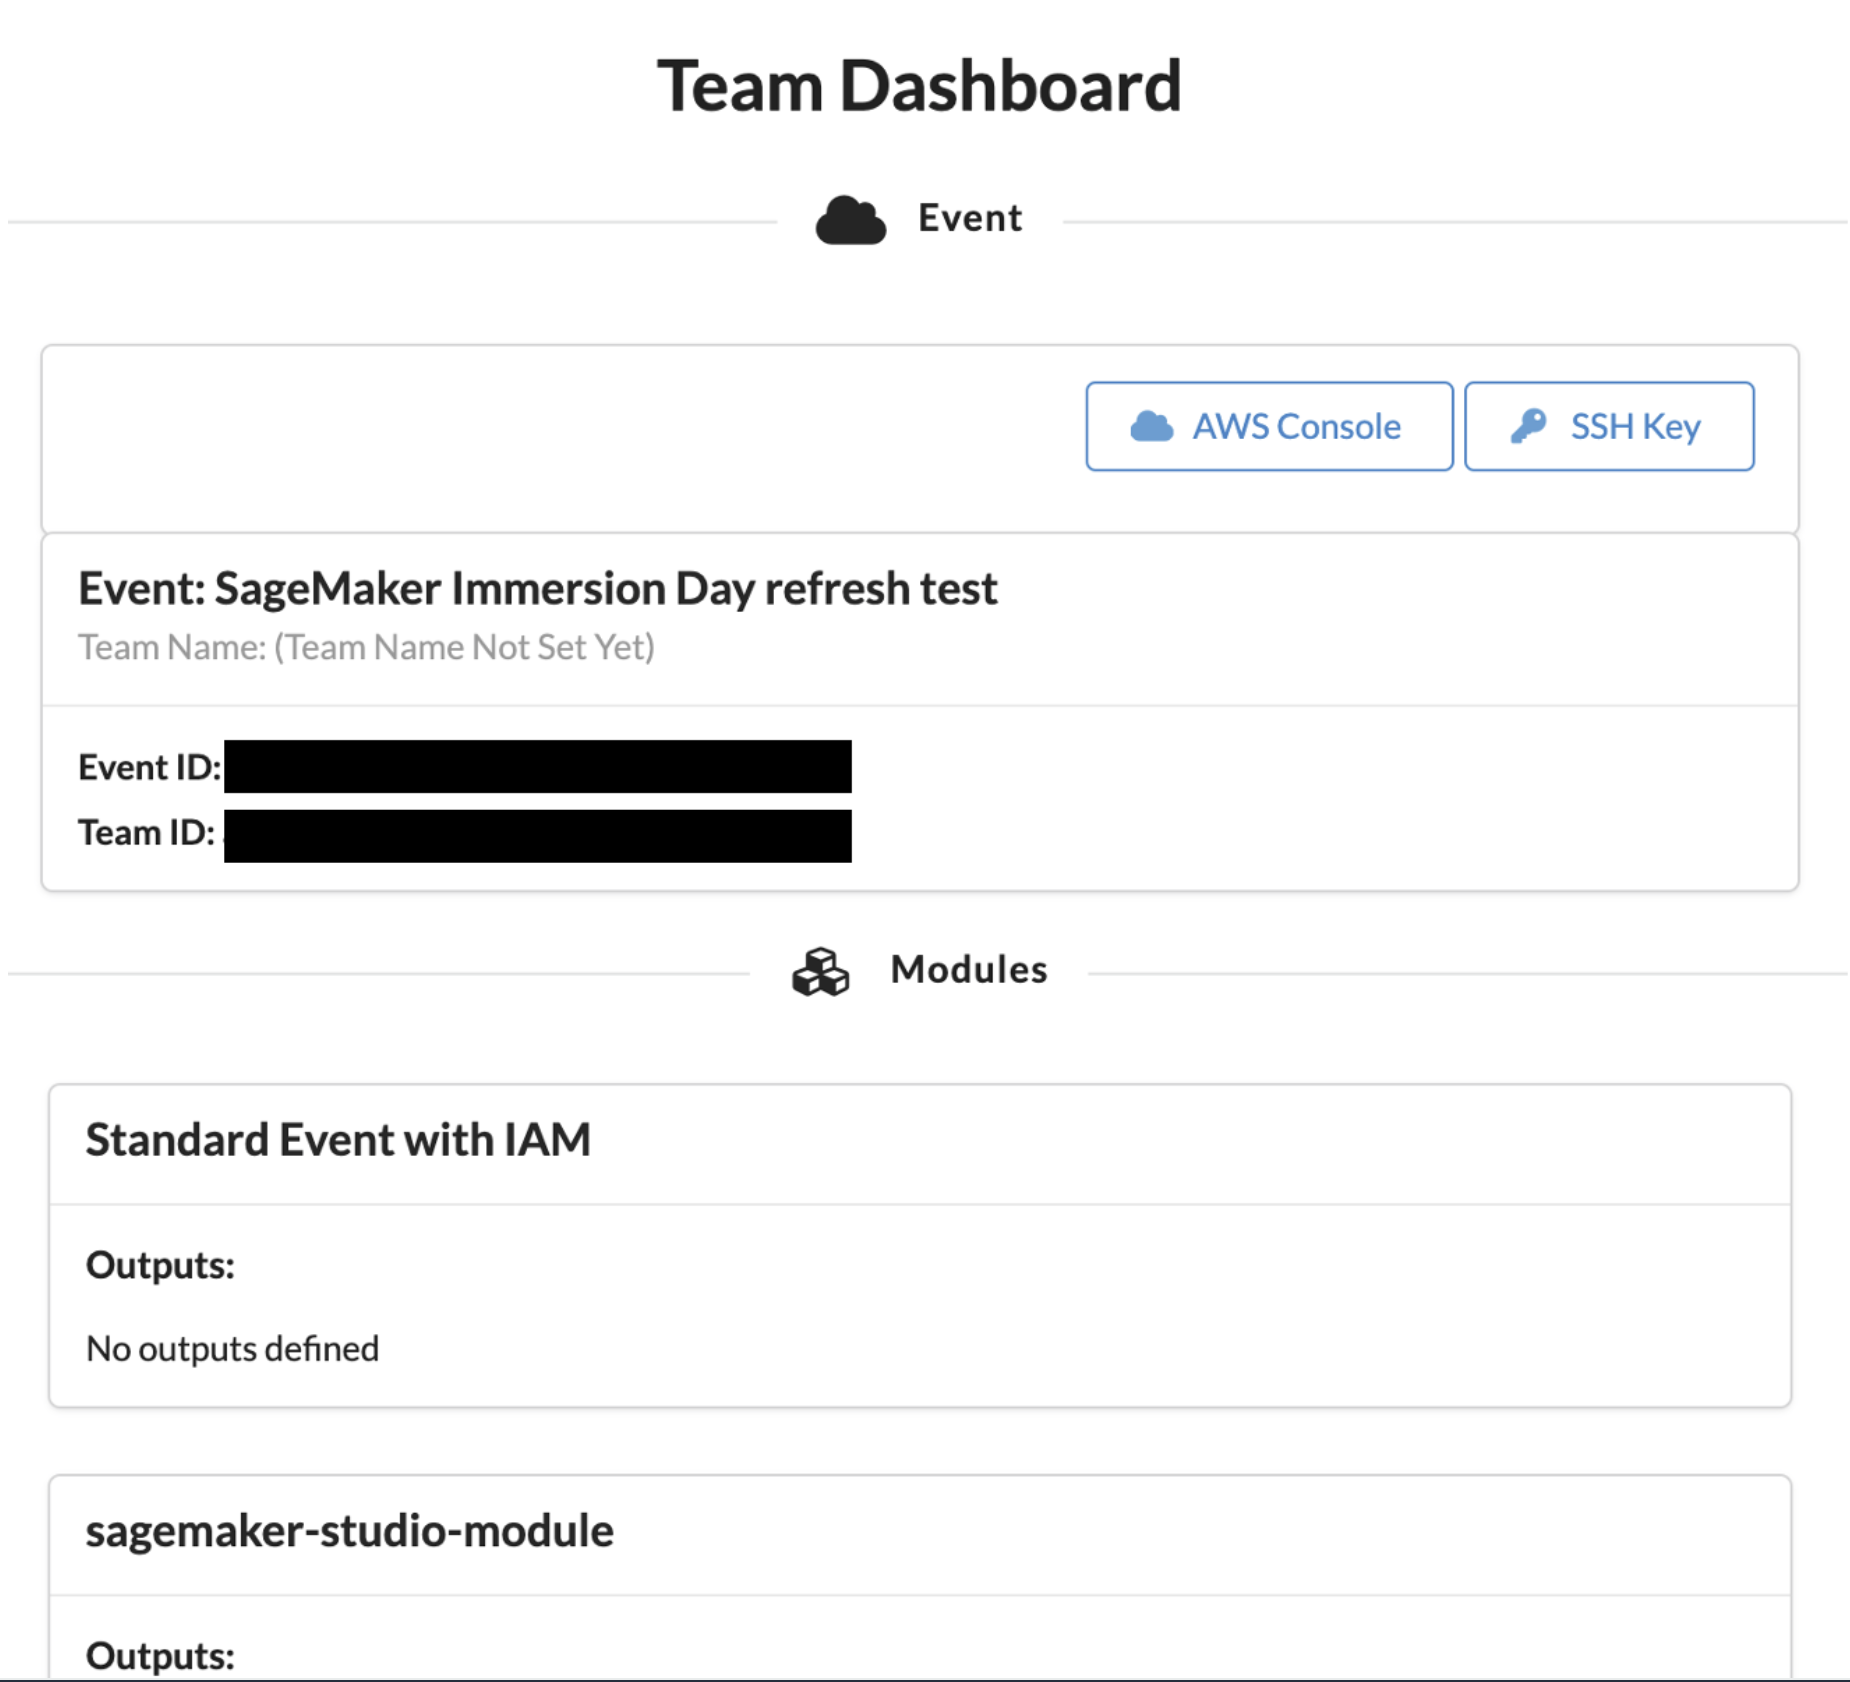
You are redirected to the Team Dashboard. Click on AWS Console.
On the next screen, click on Open AWS Console.
You are then redirected to the AWS Console.
Amazon SageMaker Studio is a web-based, integrated development environment (IDE) for machine learning that lets you build, train, debug, deploy, and monitor your machine learning models. Studio provides all the tools you need to take your models from experimentation to production while boosting your productivity.
If the AWS Account has been provisioned by your AWS Instructor, follow the next steps to access the SageMaker Studio environment:
-
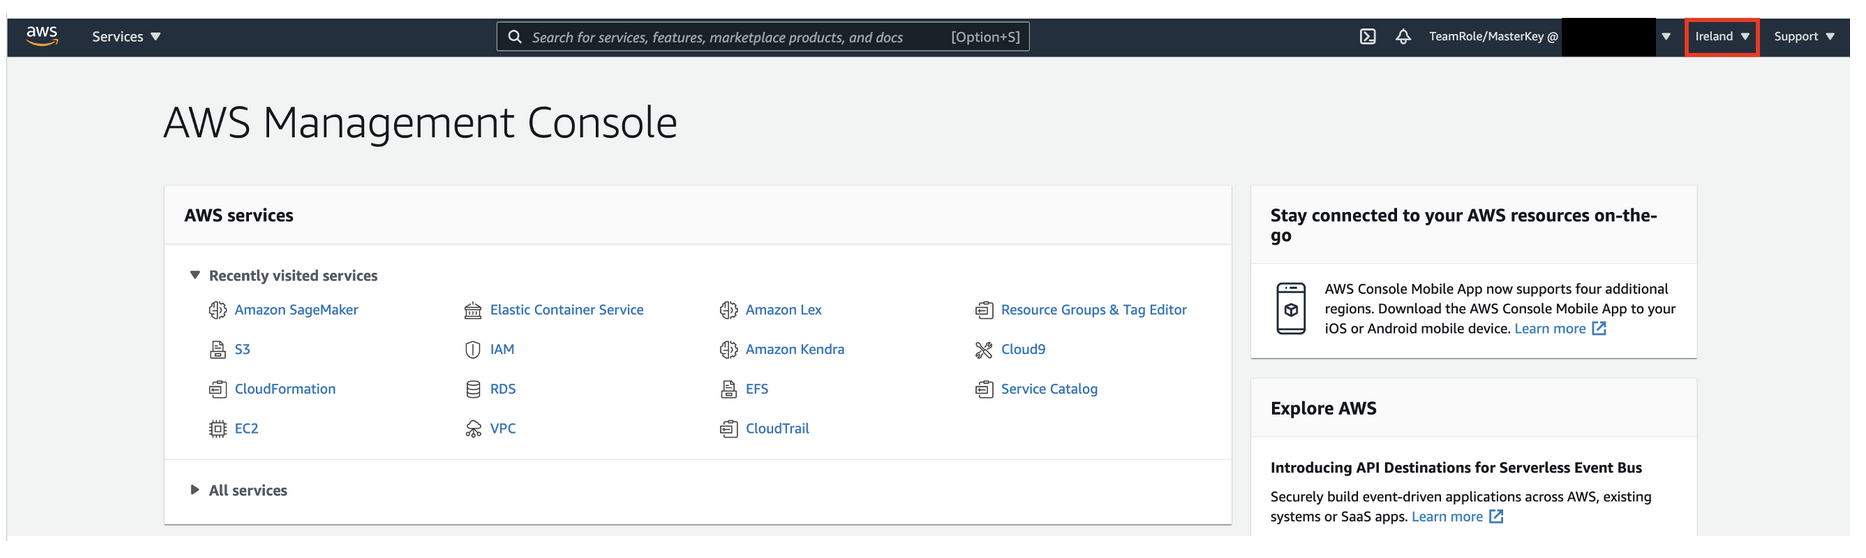
Open AWS console and switch to AWS region communicated by your instructor.
-
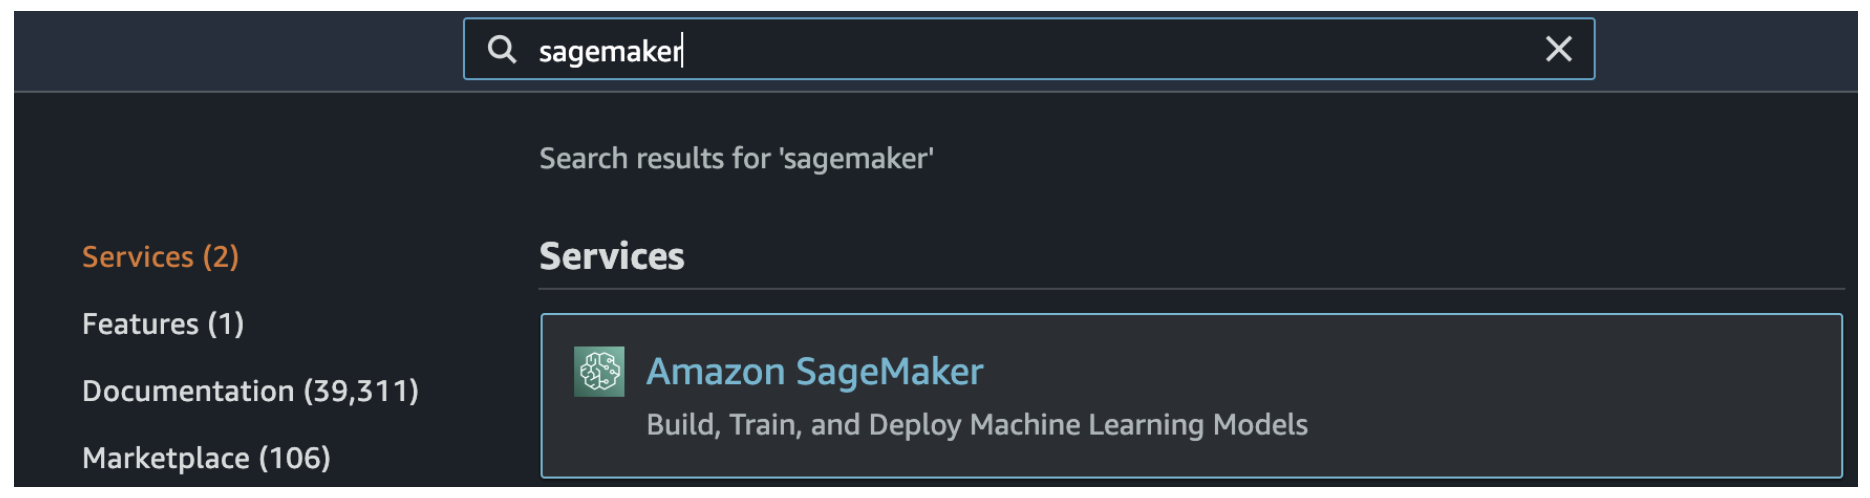
Under services search for Amazon SageMaker.
-
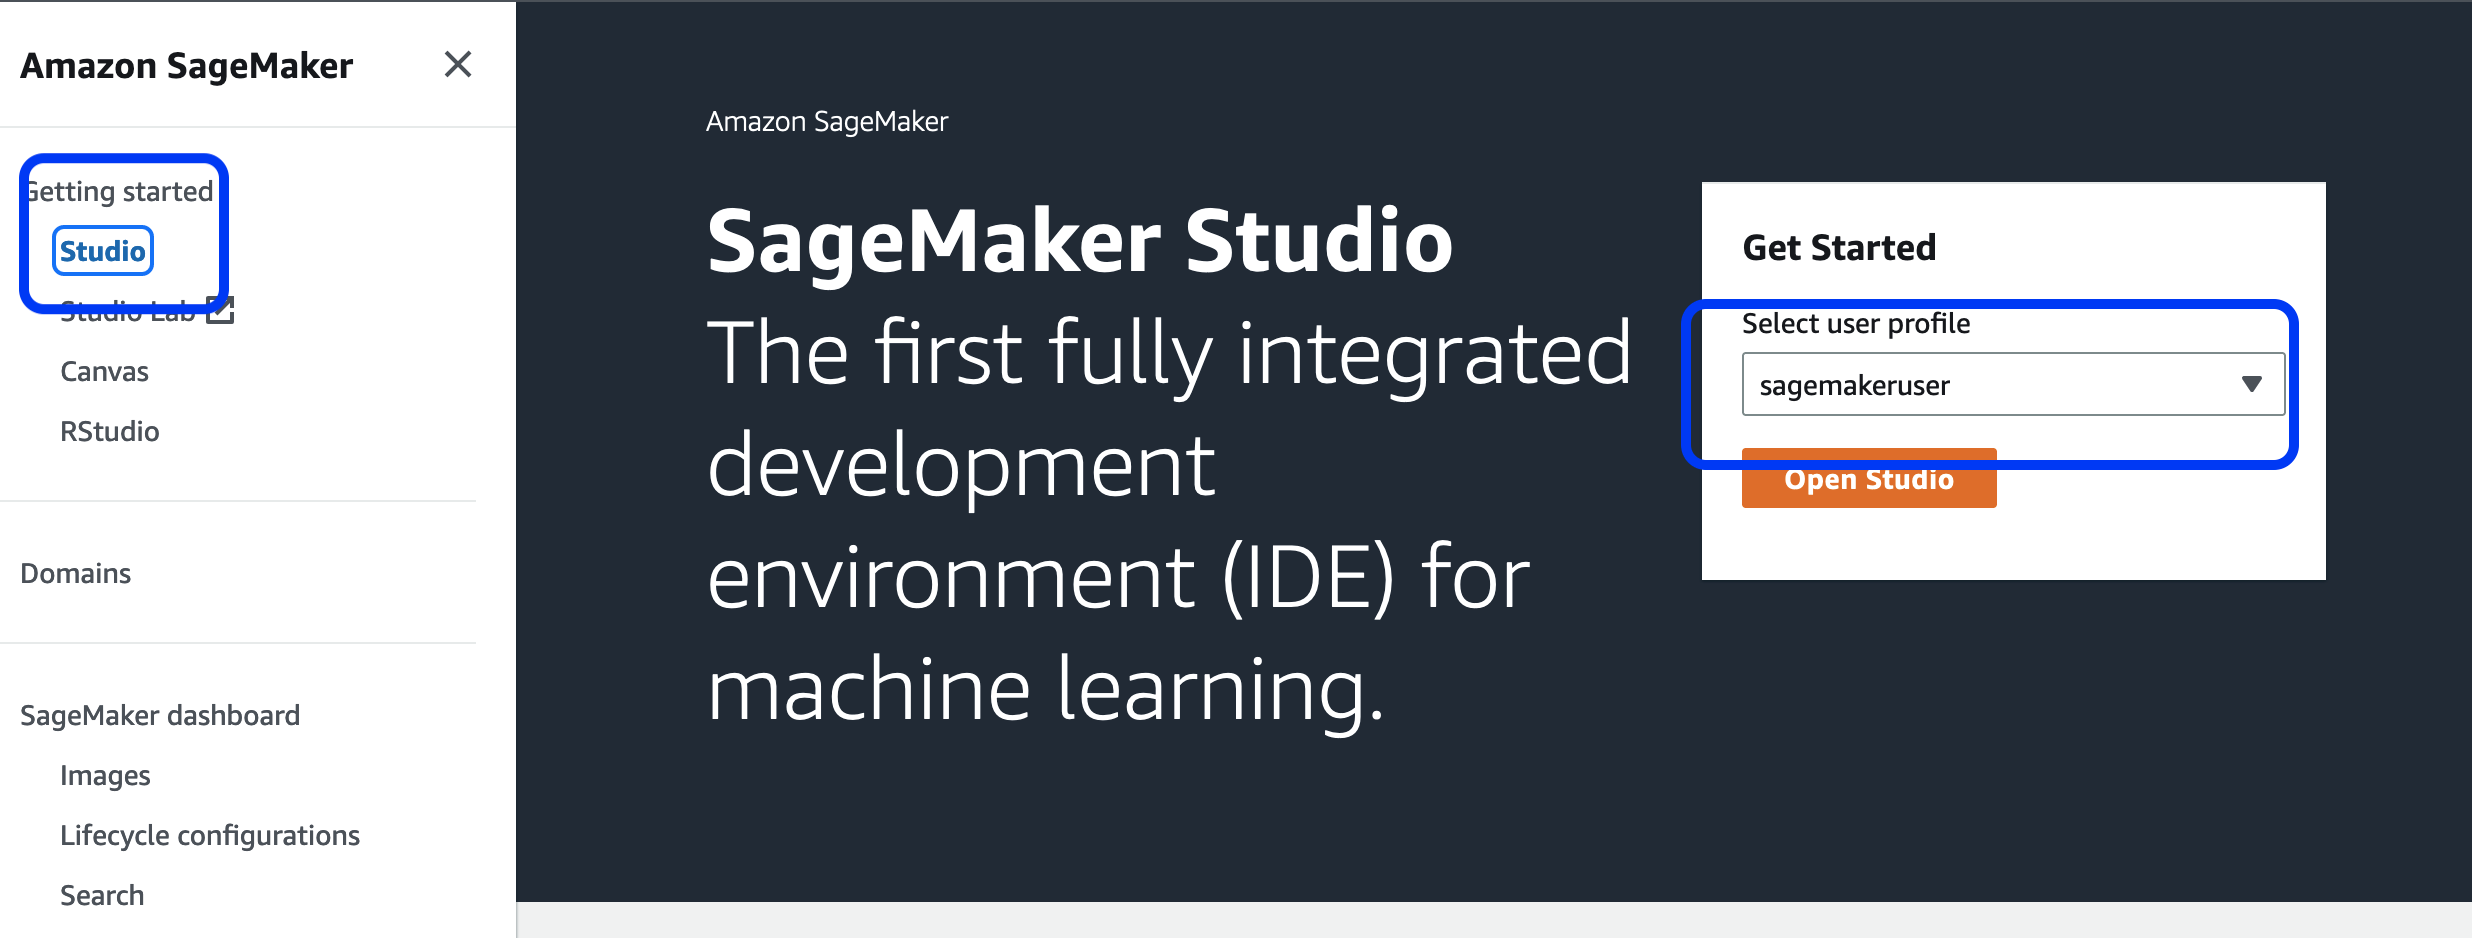
Under Geting Started, click on Studio.
-
A SageMaker Studio environment should already be provisioned. Click on Open Studio (on the right side of the preprovisioned
sagemakeruserusername). -
You will be redirected to a new web tab that looks like this:
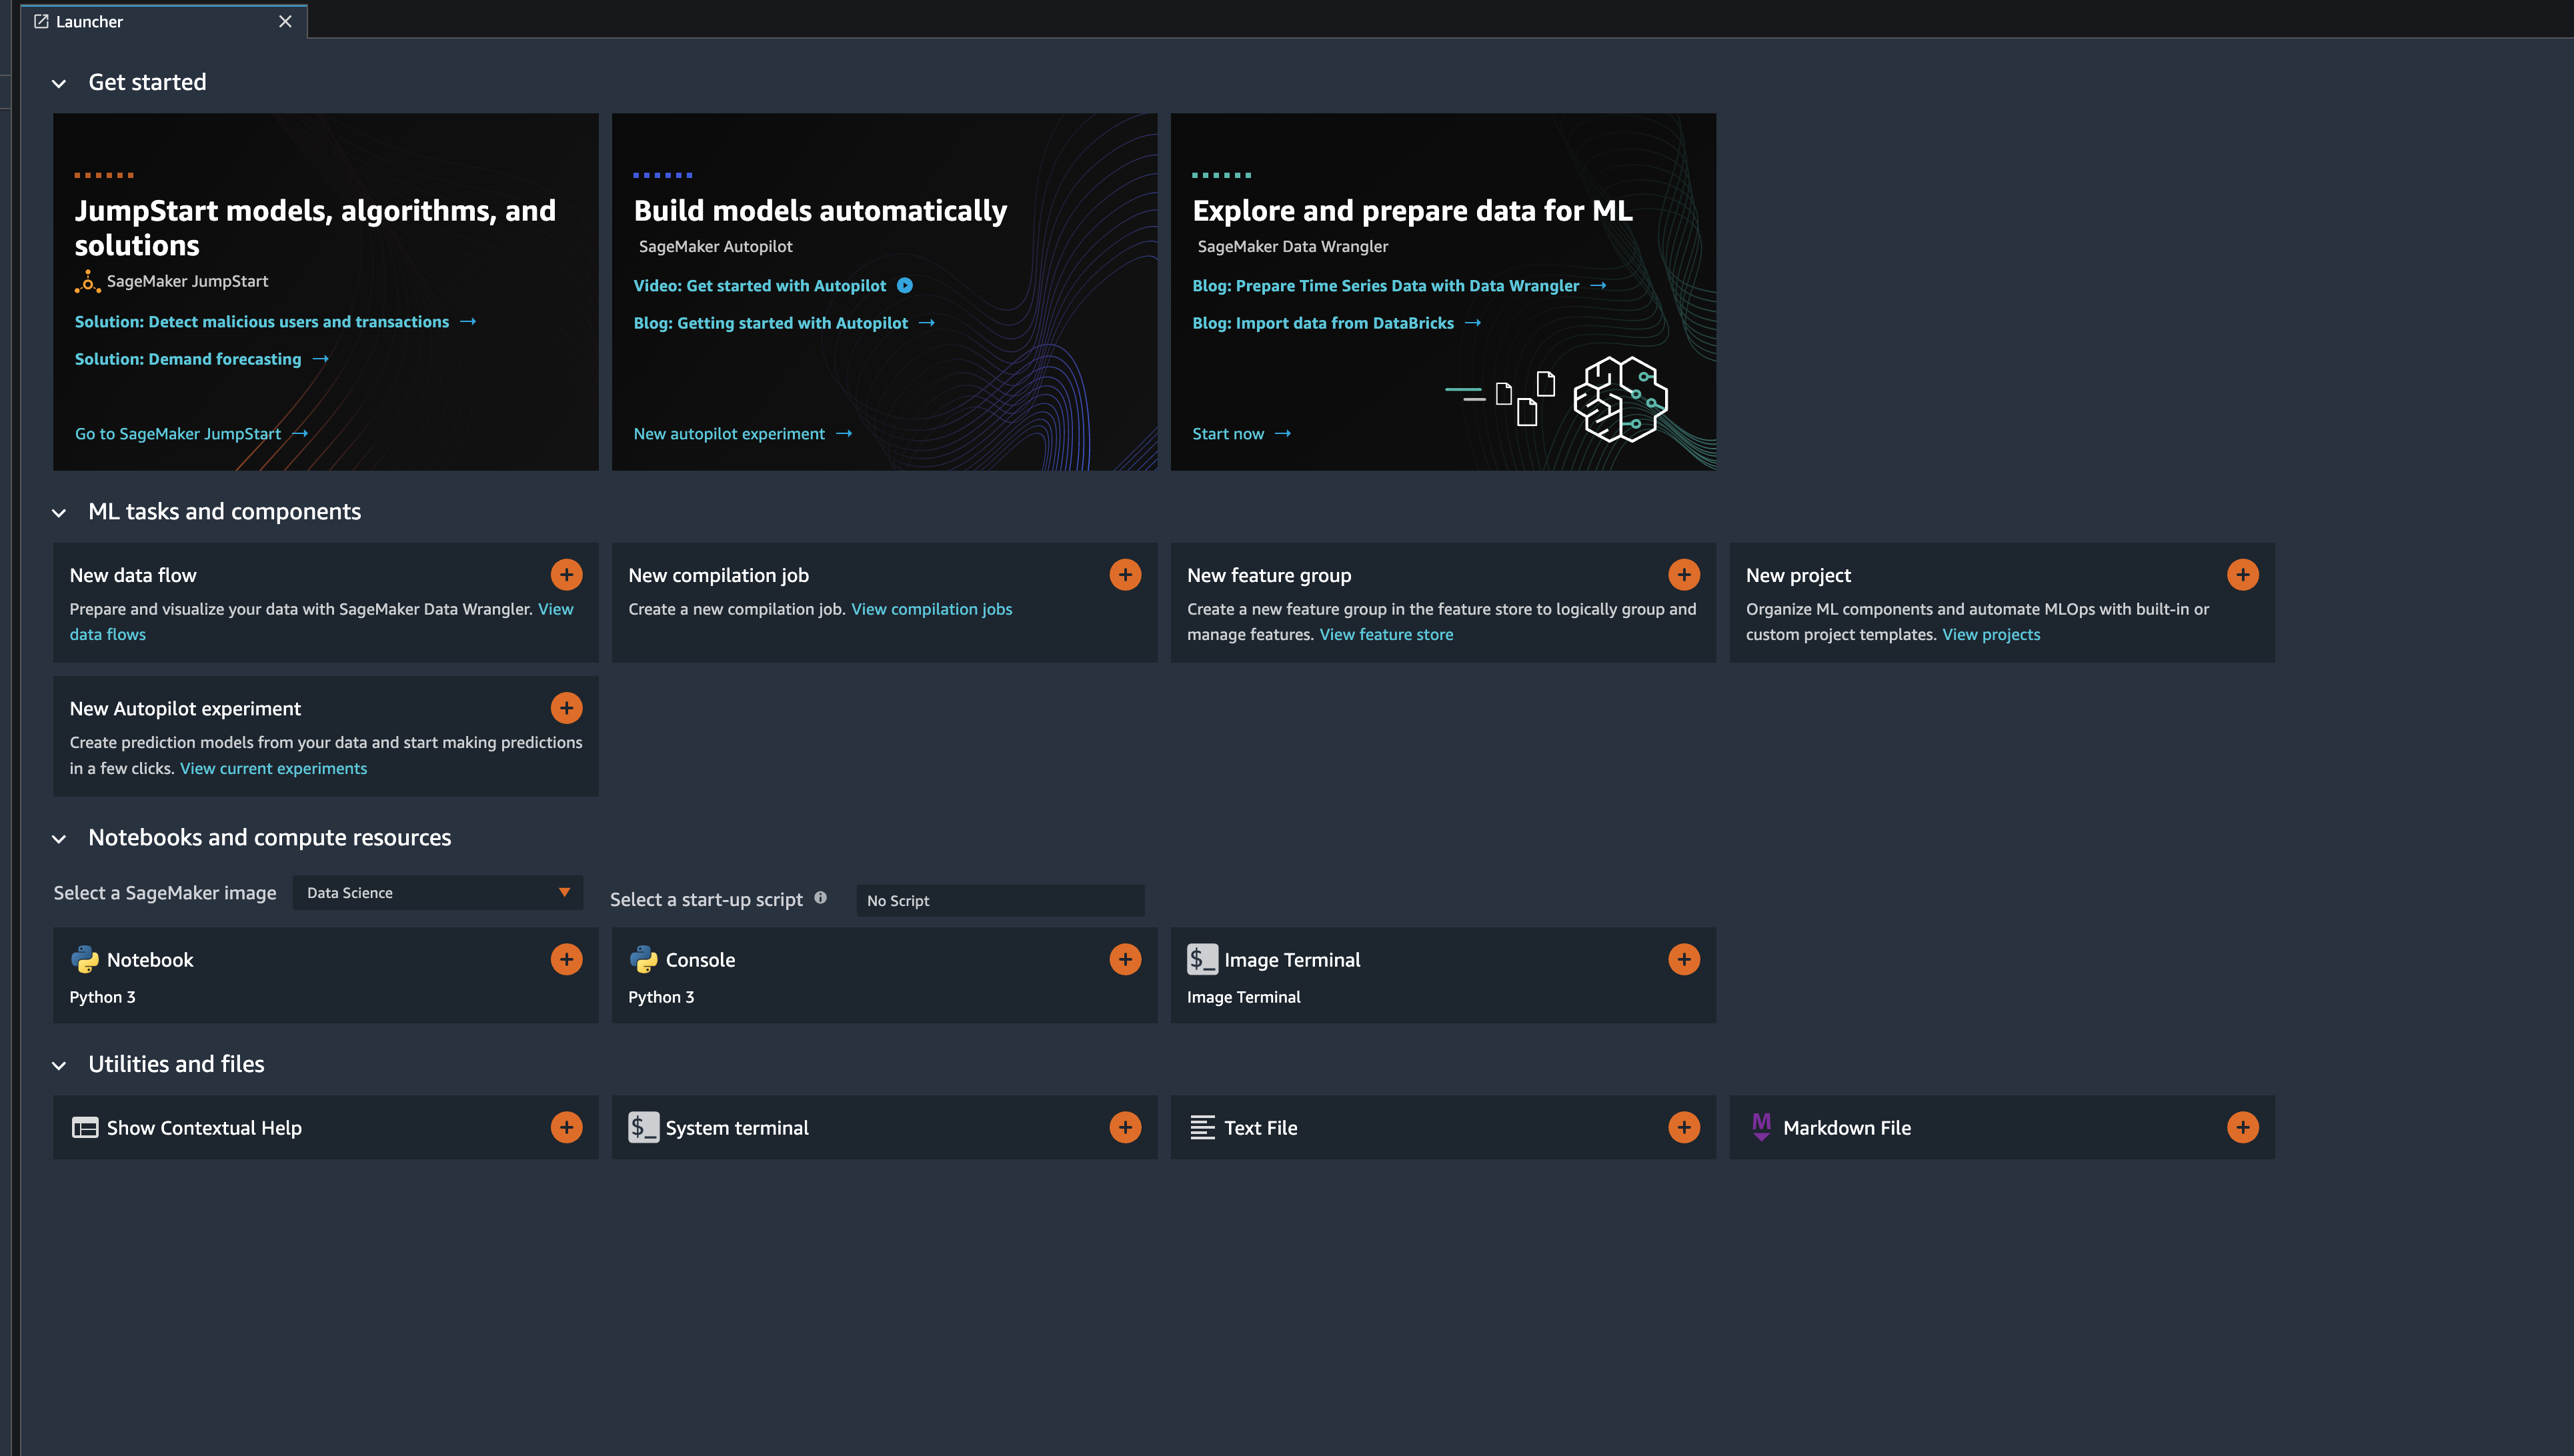
Great!! You have successfully launched a SageMaker Studio Notebook.
-
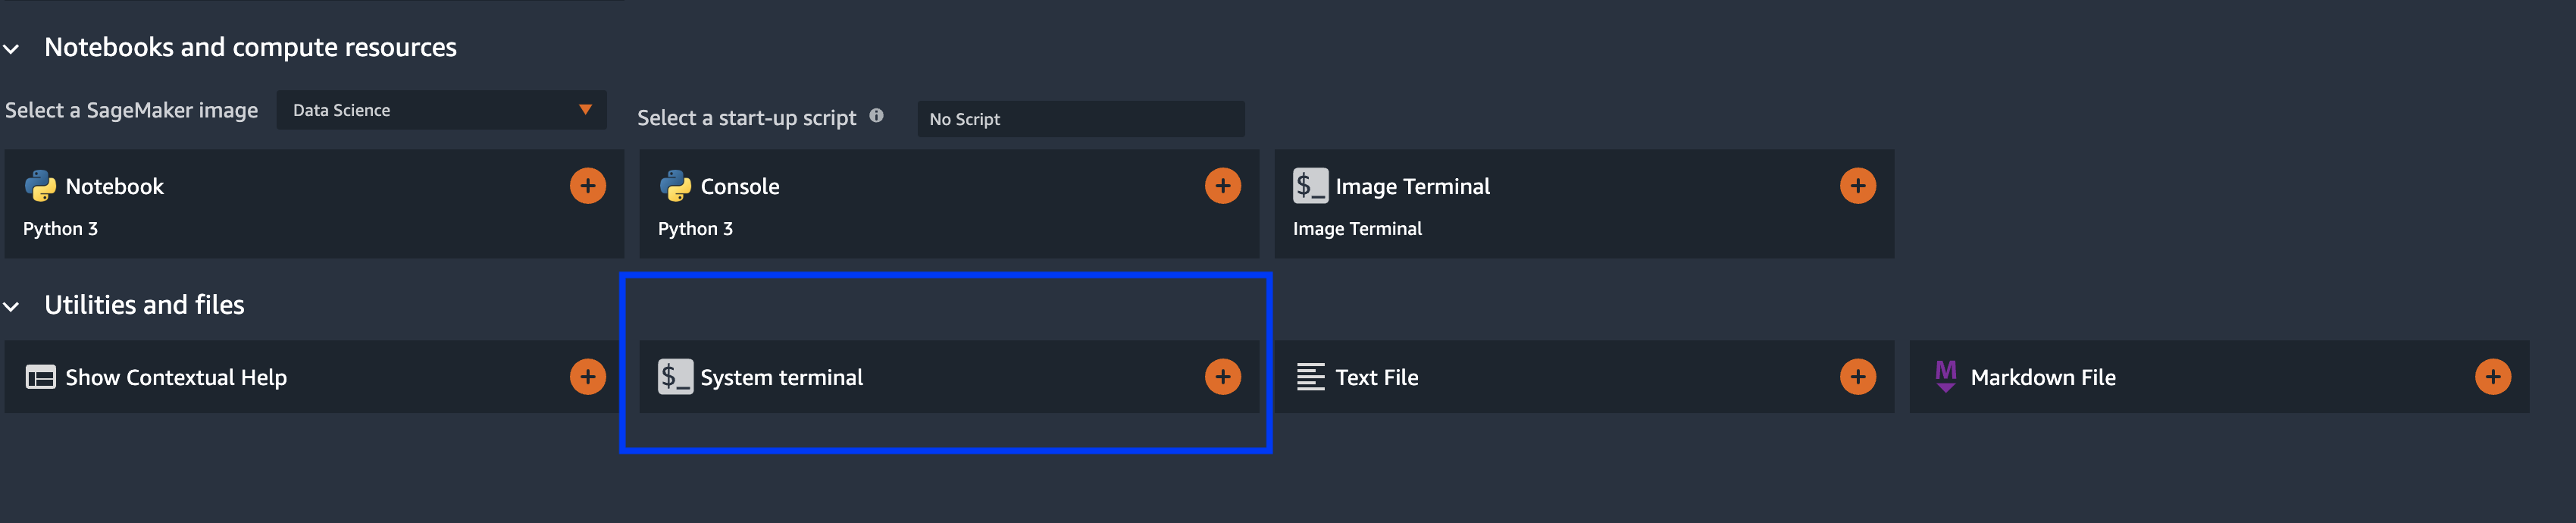
On the landing page, click on the System Terminal
-
In the terminal, type the following commands:
git clone https://github.com/marckarp/sagemaker-hosting-lab.git

- After completion of step 2 you will have the sagemaker-hosting-lab folder created in left panel of the studio:
We will be making use of the Jupyter notebooks located in these folders in later labs.
Great!! You have successfully uploaded the content of the SageMaker Workshop and are all set!