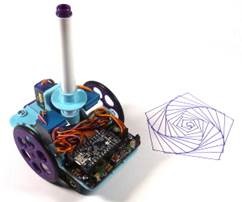
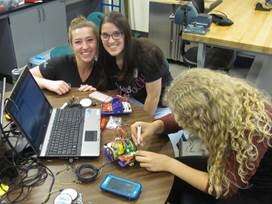
I designed this project for a 10-hour workshop for ChickTech.org whose goal is to introduce teenage women to STEM topics. The goals for this project were:
- Easy to build.
- Easy to program.
- Did something interesting.
- Low-cost so participants could take it home and continue to learn.
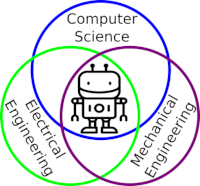
Robotics is the exciting intersection of a number of engineering fields including mechanical engineering, electrical engineering, and computer science. This project was designed to make learning about these fields accessible and exciting.
Turtle robots are controled by simple instructions like "forward(distance)" and "left(degrees)", and their visual tracks are instructive as well as entertaining. They also demonstrate how systems with simple rules can have complex behaviors, something we see in nature all the time.
New to Version 2 is the shift from the Adafruit Trinket Pro to their ItsyBitsy 32U4 3V which enables USB communication for easier troubleshooting, or the ItsyBitsy M0 Express which allows programing in Python!
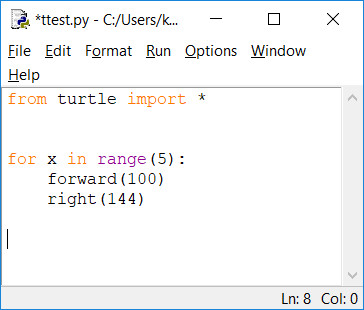
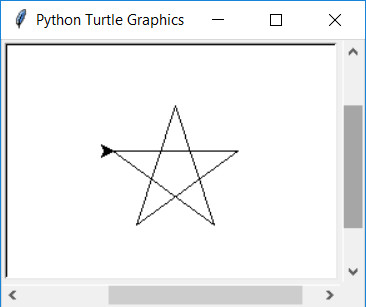
Python is a popular and easy to learn programming language that already has Turle Graphics built in. Since the robots instructions are the same, programs and paterns can be evaluated on the computer and then run on the robot.
from turtle import *

for x in range(5):
    forward(100)
    right(144)
Here is a great Hour of Code tutorial to get you introduced to Python Turtle: https://groklearning.com/hoc/activity/snowflake/. The only thing pysical Turtle Robot can't do is change colors automatically, but you can alway swap the pens around manually.
This robot has been refined through a number workshops, but still has room for improvement. Please share your ideas and modifications so it can continue to improve.
In bulk quantities, the cost per robot is about $40. The Bill of Materials is available here. Having told you the at-cost and provided you my BOM, I'd still offer to sell you a kit if you'd like to pay for the convenience of a single-source or you don't have access to a 3D printer. This also allows me continue development for future workshops.
The electronics were designed using Open Source KiCad. Design files are located in the design_files folder. You can oogle the schematic.
The 3D Design files were created with a combination of FreeCad, OpenSCAD (both Open Source), and online TinkerCad. Design files and STLs are located in the 3D folder.
This project is programed using Open Source Arduino or Adafruit's Circuit Python depending on the microcontroller used. The firmware is located in the firmware folder. Instructions for setting up the Arduino environment for the ItsyBitsy 32U4 are at https://learn.adafruit.com/introducting-itsy-bitsy-32u4/.
https://www.instructables.com/id/OSTR/.
Also, check the docs folder for handouts, etc. May still have pictures of V1 assembly, but they are nearly identical.
Attribution-ShareAlike 3.0 United States (CC BY-SA 3.0 US)
You are free to:
- Share — copy and redistribute the material in any medium or format
- Adapt — remix, transform, and build upon the material
Under the following terms:
- Attribution — You must give appropriate credit, provide a link to the license, and indicate if changes were made. You may do so in any reasonable manner, but not in any way that suggests the licensor endorses you or your use.
- ShareAlike — If you remix, transform, or build upon the material, you must distribute your contributions under the same license as the original.
This project as been certified by the Open Source Hardward Association:
