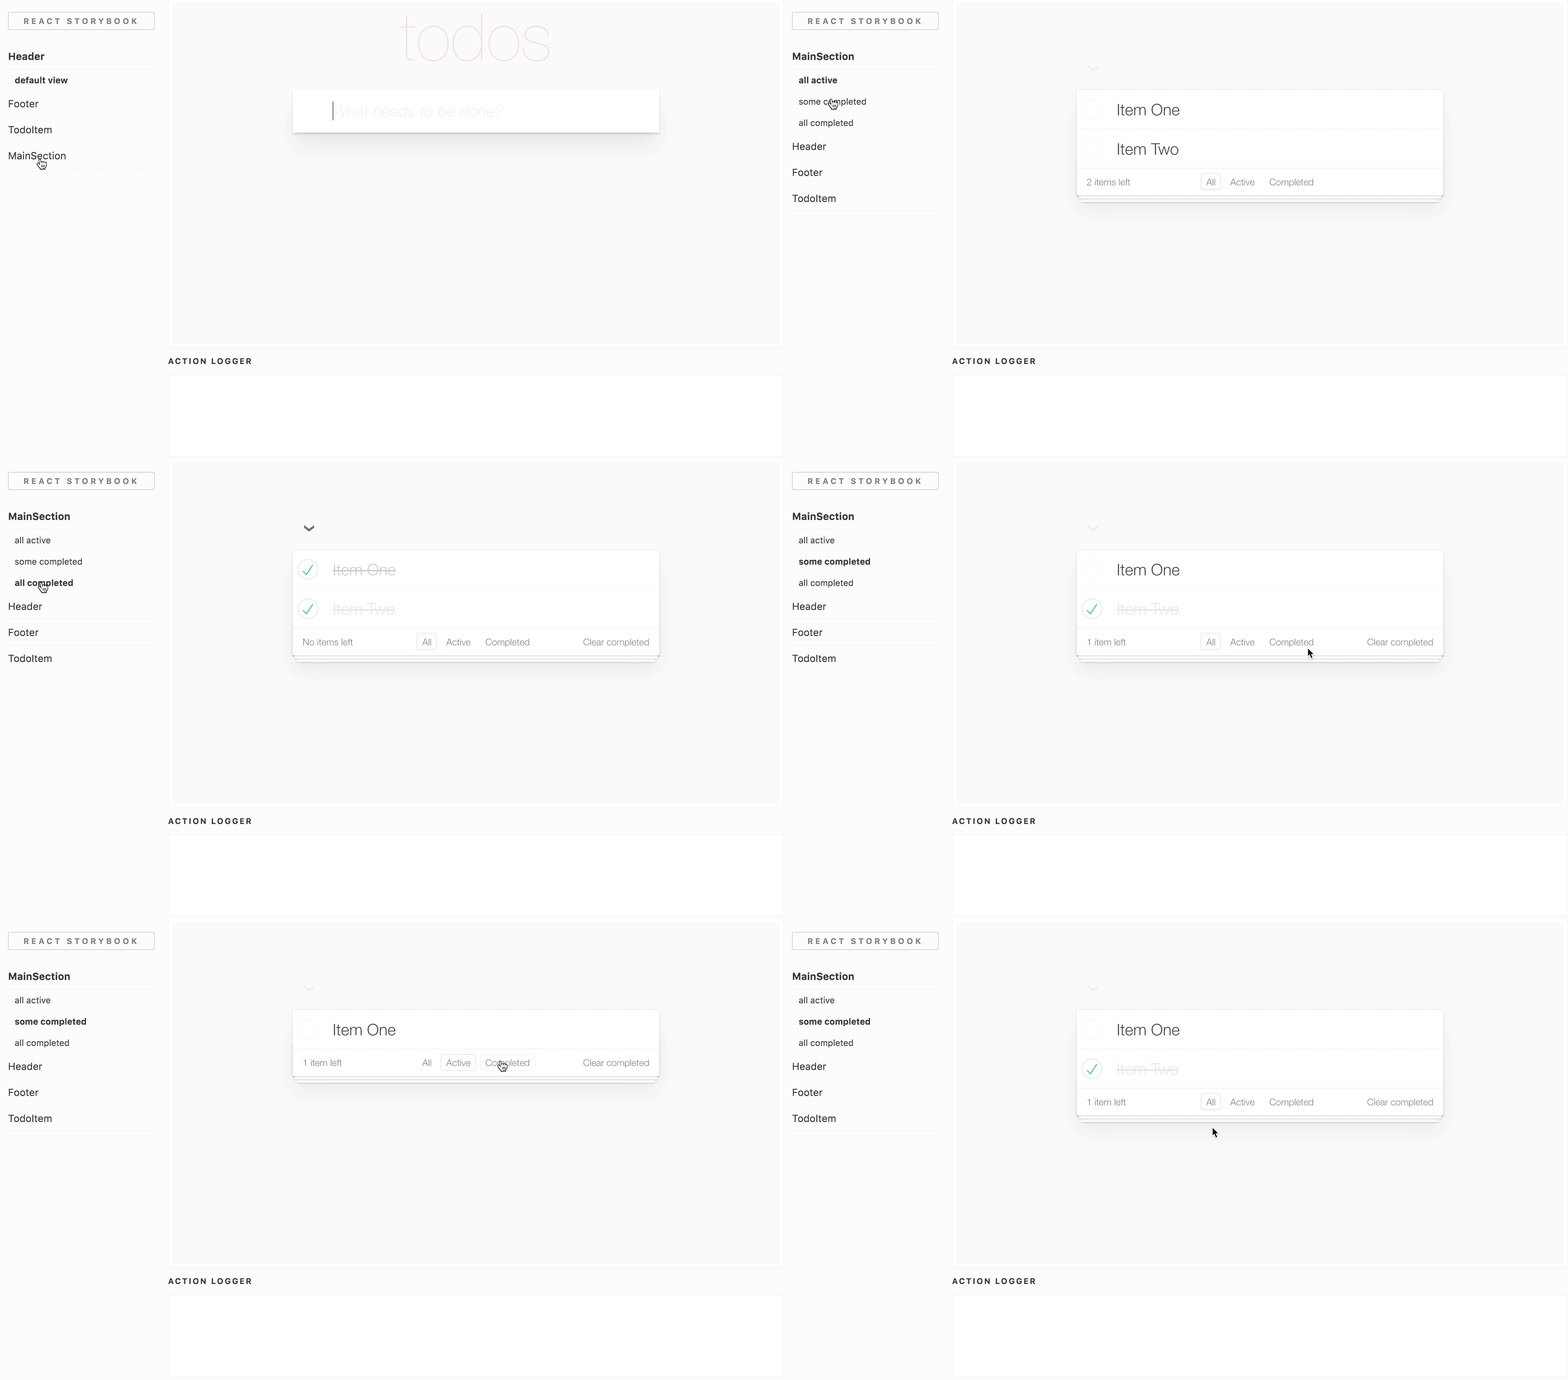
Now you can develop and design React UI components without running your app.
You just load your UI components into the React Storybook and start developing them.
This functionality allows you to develop UI components rapidly without worrying about the app. It will improve your team’s collaboration and feedback loop.
Have a look at this article on Introducing React Storybook.
- Isolated environment for your components (with the use of various iframe tactics).
- Hot module reloading (even for functional stateless components).
- Works with any app (whether it's Redux, Relay or Meteor).
- Support for CSS (whether it's plain old CSS, CSS modules or something fancy).
- Clean and fast user interface.
- Runs inside your project (so, it uses your app's NPM modules and babel configurations out of the box).
- Serves static files (if you host static files inside your app).
- Deploy the whole storybook as a static app.
- Extendable as necessary (support for custom webpack loaders and plugins).
Let's look at what React Storybook does. First clone the following repo:
git clone https://github.com/kadira-samples/react-storybook-demoIt's a Redux to-do app (taken from the Redux repo).
Then apply the following commands:
npm install
npm run storybook
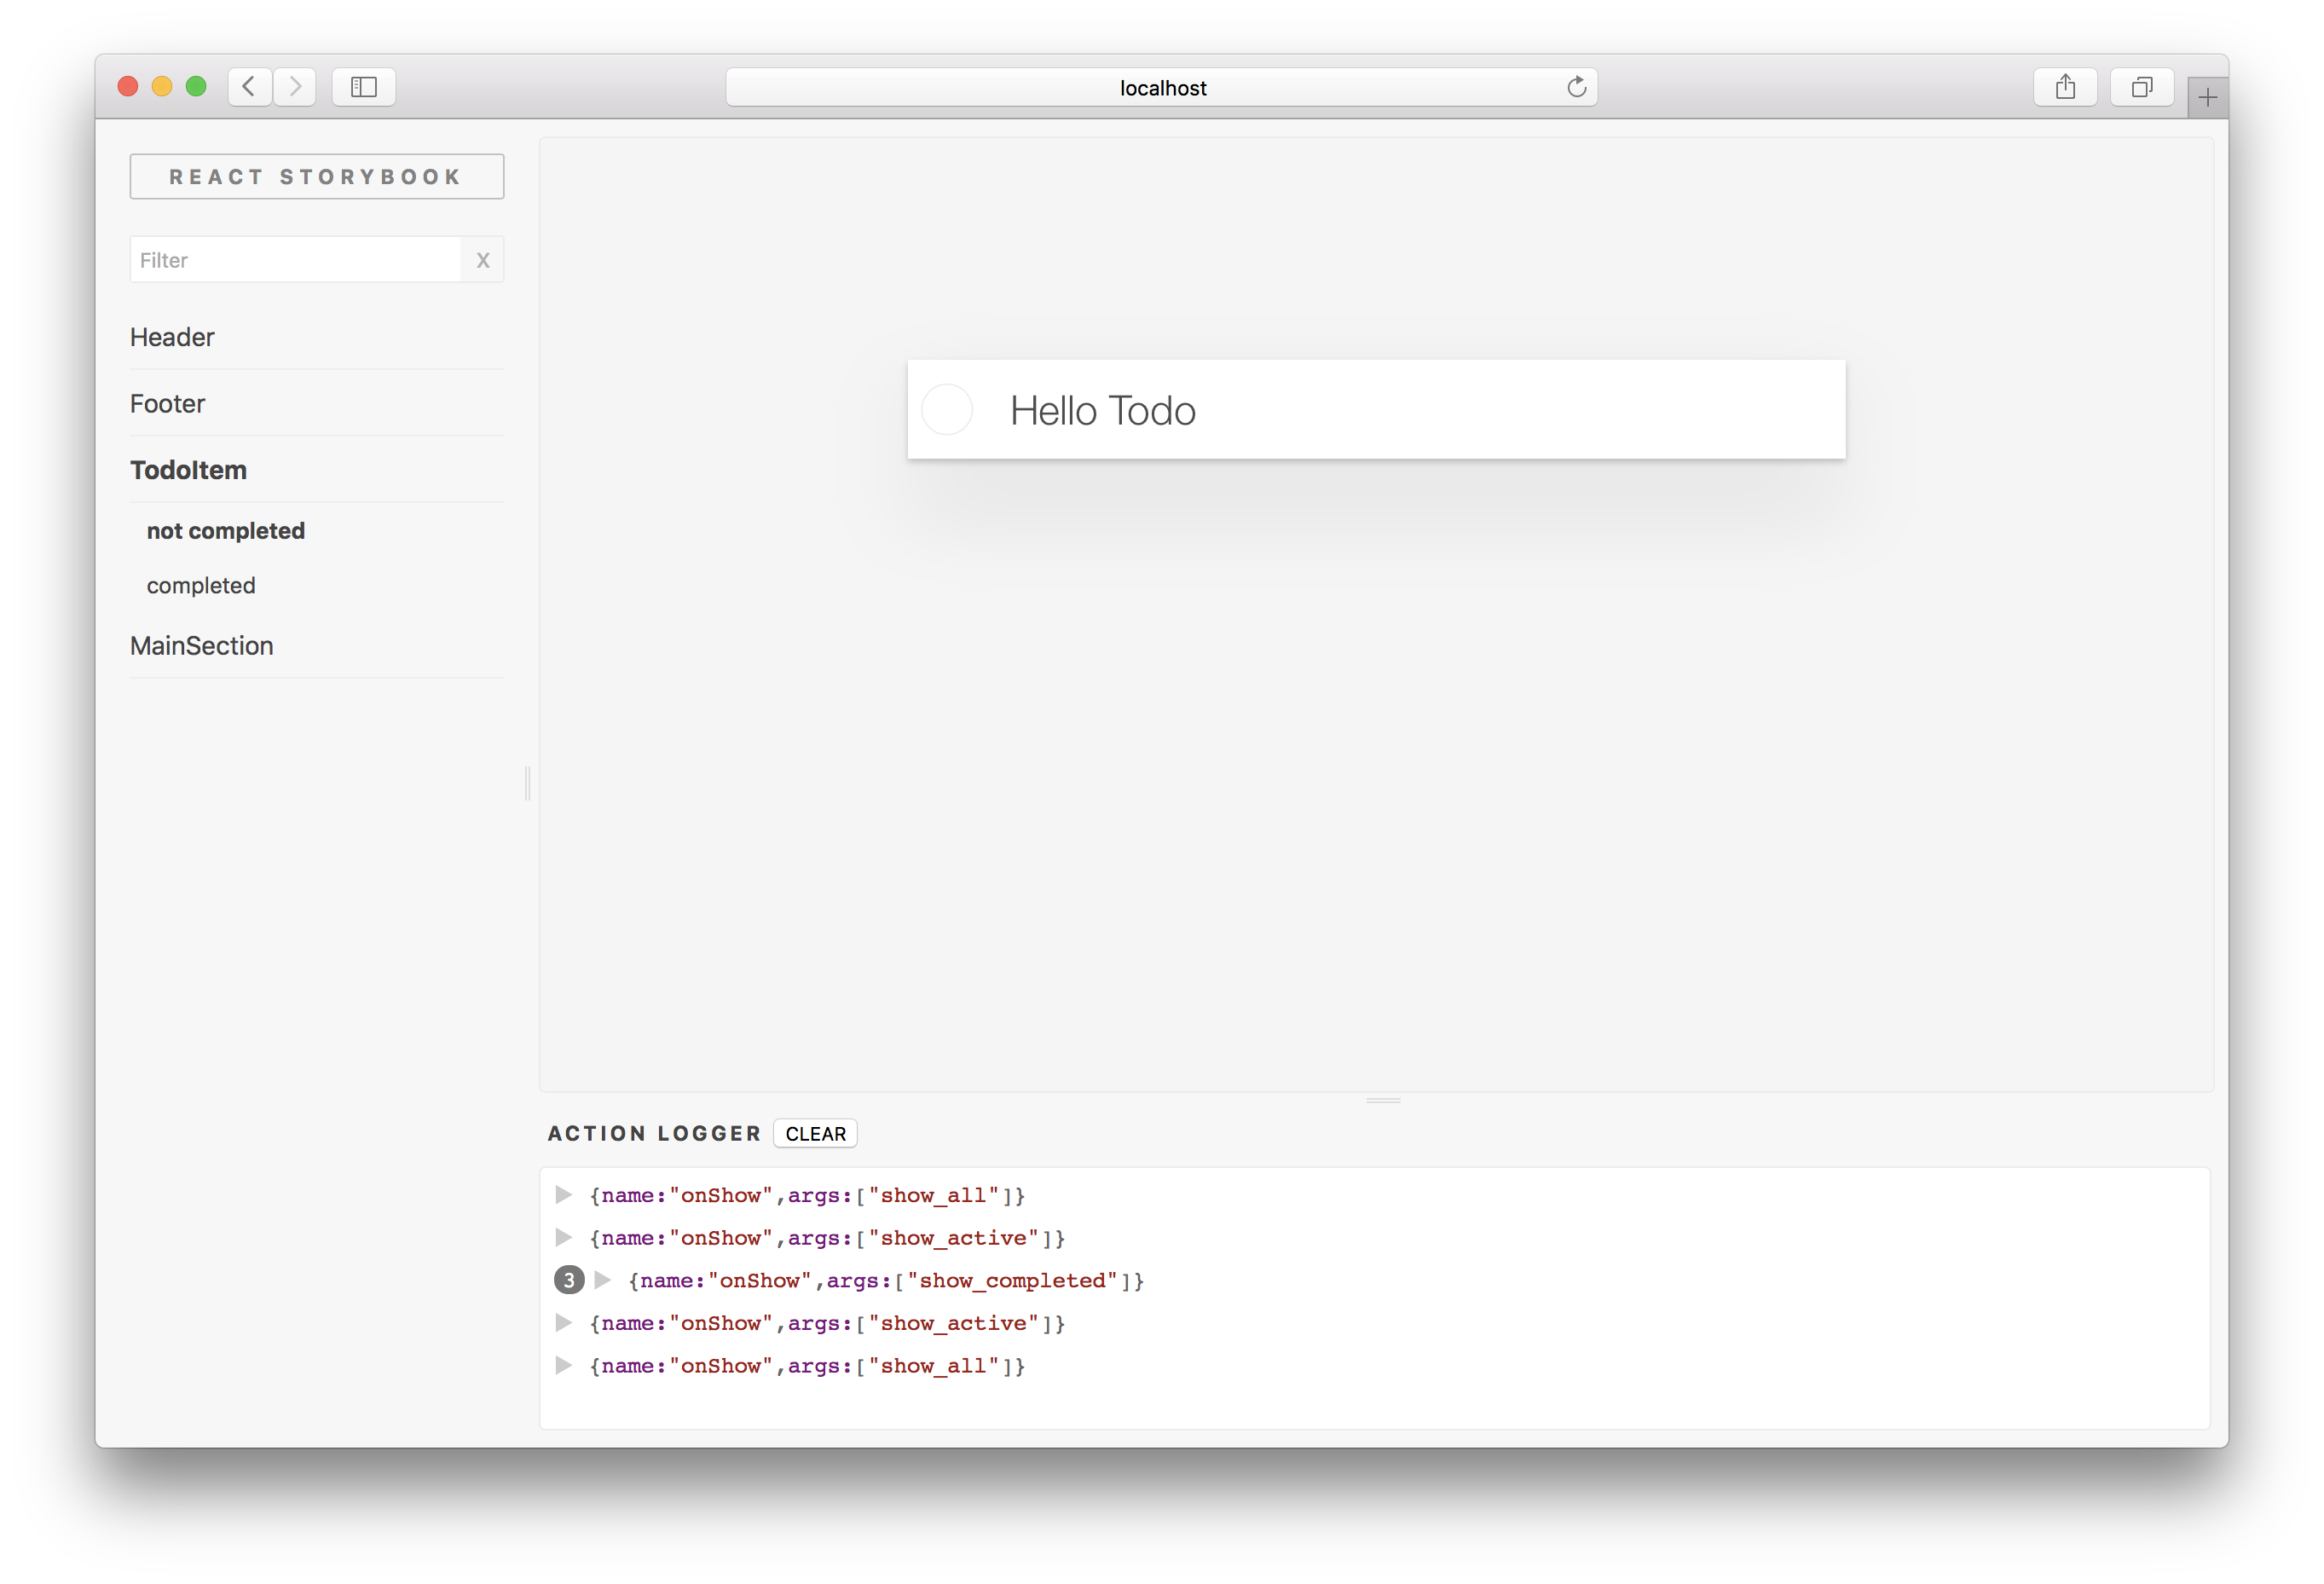
This will start your Storybook in http://localhost:9001. Open that URL in your browser. You will see the React Storybook UI:
Edit some of the components in the components directory and see how they reflect in the Storybook UI. We define stories inside the components/stories directory. Have a play with that as well.
Now let's add support for React Storybook to your app. First of all, add the @kadira/storybook NPM package to your app:
npm i --save-dev @kadira/storybookThen, add the following NPM script into your package.json:
{
  ...
  "scripts": {
    "storybook": "start-storybook -p 9001"
  }
  ...
}
Now you can run npm run storybook and start developing components.
Wait... we are not there yet.
Now you need to write some stories, which is how you can see your components inside the Storybook UI.
Basically, a story is a single view of a component. It's like a test case, but you can preview it (live) from the Storybook UI.
You can write your stories anywhere you want. But keeping them close to your components is a pretty good idea.
Let's write some stories:
// components/stories/button.js

import React from 'react';
import { storiesOf, action } from '@kadira/storybook';

storiesOf('Button', module)
  .add('with text', () => (
    <button onClick={action('clicked')}>My First Button</button>
  ))
  .add('with no text', () => (
    <button></button>
  ));
Here, we simply have two stories for the built-in button component. But, you can import any of your components and write stories for them instead.
Now you need to tell Storybook where it should load the stories from. For that, you need to write a simple configuration file. Add the following content to .storybook/config.js:
import { configure } from '@kadira/storybook';

function loadStories() {
  require('../components/stories/button');
  // require as many stories as you need.
}

configure(loadStories, module);
That's it. Now simply run npm run storybook and start developing your components.
Check this app to see it in action: https://github.com/kadira-samples/react-storybook-simple-demo
There are many things you can do with React Storybook. You can explore them with the following links:
React Storybook is very powerful and you can use it with any kind of app. Here's a list of sample apps configured for React Storybook:


