This exercise allows you to practice and apply the concepts and techniques taught in class.
Upon completion of this exercise, you will be able to:
- Extract and organize parts of the existing UI into separate new components.
- Use the
useStatehook to create state variables and add state to React components. - Use state variable setter functions to update state and trigger component re-render.
- Use the
map()method to render array data as a list of elements. - Create controlled components to manage the form inputs.
- Create event handler functions to handle user interactions and browser events.
- Apply the "Lifting State Up" approach to share the state between components.
- Create a search bar component that allows users to filter items in a list based on a search query.
By now you probably know that in React everything is a component. A React app is built out of components, usually a lot of them. When used, components are usually nested inside of other components.
To refresh our memory, a component is a reusable piece of code, which defines how certain features should look and behave in the UI.
Now one more time, we will be thinking and acting in that direction. Maybe in the past days we didn't see how important is to plan our apps prior to building them. In this exercise, we will emphasize this approach. We’ll walk you through the thinking process of building an app displaying a searchable table of products.
-
Fork this repo
-
Clone this repo
$ cd lab-thinking-in-react
$ npm install
$ npm start
-
Upon completion, run the following commands:
git add . git commit -m "done" git push origin master -
Create a Pull Request so that your TAs can review your work.
Clean the App.js component so that it has the following structure:
// src/App.js
import "./App.css";

function App() {
  return <div className="App"></div>;
}
export default App;In the src/ folder, you will find the data.json file containing the data representing products of a random store.
Each product object has the following fields: category, price, inStock and name, of which inStock is type boolean (this information will be valuable soon). Example:
{
    "category": "Sporting Goods",
    "price": "$49.99",
    "inStock": true,
    "name": "Football"
}
You will be dealing with multiple components that depend on each other. To properly reflect the changes in all the components, we'll store the state in the closest common parent component (remember lift the state up).
You will be dealing with multiple components that depend on each other. To ensure that components can interact with each other, we'll store the state in the closest common parent component (remember lifting the state up).
And remember, this is just an exercise and a part of the learning process. No one expects you to do it perfectly. Think it through, ask questions, be curious and explore all possibilities. Let's do this! 😉
So remember: the proper planning will save you a lot of time when building the app. The first thing you’ll want to do is to make a sketch on the piece of paper: draw boxes around every component (and sub-component) and give each component a name. A possible approach could be something like this:
As you can see here, we have four components in our app:
- ProductsPage (orange): contains the entirety of the example (we will render it in the
App.js) - SearchBar (blue): having an input that takes the user's search string
- ProductTable (green): displays all the products and also shows the filtered products based on the user's search
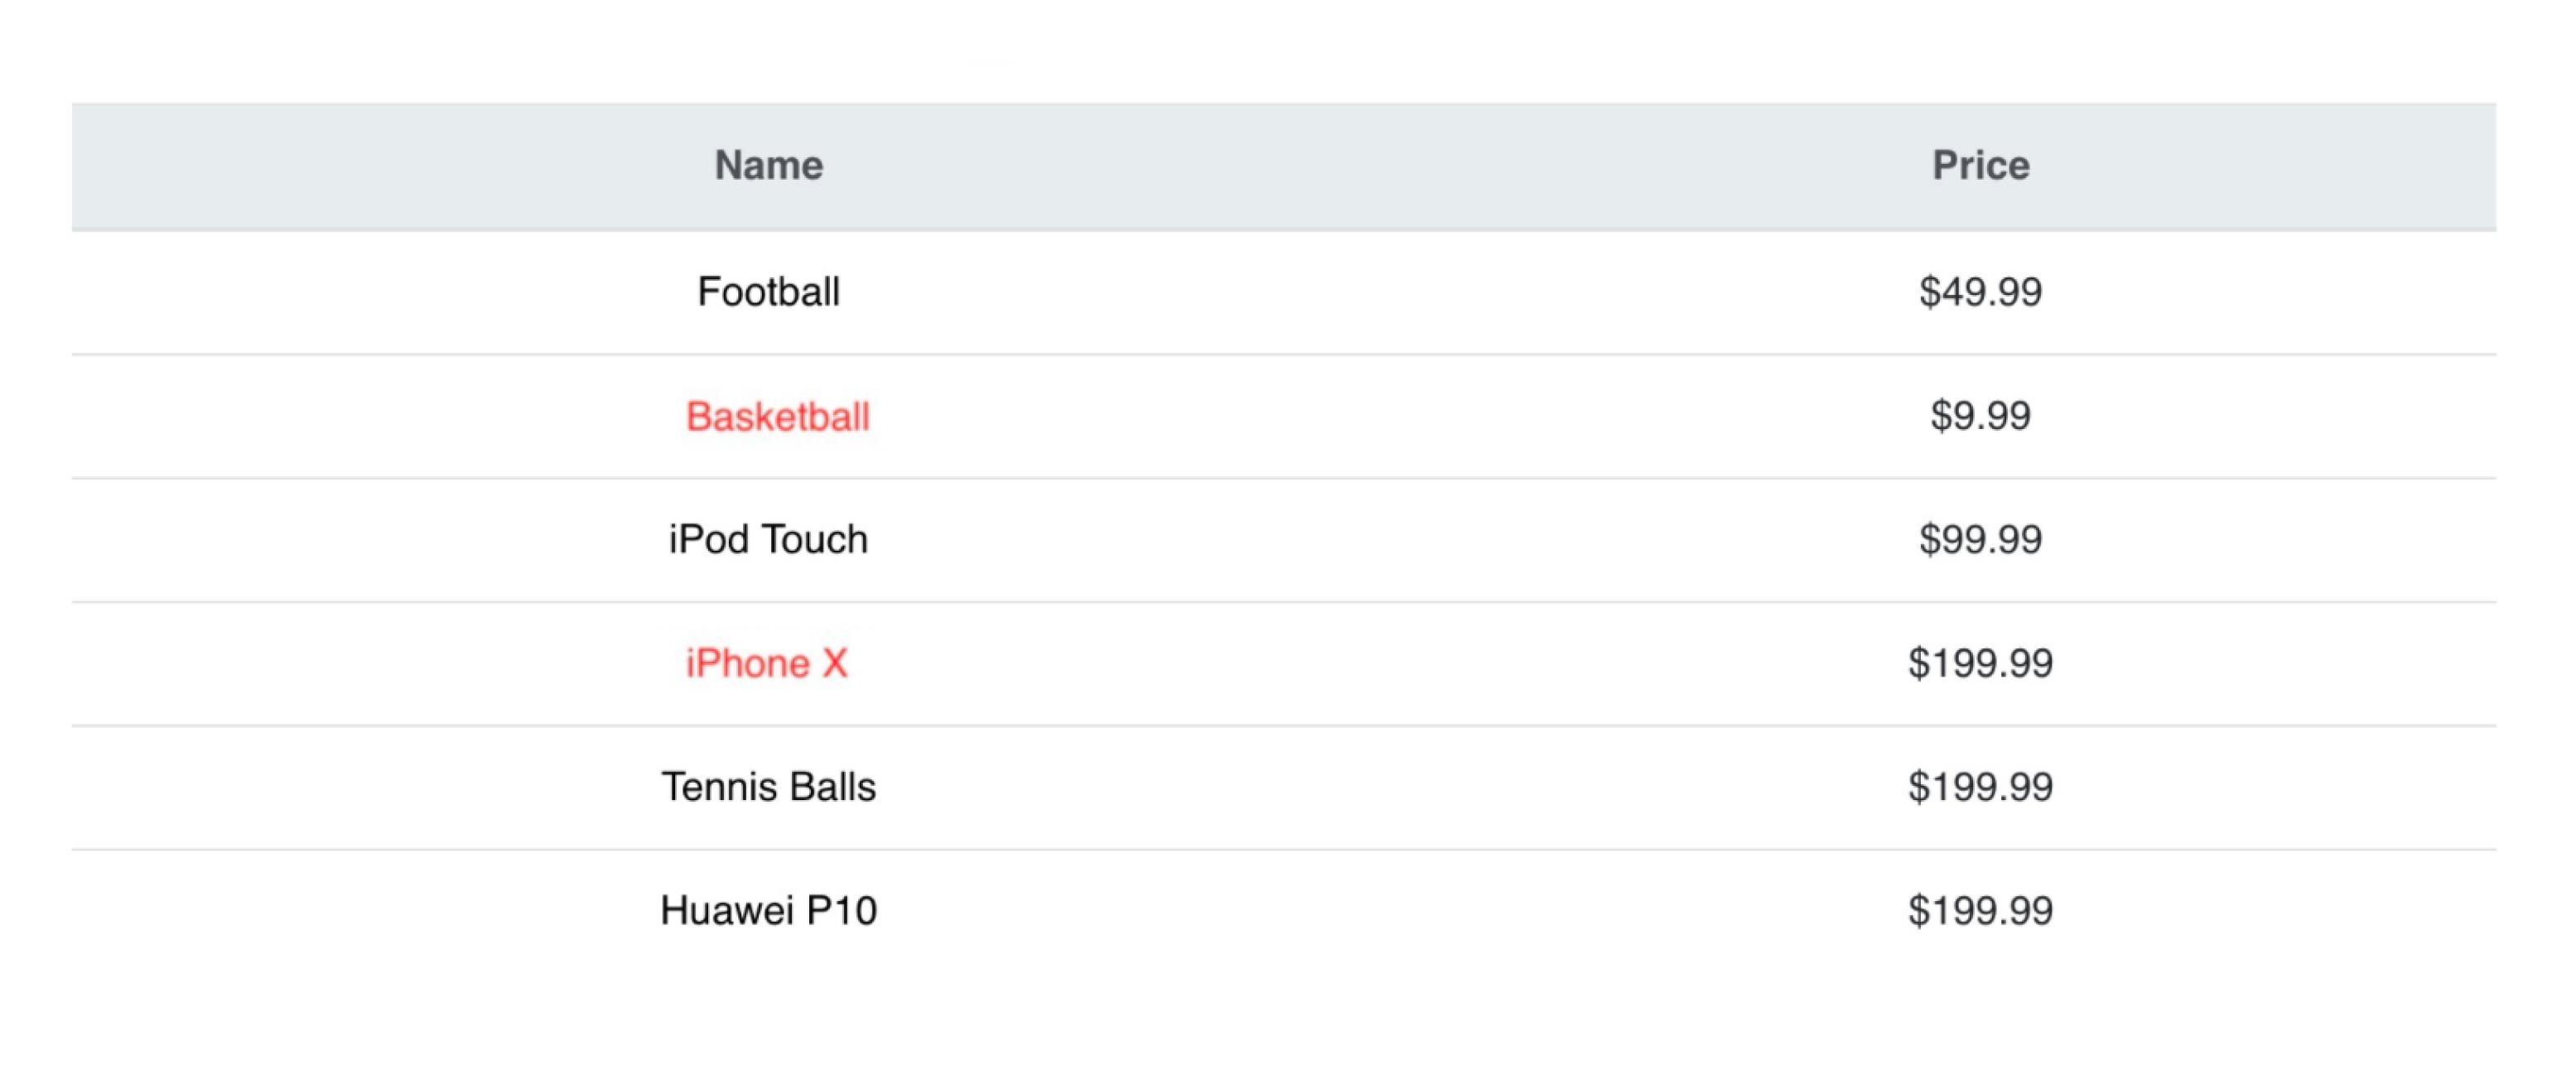
- ProductRow (red): displays a row (table data) for each product
Now that we’ve identified the components in our app let’s arrange them into a hierarchy. Components that appear within another component should appear as children in the hierarchy:
- ProductsPage
- SearchBar
- ProductTable
- ProductRow
First, let's create a components/ folder and our first component ProductsPage.js. This component will be the parent of the other components.
We'll give you a starter hint to kick off the project: this component should have a state variable holding the array of products. It should then pass down the products to other components that need them. So to start, you should import the data.json file and create a state variable in the following way:
// src/components/ProductsPage.js

import { useState } from 'react';
import jsonData from './../../data.json';

function ProductsPage () {
  const [products, setProducts] = useState(jsonData);

  return(
      <div>
        <h1>IronStore</h1>
      </div>
  )
}
Next, let's import and render the ProductsPage component in the App.js:
// App.js
import './App.css';
import ProductsPage from './components/ProductsPage';


function App() {
  return (
    <div className="App">
      <ProductsPage />
    </div>
  );
}

export default App;
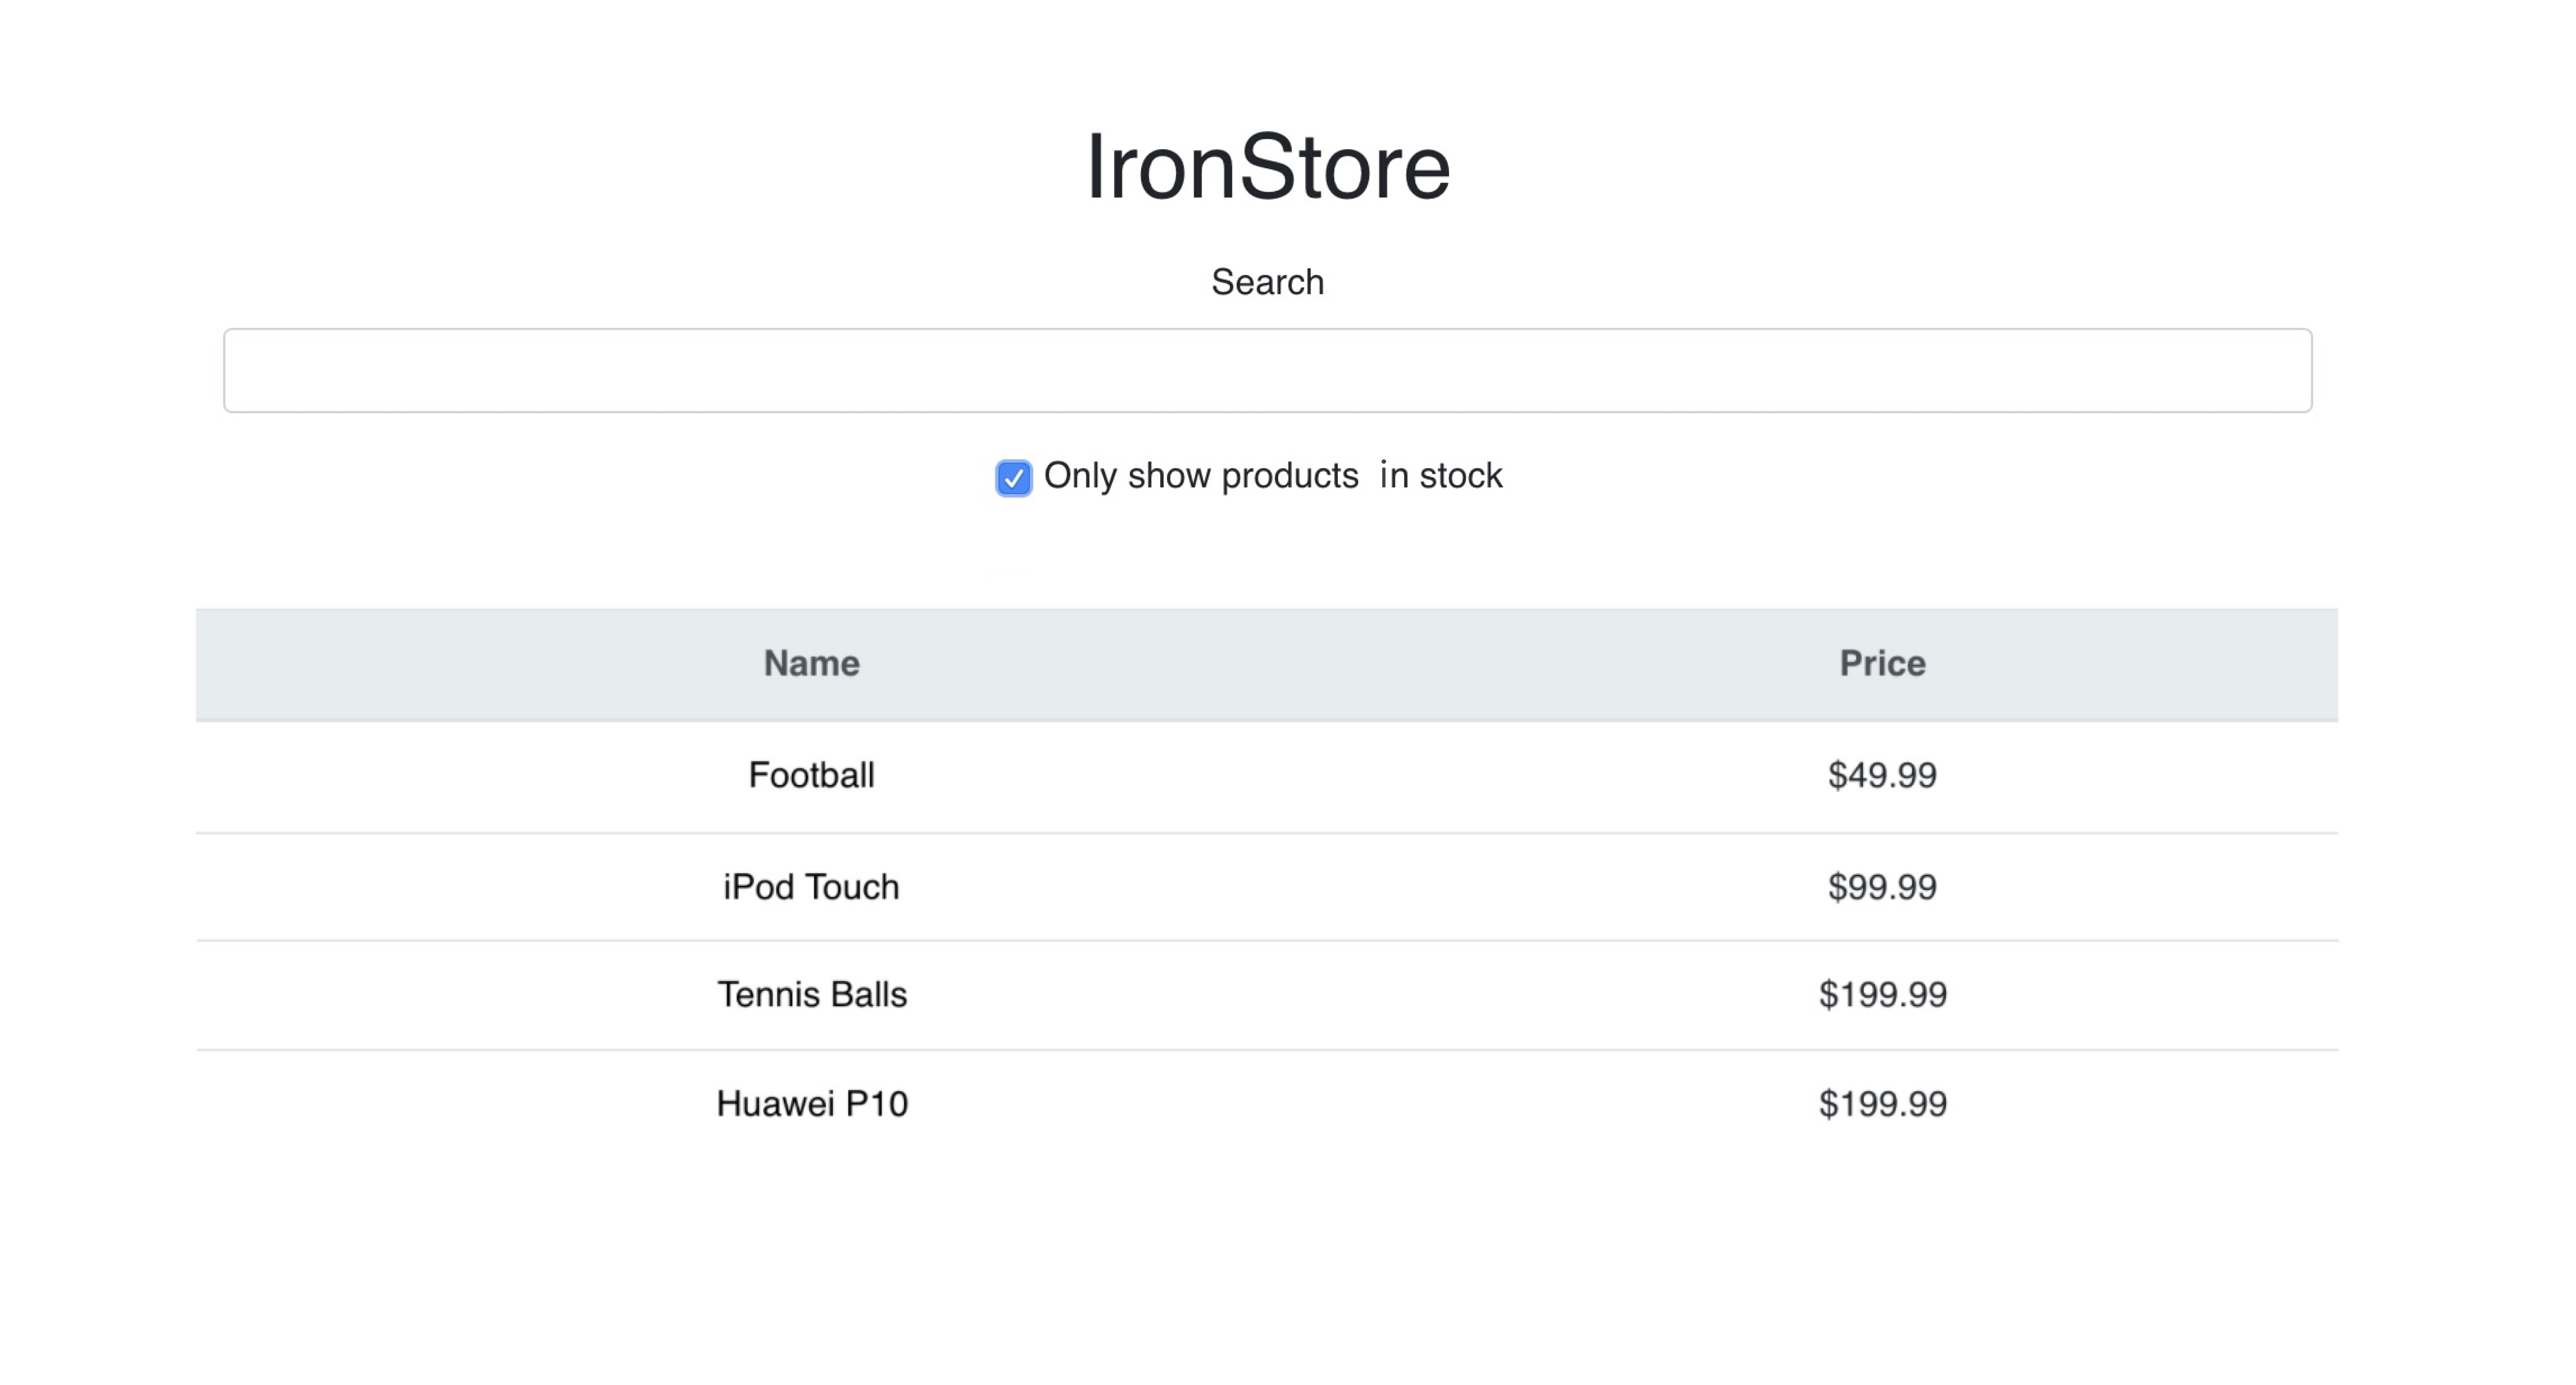
Okay, now it's your turn. Create the <SearchBar /> and the <ProductTable /> components to display the search bar and the list of products. You should render both components inside the ProductsPage (see the sketch above 😉).
Next, create a <ProductRow /> component and use it to display each product in the list. This component should be rendered inside of the ProductTable.
The products that are out of stock should be colored in red. Hint: Each product object has a property inStock which you can use to change the text color conditionally.
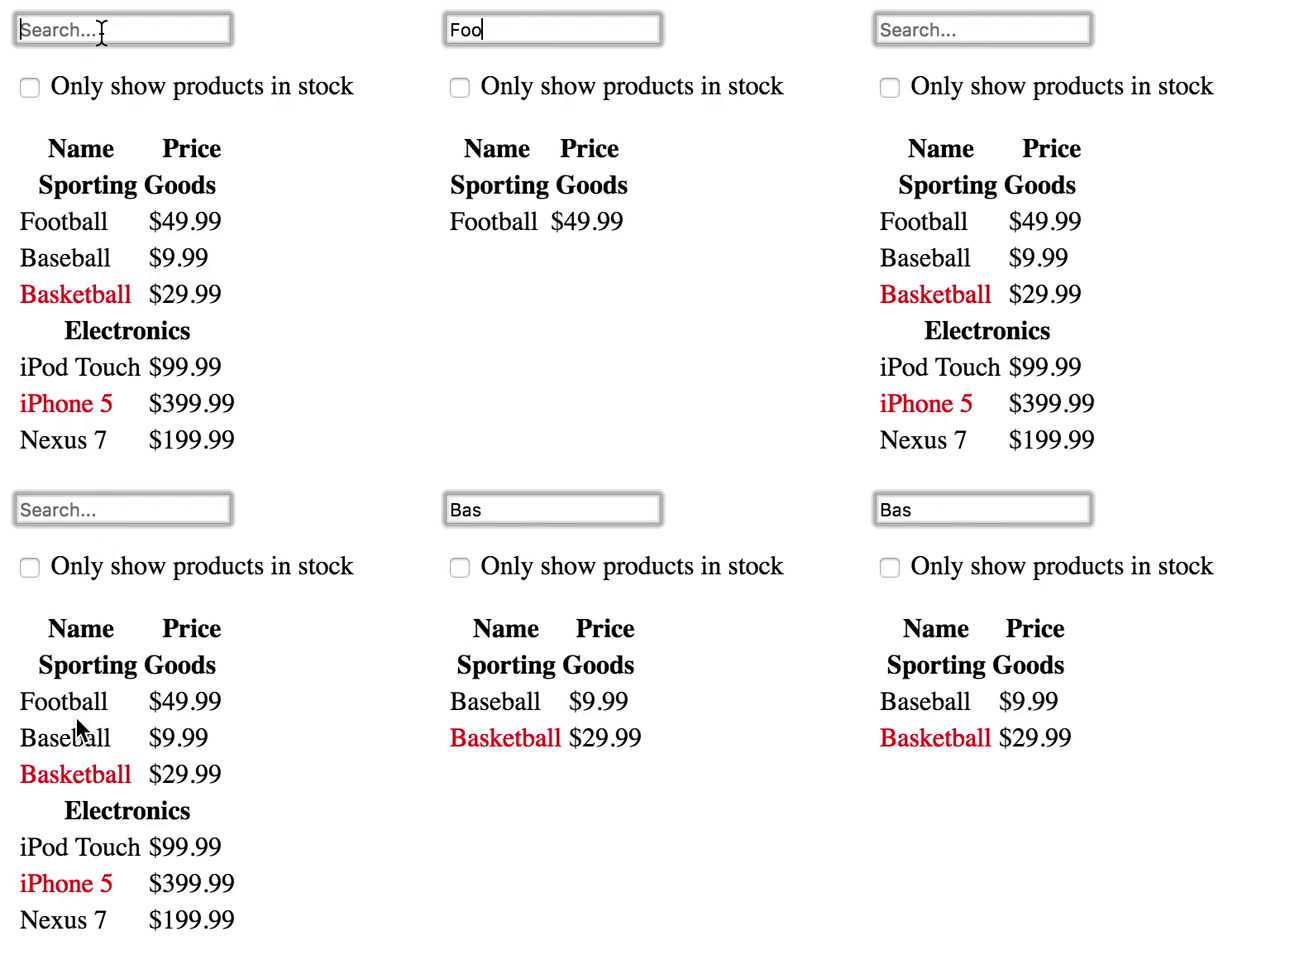
In this iteration, we'll add the list filtering functionality. Every time someone types a letter in the search input, the list should update based on the user's input.
Hint: Search functionality can be easily implemented using an input with the onChange handler, which will update the state on every keystroke.
As a part of the search box, add a check box that allows filtering through the products that are in stock.
Hint: To do this, you will need an <input type="checkbox" /> with the onChange handler, which will update the state depending on the value of the checked property.
We know that setting the search and checkbox will probably be the biggest challenge but don't be discouraged - you've got this! Take your time and try to work your way through by applying the knowledge you gained so far.
Feel free to style the app in any way you would like. 🎨
Happy coding! ❤️


