README
Usage
The code is for CARLA version 0.9.4. It needs to be modified to adapt to other versions of CARLA.
Data Generation
-
Copy files in "poseprocesseffect" to "carla_root_folder/Unreal/CarlaUE4/Plugins/Carla/Content/PostProcessingMaterials"
-
put "collect_albedo_depth_normal.py" to "carla_root_folder/PythonAPI/examples" and run it using terminal. You can modify the code to generate the lidar point cloud and the semantic image for front view, left view, right view and rear view simultaneously(just uncomment some lines).
-
data will be created in folder "carla_root_folder/PythonAPI/examples/images"
Point cloud processing
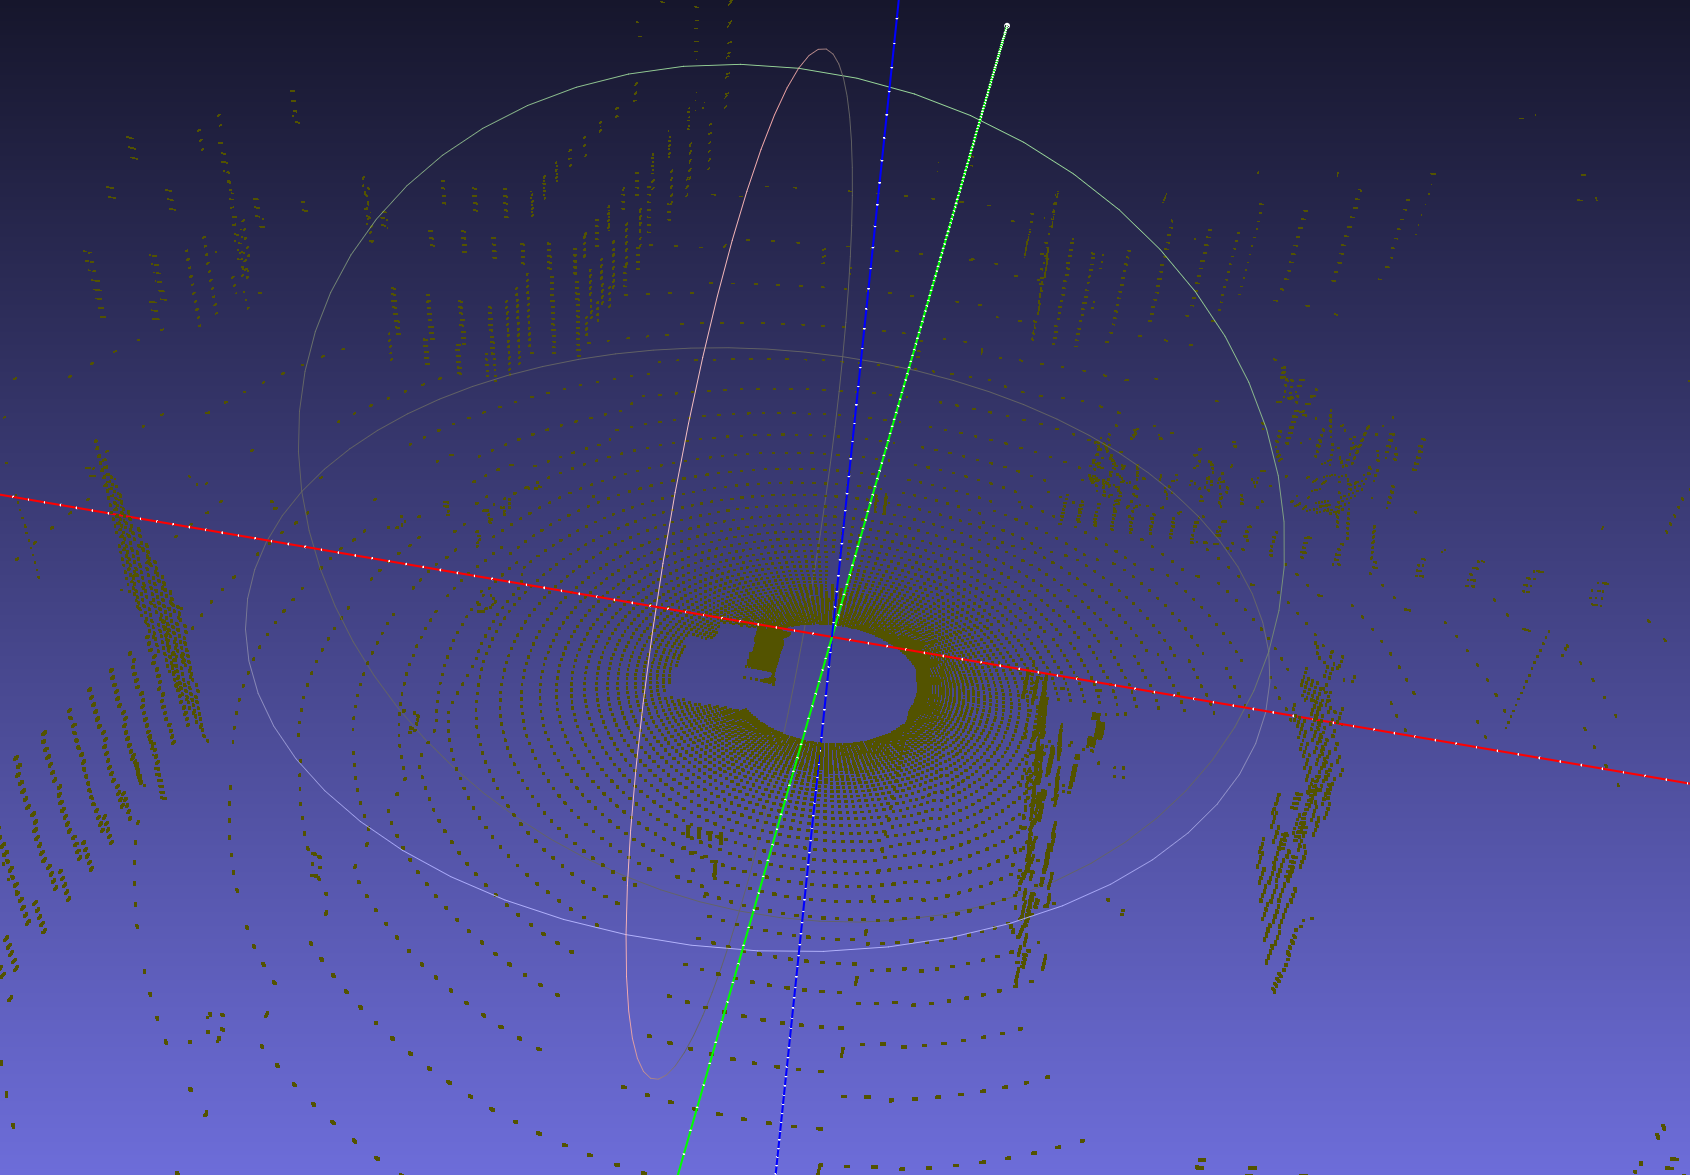
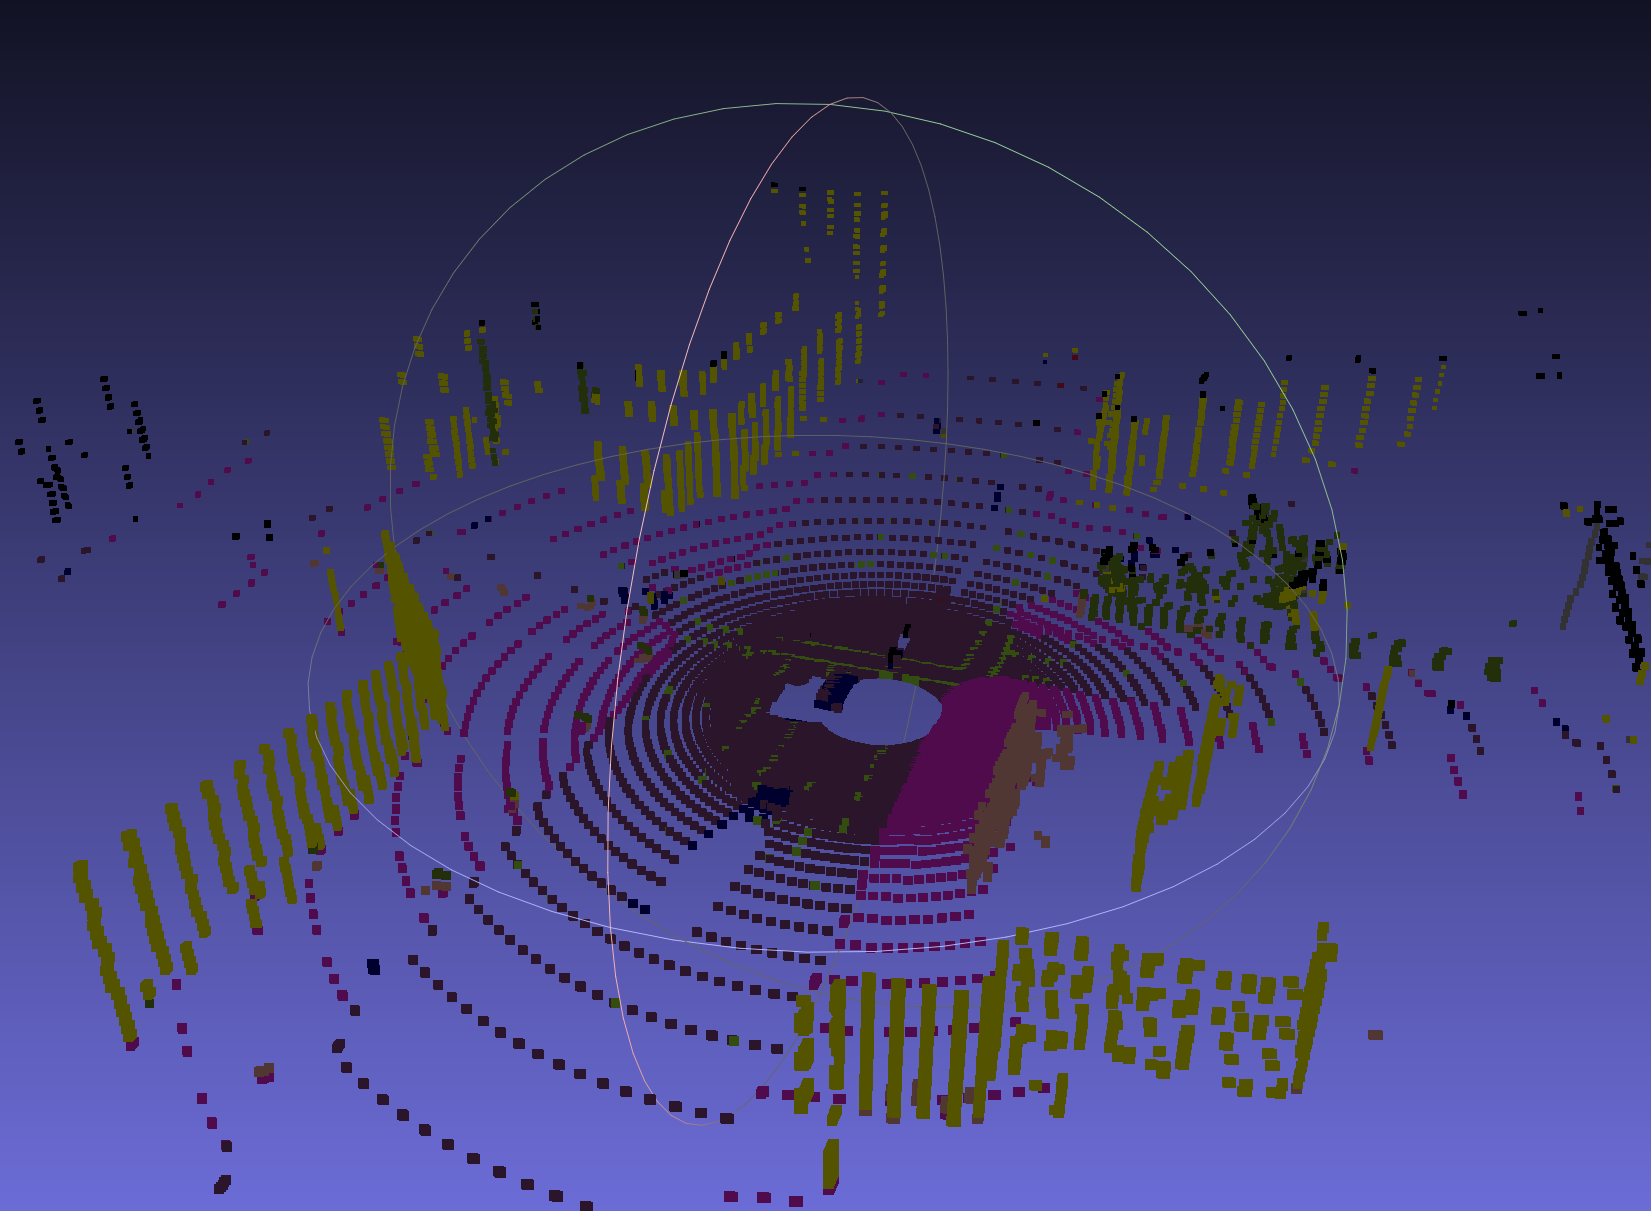
After generation of the semantic image for front view, left view, right view and rear view and the lidar point cloud at the same time step, you may want to generate the semantic point cloud(point cloud with different colors according to their semantic meanings). The usage is as below:
- Install
plyfile
pip install plyfile- Go to folder
lidar_processing. Make sure the semantic image data generated inData Generationpart are .npy format(in the repository the .npy file is too big to attach, so I put the .png image for visualization) and the lidar point is in .ply format.
cd ./lidar_processing- If you want to convert .npy file of semantic image into .png file for better visualization, you can run the
npy2png.pyfile.
python npy2png.py- You can run the following to generate semantic lidar points. The results will be in
./data/for_training/2019-05-31_22_05/Lidar/labeled/.
python add_lidar_label.pyThe semantic point cloud will have the following look:

