pi@raspberrypi:~ $ leds -h
usage: leds [-h] [-i] [-s] [-m MANUAL MANUAL MANUAL] [--hex HEX]
            [-p [PREDEFINED]]

optional arguments:
  -h, --help            show this help message and exit
  -i, --input_manual
  -s, --stop
  -m MANUAL MANUAL MANUAL, --manual MANUAL MANUAL MANUAL
  --hex HEX
  -p [PREDEFINED], --predefined [PREDEFINED]
Running application with no parameters results in sending an X11 window from the remote host (provided that ssh was run with an -X option), which allows for selecting the preferable color:

To install, simply run sudo ./install.sh - root privileges are required to add the leds script to the /usr/local/bin/ path and the config file to bash_completion.d directory.
Cli supports bash tab completion on -p color command:leds -p <TAB>.
Colors defined in the colors.conf file, at /home/pi/.config/leds/favcolors.conf will be autocompleted with the usage of bash completions.
Colors specified in the colors.conf config file should follow the specified below convention:
color R G B    # R,G,B in range of 0-255

#example
violet 74 0 79
Colors can be separated by , or the list of colors enclosed with [] - such characters will be ommited by the cli script.
Run the command via node index.js.
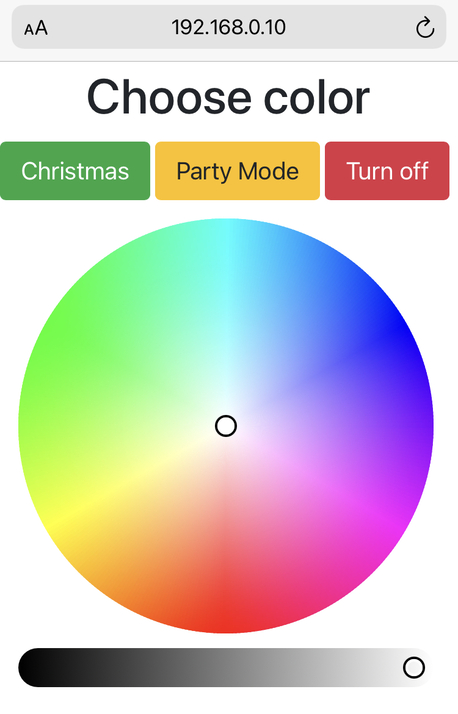
Enter the Raspberry Pi IP address (or hostname, if you have DNS server configured) and select the desired color.
- Install PM2 node module globaly
sudo npm install -g pm2 - Start the app with PM2
pm2 start index.jsFrom here on out the app should run as daemonized and additionally, it will restart upon crash. - The
pm2 startupcommand will generate a script that will lunch PM2 on boot together with the applications that you configure to start.
pm2 startup systemd- Copy the generated command and run it.
sudo env PATH=$PATH:/usr/bin /usr/lib/node_modules/pm2/bin/pm2 startup systemd -u pi --hp /home/pThis created a system unit that will start PM2 on boot. When the system will boot PM2 will resurrect from a dump file that is not created yet. To create it run pm2 save. This will save the current state of PM2 (with app.js running) in a dump file that will be used when resurrecting PM2.
Nginx is used as a reverse proxy server to redirect all the traffic to/from port 80 to the application, on port 8000.
- Install nginx:
sudo apt update
sudo apt install nginx- Configure the reverse proxy server config, located at
/etc/nginx/sites-available/defaultin the following way:
server {
        listen 80 default_server;
        listen [::]:80 default_server;

        root /var/www/html;

        index index.html index.htm index.nginx-debian.html;

        server_name _;

        location / {
            proxy_pass http://localhost:8000;
            proxy_http_version 1.1;
            proxy_set_header Upgrade $http_upgrade;
            proxy_set_header Connection 'upgrade';
            proxy_set_header Host $host;
            proxy_cache_bypass $http_upgrade;
        }
}- Test the integrity of the file via running
sudo nginx -t. If successful, restart the Nginx serversudo systemctl restart nginx.
- add
turn offbutton in the web UI - add favourites to the web UI
- add save to favourites to the web UI
Run your Node.js application on a headless Raspberry Pi - dev.to article
