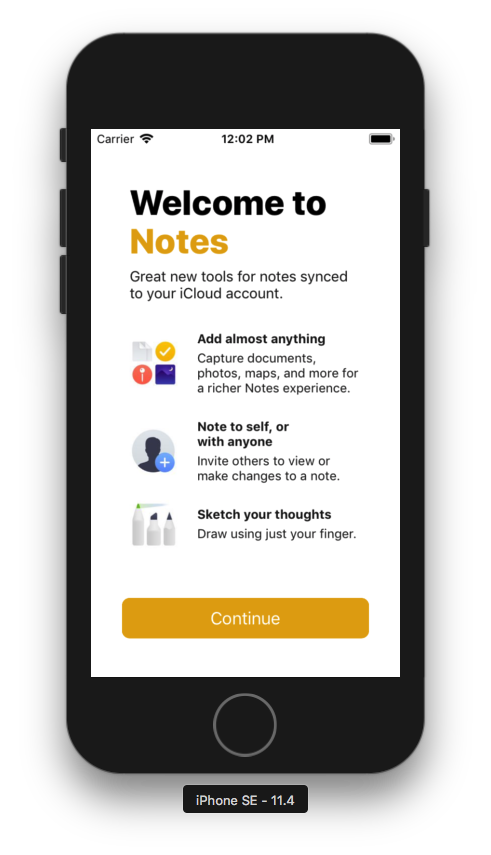
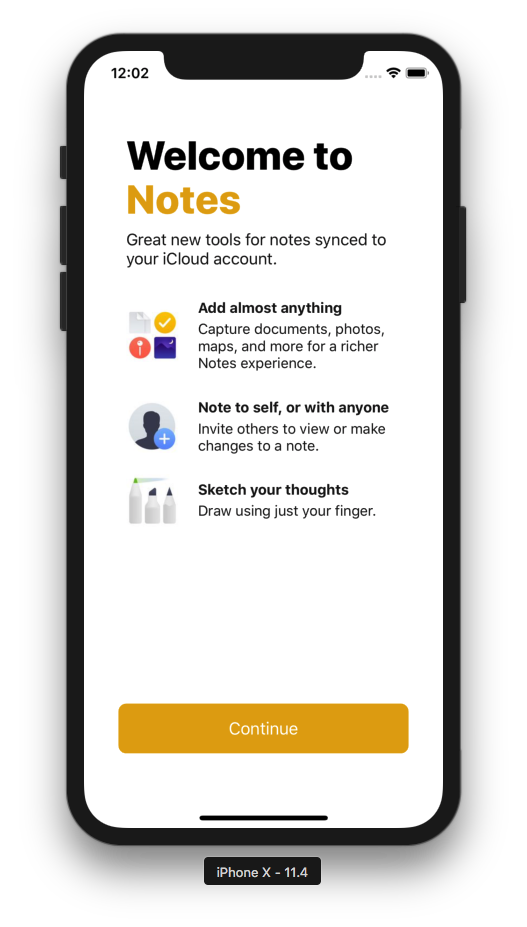
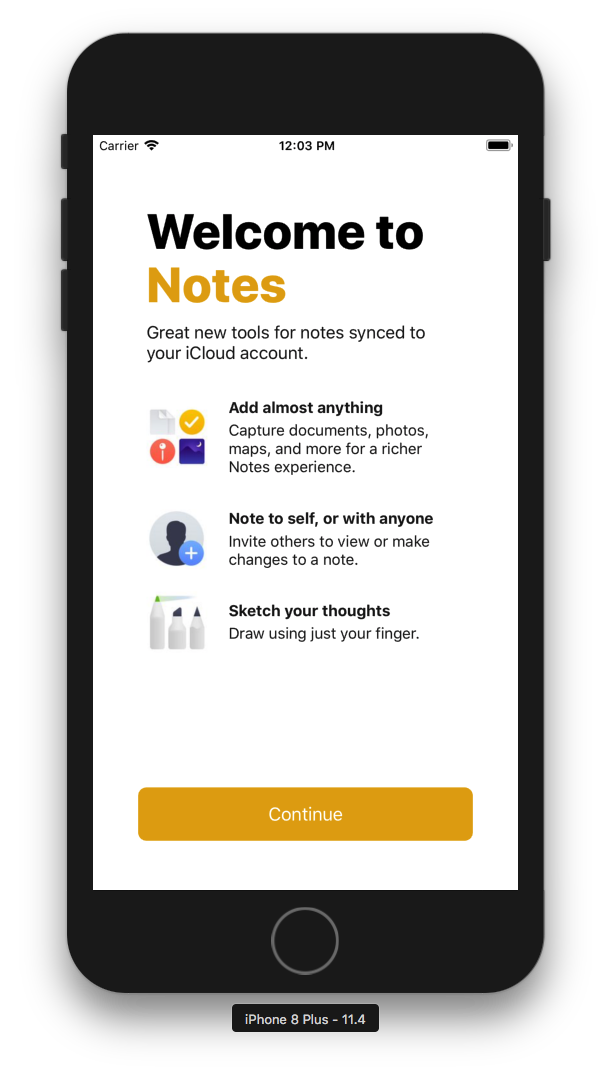
AppleWelcomeScreen is a super-simple way to create a welcome screen/onboarding experience similar to the ones used in built-in iOS apps. For example, here's the Notes welcome screen recreated using AppleWelcomeScreen:
| iPhone SE | iPhone X | iPhone Plus |
|---|---|---|
 |
 |
 |
Just provide a configuration and you're good to go:
var configuration = AWSConfigOptions()

configuration.appName = "AwesomeApp"
configuration.appDescription = "The greatest app ever."
configuration.tintColor = .red

var item1 = AWSItem()
item1.image = UIImage(named: "item1")
item1.title = "Do lots of stuff"
item1.description = "AwesomeApp lets you do tons of awesome stuff."

var item2 = AWSItem()
item2.image = UIImage(named: "item2")
item2.title = "Do even more cool stuff"
item2.description = "We feature hundreds of things to do. Just select one or more features to activate."

var item3 = AWSItem()
item3.image = UIImage(named: "item3")
item3.title = "Better with Pro"
item3.description = "With an AwesomeApp Pro subscription, you'll have even more awesome features to use."

configuration.items = [item1, item2, item3]

configuration.continueButtonAction = {
    self.dismiss(animated: true)
    doAwesomeStuff()
}

let vc = AWSViewController()
vc.configuration = configuration
self.present(vc, animated: true)To run the example project, clone the repo, and run pod install from the Example directory first.
AppleWelcomeScreen is available through CocoaPods. To install it, simply add the following line to your Podfile:
pod 'AppleWelcomeScreen'Wilsonator5000, wgramer03@gmail.com
AppleWelcomeScreen is available under the MIT license. See the LICENSE file for more info.


