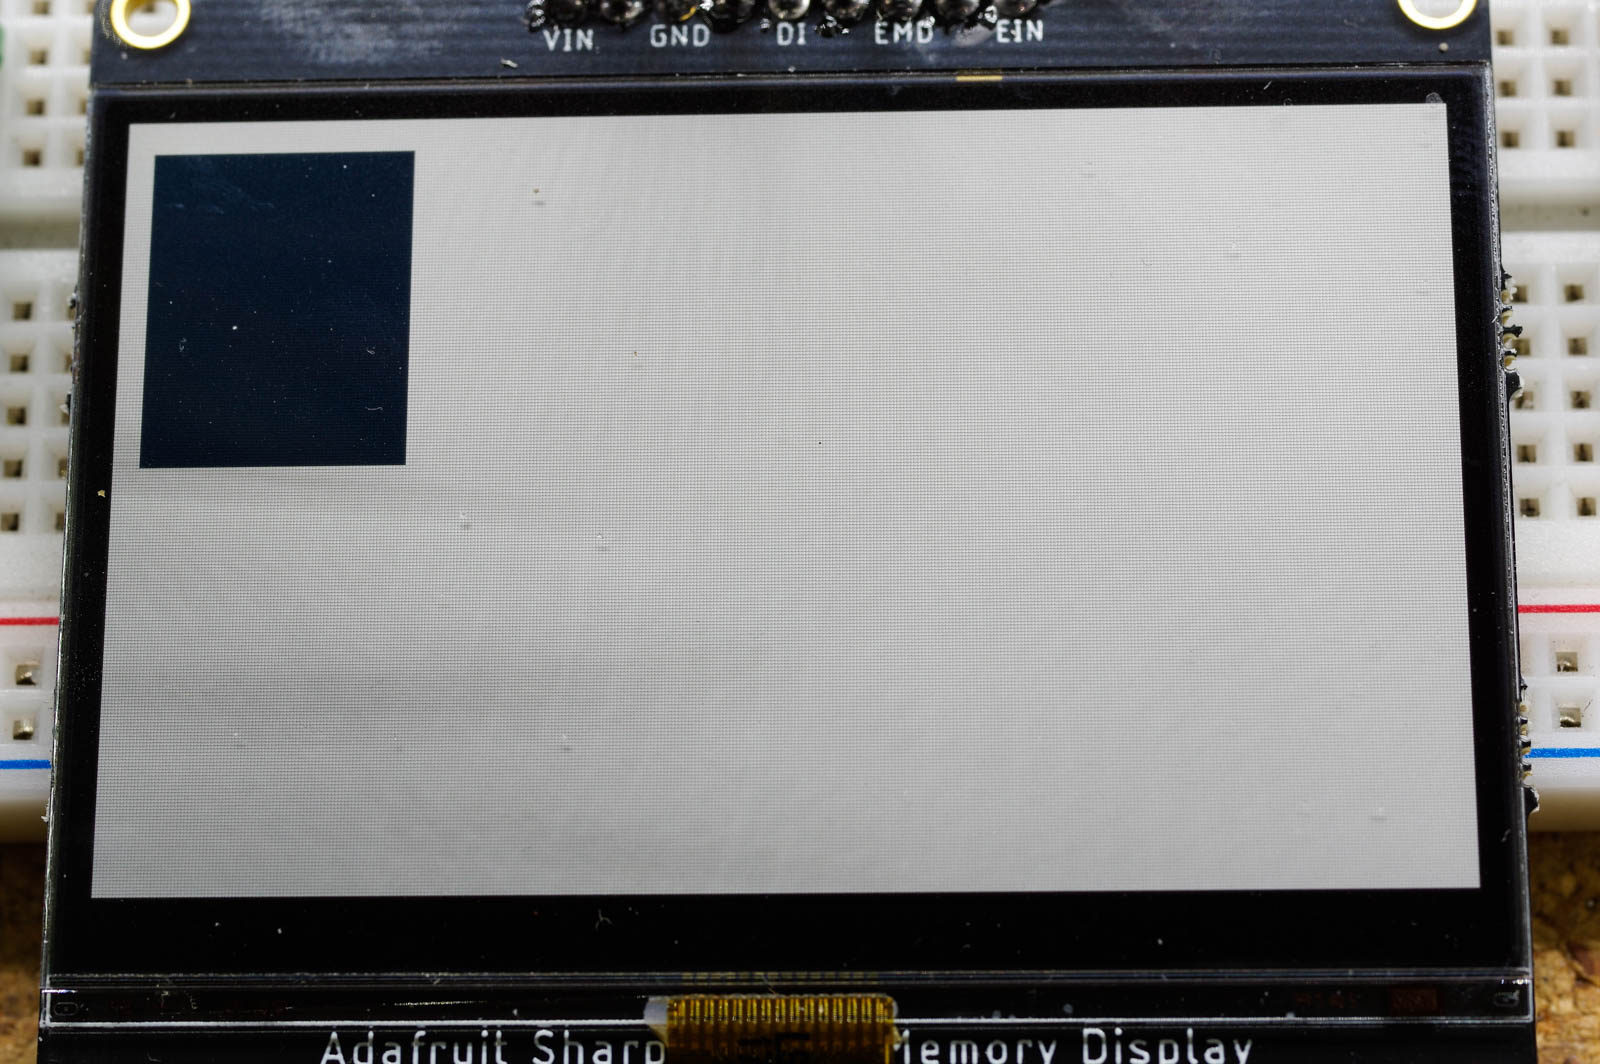
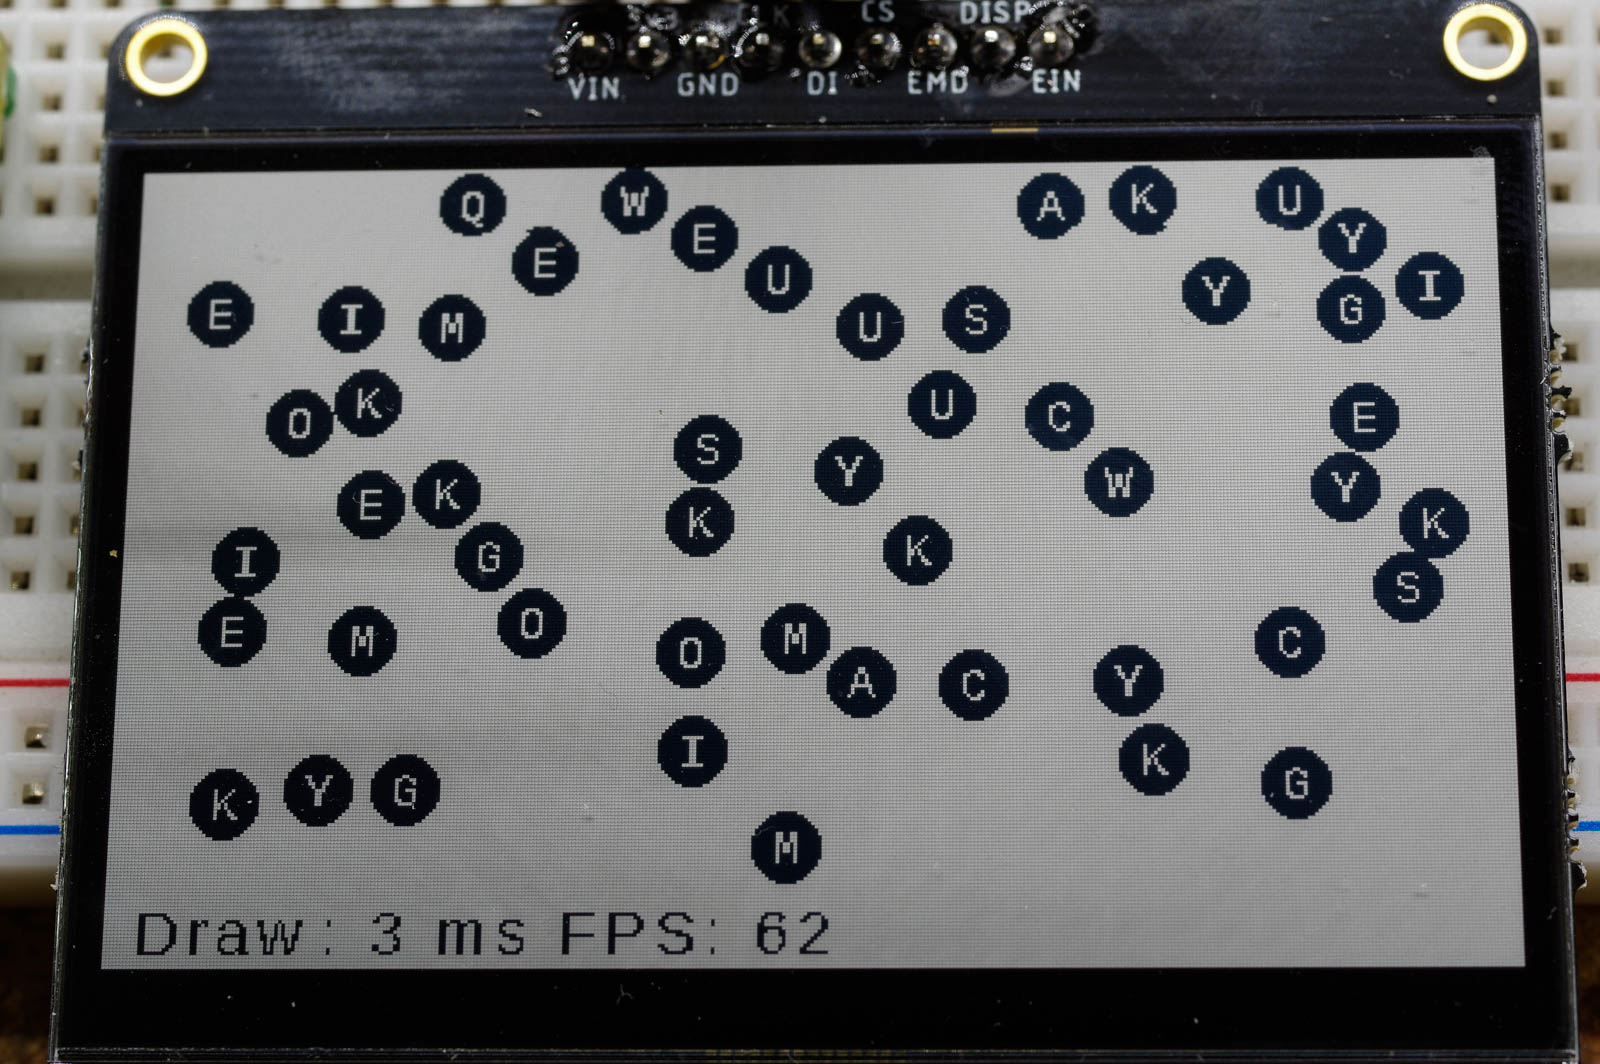
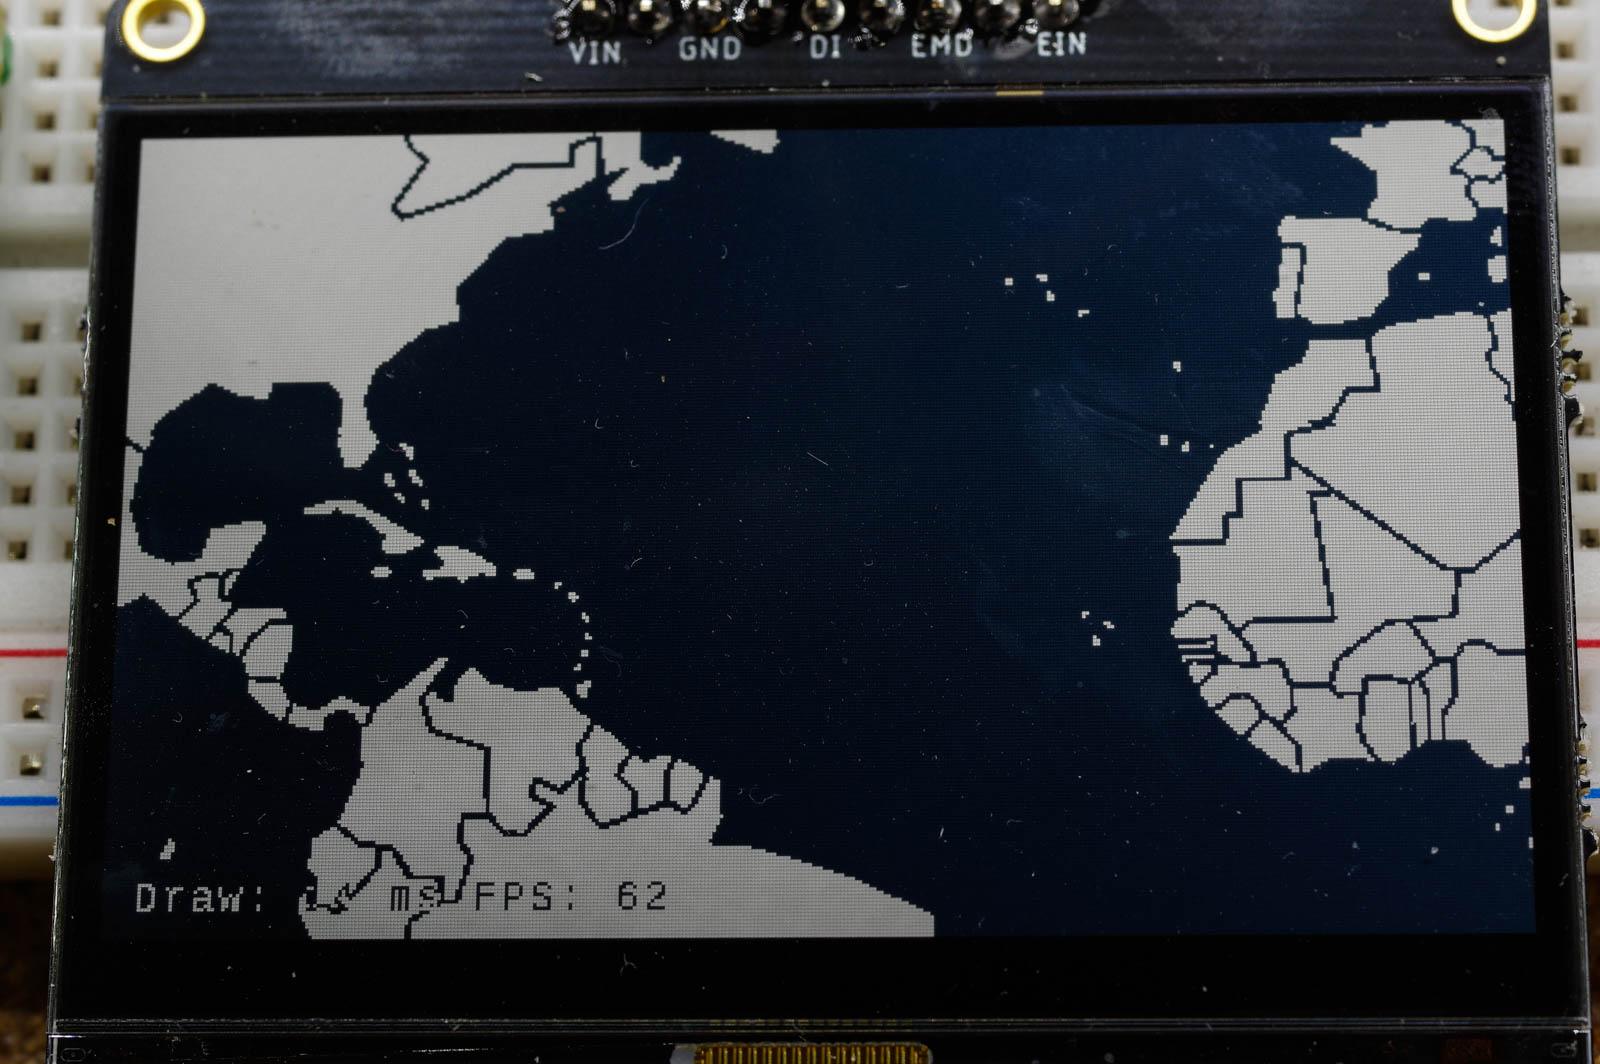
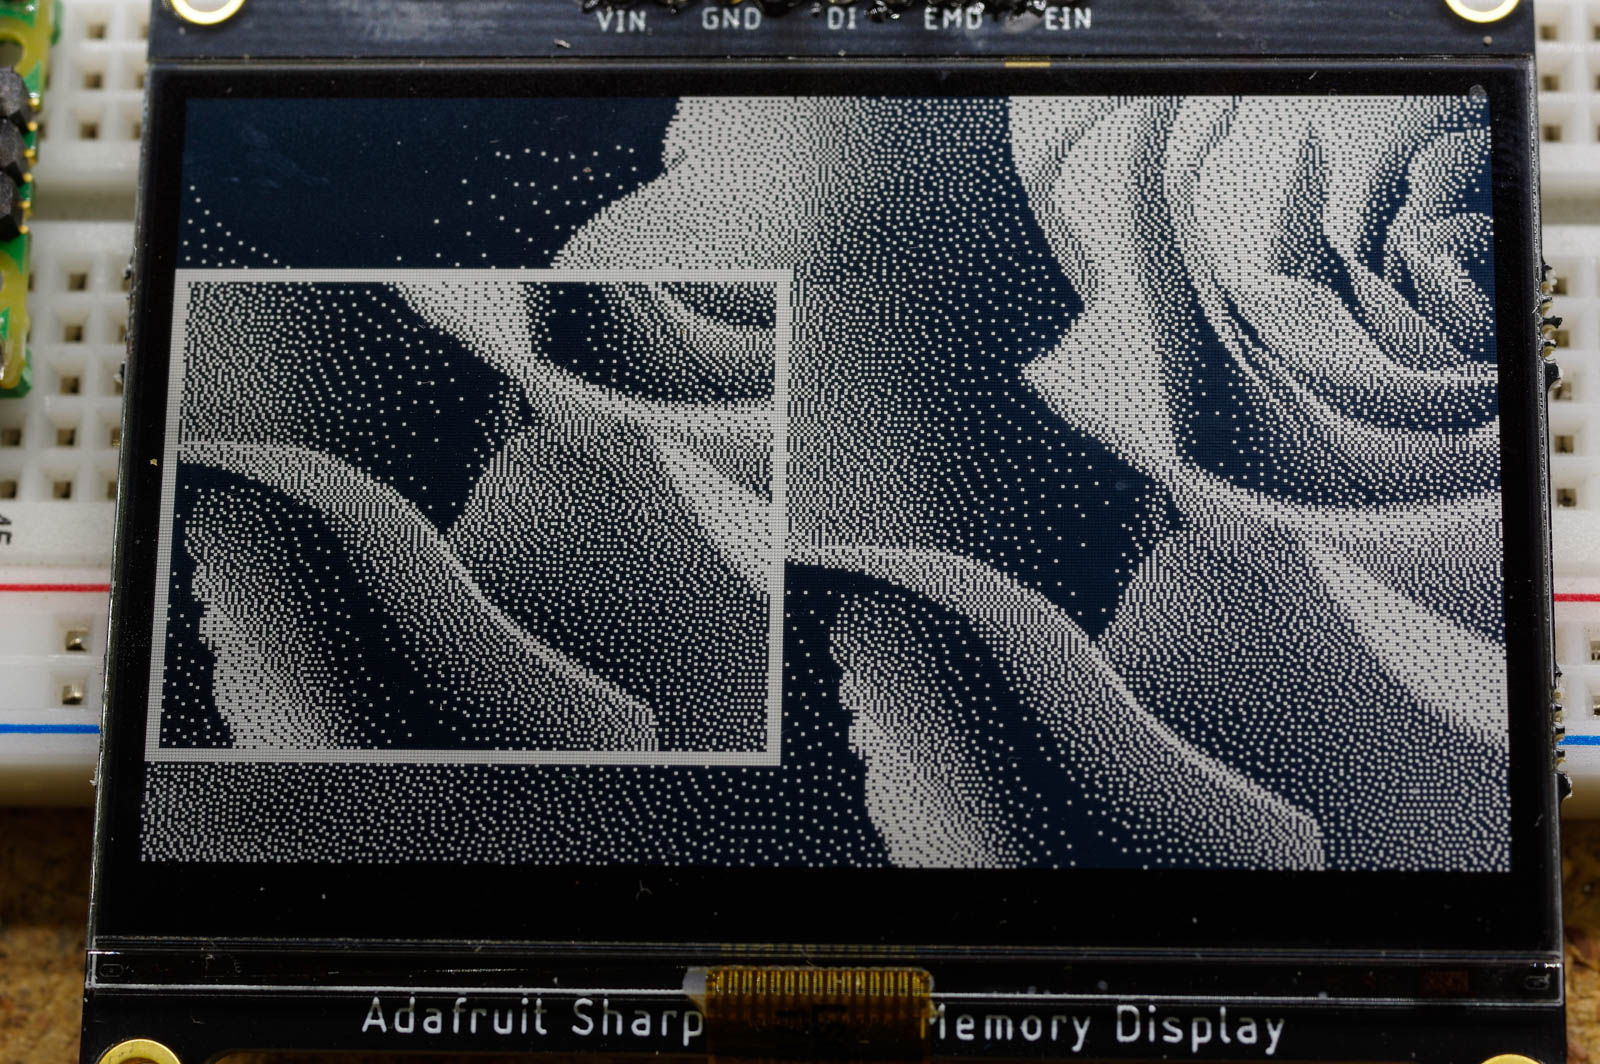
This project is a Raspberry PI Pico library for driving a Sharp Memory Module, such as the LS013B4DN04 or LS027B7DH01. The library includes low, mid and high level functions.
What is a Sharp Memory Display?
I consider it an evolution of LCD displays - higher contrast and 60FPS animations with very little ghosting. Due to it's high contrast, it is often compared to e-paper (or eink) displays. Here is a quick comparison:
EPaper Advantages
- Zero power needed to display a static image (vs around 80 uA for the Sharp)
- Available in more sizes
- Color versions are available
- Potentially cheaper
Sharp LCD Advantages
- Much less energy needed to update an image (around 2,000 times less energy)
- Much faster updates makes animations practical
This library is built on the pico-sdk SPI libraries. It provides an API with three conceptual layers:
- Low level: At this level the display is represented as a byte array.
You set bytes in the array (each byte represents an 8x1 pixel slice) and
then call
sharpdisp_refresh()to see results. If you are trying to add Sharp LCD support to a different graphics library, this is probably the code you want to look at. - Mid Level: Functions for drawing text and simple shapes.
Examples include
text_str()from writing a string (with a choice of fonts) andbitmap_circle()for drawing a circle. - High Level: At this level, the sharp display is no longer directly
visible but used lower down. The one existing example is the
sharpconsole.hlibrary which lets you create and print text to a scrolling console without concering yourself with all of the setup code otherwise-needed to get it working.
I would consider this project to be "early beta" at this point. There is testing and examples for every API function but likely still some corner-case bugs lurking in places.
You are using this library at your own risk and are responsible for doing the appropriate testing and validation to assert it's reliability is sufficient for your needs.
As an early-beta, I may still make breaking changes to the API. I suggest pinning to a release branch if this might be a problem.
Hardware connections are inline with a standard PI Pico SPI device. The pin assignments are not fixed and can be changed within the limitations of the hardware (see this pinout for an overview and the design documentation for details)
Here they are:
| PI Pin Name | PI Pin # | LCD Pin Name | LCD Pin # | Notes |
|---|---|---|---|---|
| VSYS | 39 | VIN | 1 | VBUS (40) could also be used |
| GND | 38 | GND | 3 | Any PI GND can be used |
| SPI0 SCK | 24 | CLK | 4 | |
| SPI0 TX | 25 | DIN | 5 | Also called MOSI |
| SPI0 CSn | 22 | CS | 6 |
The button array in the image above is providing a route from the RUN pin to ground. It can be useful for any project to make loading new firmware more convenient and is not specific to the Sharp LCD.
Here, I assume you are using a Raspberry PI or Linux distro for development and have already gotten some "blinking light" demo working. From the parent directory:
./bootstrap.sh
cd build
cd examples/midlevel/hello_world
make -j
You can also build and run this from Windows or Mac as the build is just using the standard PI Pico CMake infrastructure. Refer to official documentation for more details on how to set it up
If all goes to plan, you will now have a sharpdisp_hello_world.uf2 file
that you can load onto the pico. You can use the USB drive method or
this command:
picotool load sharpdisp_hello_world.uf2of course this only works if the Pico is ready to accept code by holding the boot button on reset or power on.
If the code loads but the image doesn't show, one thing to consider
(along with the usual checking connections) is to lower the SPI
frequency. Refer to sharpdisp.h for guidance on
how to do this (i.e. use sharpdisp_init_freq_hz()).
Lets break down an example that uses the API (located at examples/midlevel/hello_world/main.c):
#include "pico/stdlib.h"
#include <fonts/liberation_sans_36.h>
#include <sharpdisp/sharpdisp.h>
#include <sharpdisp/bitmapshapes.h>
#include <sharpdisp/bitmaptext.h>

#define WIDTH 400
#define HEIGHT 240

uint8_t disp_buffer[BITMAP_SIZE(WIDTH, HEIGHT)];

int main() {
  sleep_ms(100);  // allow voltage to stabilize

  // Initailize
  struct SharpDisp sd;
  sharpdisp_init_default(&sd, disp_buffer, WIDTH, HEIGHT, 0x00);
  struct BitmapText text;
  text_init(&text, liberation_sans_36, &sd.bitmap);

  // Print Hello World!
  const char* hello = "Hello World!";
  text.x = (WIDTH - text_str_width(&text, hello)) / 2;  // center the string
  text.y = (HEIGHT - text_height(&text)) / 2;
  text_str(&text, hello);

  // Make a border
  const uint16_t border = 15;
  bitmap_rect(
      &sd.bitmap, border, border, WIDTH - border * 2, HEIGHT - border * 2);

  // Send to hardware
  sharpdisp_refresh(&sd);

  while (1) {
    sleep_ms(1000);
  }
}uint8_t disp_buffer[BITMAP_SIZE(WIDTH, HEIGHT)];
int main() {
...
struct SharpDisp sd;
sharpdisp_init_default(&sd, disp_buffer, WIDTH, HEIGHT, 0x00);
...
}Note that we need to provide the buffer memory. Some libraries do this for you
with malloc() but use of dynamic memory allocation is debatable on a
resource-limited microcontroller. Feel free to add a malloc() init wrapper
if that is your preference.
BITMAP_SIZE() is used to calculate the number of bytes needed. The
calculation the macro uses is ((WIDTH + 7) / 8) * HEIGHT where the +7
accounts for widths that are not a multiple of 8 pixels.
The last parameter represents the background fill byte. 0x00 will lead to a
black background while 0xFF will lead to a white one. You could use other
values here to make a striped background if you really want to.
Let's look at the SharpDisp and Bitmap structures a bit:
sharpdisp/sharpdisp.h

struct SharpDisp {
  spi_inst_t *spi;  // choice of SPI hardware
  struct Bitmap bitmap;
  uint8_t cs_pin;  // pin choice for CS
  uint8_t vcom;  // internal state
};
Not much in this structure of interest outside of bitmap which you will often
need to pass to drawing functions (as bitmap_rect() is doing in main.c above).
On to Bitmap, which is a field of SharpDisp but can also be used separately:
sharpdisp/bitmap.h

struct Bitmap {
  uint16_t width;        // width in pixels
  uint16_t width_bytes;  // width in bytes, for buffer calculations
  uint16_t height;       // height in pixels
  uint8_t  mode;         // BITMAP_WHITE, BITMAP_BLACK or BITMAP_INVERSE
  uint8_t  clear_byte;   // 0x00 for black, 0xFF for white
  uint8_t* data;         // contains pixel data
};
The mode field is used by higher-level drawing functions such as text_str()
and bitmap_rect() to decide how to draw pixels. The clear_byte field
defines the background "color" to 0x00 (black) 0xFF (white) or some other
value (for vertical stripes).
int main() {
  ...
  struct BitmapText text;
  text_init(&text, liberation_sans_36, &sd.bitmap);
  ...
}
Here is the BitmapText structure:
sharpdisp/bitmaptext.h


struct BitmapText {
    const uint8_t* font;    // Pointer to some font data
    struct Bitmap* bitmap;  // Pointer to the bitmap to update
    int16_t x;              // Left edge of next drawn character
    int16_t y;              // Top edge of next drawn character
    uint8_t error;          // Non-zero if any errors happen
};
The font pointer points to a header declared in the fonts/ directory.
It is purposefully left as a generic uint8_t* type so that different font
formats can be supported without requiring the use of type casting.
The bitmap pointer is usually set to SharpDisp.bitmap but you can draw to
other bitmaps if you need to.
x and y represent the top-left location of the next drawn character. These
values can be negative which is useful if you want to scroll in text from the top
or left edge of the screen. The values can also exceed the dimensions of the
bitmap but you do need to be mindful of exceeding the int16_t limits.
After a character is drawn, x is automatically incremented by that character's
width (if the character was drawn onscreen). y is not incremented, thus your
mid-level code will need to manage the y coordinate (if you use an API like
bitmapconsole.h or
sharpconsole.h, then y is updated for you in the
manner that those libraries deem appropriate.)
The error field can be ignored unless text is not drawing and you need to
investigate. Non-zero values represent an error an can be referenced in
bitmaptext.h.
int main() {
  ...
  const char* hello = "Hello World!";
  text.x = (WIDTH - text_str_width(&text, hello)) / 2;  // center the string
  text.y = (HEIGHT - text_height(&text)) / 2;
  text_str(&text, hello);
  ...
}
Most of the complexity here comes from centering the text on the display, you could go a simple route and just say:
text_str(&text, "Hello World!");but then the text would display in the upper-left corner (text_init() sets x
and y to zero).
int main() {
  ...
  const uint16_t border = 15;
  bitmap_rect(
      &sd.bitmap, border, border, WIDTH - border * 2, HEIGHT - border * 2);
  ...
}
A straight-forward task. The format is:
sharpdisp/bitmapshapes.h

void bitmap_rect(
    struct Bitmap* bitmap,
    int16_t x,
    int16_t y,
    uint16_t w,
    uint16_t h);
bitmapshapes.h provides functions for
drawing lines, ovals, and flood fills. The base
bitmap.h file contains functions for
setting/getting individual pixels (bitmap_point() and bitmap_get_point()).
int main() {
  ...
  sharpdisp_refresh(&sd);
  ...
}
Everything before this point was just changing the disp_buffer[] array in
memory. The sharpdisp_refresh() function is what sends this buffer to the
hardware. At the default SPI speed of 10Mhz (which you can change), it will
take about 14 ms to do the send and the code will be blocked during the
operation. This time can be offloaded to the Pico's second CPU using the
doublebuffer.h library that is explained in
an upcoming section.
High level APIs here are ones that hide as much boilerplate as possible to allow specific usecases to be streamlined. The usecase in question is a scrolling console. You might want to add a scrolling console to a project that will not even use a Graphic LCD in it's final form, as a way to view debug messages while it is running. The USB port or SWI interfaces can also be used here, of course, if you have a spare computer and are not using the Pico USB hardware for something else.
Building:
./bootstrap.sh
cd build
cd examples/highlevel/console_count
make -j
Code:
#include "pico/stdlib.h"
#include <sharpdisp/sharpconsole.h>

#define WIDTH 400
#define HEIGHT 240

uint8_t disp_buffer[BITMAP_SIZE(WIDTH, HEIGHT)];

int main() {
  sleep_ms(100);  // allow voltage to stabilize
  struct Console c;
  sharpconsole_init_default(&c, disp_buffer, WIDTH, HEIGHT);
  uint32_t i=0;
  while (1) {
    for (uint8_t j=0; j<6; ++j,++i) {
      sharpconsole_printf(&c, "%d  ", i);
    }
    sharpconsole_char(&c, '\n');
  }
}
The sharpconsole_init_default() function makes many decisions for you. There is
also a sharpconsole_init() alternative that takes many additional parameters,
allowing you to choose a different font, background color, and refresh
rate. The default refresh rate is 30 Hz. The LCD does not update with
every write to the console but instead updates at the refresh rate. At 30
Hz and the default font, this gives the console the ability to
print/scroll around 7,000 lines per second. You can scroll even faster by
lowering the refresh rate as a refresh is the real bottleneck for
performance.
Another trick the console uses for speed is that it calls
sharpdisp_refresh_vscroll() instead of sharpdisp_refresh(). The extended
form allows you to change where the y=0 point in the bitmap is. Having this
ability means that the console needs to update/move much less data for a scroll
event which boosts scrolling performance.
It could go even faster if double buffering were used (in trade for using CPU1) but that is not yet implemented.
Building:
./bootstrap.sh
cd build
cd examples/lowlevel/buffer_direct
make -j
Code:
#include "pico/stdlib.h"
#include <sharpdisp/sharpdisp.h>

#define WIDTH 400
#define HEIGHT 240

uint8_t disp_buffer[BITMAP_SIZE(WIDTH, HEIGHT)];

int main() {
  struct SharpDisp sd;
  sharpdisp_init_default(&sd, disp_buffer, WIDTH, HEIGHT, 0xFF);

  for (uint16_t y=10; y < 110; ++y) {
    for (uint16_t x=1; x <= 10; ++x) {
      disp_buffer[y * (WIDTH / 8) + x] = 0xFF;  // Writes a 8x1 pixel slice
      // note, this would do the same thing
      // sd.bitmap.data[y * sd.bitmap.width_bytes + x] = 0x00;
    }
  }

  sharpdisp_refresh(&sd);
  while (1);  // hang
}
For lowlevel, the only files you need to look at are sharpdisp.c and bitmap.c. Very little code overall.
The main usecase here you be if you already have a graphics library you are using and want some example code you can use or port to make the Sharp LCD a target.
As said earlier, at 10Mhz, the Pico is taking around 14 ms to update the screen. If you are targeting a 60 FPS animation, you'll need to complete each frame in 16.7 ms and will likely find the 14 ms update time a heavy tax.
One way to resolve the problem is to move the Sharp hardware update to CPU1 on the Pico. Under this scheme CPU0 and CPU1 work in parallel, thus the 14 ms overhead effectively disappears.
The doublebuffer.h library provides functions to do this as well as details on how the sharing works. To summarize here:
- Instead of allocating one display buffer, you allocate two. Lets
call these
b1andb2for this example. - CPU0 prepares an image on
b1while CPU1 is sendingb2to the Sharp LCD. doublebuffer_swap()is called. It handles syncronization and, when the time is right, swaps internal pointers forb2andb1- Now CPU0 can render the next image on
b2while CPU1 sendsb1to the Sharp LCD. - and the flip-flop cycle continues.
This may sound complicated but actually using the doublebuffer.h library is nearly as simple as not using it. Let's take a simple example and convert it for demonstration.
Without double buffering
struct SharpDisp sd;
uint8_t disp_buffer[BITMAP_SIZE(WIDTH, HEIGHT)];
#define SLEEP_MS 1   // Account for the 14ms drawing time

int main() {
  sharpdisp_init_default(&sd, disp_buffer, WIDTH, HEIGHT, 0x00);

  while (1) {
    bitmap_clear(&sd.bitmap);
    draw_things(&sd.bitmap);
    sharpdisp_refresh(&sd);
    sleep_ms(SLEEP_MS);
  }
}
This example will get around 60 FPS assuming draw_things() completes in 1ms.
With double buffering (comment indicate changed lines)
struct SharpDisp sd;
struct DoubleBuffer db; // Need this object
uint8_t disp_buffer[BITMAP_SIZE(WIDTH, HEIGHT)];
uint8_t disp_buffer2[BITMAP_SIZE(WIDTH, HEIGHT)];  // Need a 2nd buffer
#define SLEEP_MS 16   // 62 FPS

int main() {
  sharpdisp_init_default(&sd, disp_buffer, WIDTH, HEIGHT, 0x00);
  doublebuffer_init(&db, &display, disp_buffer2, SLEEP_MS);  // Setup

  while (1) {
    bitmap_clear(&db.bitmap); // db.bitmap instead of sd.bitmap
    draw_things(&db.bitmap);
    doublebuffer_swap(&db);  // This instead of sharpdisp_refresh() and sleep_ms()
  }
}
With these handful of lines changed (and the additional memory), draw_things()
is now rendering to the double buffer bitmap while the Sharp LCD is
updated in parallel. Under this setup, draw_things() can take up to 16 ms
and we will still see >60 FPS. We may also see a more consistent framerate
in this example as doublebuffer_swap() contains the needed logic to
keep the FPS even. If draw_things() does takes > 16ms, things will still
work but the framerate will not hold > 60 FPS.
examples/midlevel/doublebuffer and examples/midlevel/mapscroll provide additional examples.
If you want to know what framerates you are actually getting, the internal pico timers can help gather the data. All of this is already wrapped up in the metrics.h library that you can use directly or a starting point for your own system.
examples/midlevel/metrics provides an example.
The fonts/ directory has a set of fonts you can choose from without doing any additional steps.
It's also easy to create your own fonts. To do so, you'll need the following installed:
- Python3
- The pillow image library (Google "python3 pillow")
- GNU Make
Then you:
- copy a
.yamlfile in the fonts directory from a similar font to your new one. - Edit your new
.yamlfile - Run
makein thefonts/directory.
The make command calls tools/make_var_font.py for every font that needs updating. You could of course just call make_var_font.py yourself if that suits you.
Here is an example .yaml file:
output_type: SharpMemoryFont
height: 18
sections:
  - type: ttf
    path: LiberationSans-Regular.ttf
    right_trim: 1
    y_offset: -3
    font_size: 18
Most parameters should be clear except for possibly right_trim and y_offset. These are used to help fit characters into a smaller bounding box.
There are more parameters listed in make_var_font.py. I suggest reviweing them before undergoing any serious font conversion efforts as the same effect might be a simple setting away.
Another paramter worth mentioning and not shown above is chars. Let's
demonstrate:
output_type: SharpMemoryFont
height: 72
sections:
  - type: ttf
    path: LiberationSans-Regular.ttf
    font_size: 72
    chars: "1234567890APM"
  - type: ttf
    path: LiberationSans-Regular.ttf
    left_trim: 5
    right_trim: 5
    font_size: 72
    chars: ":"
Here, we picked a large font size but saved memory by not including every
character. Also demonstrated here is the use of sections to apply different
settings to different characters. In this example, it was used to apply
different trim settings to just the : character.
Fonts are stored using a RLE compression variant. This encoding can decompress nearly as fast (and often faster) than an uncompressed image and works well with repeating patterns (vertical stripes of repeating patterns as-implemented).
Verses an uncompressed font, this can save up to 100x the space or use a little
more space depending on how many patterns there are to exploit. The best-case
example is the space character which is all repeating 0x00 bytes. Usually,
the larger the font, the bigger the spacing savings.
RLE can also be faster to draw than uncompressed because of the way that data is
"blitted" and not copied. Basically pixels in the font are combined with what
is already there using one of three modes: BITMAP_BLACK, BITMAP_WHITE or
BITMAP_INVERT. Under this scheme, which is basically necessary for font
widths that are not a multiple of 8, the 0x00 byte is a NOOP byte and thus
repeating sequences of 0x00 can be skipped over efficiently. Again, larger
fonts will generally see larger relative improvements.
See bitmaptext.h and bitmapimage.h for additional details.
"Custom images" in this section refers to prerendered images such as .jpg and
.png files that you want to use. It does not refer images you dynamically
create at runtime.
The bitmapimage.h library supports the use of these images encoded as
RLE and embedded into the firmware as compiled .c objects.
The make_images.py utility creates the data. Here is an example:
output_type: SharpMemoryImage
images:
  - path: diploma.png
  - path: file_search.png
  - path: pnp.png
  - path: vase.png
To process the yaml above:
tools/make_images.py images.yamlThe yaml file supports further options. See make_images.py for details
Using the recipe above, images.h and images.c files will be generated with
RLE image data and header definitions that look like this:
#define DIPLOMA_IMG                    0
#define FILE_SEARCH_IMG                1
#define PNP_IMG                        2
#define VASE_IMG                       3
Here is an example showing basic usage:
#include "images.h"

int main() {
  struct SharpDisp sd;
  struct BitmapImages bi;
  sharpdisp_init_default(&sd, disp_buffer, WIDTH, HEIGHT, 0xFF);
  image_init(&bi, images, &sd.bitmap);
  image_draw(&bi, FILE_SEARCH_IMG, 10, 10);
  sharpdisp_refresh(&sd);
  while (1) { sleep_ms(1000); }
}One of the downsides of RLE is that, due to compression, it's inefficient (or non-trivial, if you prefer) to extract a rectangular selection from within the data. This can come up when you are working with an image that is much larger than the screen and you want to scroll around in it (see examples/midlevel/mapscroll for a case of this). You can just draw the image with a negative offset like this:
image_draw(&bi, LARGE_MAP_IMG, -400, -200);and the output will be correct but performance will not be optimal.
Like all problems in computer science, there are many solutions possible.
One that is popular (and implemented) is to break the image into tiles and
restrict rendering to only the tiles that actually appear on the screen.
To do this, you add additional annotations to the .yaml file:
images:
  - path: map.png
    tile_x: 64
    tile_y: 64
and call an alternate drawing function:
image_draw_tiled(bitmap, MAP_IMG_0_0, MAP_IMG_COLUMNS, MAP_IMG_ROWS, x, y);
For the map mapscroll example, using tiles resulted in around a 5x rendering performance improvement and thus achieved glitch-free 60 FPS scrolling. The larger the source image, the larger potential for improvement. Images that (mostly) fit within the screen boundaries will see no improvement by using tiling.
An alternate approach is to use bitmaps instead. This will use more memory but offers runtime flexibility that is sometimes needed. See the next section for details.
The bitmap.h library supports three functions for copying and blitting one
bitmap onto the other:
void bitmap_copy(
  struct Bitmap* dest,
  const struct Bitmap* src);

void bitmap_copy_rect(
  struct Bitmap* dest,
  const struct Bitmap* src,
  int16_t src_x,
  int16_t src_y);

void bitmap_blit(
  struct Bitmap* dest,
  int16_t dest_x,
  int16_t dest_y,
  const struct Bitmap* src);
A quick rundown:
bitmap_copy()is an efficient bitmap copy mechanism for two bitmaps that share the same width.bitmap_copy_rect()is less efficient but addssrc_xandsrc_yparameters for more flexibility. It's main use is to capture an area of a larger bitmap into the entirity of a smaller one.bitmap_blit()overlays one bitmap onto another one usingbitmap.modeas an overlay operation. Because0pixels are transparent with this function, you may need to prepare the tarrget area by drawing a filled shape or using a special bitmap that is intended to be used as a masking image.
Most bitmap copy/overlay operations can be implemented by combining the above methods in the proper sequence. See bitmap.h and examples/midlevel/bitmapblit for more details.
There is a test/ directory that builds a binary file. This binary file can be loaded onto a Pico with a connected display for testing and connected to a PC for logging messages.
The test runs through most of the API functions, drawing on bitmaps and asserting that the output conforms to certain properties (such as 1's pixel count and pixel tests at certain locations). The test also puts guards around the buffer arrays and tests for intrusion into these guards (to help spot buffer overruns and underruns).
As the observer, it's your job to assert that reasonable-looking output is actually appearing on the Display hardware. Due to the other tests, it's not ncessary to scrutinize the results, manually confirming non-garbled output should be enough to cover the testing aspects that other tests can not check.


