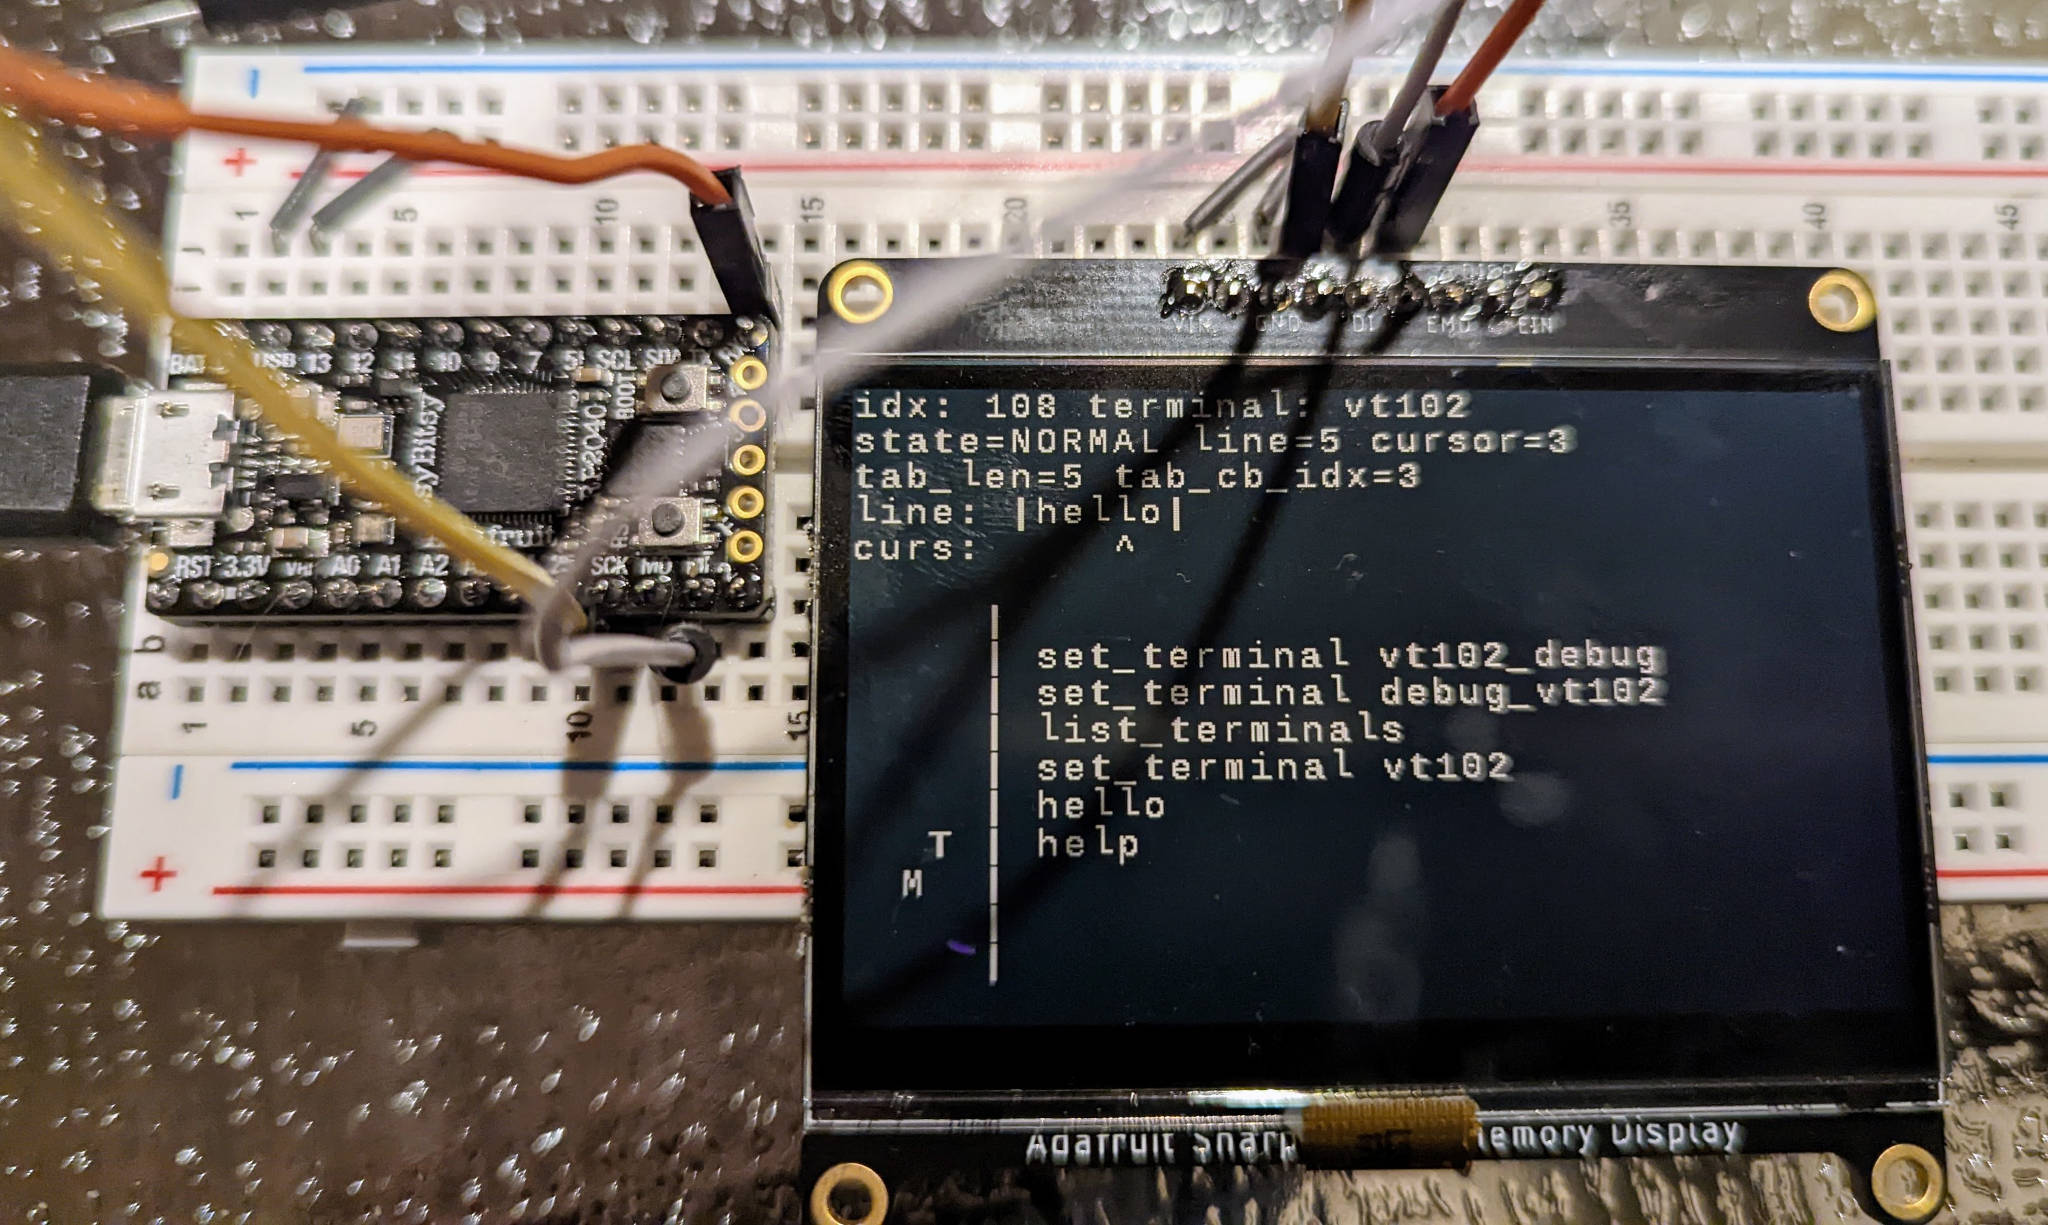
This project provides an easy-to-integrate console for C-based PI PICO Projects.
To accommodate different usage scenarios, different console "modes" are provided:
CONSOLE_MINIMAL: Silently consumes characters. Mostly intended for program API use (e.g. writing a Python program that sends commands to the PICO)CONSOLE_ECHO: Echos back characters for terminals that provide no editing support.CONSOLE_VT102: When used with a capable terminal emulator, this mode provides rich editing features. This includes cursor control, insert mode, command history, and tab completion.
Here is a minimal example that uses the library (as found in examples/minimal/main.c):
#include "pico/stdlib.h"
#include <stdio.h>
#include "uart_console/console.h"

static void hello_cmd(uint8_t argc, char* argv[]) {
  printf("Hello World!\n");
}

struct ConsoleCallback callbacks[] = {
    {"hello", "Prints message", 0, hello_cmd},
};

int main() {
  struct ConsoleConfig cc;
  uart_console_init(&cc, callbacks, 1, CONSOLE_VT102);

  while (1) {
    uart_console_poll(&cc, "> ");
    sleep_ms(20);
  }
  return 0;
}
and an example session:
To build the uart_console_minimal.uf2 binary that can be loaded on a PI Pico:
./bootstrap.sh
cd build/examples/minimal
make
Note that, by default, the console uses the USB interface. To use the UART pins instead change examples/minimal/CMakeLists.txt:
pico_enable_stdio_usb(uart_console_minimal 0)
pico_enable_stdio_uart(uart_console_minimal 1)
and rebuild the code.
Let's breakdown the example a bit, starting with the callback:
static void hello_cmd(uint8_t argc, char* argv[]) {
  printf("Hello World!\n");
}
This looks a lot like a main() function in a C program. It will be called
when the user enters the "hello" command. For this case, argc will always be
0 and argv[] will be empty.
Now on to the registration structure:
struct ConsoleCallback callbacks[] = {
    {"hello", "Prints message", 0, hello_cmd},
};
Here we give the command name, a description string (for when the user enters
help), the number of expected arguments and a pointer to the defined callback
function.
Note that an entry can use
-1for the number of arguments to accept anywhere between0andCONSOLE_MAX_ARGS(which is defined in console.h). When using-1, the callback function will need to look atargcand handle related usage errors itself.
Next initialization:
int main() {
  struct ConsoleConfig cc;
  uart_console_init(&cc, callbacks, 1, CONSOLE_VT102);
  ...
}
We need to allocate a ConsoleConfig structure to hold the state of the console.
We then initialize it will the defined callbacks, the number of callbacks (in
this case just 1) and the type of console we we to use (called the console terminal),
Note: The console mode can be changed at any time by changing the
terminalfield inConsoleConfig. Thus you might have a command to change it fromCONSOLE_VT102toCONSOLE_MINIMALfor program access. The terminal_modes example demonstrates this.
Finally the polling function:
int main() {
  ...
  while (1) {
    uart_console_poll(&cc, "> ");
    ...
  }
  ...
}
The polling function must be called regularly to give the user a responsive experience and not miss data.
Any time that uart_console_poll() is called, it may invoke a
registered callback function before returning. For this example,
that means that the hello_cmd() callback could get called as a result
of calling uart_console_poll().
If this simple polling model is unworkable for your program, you could put all of the command processing on CPU1 for better responsiveness but then callbacks will also occur on CPU1. You'll thus need a way to coordinate communications between CPU1 and CPU0. The Pico SDK provides locks, message queues and other mechanisms for this purpose.
or, you can use the lowlevel API functions described below.
For the sake of convenience, the default usage pattern uses uart_console_init() and uart_console_poll(). While easy to use, these do have some limitations:
-
These functions call into the
stdiolibrary. You may want input and output to be directed differently. -
You may want to use interrupts instead of polling.
For both of these cases:
-
If you want to use input characters from a custom source, you can call
uart_console_putchar()to feed them in. -
If you want to output characters (prompt, help text) to a custom device, you can use
uart_console_init_lowlevel(), which takes aint (*putchar)(int c)callback. You can have this callback point to a custom function that handles the data in any way you would like (for example, sending it to an LCD).
The sharp_as_output example gives a demonstration. You will need a Sharp Memory Display to actually run the demo, unless you hack the code to work with something else.
The options above are mix/match. You can use either uart_console_poll() or
uart_console_putchar() and match it up with either uart_console_init() or
uart_console_init_lowlevel().
One caveat. If you are using
uart_console_init_lowlevel()withuart_console_poll(), you need to callstdio_init_all()yourself becuaseuart_console_init_lowlevel()internationally does nothing withstdio.
Another caveat. Calling
uart_console_putchar()directly from an interrupt handler is something to think about cautiously because any registered callbacks and output produced would also be serviced by the interrupt. In many cases, you'll want to have the interrupt handler buffer the characters somewhere and have the main thread feed this buffer touart_console_putchar()when it can. This turns out to be pretty similar to what happens using thestdioroute but you'll have control over the details.
If you have a Sharp Memory Display,
you can run the
show_internal_state tool to
look at internal ConsoleConfig state as characters are typed. If not, the code
can be changed to work with something else.
To compile it, you'll need to initialize submodules to grab the needed dependency code:
git submodule init
git submodule update
./bootstrap.sh
