AWS Amplify Toolkit
This is an AWS Amplify project that provides a web interface for demoing/testing aspects of AWS with a simple browser app.
This is really meant as a learning tool, not anything for production.
Features
The following features exist as browser "widgets" in the app. Scroll down further to the Widgets section for screenshots and details:
-
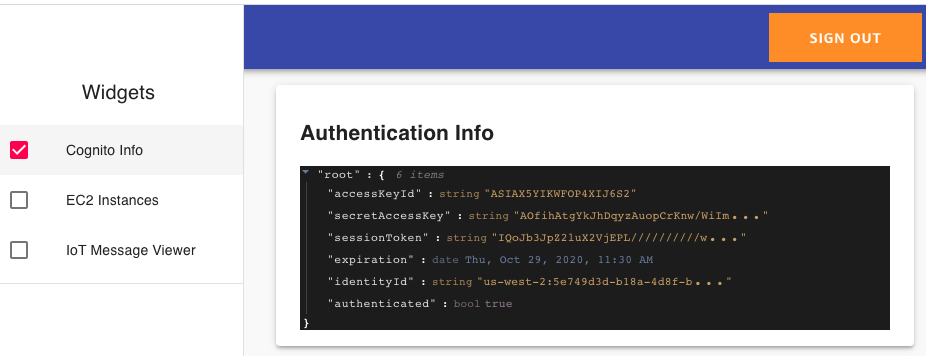
Cognito Widget - shows you the JWT of the logged in user
-
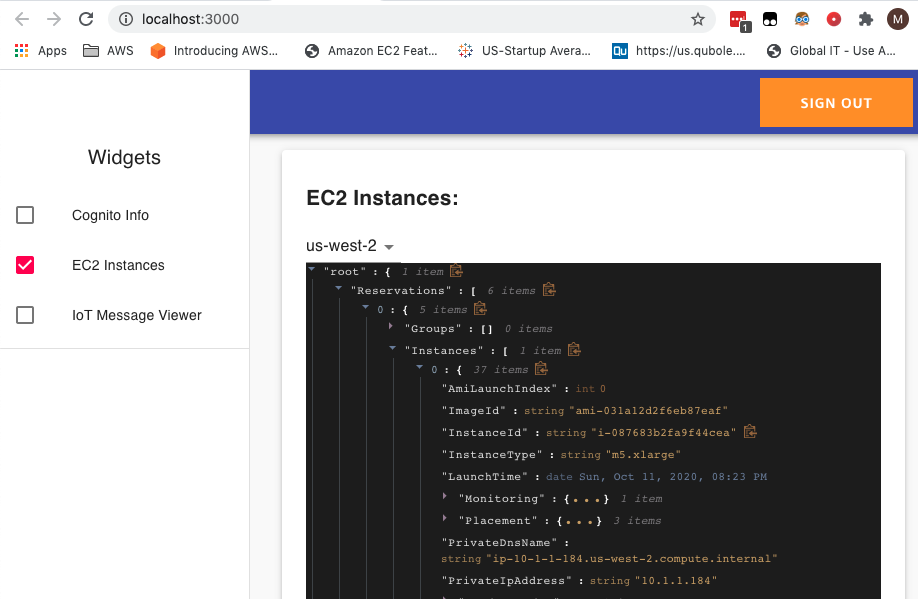
EC2 Instances - Displays results of EC2.describeInstances()
-
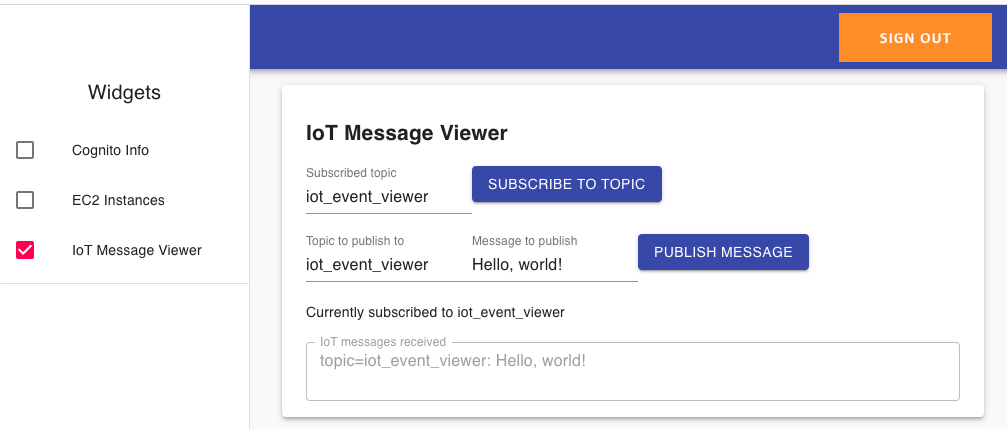
IoT Message Viewer - publish and subscribe to AWS IoT Core topics in the browser
-
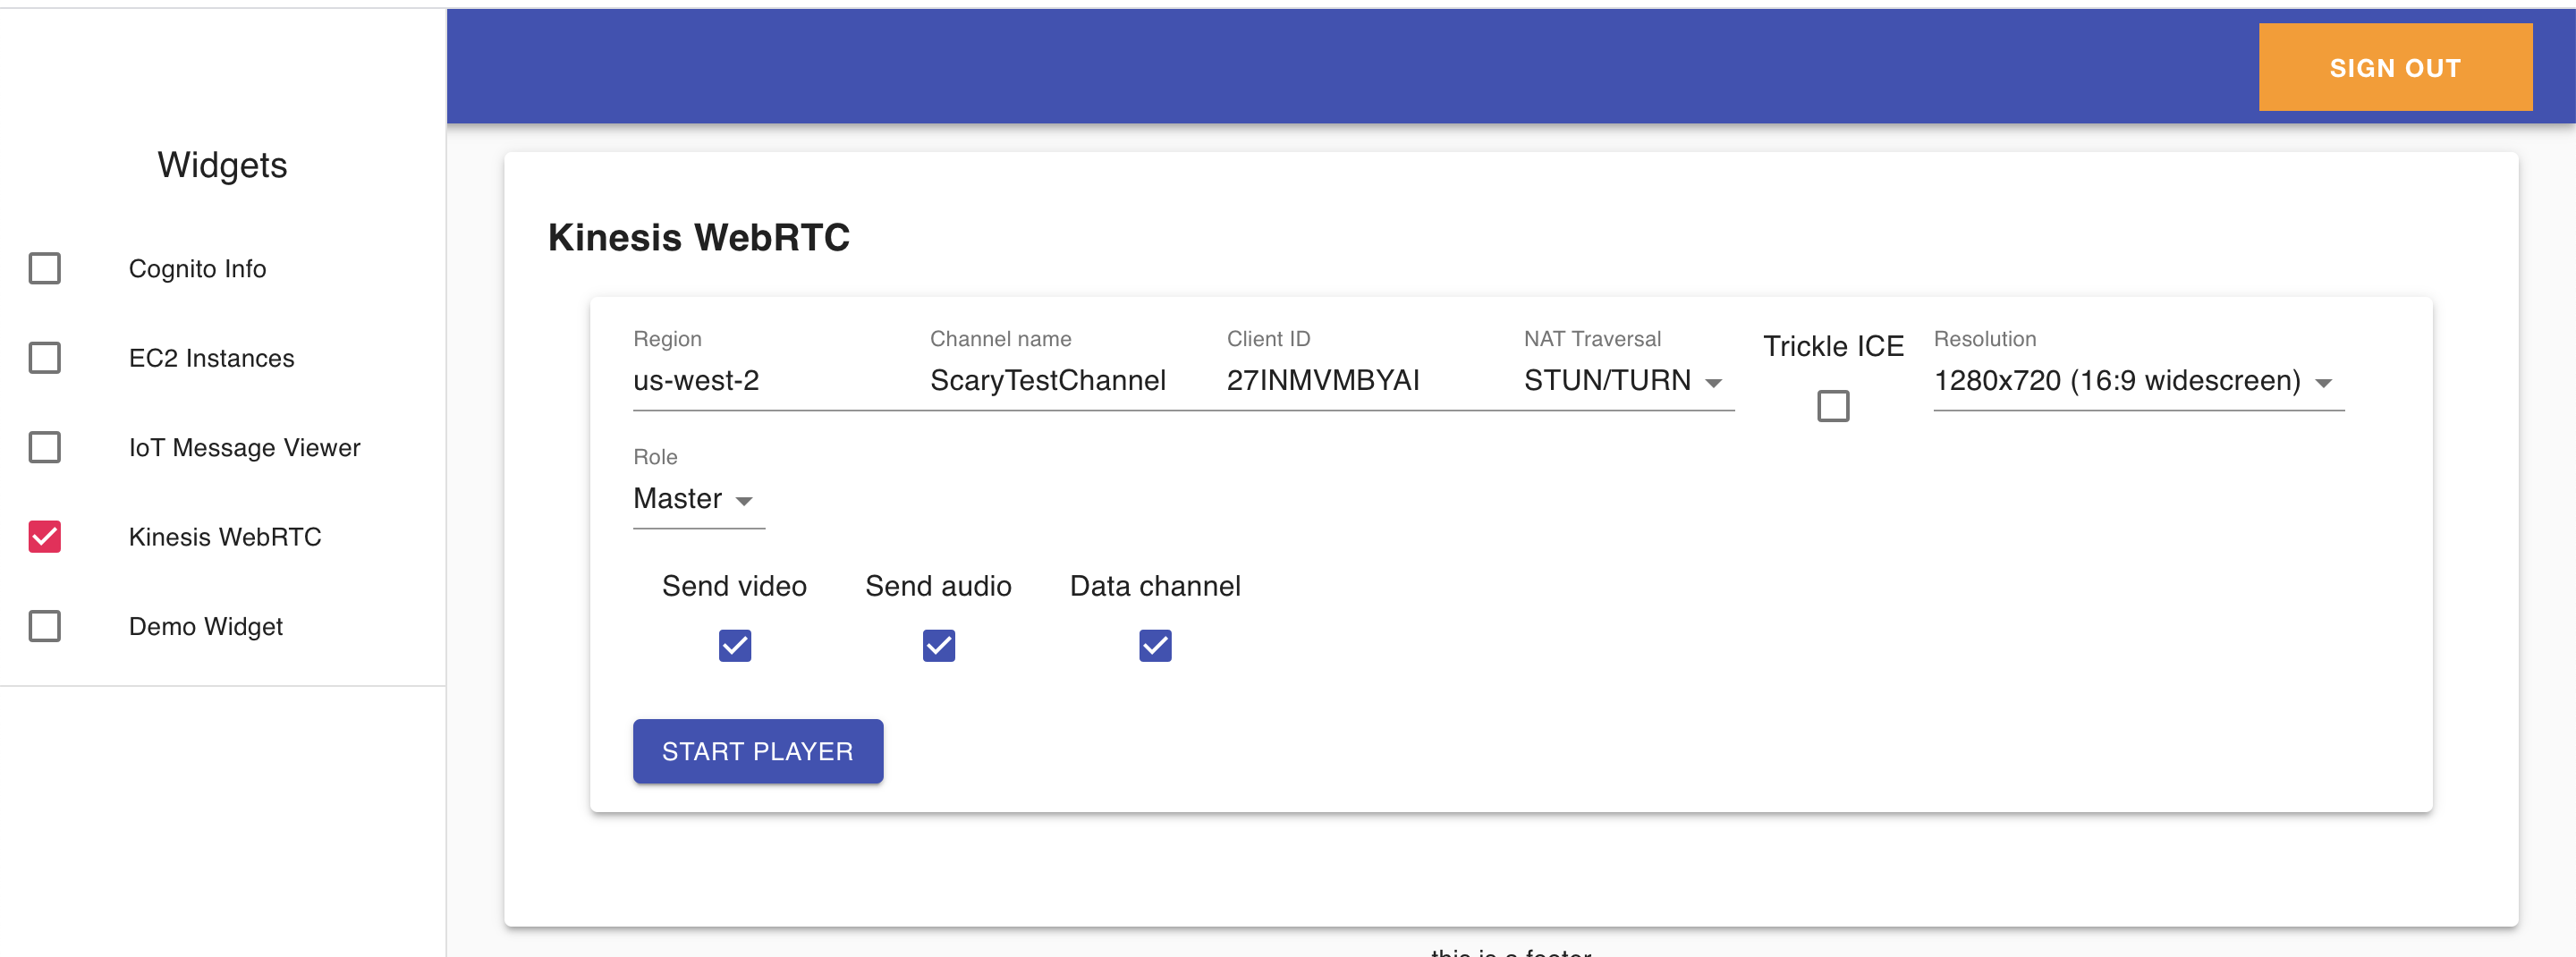
Kinesis WebRTC Viewier - connect to a Kinesis WebRTC Signaling channel to send/receive live video
-
Redshift Data API - asynchronously submit, browse, and view results of SQL queries for a Redshift cluster
Security
This is not secure for for a production account!
This is a demo tool I use in my test account, so it creates Cognito users that have a federated identity with administrative *:* permissions.
Because of that, you don't want just anybody to be able to sign up via your Cognito user pool. Therefore, I've disabled user signup and enforced "Admin-only user creation", meaning that an IAM user or role must use the Cognito administrative APIs (or the Cognito web console) to create users. This change is done by modifying the default CloudFormation created by the amplify add auth command, as shown here.
This project also deploys an IoT policy named amplify-toolkit-iot-message-viewer that gives full MQTT pubsub permissions to any user signed in to the Cognito User Pool.
Deployment
-
Install the AWS Amplify CLI:
npm install -g @aws-amplify/cli -
Clone this repository:
git clone https://github.com/matwerber1/aws-amplify-react-toolkit -
Install dependencies:
cd aws-amplify-react-toolkit npm install -
Configure amplify:
amplify configureIn order for Amplify to create resources in your AWS account, you need to provide Amplify with AWS credentials, aka an IAM user or role's access key, secret key, and - if you're assuming a temporary role, a session token).
If you have previously installed and configured the AWS CLI, this will save your access credentials as a "profile" in
~/.aws/credentials. When prompted byamplify configurewhether you want to use an existing profile, you can say "yes" and choose one of your previously created profiles.If you answer "no", Amplify will open prompt you to create a new IAM user and save the credentials locally so that the Amplify has CLI permission to create resources on your behalf.
-
From the repository root, run:
amplify initThis will create the "barebones" resources for your Amplify project.
-
Create additional resources defined in the project, such as a Cognito user pool, by running:
amplify push -
Run the web app locally via
npm run start -
Go to the Cognito User Pool web console in your AWS account and create a user, then add them to the
adminuser group. -
Log in locally and enjoy! (?)
Adding Widgets
This project breaks functionality into "widgets". These are self-contained React components to test/demo different aspects of AWS in the browser.
To create a widget:
-
Add your React component to
./src/components/widgets. -
To make your widget appear in the left navigation menu, do the following:
-
In
./src/components/body.js, import your new component:import MyNewWidget from './widgets/my-new-widgets';
-
Within
./src/components/body.js, modify theconst widgets = [{...}]array:The array looks like this:
const widgets = [
{
  component: UserInfo,
  displayName: 'Cognito Info',
  id: 'cognito-info',
},
For your new widget, add a new object to the array above. The
componentproperty should match the name of the component you imported, thedisplayNameis whatever value you want shown to the user in the navigation menu, theidis an arbitrary, unique ID for the rendered component.
Current Widgets
Cognito Info
Displays the JWT of your user after signing in to Cognito. Useful for visualizing how Cognito works:
EC2 Instance Viewer
From the browser, uses the AWS SDK to call the ec2.describeInstances() API for a given region and display results:
IoT Message Viewer
Allows you to subscribe and/or publish to IoT topics via MQTT with AWS IoT Core's pubsub message broker.
Kinesis Video WebRTC Viewer/Player
Connect to a Kinesis Video WebRTC signaling channel to send/receive live video.
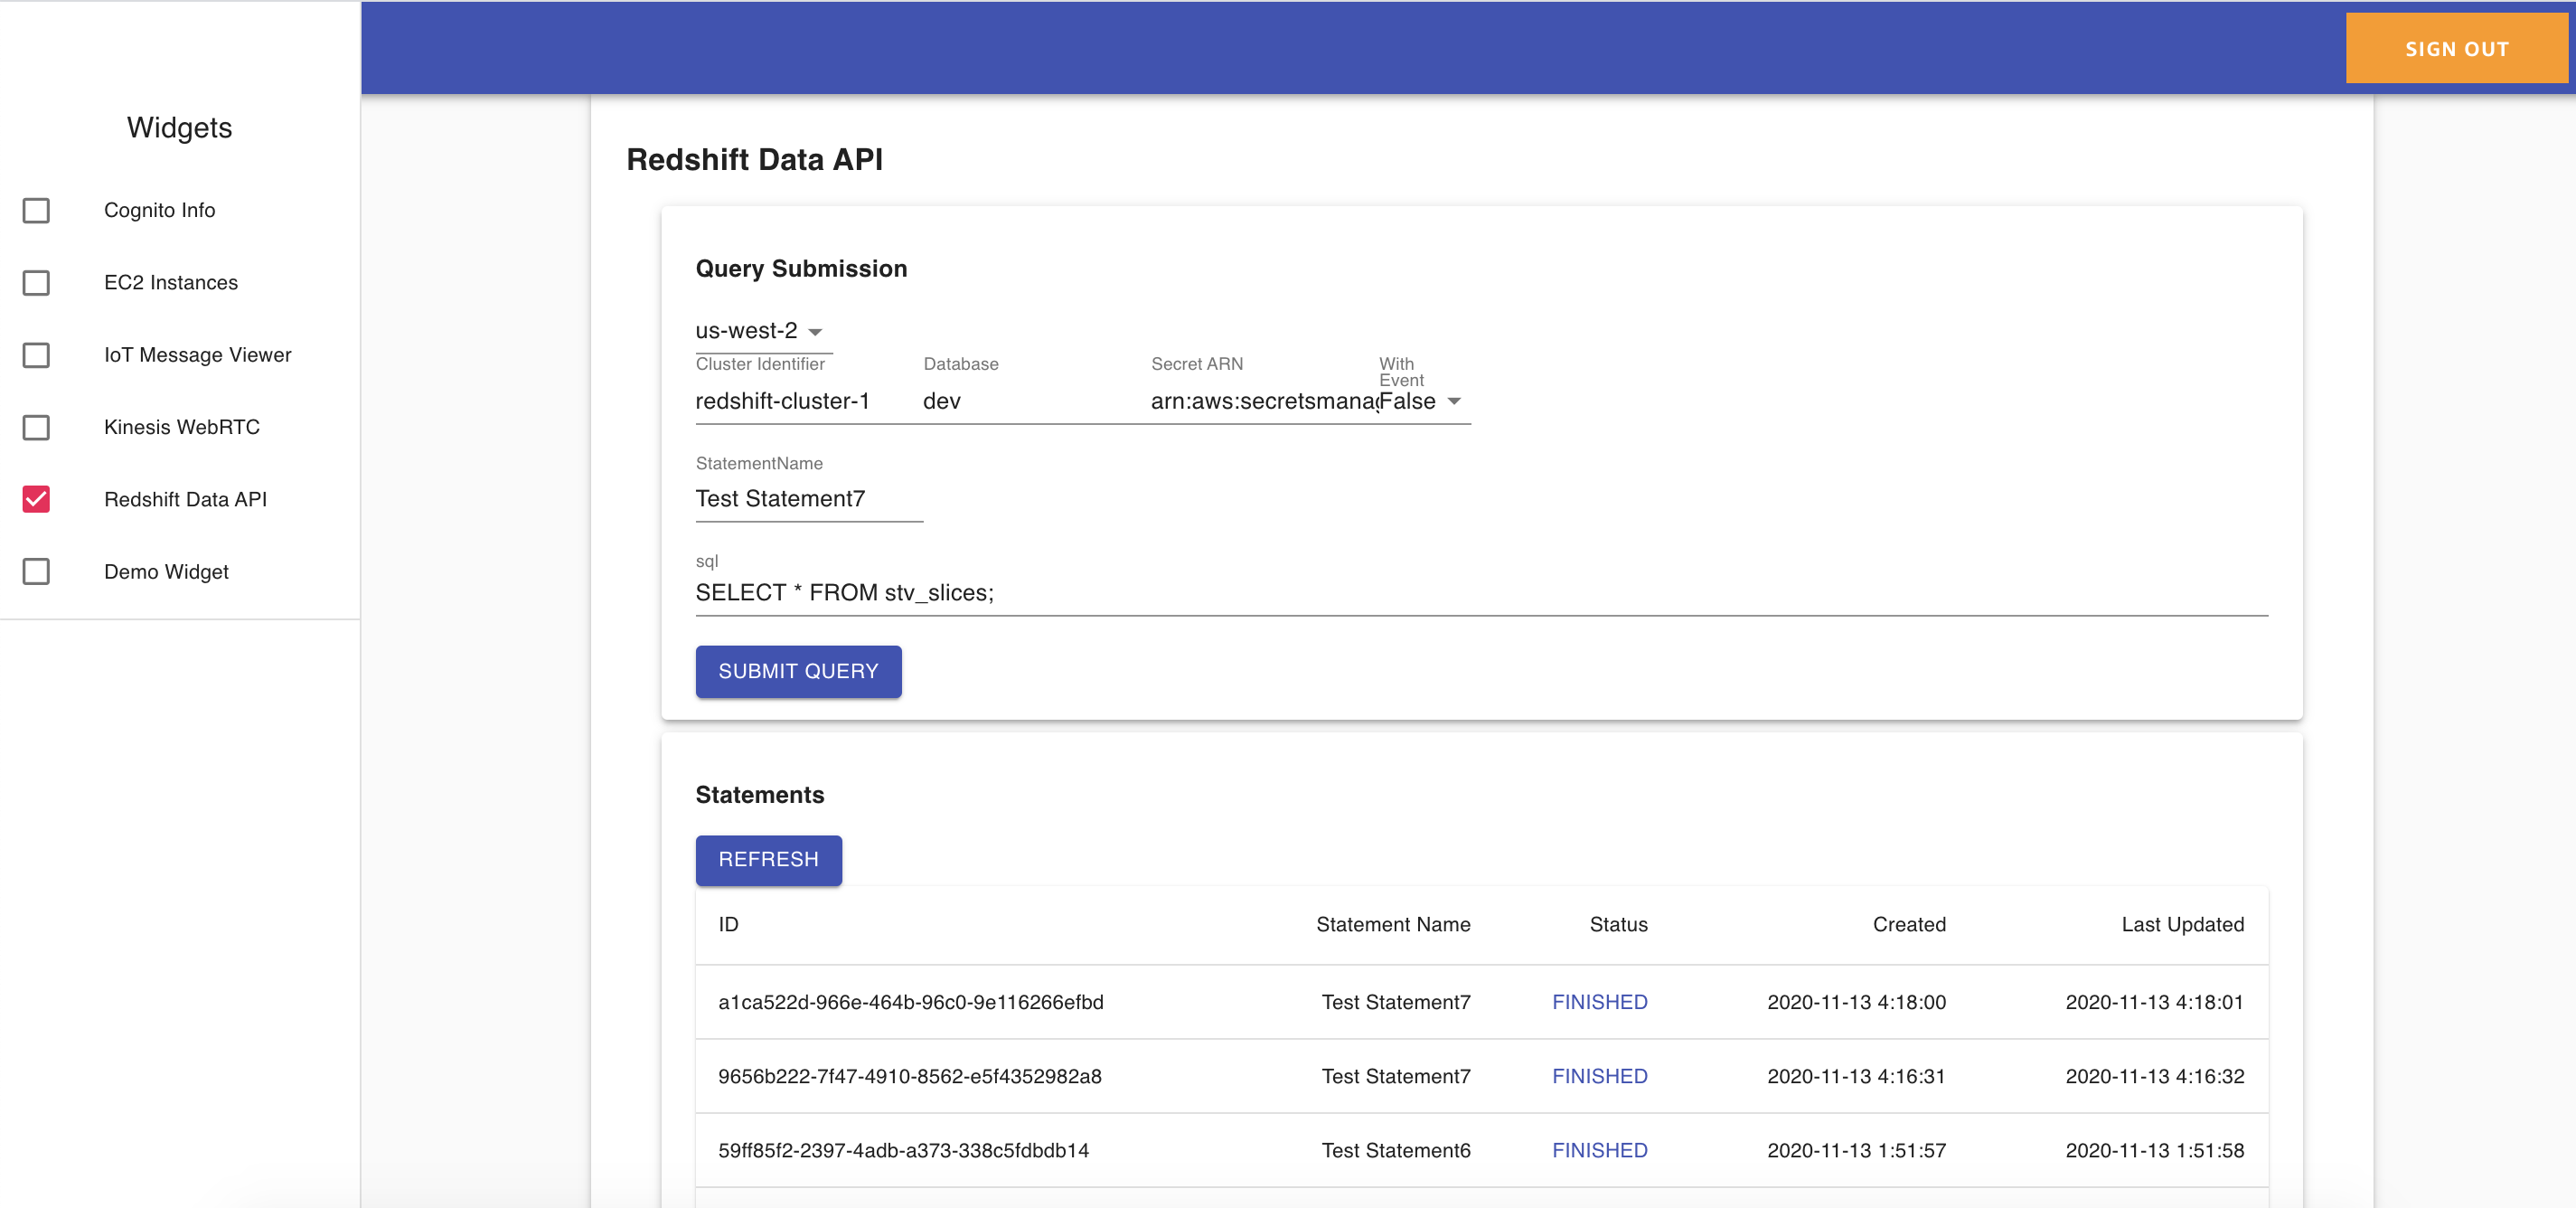
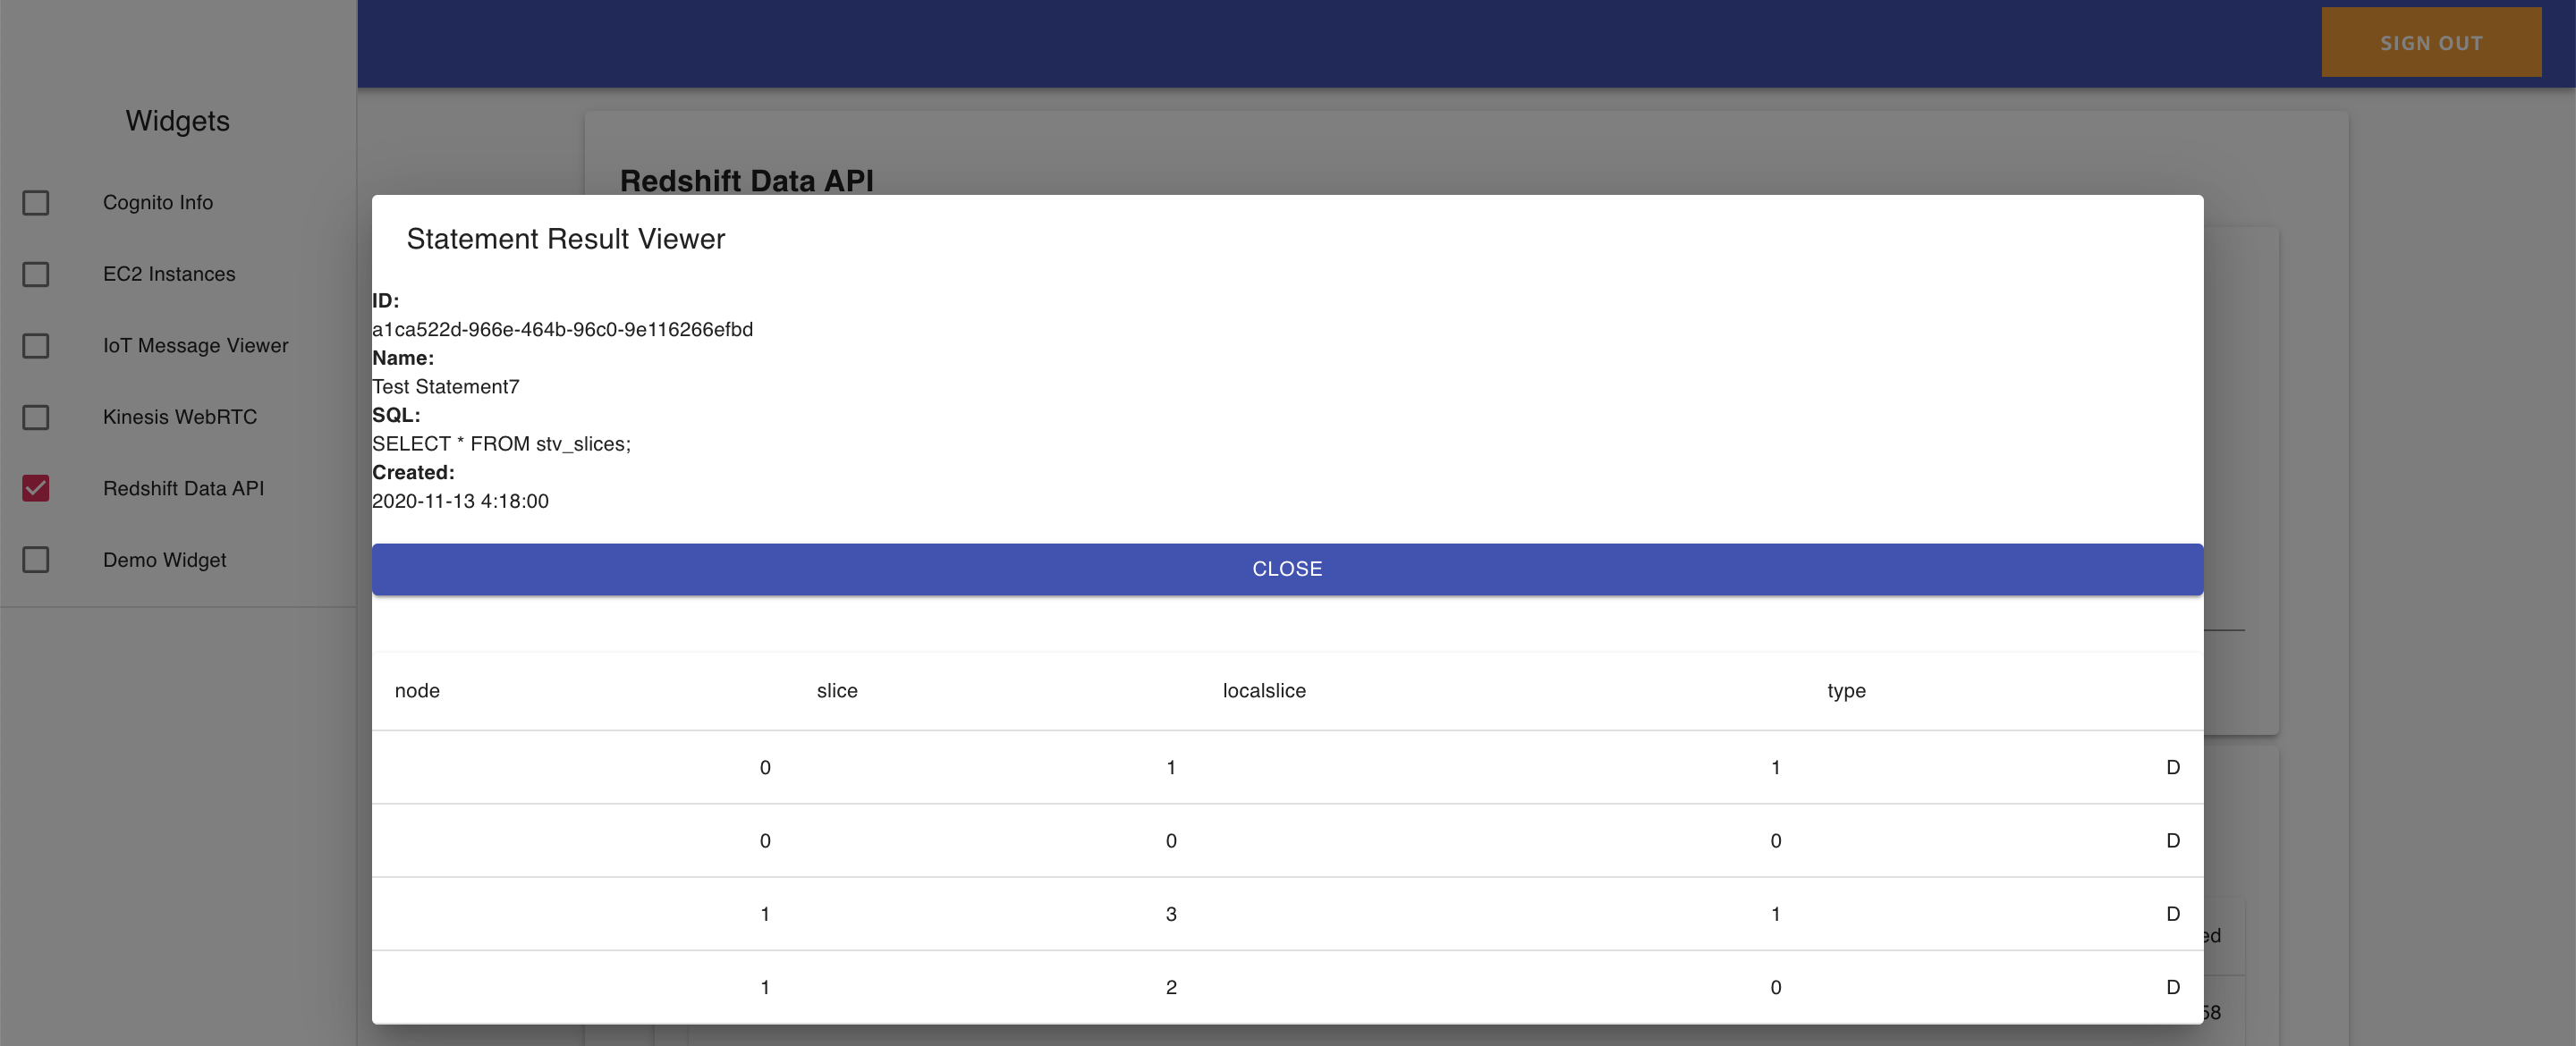
Redshift Data API
This widget allows you to asynchronously submit queries to a Redshift cluster and later retrieve results when they are ready using Redshift's new (O4, 2020) Data API.
Prerequisites:
- Existing Redshift cluster inside of a VPC
- Username/password stored in AWS Secrets Manager and tagged with a key of
RedshiftDataFullAccess(see Data API docs for detail)
Submit queries and view their status:
View query results when query is complete:
