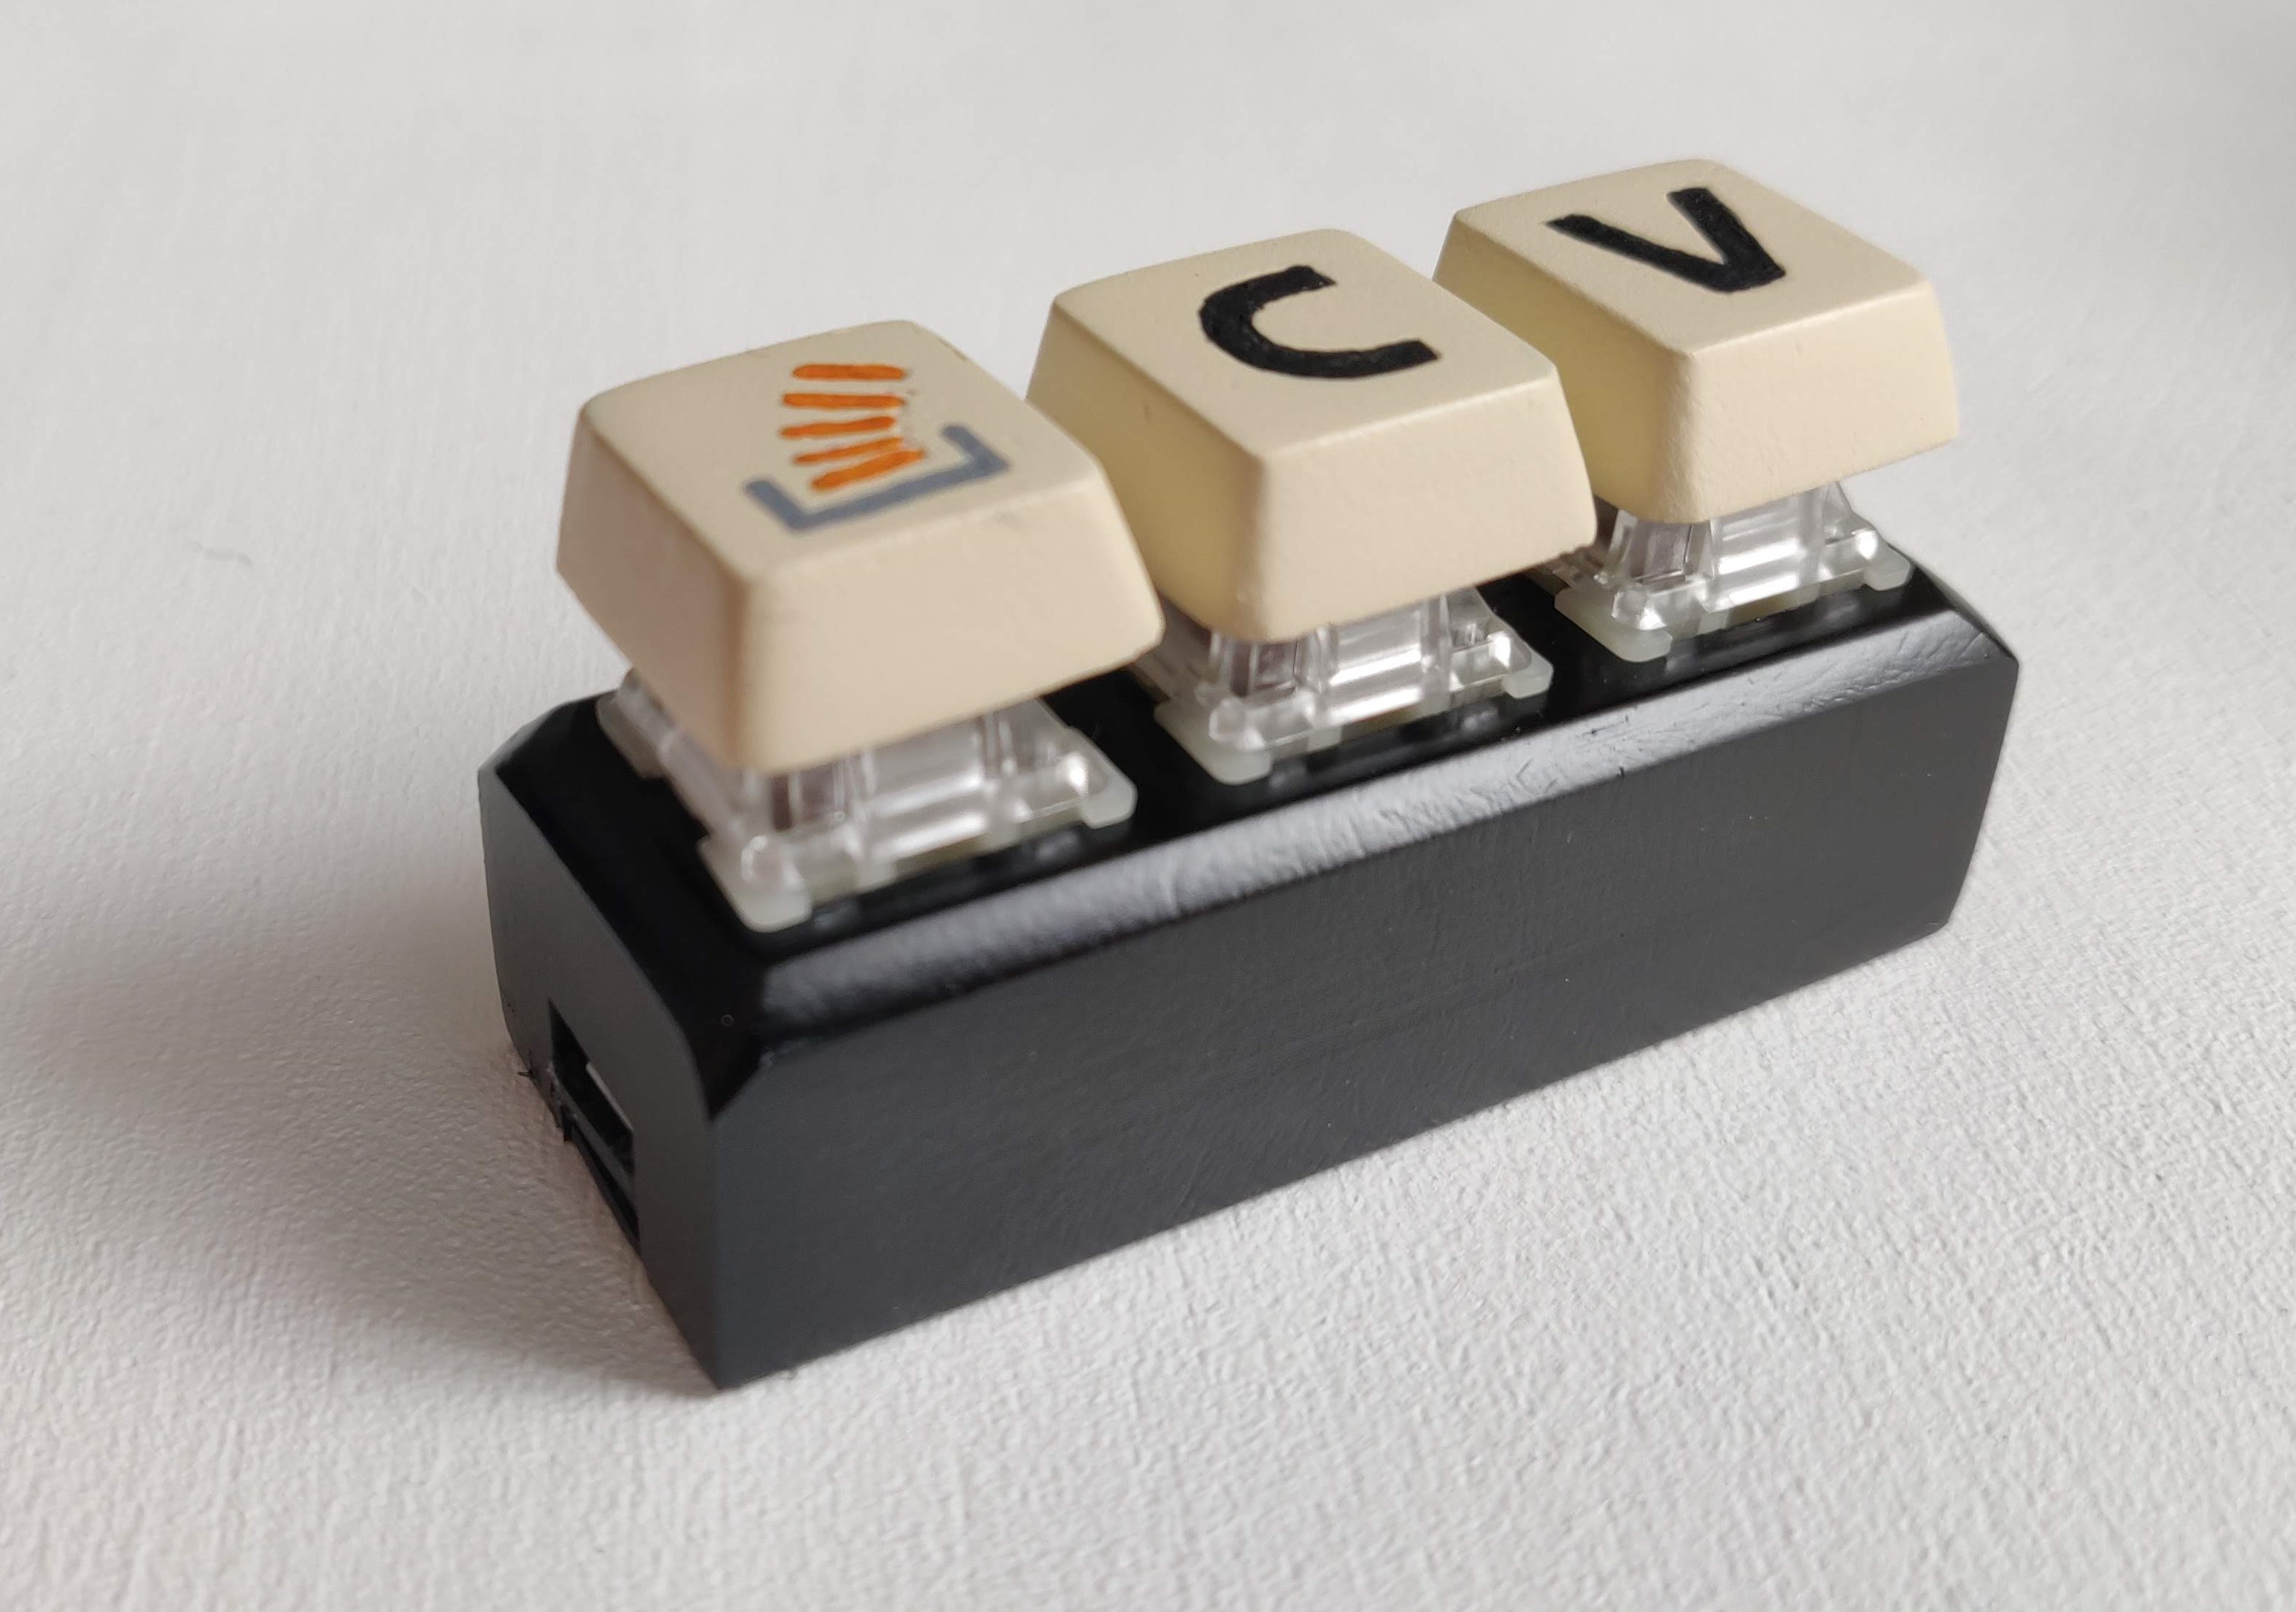
3D Printing and Programming a 3-Key Macro Keyboard akin to The Key™ by Stack Overflow.
You'll need a 3D Printer and a Soldering Iron as well as following materials:
- 3 Mechanical Cherry-MX-compatible Keyboard Switches
- 1 Arduino Pro Micro
- Solder and wire
- Optionally sand paper and paint for the finish
3D Print all components as provided. The case_top should be printed upside down with supports. I printed the key caps upright with supports to get the engraving right. I printed with PLA in 0.16mm quality with 20% infill for the case and 0.12mm quality with 20% infill for the key caps.
Insert the switches from the top and solder one wire of each switch to ground and the others to the Pins 2, 3 and 4 (can be changed in the arduino sketch). Connect the arduino to your PC via the micro USB port and flash the sketch with the Arduino IDE. Make sure you have the correct board and CPU set up and chosen as described in the Sparkfun Pro Micro Setup guide.
For more details you can follow this Blog Post by Dave Madison.
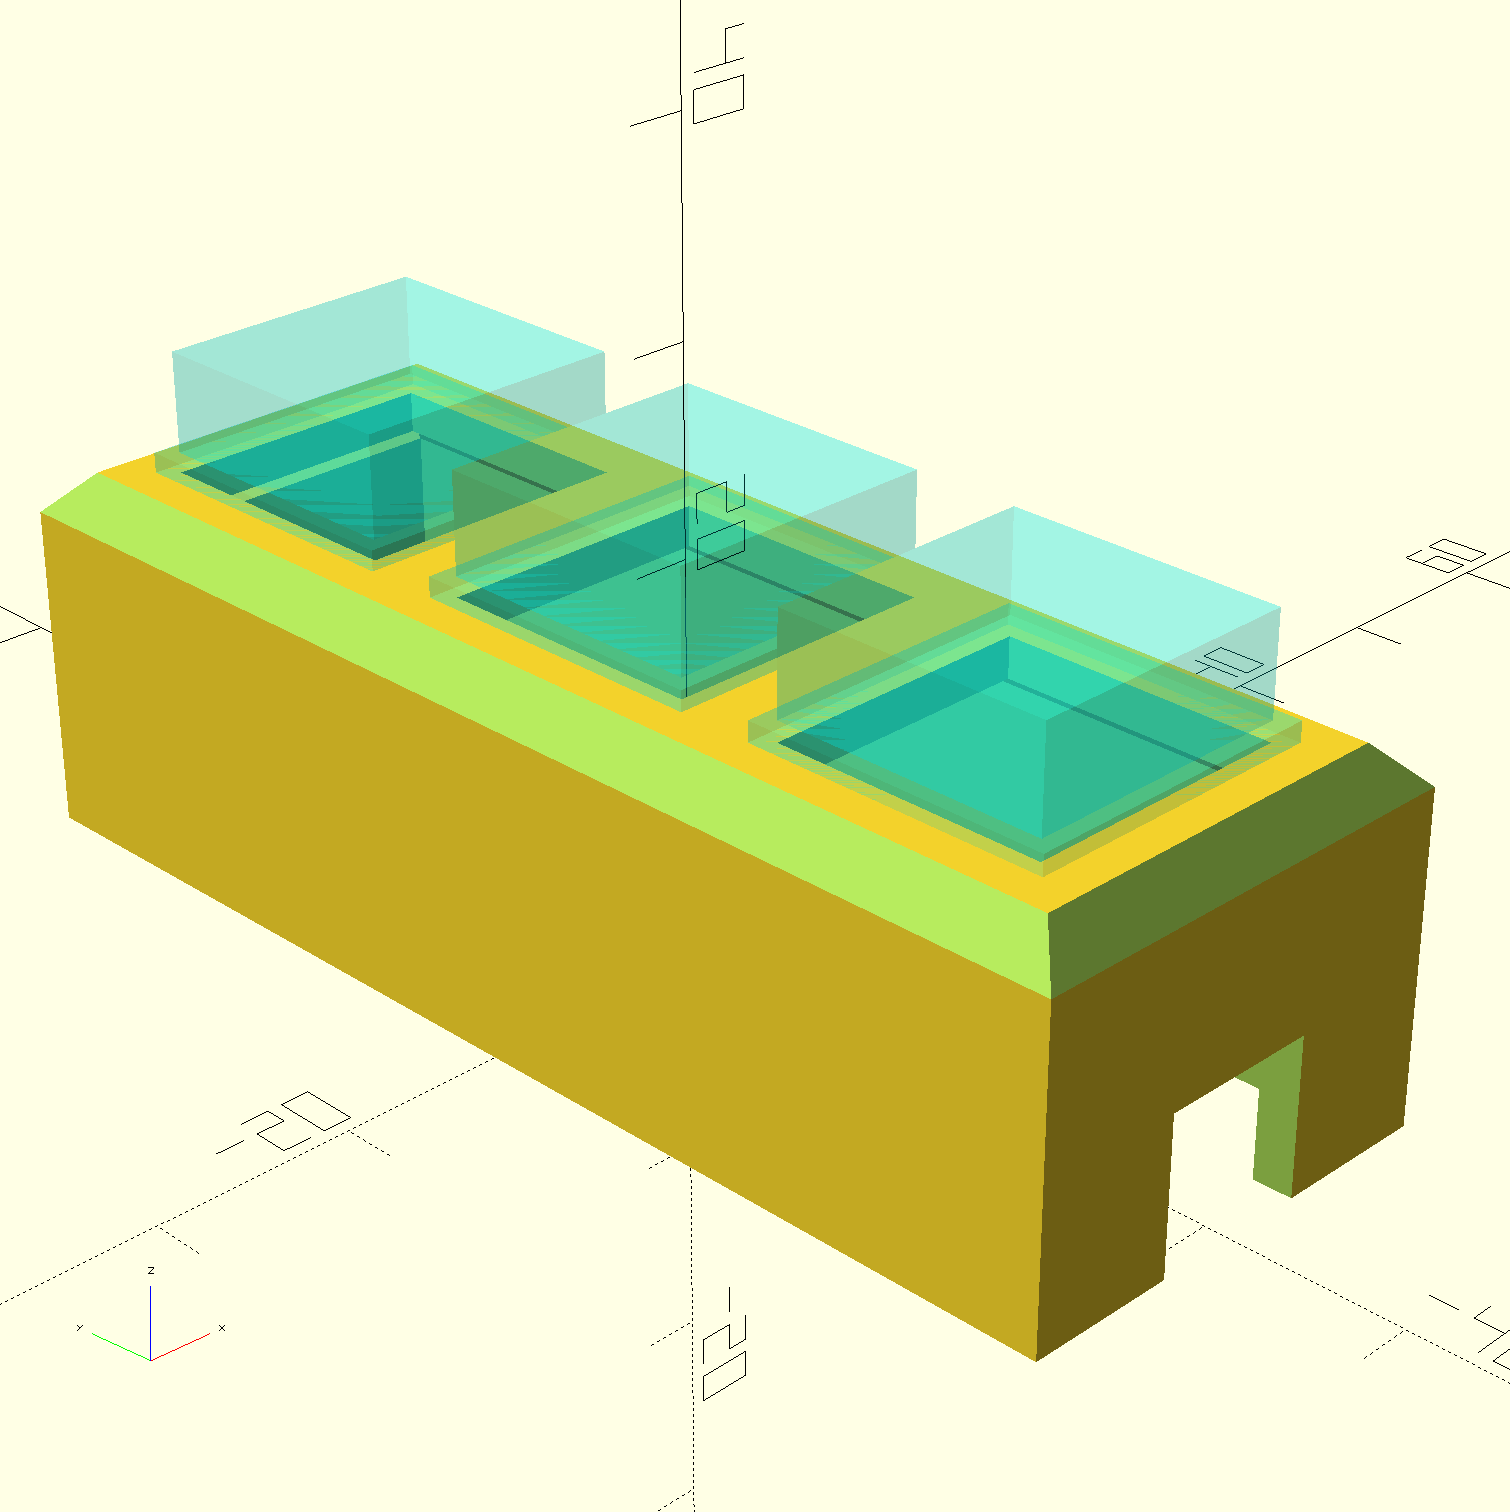
To adjust the case you can edit the included case.scad file with OpenSCAD.
You can use different pins on your arduino and change the key signals by editing the Key definitions and Pin definitions in the beginning of keyboard.ino.
This project excluding the key cap models is licensed under the terms of the MIT license. The logo is licensed under the terms of the CC BY-SA 3.0 license.
They Key Cap models are base on Toblerone2000's Blank Key Cap.
The arduino code is modified from Dave Madison's DIY Stream Deck article.

