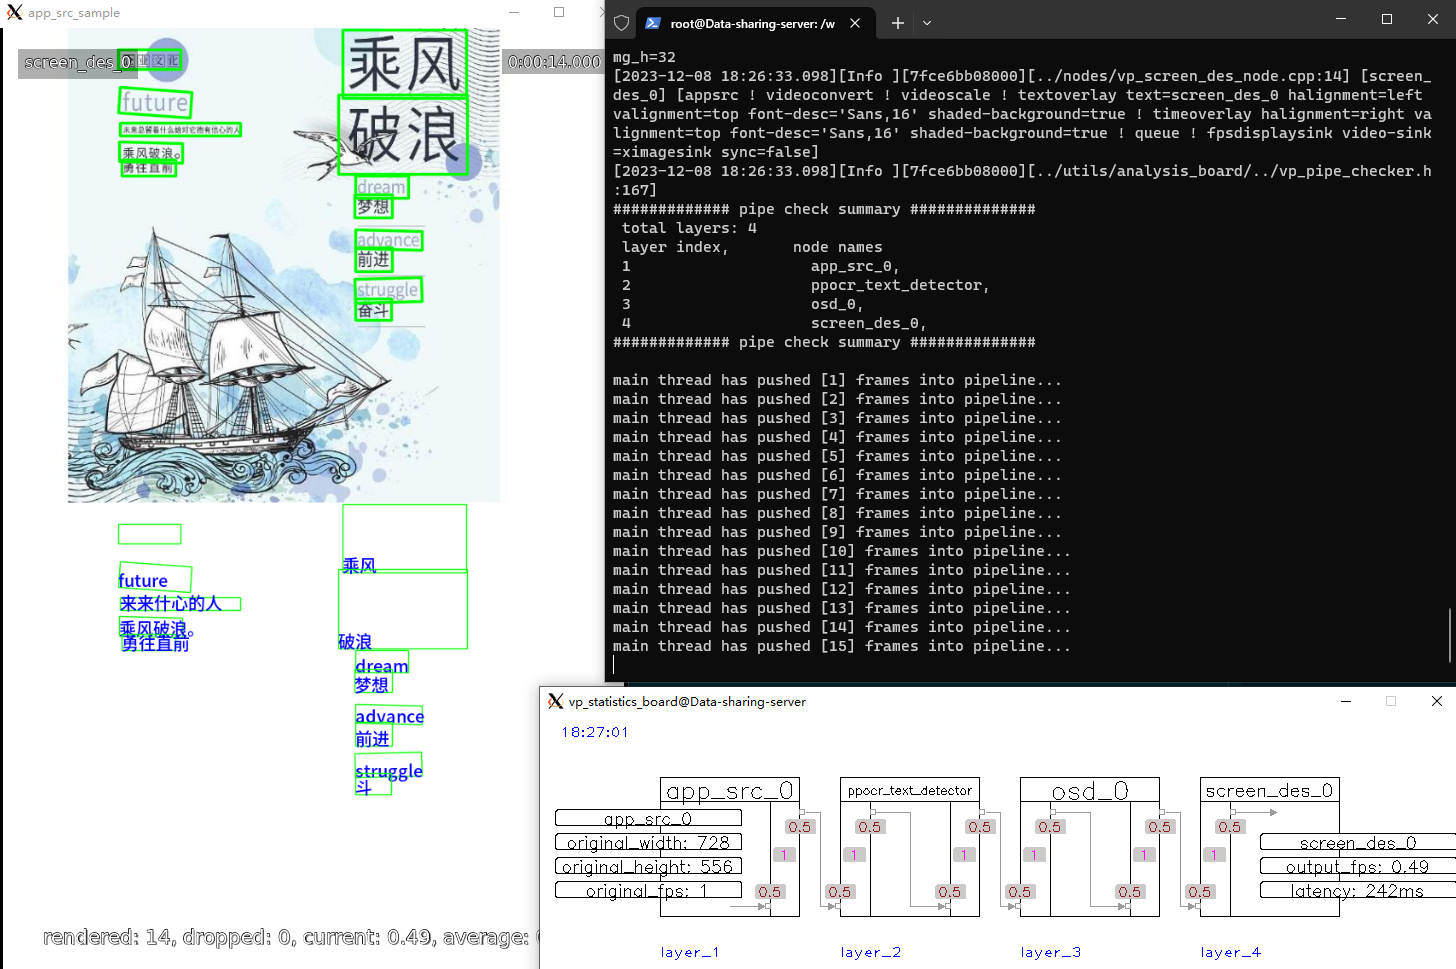
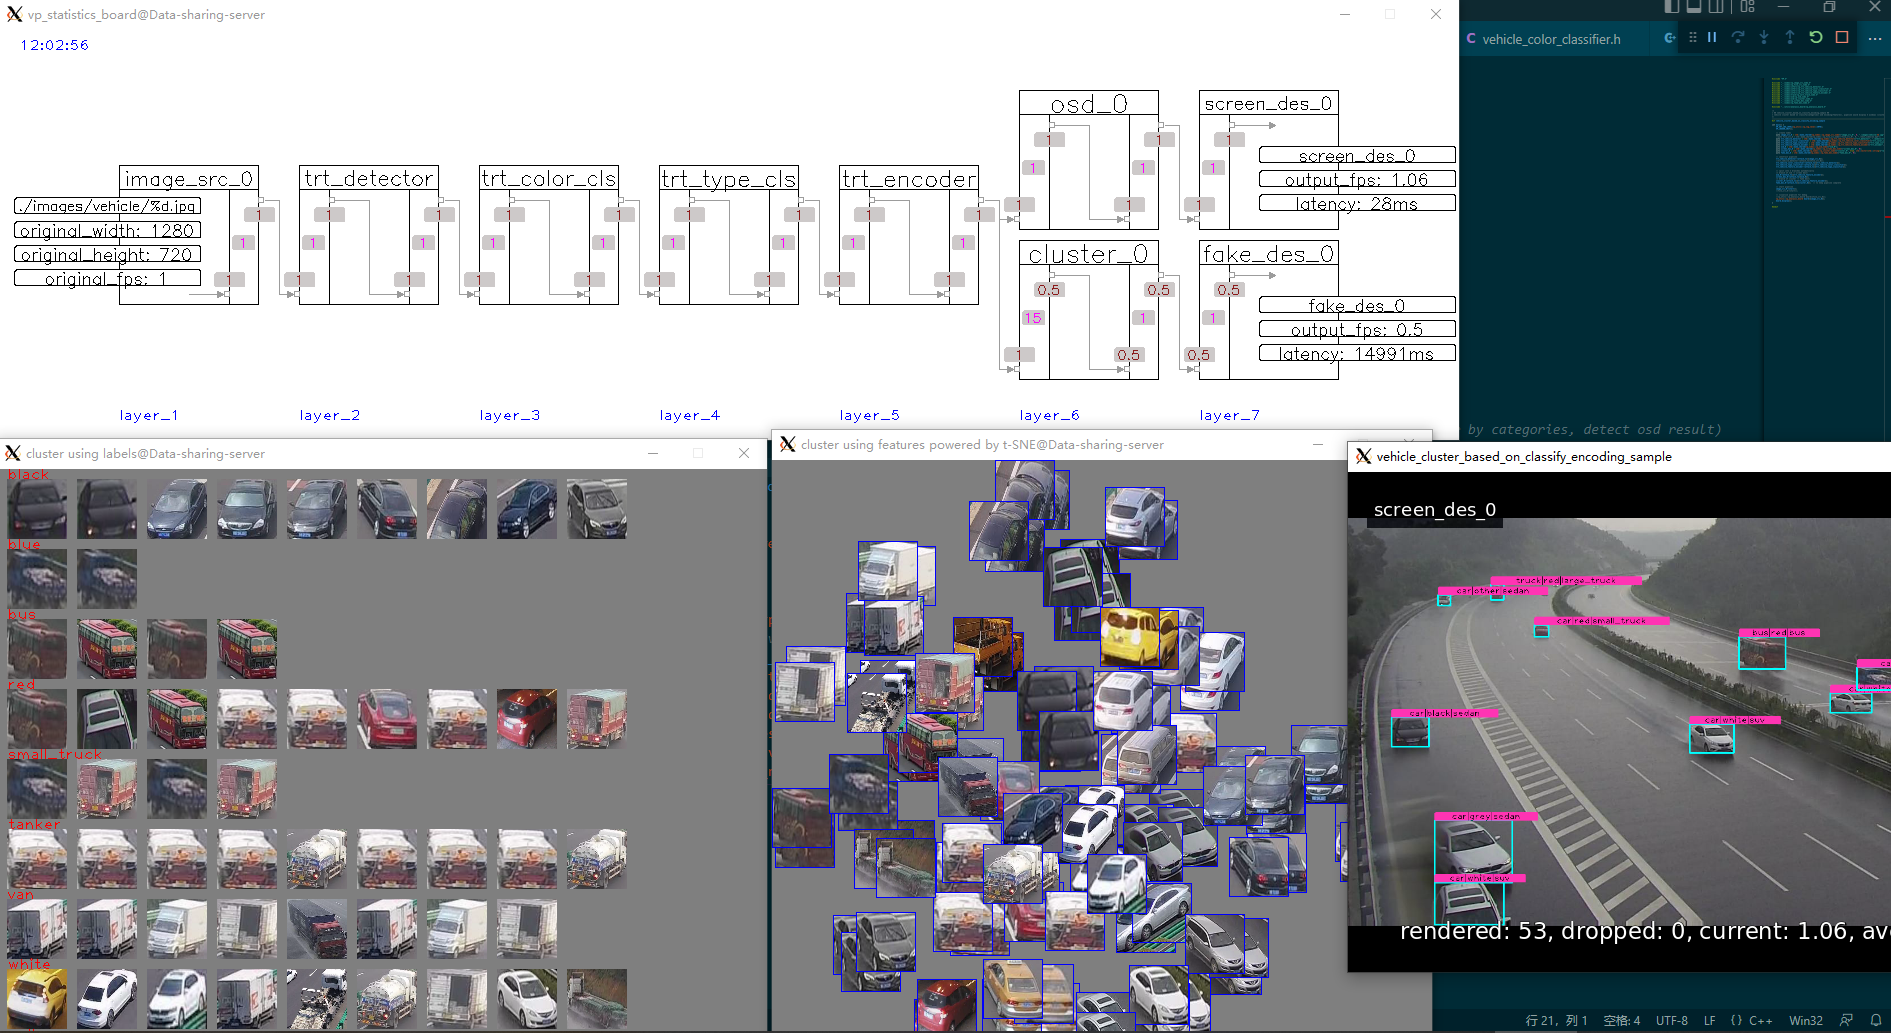
一个用于视频结构化的框架。它可以处理复杂任务,如流读取(从本地或网络)、视频解码、基于深度学习模型的推理(分类/检测/特征提取/...)、跟踪及行为分析、屏幕上显示(OSD)、通过中间件进行数据代理(如Kafka/Socket)、视频编码和流推送(RTMP或本地文件)。框架采用面向插件的编码风格,我们可以使用独立的插件,即框架中的Node类型,来构建不同类型的视频分析管道。
VideoPipe类似于英伟达的DeepStream和华为的mxVision,但它更易于使用,更具备可移植性,并且对于像gstreamer这样难以学习(编码风格或调试方面)的第三方模块的依赖较少。该框架纯粹由原生C++ STL编写,并较少依赖于主流的第三方模块(如OpenCV),因此代码更易于在不同平台上移植。
VideoPipe可用于以下场合:
- 视频结构化
- 图片搜索(相似度检索)
- 人脸识别
- 安防领域的行为分析(如交通事件检测)、reID相关应用
注意:
VideoPipe是一个让计算机视觉领域中模型集成更加简单的框架,它并不是像TensorFlow、TensorRT类似的深度学习框架。
multi_tasks_sample.mp4
similiarity_search_sample.mp4
vehicle_tracking_sample.mp4
- 流读取。支持流行的协议,如udp(视频或图像)、rtsp、rtmp、文件(视频或图像)。
- 视频解码。支持基于opencv/gstreamer的视频解码(支持硬件加速)。
- 基于深度学习的推理。支持基于深度学习模型的多级推理,例如目标检测、图像分类、特征提取。你只需准备好模型并了解如何解析其输出即可。推理可以基于不同的后端实现,如opencv::dnn(默认)、tensorrt、paddle_inference、onnx runtime等,任何你喜欢的都可以。
- 屏幕显示(OSD)。支持可视化,如将模型输出绘制到帧上。
- 消息代理。支持将结构化数据(json/xml/自定义格式)以kafka/Sokcet等方式推送到云端、文件或其他第三方平台。
- 目标追踪。支持目标追踪,例如iou、sort跟踪算法等。
- 行为分析(BA)。支持基于追踪的行为分析,例如越线、停车判断。
- 录制。支持特定时间段的视频录制,特定帧的截图。
- 视频编码。支持基于opencv/gstreamer的视频编码(支持硬件加速)。
- 流推送。支持通过rtmp、rtsp(无需专门的rtsp服务器)、文件(视频或图像)、udp(仅限图像)、屏幕显示(GUI)进行流推送或结果展示。
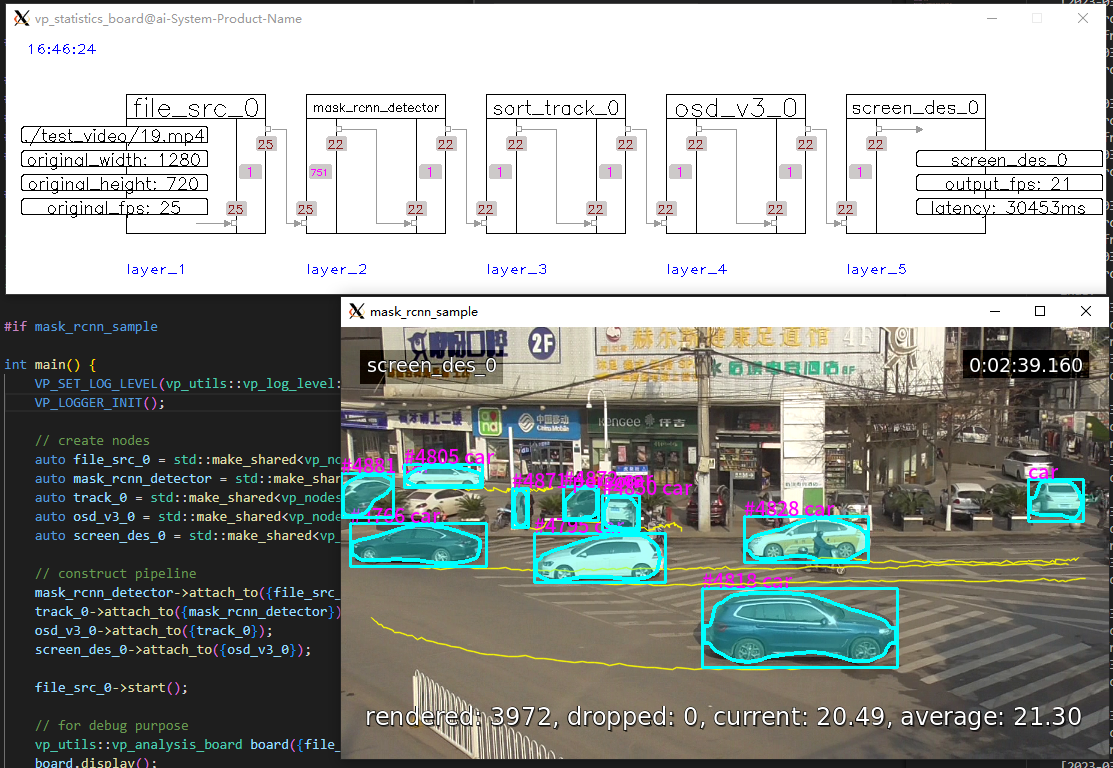
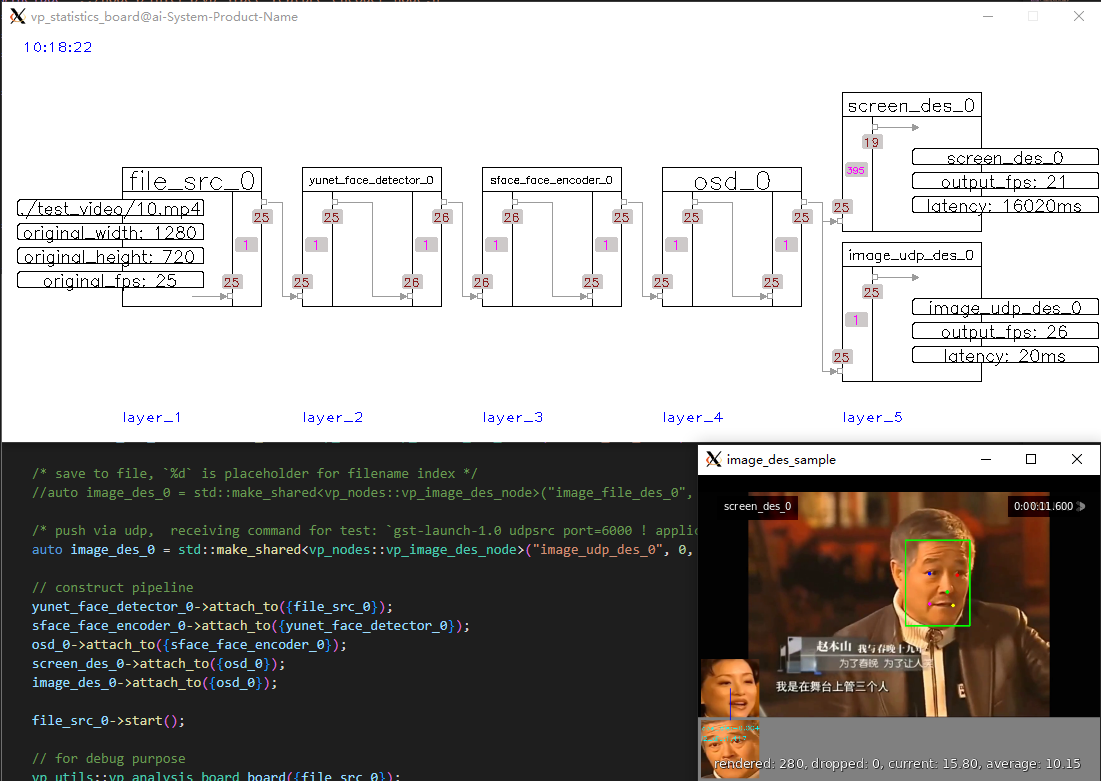
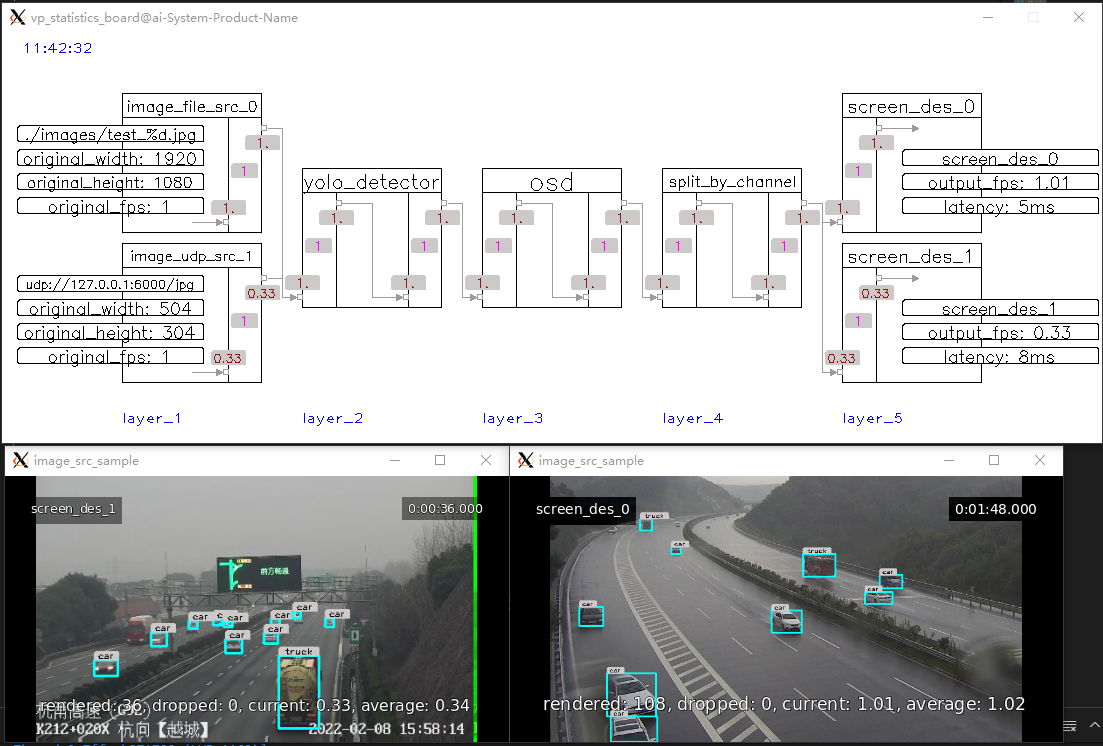
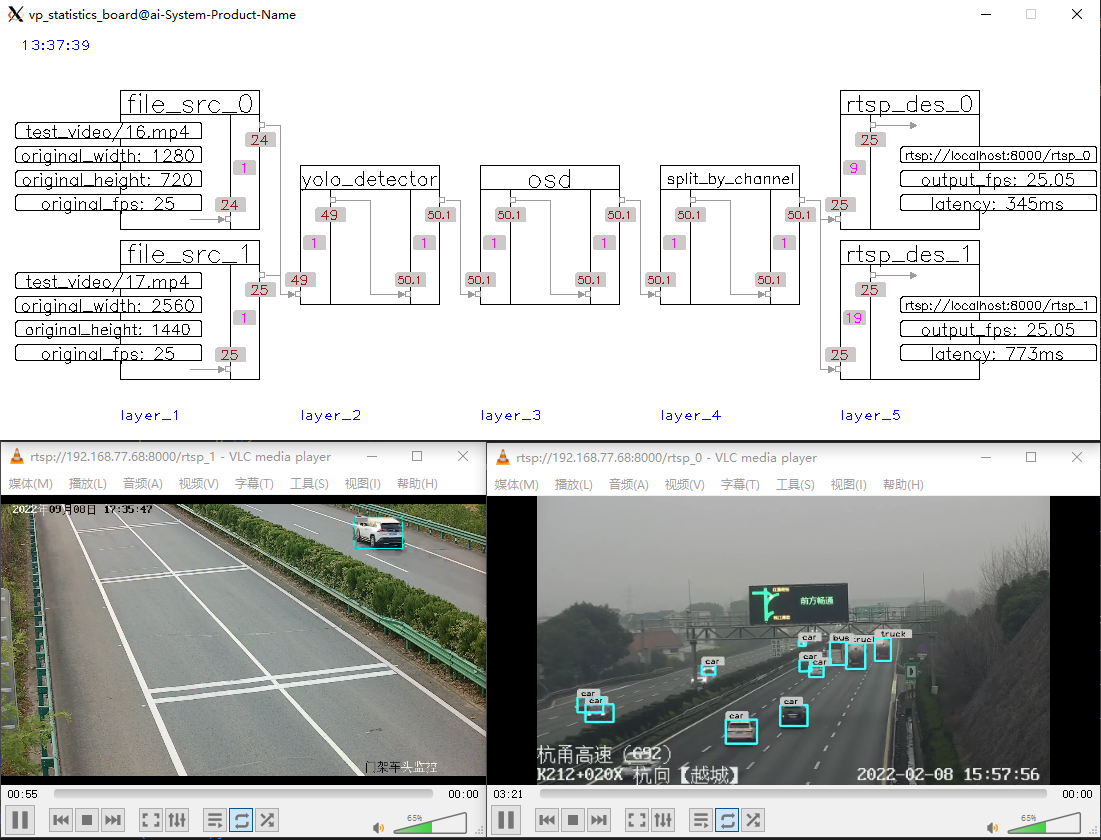
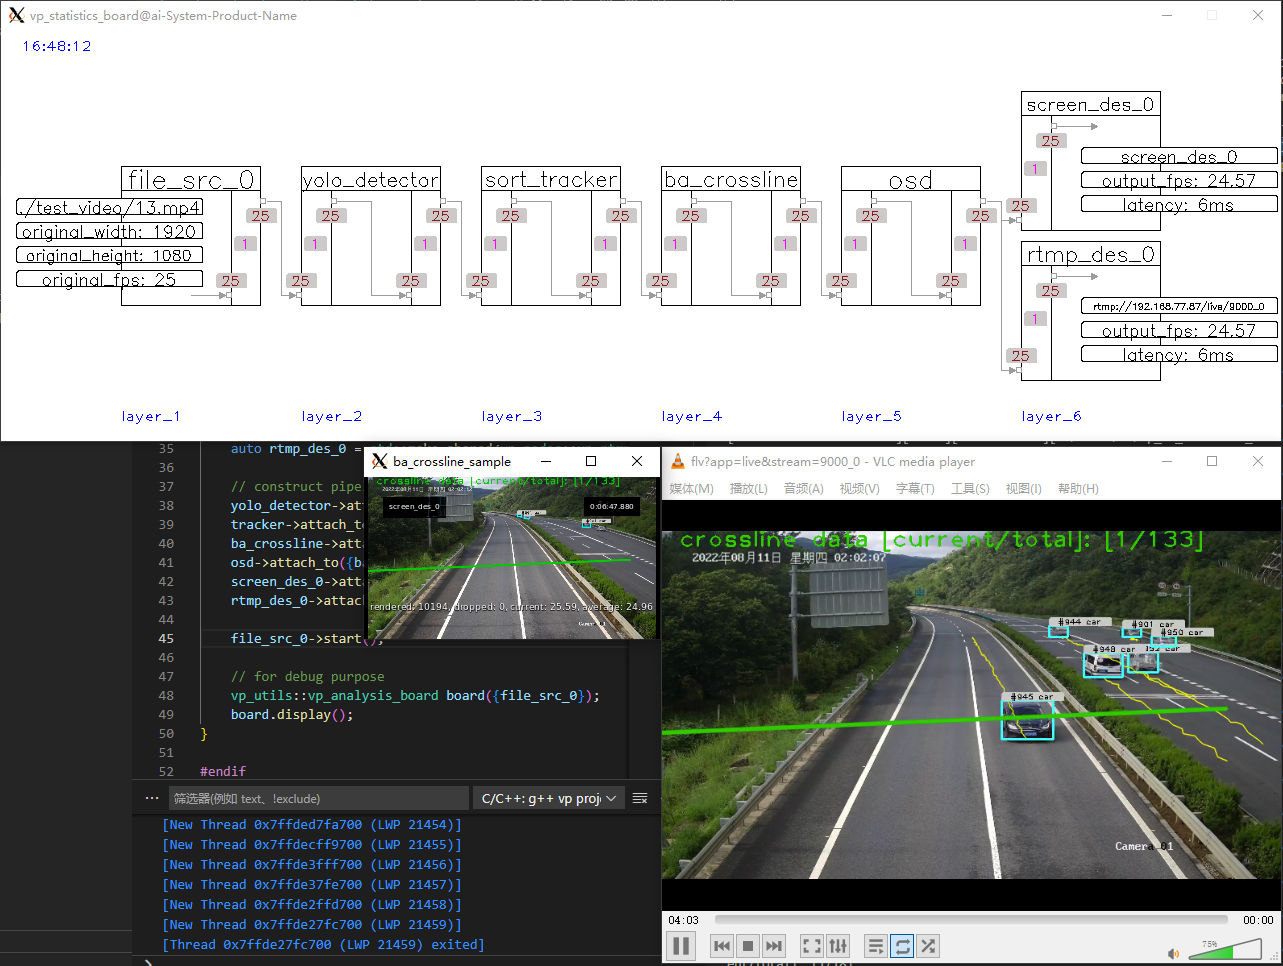
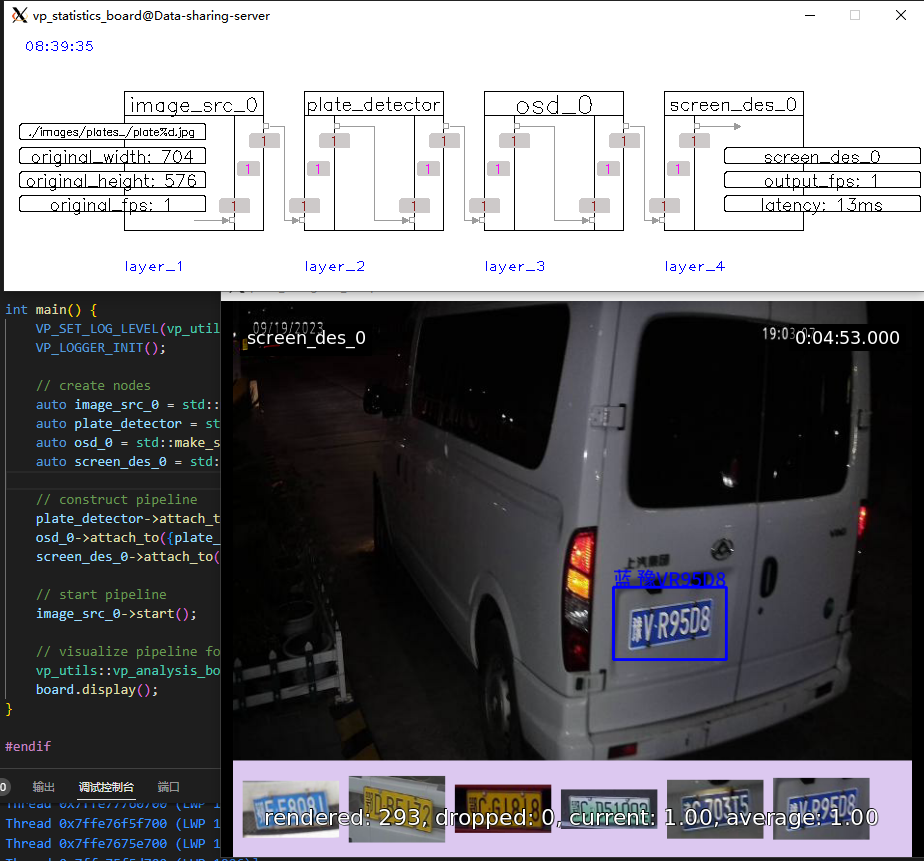
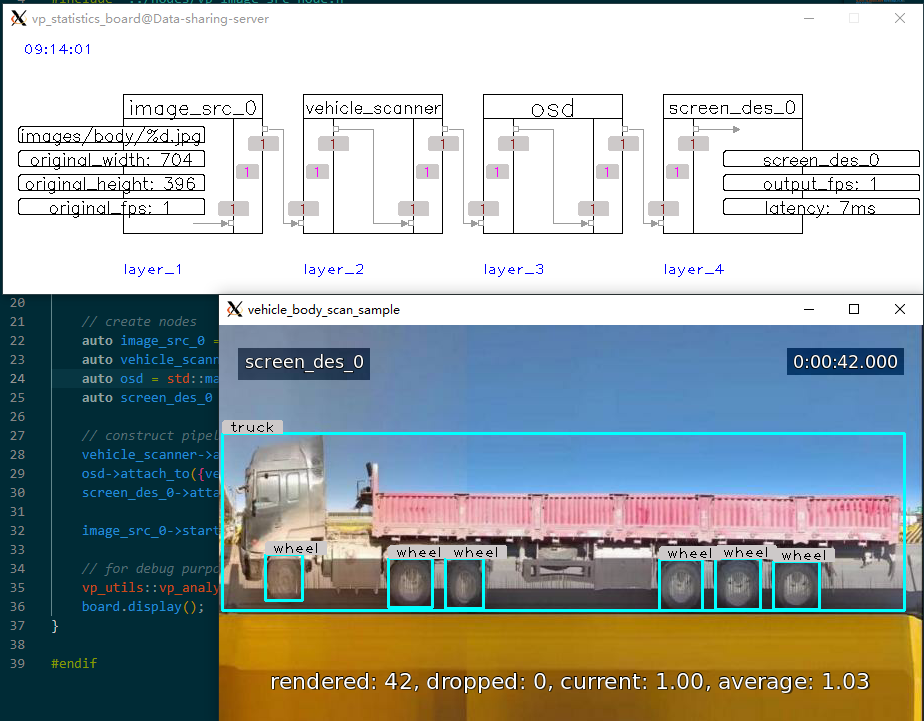
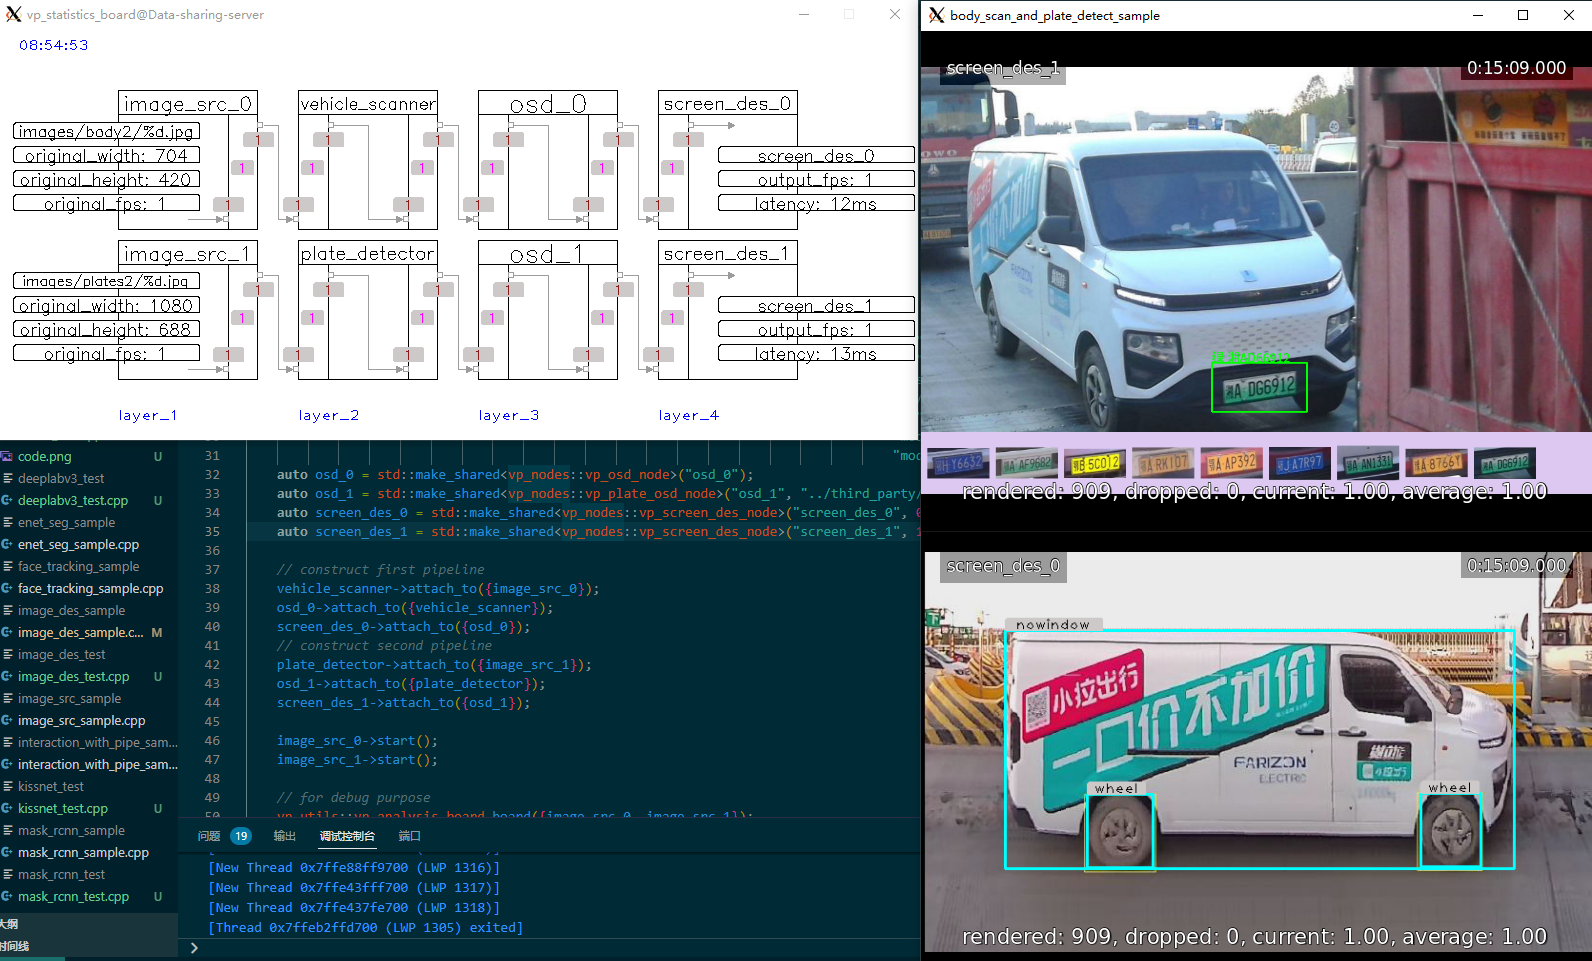
- 可视化管道,对于调试非常有用。管道的运行状态会自动在屏幕上刷新,包括管道中每个连接点的fps、缓存大小、延迟等信息,你可以根据这些运行信息快速确定管道的瓶颈所在。
- 节点之间通过智能指针传递数据,默认情况下是浅拷贝,当数据在整个管道中流动时无需进行内容拷贝操作。当然,如果需要,你可以指定深拷贝,例如当管道具有多个分支时,你需要分别在两个不同的内容拷贝上进行操作。
- 你可以构建不同类型的管道,支持单通道或多通道的管道,管道中的通道是独立的。
- 管道支持钩子(回调),你可以向管道注册回调以获取状态通知(参见第1项),例如实时获取某个连接点的fps。
- VideoPipe中已经内置了许多节点类型,但是框架中的所有节点都可以由用户重新实现,也可以根据你的实际需求实现更多节点类型。
- 整个框架主要由原生C++编写,可在所有平台上移植。
- 🔥 sample code
- 💗 node table
- 💥 how VideoPipe works
- 🙉 how record works
- 🤩 environment for reference
- 😊 wait for update...
平台
- ubuntu 18.04 x86_64 NVIDIA rtx/tesla GPUs
- ubuntu 18.04 aarch64 NVIDIA jetson serials device (tx2 tested)
- ubuntu 18.04 x86_64(PURE CPU)
- other platforms wait for tested
基础
- vscode (remote development on windows)
- c++ 17
- opencv 4.6
- gstreamer 1.20 (required by opencv)
- gcc 7.5
可选, 如果你需要实现自己的推理后端,或者使用除opencv::dnn之外的其他推理后端.
- CUDA
- TensorRT
- paddle inference
- onnx runtime
- anything you like
有2种方式:
- Shell & VSCode
- CMake & CLion
-
Build VideoPipe (via shell)
- run
cd build/ - run
sh build.sh - it will generate a library called
libvp.soand copy it to/usr/local/libautomatically.
- run
-
Debug VideoPipe (via vscode)
- select the cpp file you want to debug (keep it activated), like
./sample/1-1-1_sample.cpp - press
runbutton at debug menu in vscode - select a launch item at the top of window (something like
C/C++: g++ vp project)
- select the cpp file you want to debug (keep it activated), like
注意:
./third_party/下面都是独立的项目,有的是header-only库,被VideoPipe直接引用;有的包含有cpp文件,可以独立编译或运行,VideoPipe依赖这些库,因此需要提前编译好这些库。具体编译或使用方法可参见对应子目录下的README文件.
Add soft link for libraries:
cd /usr/local/include
ln -s /path/to/opencv2 opencv2 # opencv
ln -s /usr/local/cuda/include cuda # cuda
ln -s /path/to/TensorRT-xxx/include tensorrt # TensorRTmkdir build # if not exist
cd build
cmake ..
makeYou will get dynamic libraries and executable samples in build.
Use IDEs such as CLion which will read the CMakeLists.txt and generate debug configurations.
- 先将VideoPipe编译成库,然后引用它.
- 直接引用源代码,然后编译整个application.
下面是一个如何构建Pipeline然后运行的Sample(请先修改代码中的相关文件路径):
#include "VP.h"
#include "../nodes/vp_file_src_node.h"
#include "../nodes/infers/vp_yunet_face_detector_node.h"
#include "../nodes/infers/vp_sface_feature_encoder_node.h"
#include "../nodes/osd/vp_face_osd_node_v2.h"
#include "../nodes/vp_screen_des_node.h"
#include "../nodes/vp_rtmp_des_node.h"
#include "../utils/analysis_board/vp_analysis_board.h"

/*
* ## 1-1-N sample ##
* 1 video input, 1 infer task, and 2 outputs.
*/

#if _1_1_N_sample

int main() {
    VP_SET_LOG_INCLUDE_CODE_LOCATION(false);
    VP_SET_LOG_INCLUDE_THREAD_ID(false);
    VP_LOGGER_INIT();

    // create nodes
    auto file_src_0 = std::make_shared<vp_nodes::vp_file_src_node>("file_src_0", 0, "./test_video/10.mp4", 0.6);
    auto yunet_face_detector_0 = std::make_shared<vp_nodes::vp_yunet_face_detector_node>("yunet_face_detector_0", "./models/face/face_detection_yunet_2022mar.onnx");
    auto sface_face_encoder_0 = std::make_shared<vp_nodes::vp_sface_feature_encoder_node>("sface_face_encoder_0", "./models/face/face_recognition_sface_2021dec.onnx");
    auto osd_0 = std::make_shared<vp_nodes::vp_face_osd_node_v2>("osd_0");
    auto screen_des_0 = std::make_shared<vp_nodes::vp_screen_des_node>("screen_des_0", 0);
    auto rtmp_des_0 = std::make_shared<vp_nodes::vp_rtmp_des_node>("rtmp_des_0", 0, "rtmp://192.168.77.60/live/10000");

    // construct pipeline
    yunet_face_detector_0->attach_to({file_src_0});
    sface_face_encoder_0->attach_to({yunet_face_detector_0});
    osd_0->attach_to({sface_face_encoder_0});

    // auto split
    screen_des_0->attach_to({osd_0});
    rtmp_des_0->attach_to({osd_0});

    file_src_0->start();

    // for debug purpose
    vp_utils::vp_analysis_board board({file_src_0});
    board.display();
}

#endif
上面代码运行后,会出现3个画面:
- 管道的运行状态图,状态自动刷新
- 屏幕显示结果(GUI)
- 播放器显示结果(RTMP)


