StyleR allows developer to set view styles programatically. Thus developer can create many style for one view, it allows developer to implement download styles from remote data source and change app style in runtime.
StyleR will save you from coding same view because of little style differences.
Now you can code the view once and use it for different looks. Set different styles to your view with a line of code!
See Wiki Page to understand more.
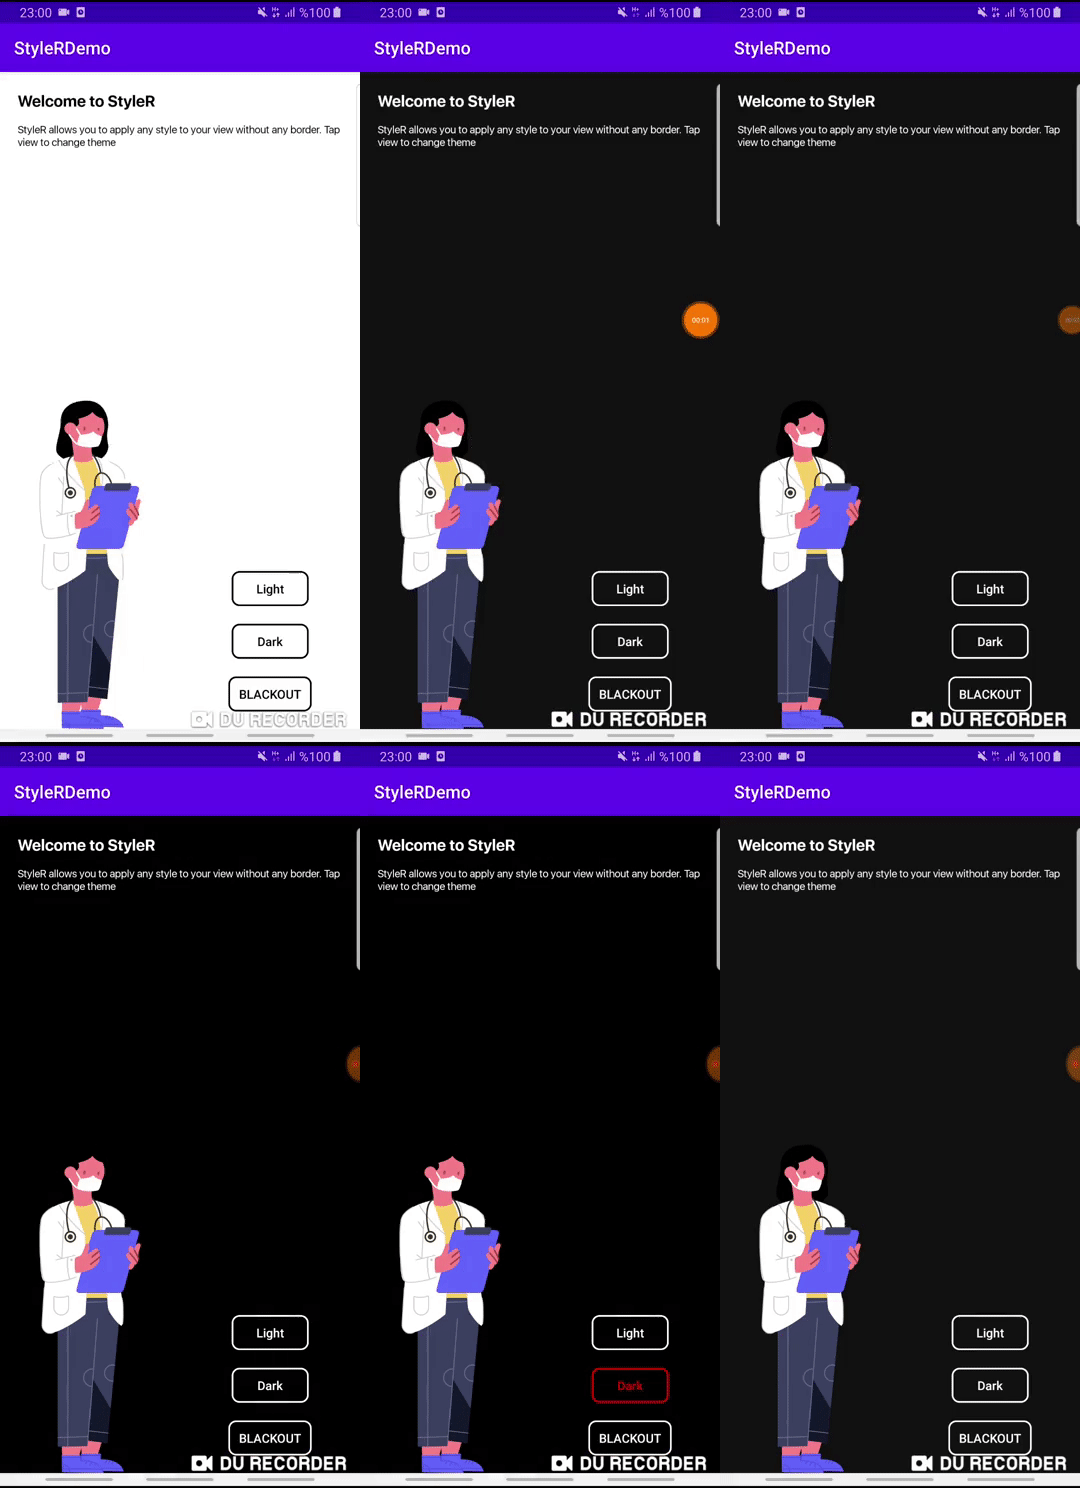
Sample app shows how to use StyleR for different app themes (Light, Dark, Blackout) and Styling one view for many view.
-
App Theme
You can change app theme without restarting the activity.
-
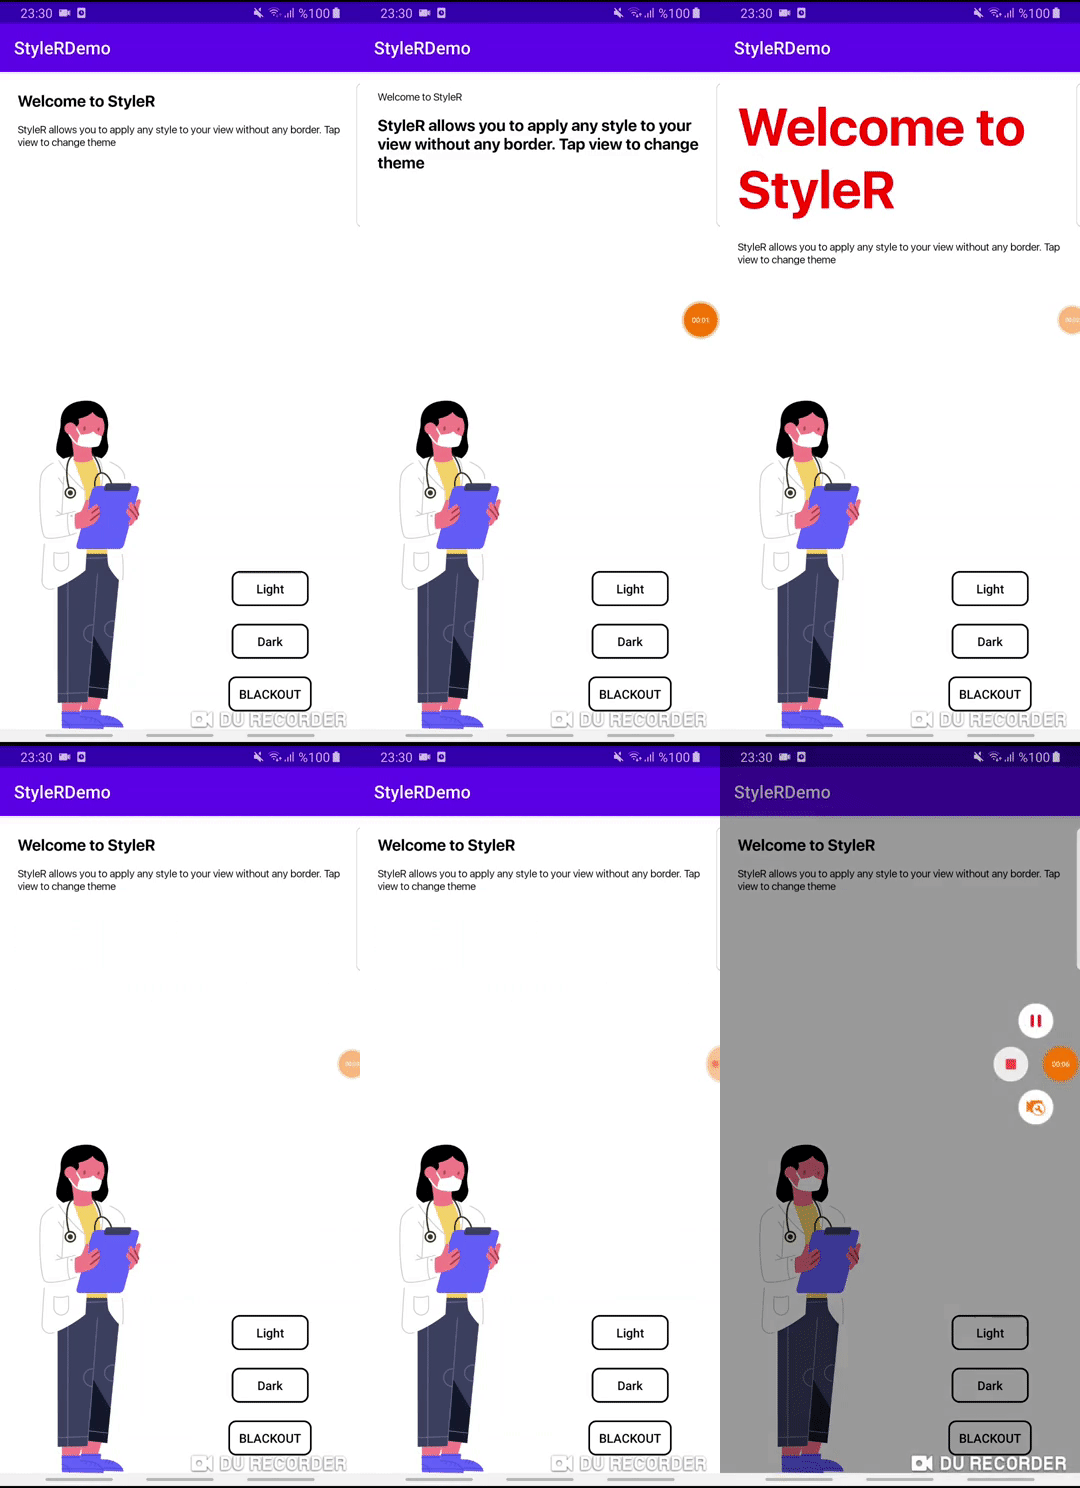
1 View to Many View
Simply StyleR allows you to set view styles programmatically.
StyleR needs three different maps which is provided by your application. These maps are:
-
View StyleR Map: This is the map which is contains all of your styles. StyleR provides a plugin to merge all of your styles or if you want to download it from remote source you can provide that value comes from remote server too. Example
-
Styles Map: StyleR has its own style processor. This makes the things easier as Android. Think that you’re declaring HeaderTextViewStyle in styles.xml. It works the same way as Android. You can provide it from local or remote as view styler map. Example
-
Colors Map: This works as Androids colors.xml as styles map and you can provide it from local or remote as view styler map too. Example
Add these lines to your project:
Project level build.gradle
allprojects {
    repositories {
        ...
        maven { url 'https://jitpack.io' }
    }
}
In your module which you’ll apply StyleR (app or if you have components module for example).
App level build.gradle
dependecies {
...
implementation 'com.github.mayuce:StyleR:1.0.3'
...
}
Then add plugin configurations to same build.gradle file by folloing the below lines.
apply plugin: 'com.labters.styler.stylerplugin'
styleRConfig {
    styleRMerger {
        directories = ["$projectDir/src/main/java/<DIRECTORY PATH COMES HERE FOR EX.>", "You can add more than one directory and it doesn't have to be in project dir."]
        includeSubFolders = true // or false whatever you need
        exportDirectory = "$projectDir/src/main/res/raw" // See StyleR Demo app module to understand this.
    }
}

// or you can add to top level gradle
buildscript {
    repositories {
        gradlePluginPortal()
    }
    dependencies {
        classpath "com.labters.styler.stylerplugin:stylertask:1.0.0"
    }
}
Now you are ready to define your styles and make your app less coded and more fancy look from others!
To initialize StyleR go to your Application class and call StyleR.initialize function. The code shown below is for calling StyleR from local source. If you have download logics in your app you can call it from there or call from room etc.
val type = object : TypeToken<HashMap<String, List<HashMap<String, String>>>>() {}.type
val typeBasic = object : TypeToken<HashMap<String, String>>() {}.type
val typeStyle = object : TypeToken<HashMap<String, HashMap<String, String>>>() {}.type
StyleRProvider.initialize(
 Gson().fromJson(resources.getRawTextFile(R.raw.styler), type),
 Gson().fromJson(resources.getRawTextFile(R.raw.colors), typeBasic),
 Gson().fromJson(resources.getRawTextFile(R.raw.styles), typeStyle)
 ) {
    (view as? CardView)?.setStyleR(hashMap)
    // Call your own created view binders if you have.
}You can apply StyleR each view of your module. But what I suggest is create your own views under a folder which is shown in app module.
After creating your styles, click make to project and it’ll export styler.json resource to defined export directory. StyleR plug-in creates this styler.json file. If you don’t have any json file the plugin will fail your build.
Apply StyleR in your BaseView class or apply it by redeclaring the function wherever you want to call as
StyleR.applyStyle(ROOT VIEW OF GROUP, NAME OF THE VIEW STYLE)
StyleR.applyStyle(binding.root, "${javaClass.simpleName}${AppStatics.appColor.key}")
// THIS MEANS
// StyleR.applyStyle(binding.root, "SimpleView")
// StyleR.applyStyle(binding.root, "SimpleView.Dark")
// StyleR.applyStyle(binding.root, "SimpleView.Blackout")StyleR comes with function which is each developer contribute by their own functions for their modules. So what is it? By StyleR view setter scoped functions you will get the same view & property map which is StyleR has got. So you can apply your own styler from there.
Please see sample app module to understand how it using or see Attributes wiki.
If you liked my work please don’t forget to endorse me from LinkedIn


