EFI for Intel NUC10i3/i5/i7 FNK/FNH with OpenCore bootloader
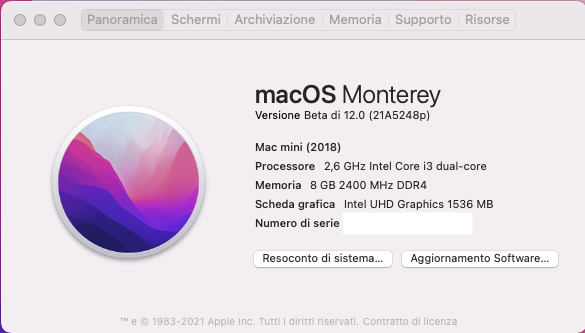
| Component | Brank |
|---|---|
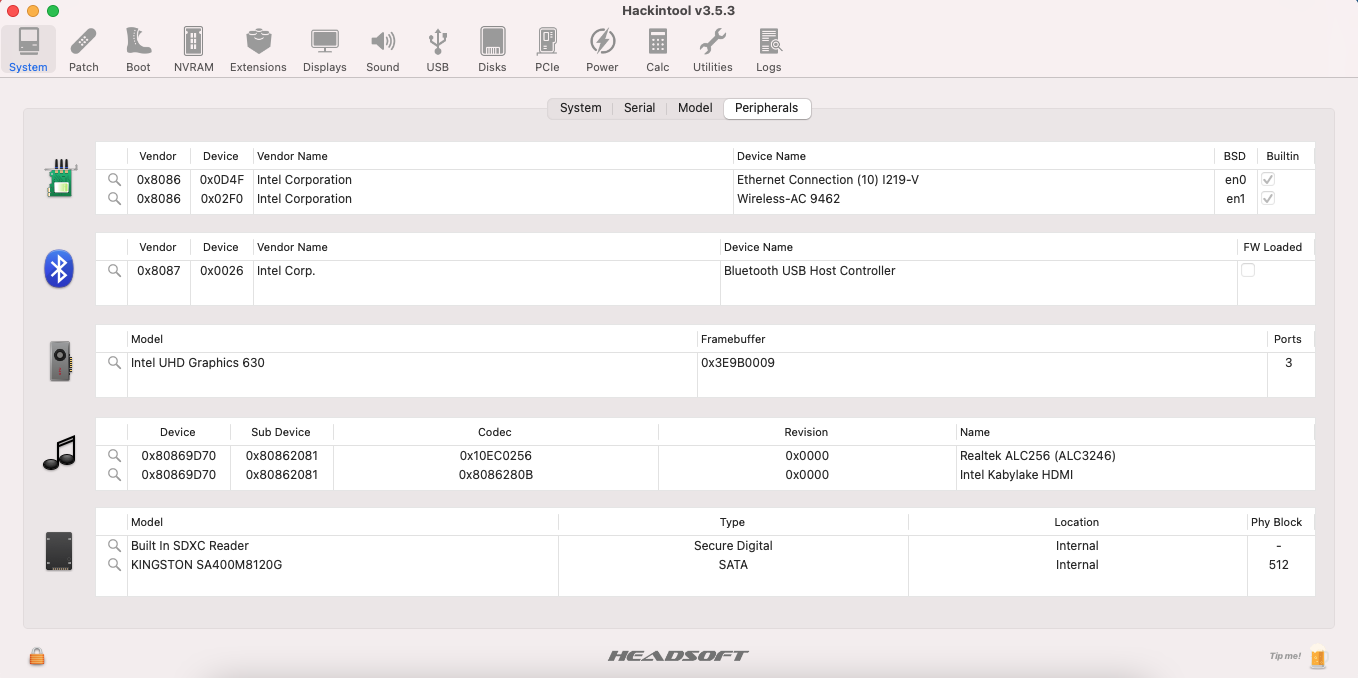
| CPU | Intel® Core™ i3-10110U |
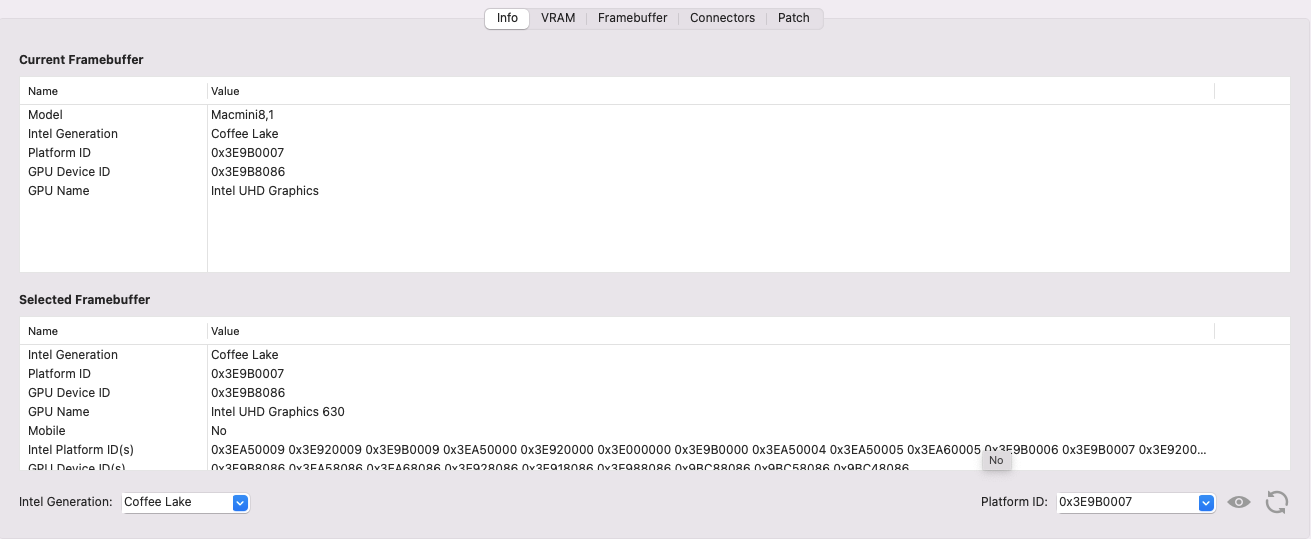
| iGPU | Intel® UHD630 |
| Lan | Intel I219-V |
| Audio | Realtek ALC256 |
| Ram | 8 GB DDR4 2400 Mhz |
| Wifi + Bluetooth | Intel® Wireless-AX201 + Bluetooth |
| Nvme | Kingston SA400 120GB |
| Card Reader. | SD Card Reader |
| SmBios | MacMini8,1 |
| BootLoader | OpenCore |
- Intel® UHD 630 iGPU HDMI/DP Output
- Intel® UHD 630 iGPU - H264 & HEVC
- ALC256 Internal Speakers
- ALC256 Internal Mic
- ALC256 Combojack Headphone
- ALC256 Combojack Mic
- ALC256 HDMI/DP Audio Output
- All USB Ports
- SpeedStep / Sleep / Wake
- Intel Lan I219-V10
- Thunderbolt 3 port
- AX 201 Wireless + Bluetooth
- microSDXC Card Reader
- All Sensors (CPU, NVME, SATA, FAN)
- CONTROLLER NVME PciE Gen3x4
- CONTROLLER SATA III (FNH Model)
- HID Key PWRB & SLPB
- NVRAM
- Windows 10 boot from OpenCore
To start, choose "Load Defaults" (choose from the menu or press F9 in the BIOS setup).
Then change:
- Advanced
- Storage
- SATA Mode Selection -> AHCI
- Video
- IGD Minimum Memory -> 64MB
- IGD Aperture Size -> 256MB
- IGD Primary Video Port -> Auto
- Storage
- Boot
- Secure Boot
- Secure Boot -> Disabled
- Boot Priority
- UEFI Boot -> Checked
- Legacy Boot -> Unchecked
- Fast Boot -> Unchecked
- Secure Boot
- Power
- Secondary Power Settings
- Deep S4/S5 -> On
- Wake on Lan from S4/S5 -> Stay Off
- Wake System from S5 -> Off
- Wake From Thunderbolt Device -> Off
- Secondary Power Settings
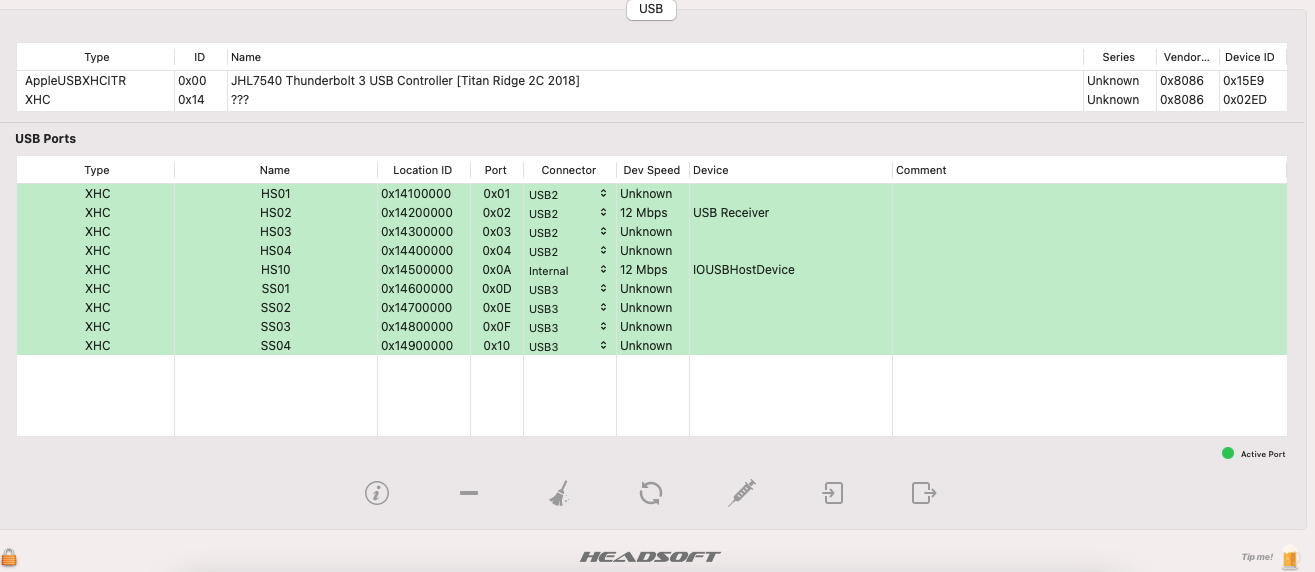
- Usb port mapping performed
- If have a FNH version, the device path of SD Card is PciRoot(0x0)/Pci(0x1D,0x5)/Pci(0x0,0x0) uncommet on device Properties section and comment PciRoot(0x0)/Pci(0x1D,0x0)/Pci(0x0,0x0)
N.B. this procedure is very risky. Any responsibility for this function is discharged to those who perform it. Be very careful when making this change.
Let's start by downloading the file RU.efi
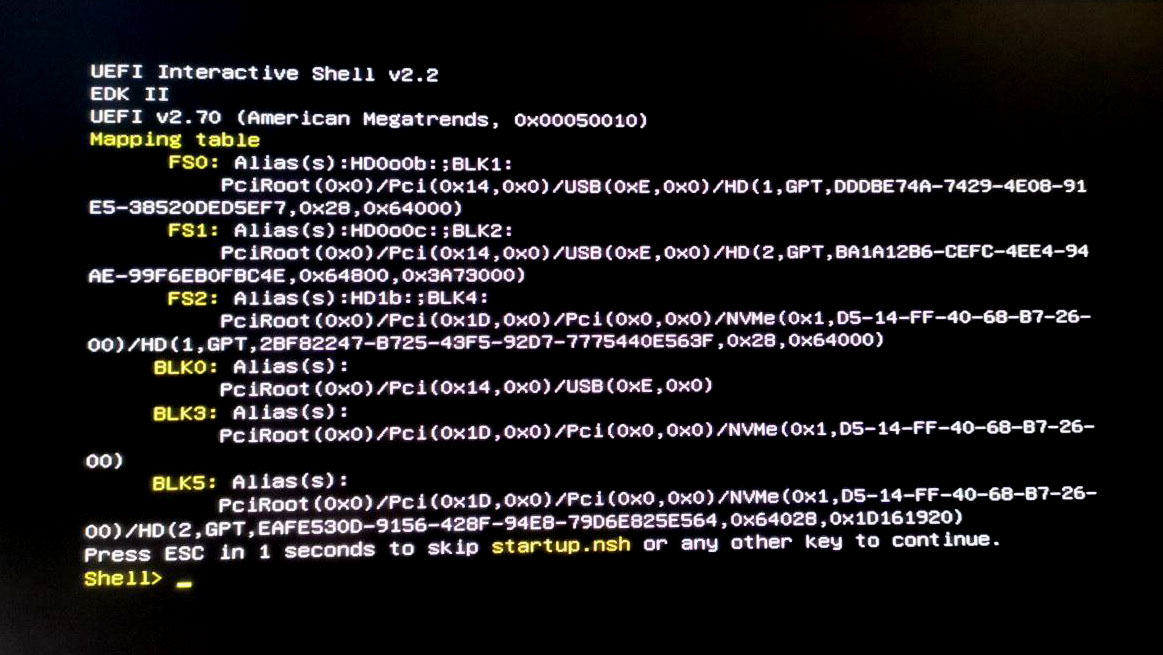
We format the USB in FAT32 format. We copy the RU.efi file in the USB Root. We enable the UEFI Shell parameter from the BIOS. We attach the USB stick to the PC and start the UEFI Shell by pressing F10.
If everything is correct, we will come to this screen:
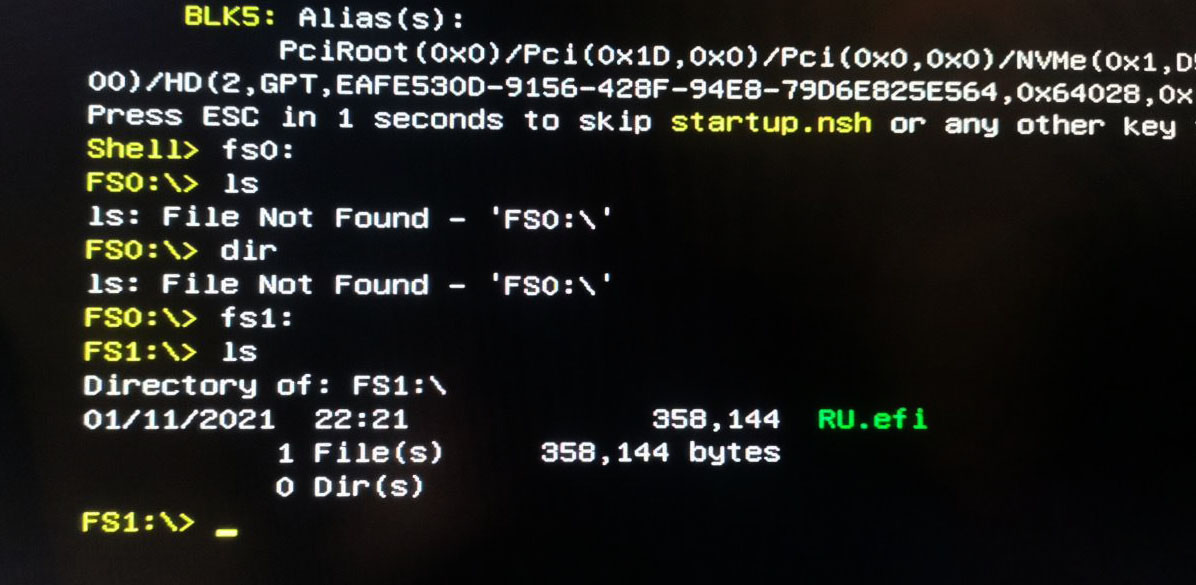
We will then have to find our ROOT, which in my case is FS1 So now we will write "fs1:" Then we will write "ls"
We will find ourselves in this situation at this point:
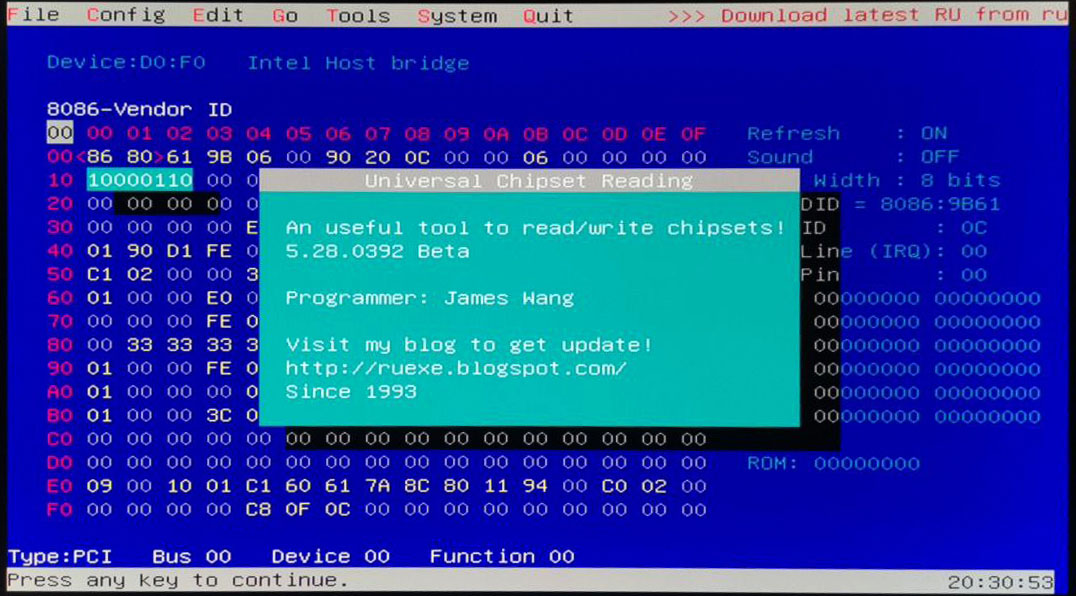
Then type RU.efi and this mask will appear.
Press ALT + ì to remove the popup on the screen. At this point, on the keyboard, press PagDOWN to scroll the list.
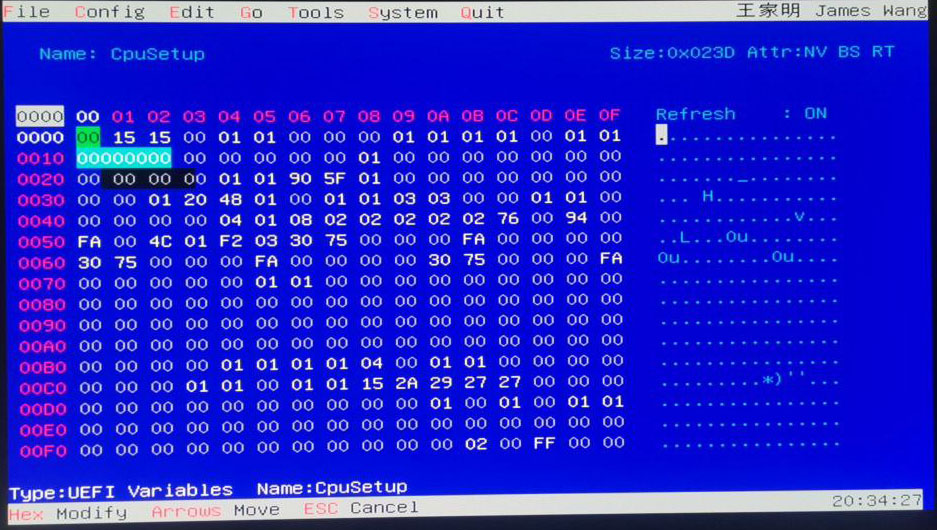
We need to get to the "CPUSetup"
And click ENTER to access the section.
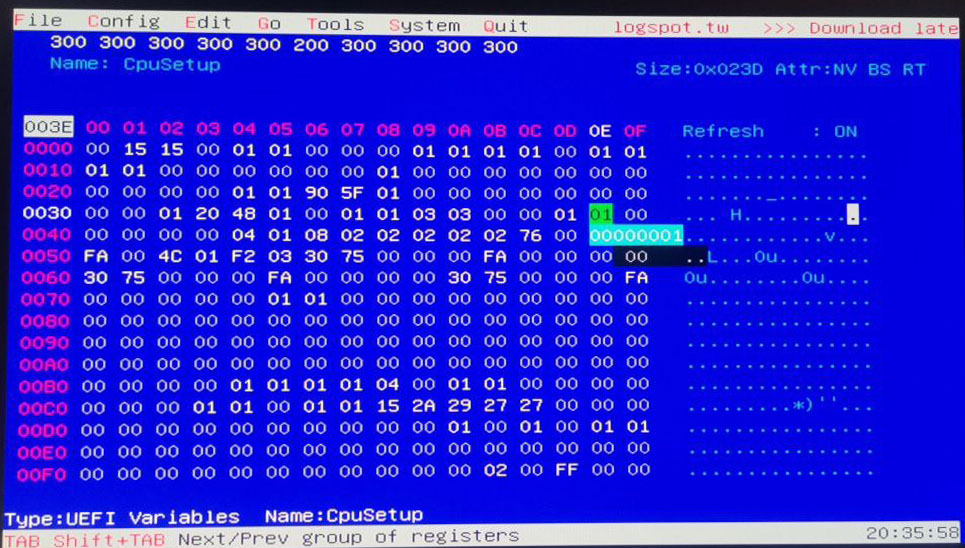
Now we have to go down to the value "0030 - 0E
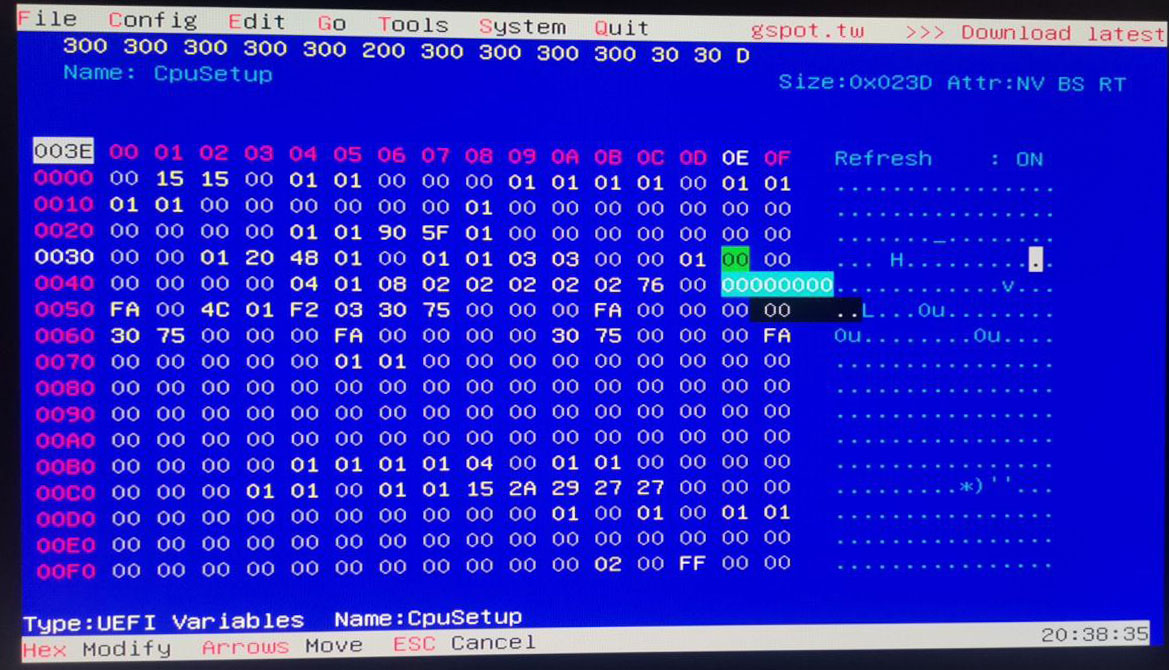
Now let's change the value 01 to 00
The correct version will be the following:
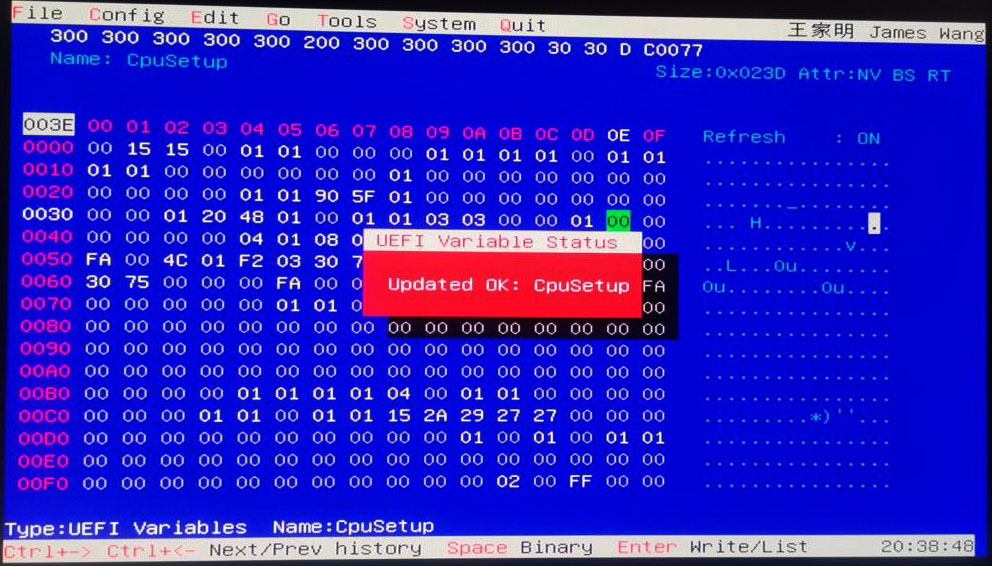
Now to save we press CTRL + W
If everything went well, we will have this screen with a red popup
Enjoy
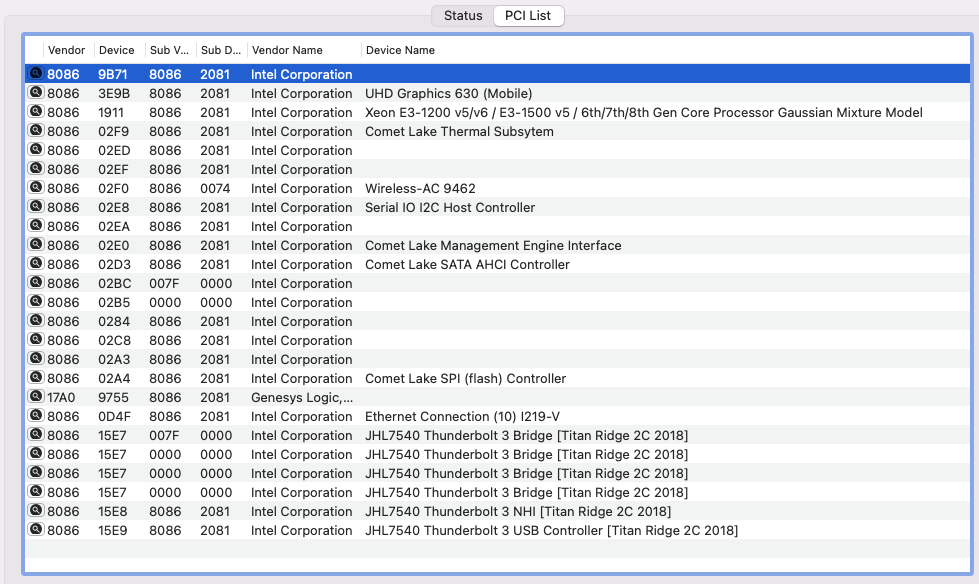
See ioreg for more clarification
- Apple for macOS.
- Intel for this mini pc.
- Acidanthera for OpenCore and all the lovely hackintosh work.
- Dortania For great and detailed guides.
- Lorys89 For continuos support, patches and sleepless nights.
- Hackintoshlifeit Support group for installation and post installation.


