Free provisioning for a React Native iOS application
React Native is an amazing way to build once and deploy to both iOS and Android.
To test out the iOS version, you'd normally run the iOS Simulator on your Mac. But it would be really useful to see the app running on your iPhone – without having to pay to join the Apple Developer Program.
So this repo describes how to set up free iOS provisioning on your iPhone for a React Native application.
- macOS High Sierra (10.13.x) or later
- Xcode 9.x
react-native-cliglobally installed:npm install -g react-native-cli
yarnvia Homebrew:- if not installed:
brew install yarn - if already installed:
brew update yarn
- if not installed:
These instructions have been been tested with yarn version 1.9.4, but should work with earlier versions.
If you don't already have a React Native project to work from, create one with your own ProjectName:
$ react-native init ProjectName
This will walk you through creating a new React Native project in ~/ProjectName
Using yarn v1.9.4
Installing react-native...
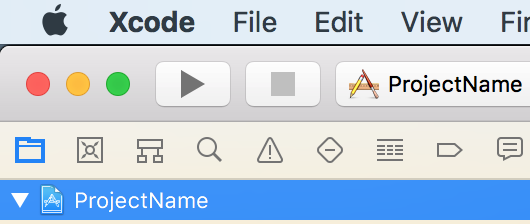
Then open the project in Xcode:
$ cd ProjectName
$ open ios/ProjectName.xcodeprojPlug your iPhone into your Mac with a USB cable.
In Xcode, navigate to Window > Devices and Simulators.
Click the + icon at bottom left of the dialog. Unlock your iPhone, and choose to trust your computer when prompted. On your iPhone, you will have to enter the iPhone's passcode.
It's also useful to check the Connect via network checkbox.
Navigate to Product > Destination.
Under Device, select your iPhone.
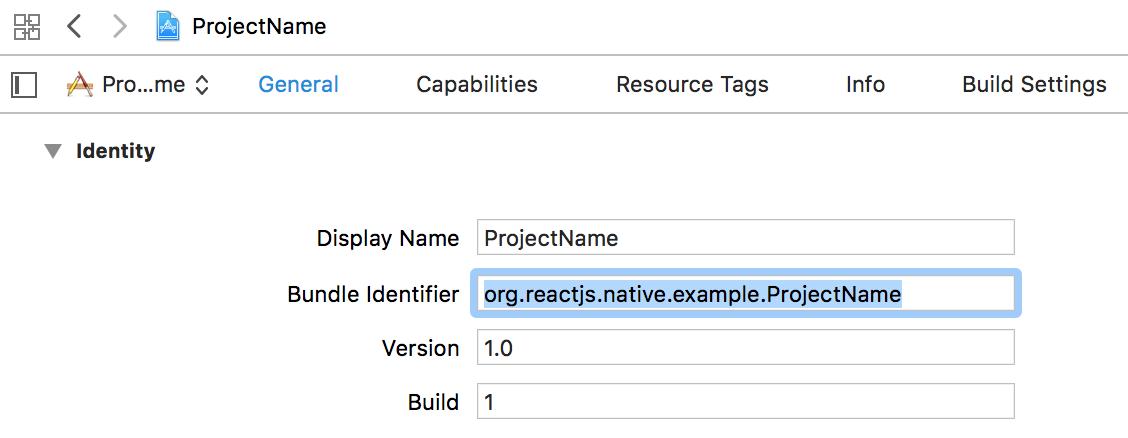
Go to the General tab.
Under Identity, change the Bundle Identifier from org.reactjs.native.example.ProjectName to something unique, like your domain name.
So if your domain name is example.com, change the value to com.example.ProjectName.
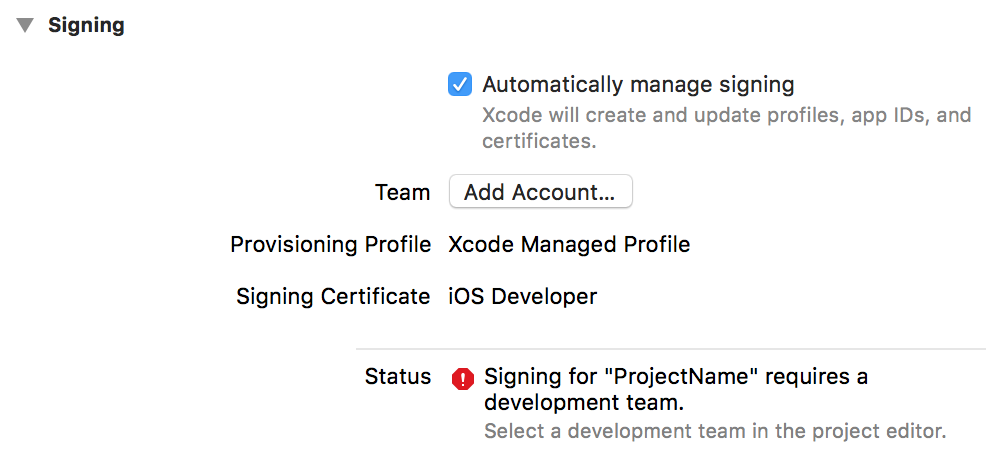
The Signing section will look like this:
Next to Team, click the Add Account... button, and sign in with your Apple ID when prompted.
Once you have signed in, go back to Team in the Signing section, and select Your Name (Personal Team). If you have correctly set the Bundle Identifier in the previous step, the Signing section will now look like this:
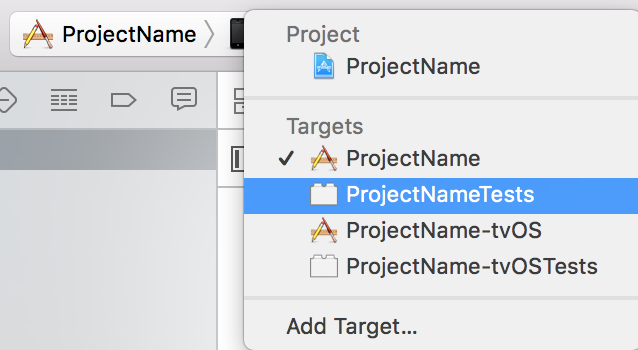
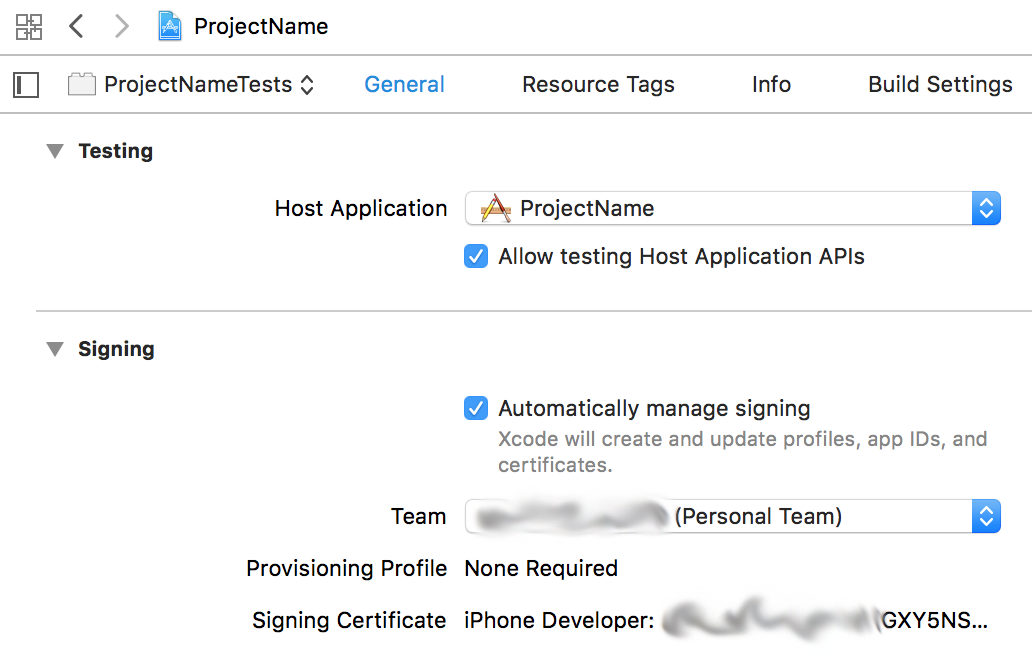
Select the ProjectNameTests target:
Under the Signing section, next to Team, select Your Name (Personal Team).
Press the Play button at top left:
On first run, this will take a while.
Once built, you will see a modal dialog like this in Xcode:
Click Ok.
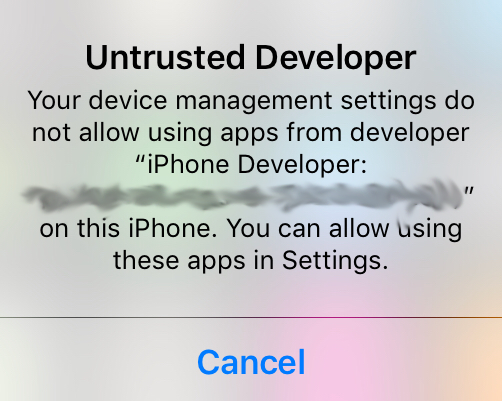
Unlock your iPhone. You will see the ProjectName app now installed on your iPhone. If you open it, you will receive a message like this:
So open the Settings app and navigate to General > Device Management, and select your developer app to trust it.
Now you can run ProjectName on your iPhone!
