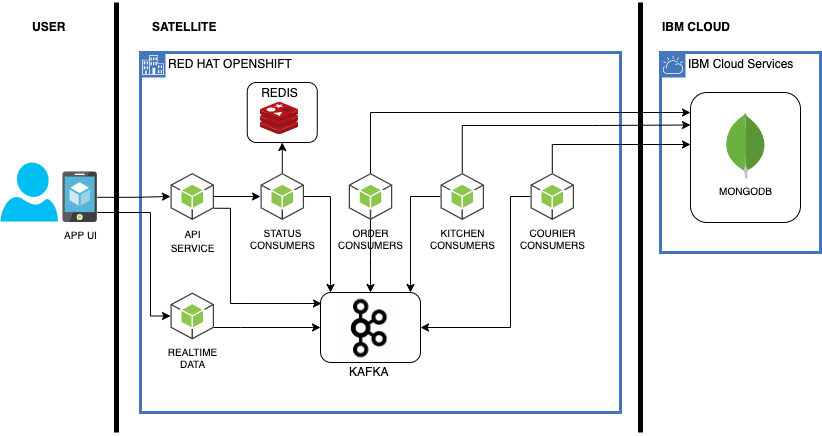
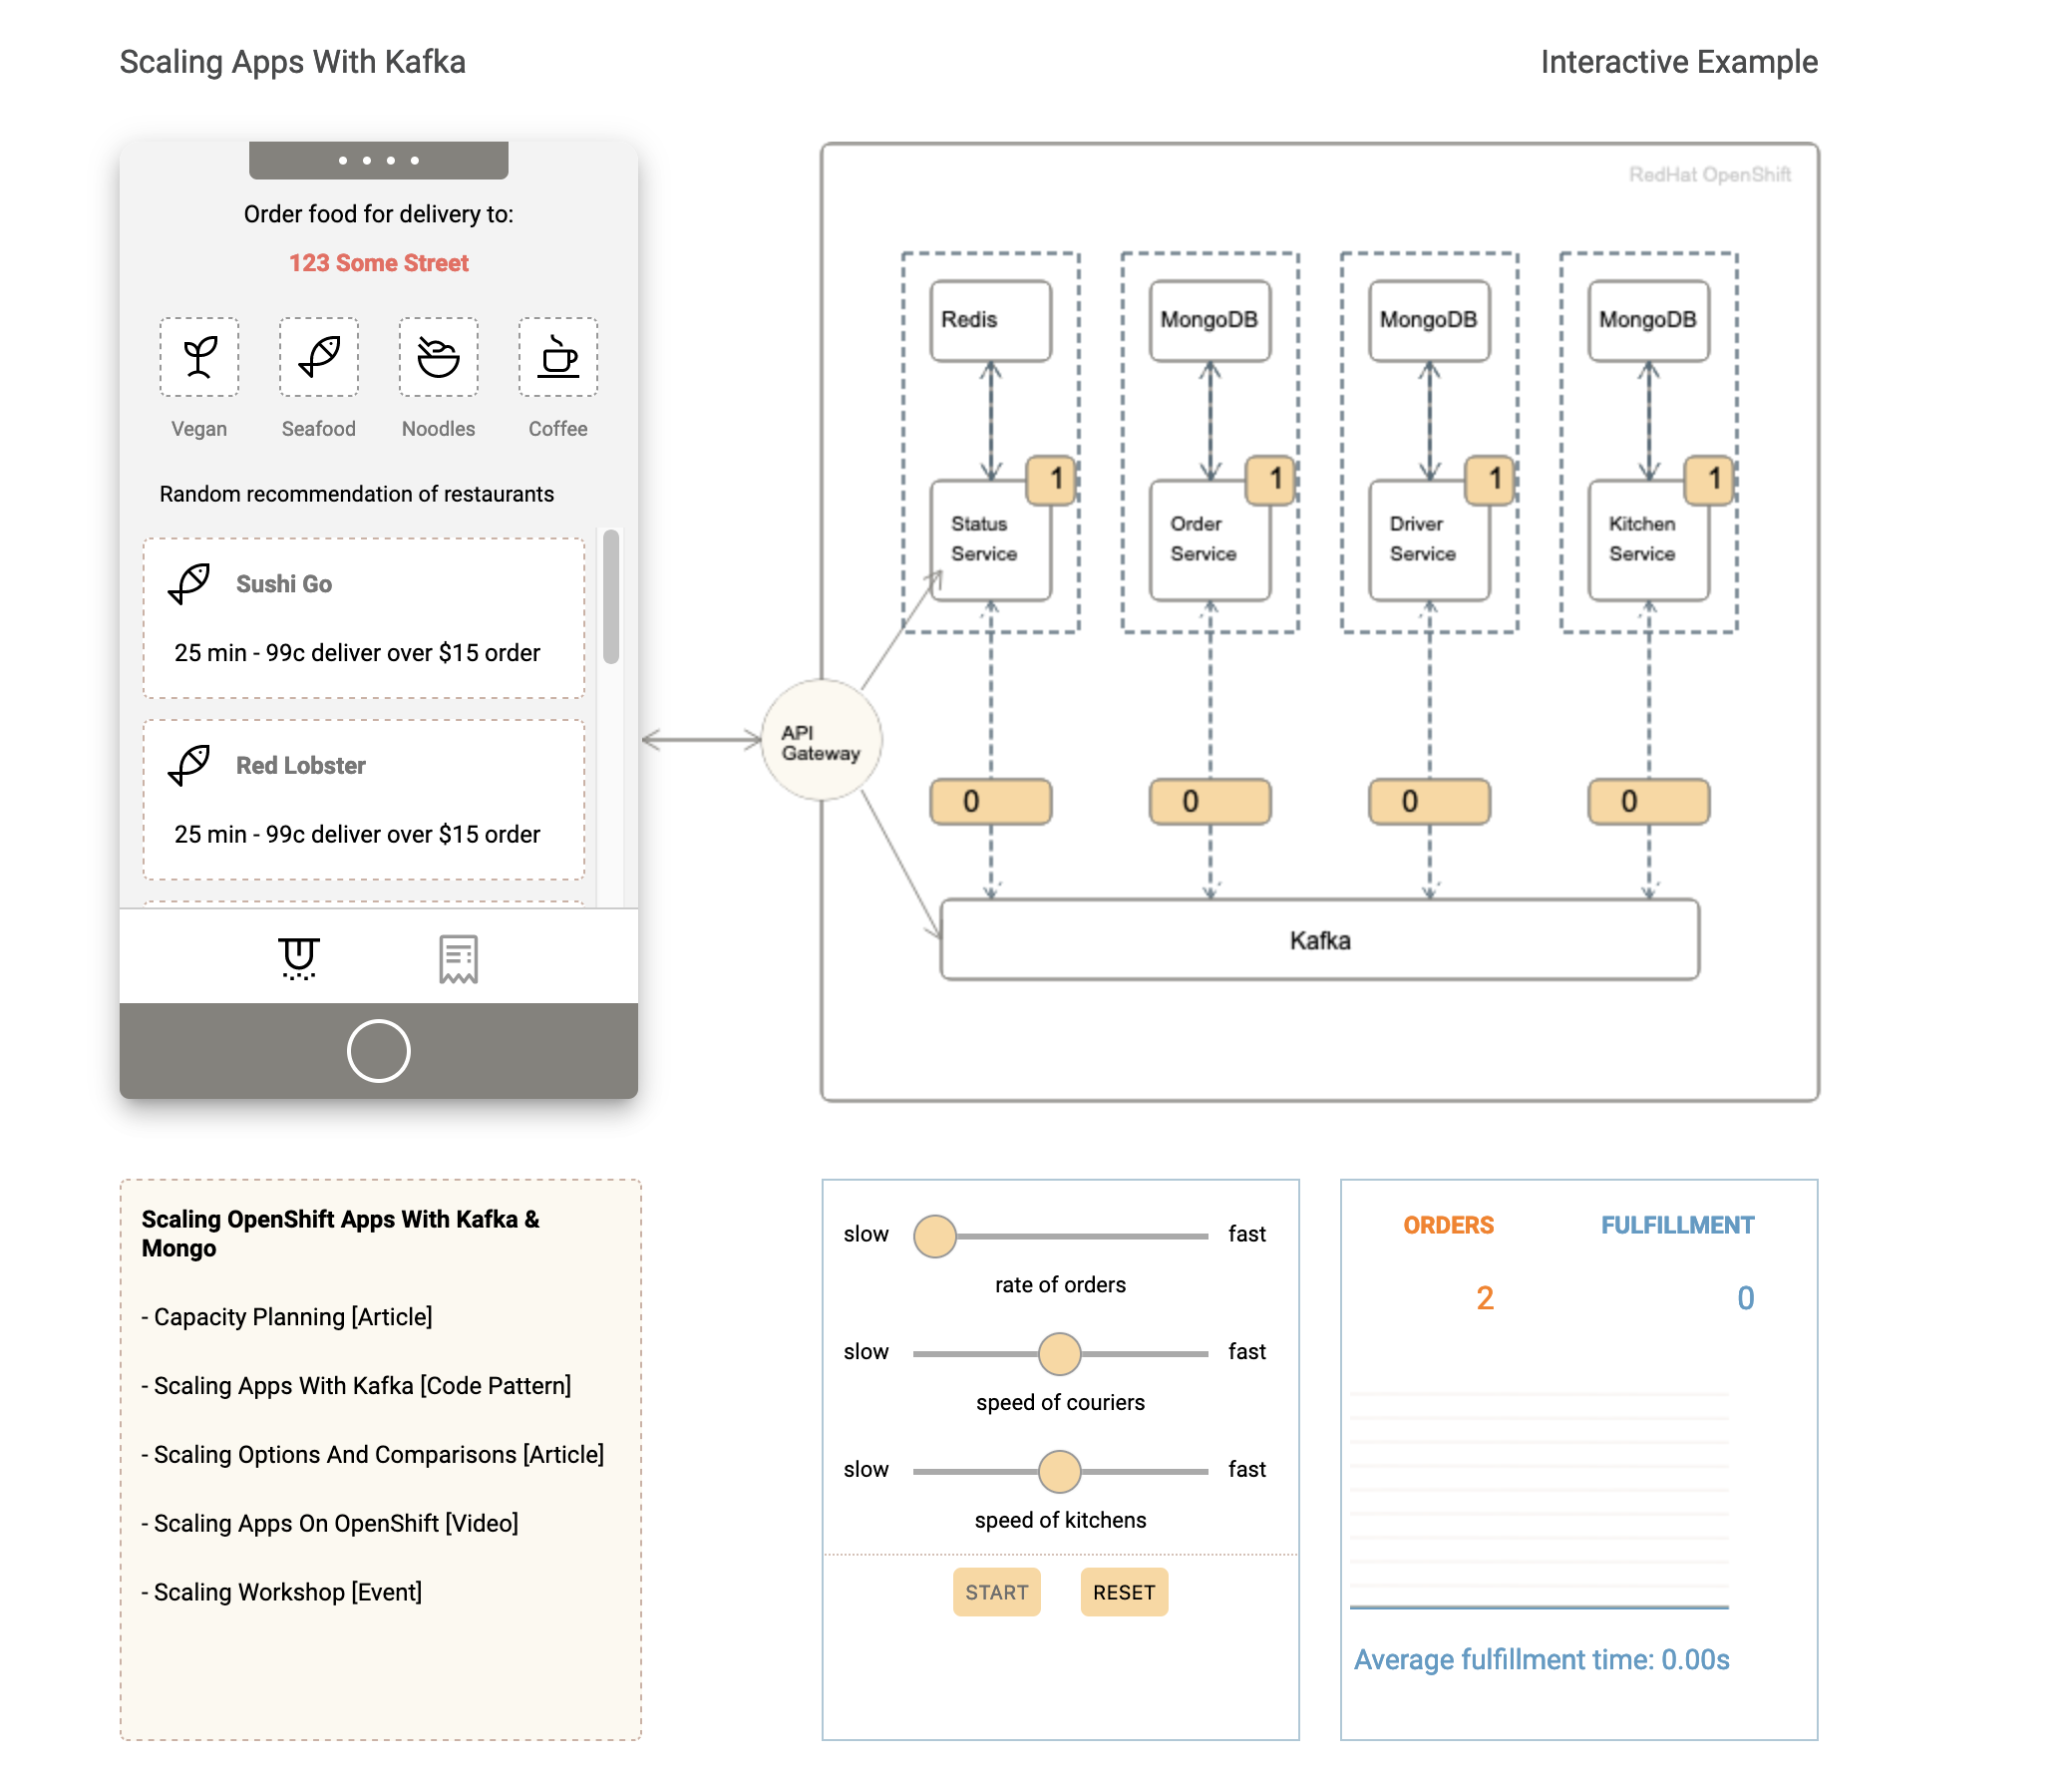
Food Delivery is a cloud native microservices based application leveraging multiple common cloud native opensource projects to develop a simulated version of an UberEats/GrubHub type business. The application uses OpenShift, Kafka, Redis, and MongoDB as its base set of middleware and adds set of domain specific middleware and an API front end. In this version, as seen in the architecture diagram, the MongoDB instance has been extracted out, and is consumed via a managed service. This lab assumes the MongoDB is already deployed in an IBM Cloud Account.
This set of assets is based on the material used at the Digital Developer Conference: Hybrid Cloud Labs and the IBM Cloud Community Days Conference. You can reference details on the workshops here: https://anthonyamanse.gitbook.io/ibm-satellite-workshop/
The base application itself was developed by Yan Koyfam and Anthony Amaranse and published here: https://github.com/IBM/scaling-apps-with-kafka. It was later modified to remove the dependance on Confluent by Dave Tropeano here: https://github.ibm.com/davetropeano/satellite-demo-food-delivery
This version of the deployment has removed the Mongo Database from running locally in the cluster and is dependent on an existing IBM Cloud Databases for MongoDB instance.
You can see a walkthrough of the Satellite Config demo utilizing the Food Delivery app here:
The main demo script assumes you have a Satellite Location set up with a ROKS cluster.
Create a new project in your cluster (ie: delivery), which will be used as your namespace for the project.
oc new-project <project_name>
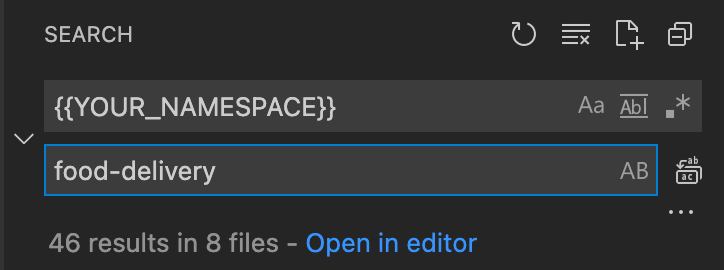
The deployments and route-* folders contain the YAML files used to deploy the application. You need to edit and change the {{YOUR_NAMESPACE}} and {{CLUSTER_DOMAIN_NAME}} tokens to use the namespace and cluster URL for your demo system. For this lab, for the routes, we will only use the route-dev/routes.yaml file.
This can be done manually (there are only a few files), you can use Find and Replace to find every instance of {{YOUR_NAMESPACE}} and {{CLUSTER_DOMAIN_NAME}} and replace them in the project directory or use something like mustache to preprocess the YAML files and make the substitutions. If you are using mustache or something similar the file config.yaml is used as a configuration file.
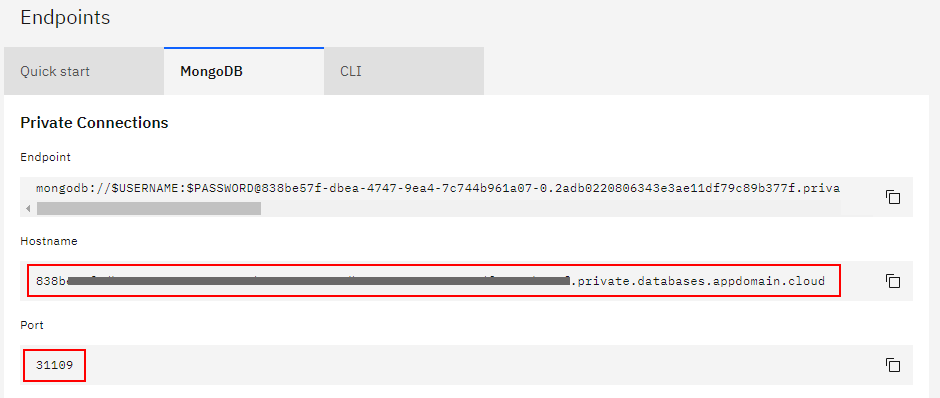
Additionally in the deployments folder, you will need to edit secrets and configmaps. Create a icd-secrets.yaml file from the icd-secrets.yaml.template file and replace the placeholders {{MONGO_HOSTNAME}}, {{MONGO_PORT}}, {{MONGO_USERNAME}} and {{MONGO_PASSWORD}}. Also add your initials or a random character string to the DBNAME variable as well, replacing the {{INITIALS}} placeholder.
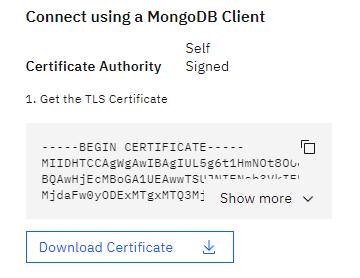
Create a icd-cert.yaml file from the icd-cert.yaml.template file and populate the placeholder {{CERTIFICATE}} with the contents from your MongoDB instance.
Apply the configmaps and secrets to your project.
oc create -f icd-cert.yaml
oc create -f icd-secrets.yaml
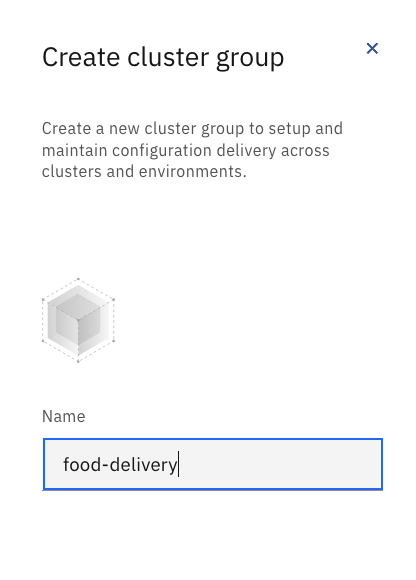
- Create a Cloud Satellite cluster group. Add the appropriate cluster to the cluster group.
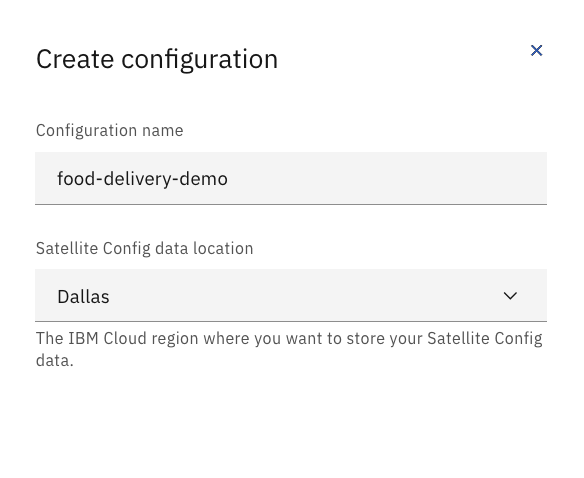
- Create a Cloud Satellite configuration.
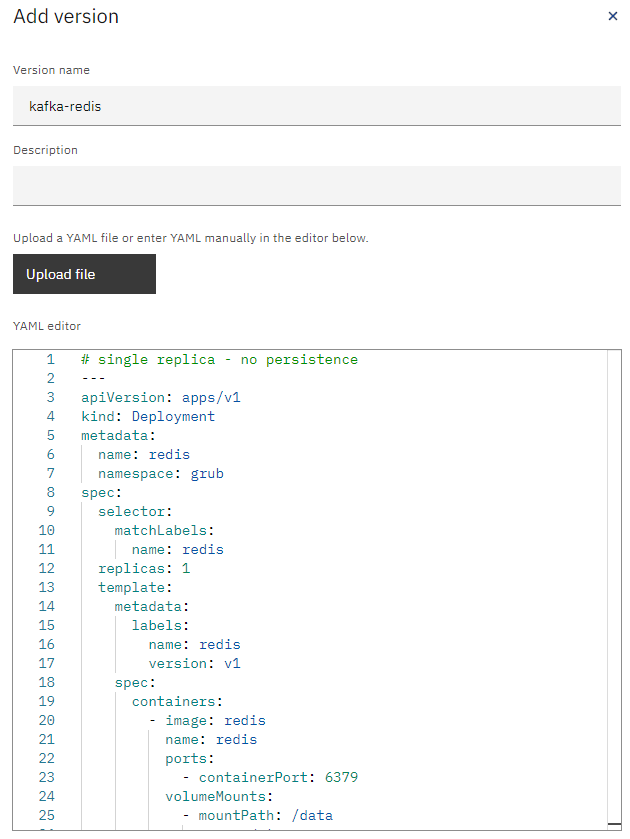
Open the configuration and create a new version using the kafka-redis.yaml file and name it something recognizable such as kafka-redis, repeat this creation of versions for backend.yaml, frontend.yaml, frontend-v2.yaml files in the deployment folder and name the versions appropriately.
-
Open the Cloud Satellite configuration for this project and create a version for the
routes.yamlfile found in theroute-devfolder. -
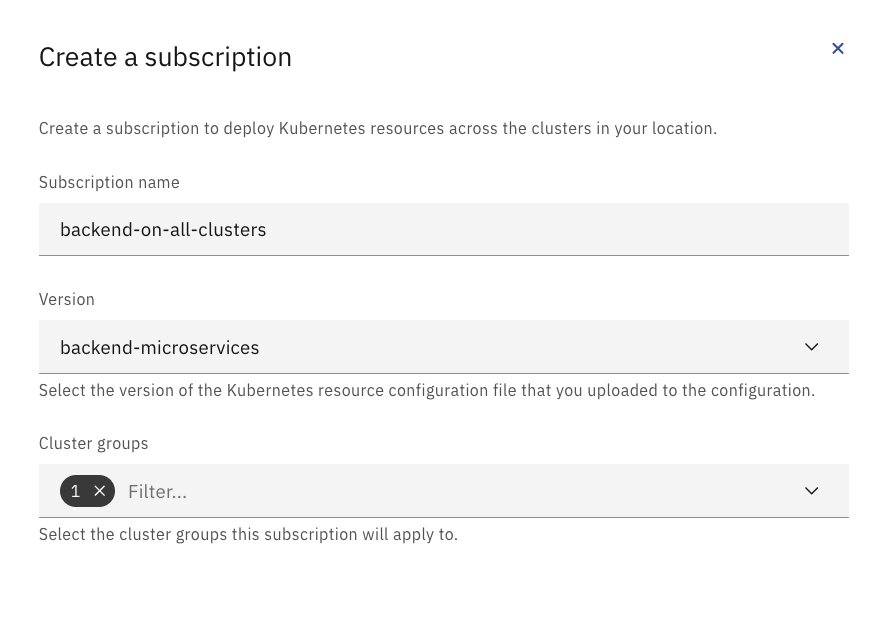
Create a Cloud Satellite subscription for the route labeled with the route's name. choose the associated version and add to the appropriate cluster group(s).
- Create a Cloud Satellite subscription labeled
kafka-redis, choose the versionkafka-redisand add the cluster group(s).
- Check
Podswithin the cluster(s) to see if the services are running.
- Create a Cloud Satellite subscription labeled
backend-microservices, choose the versionbackendand add the cluster group(s).
- Check
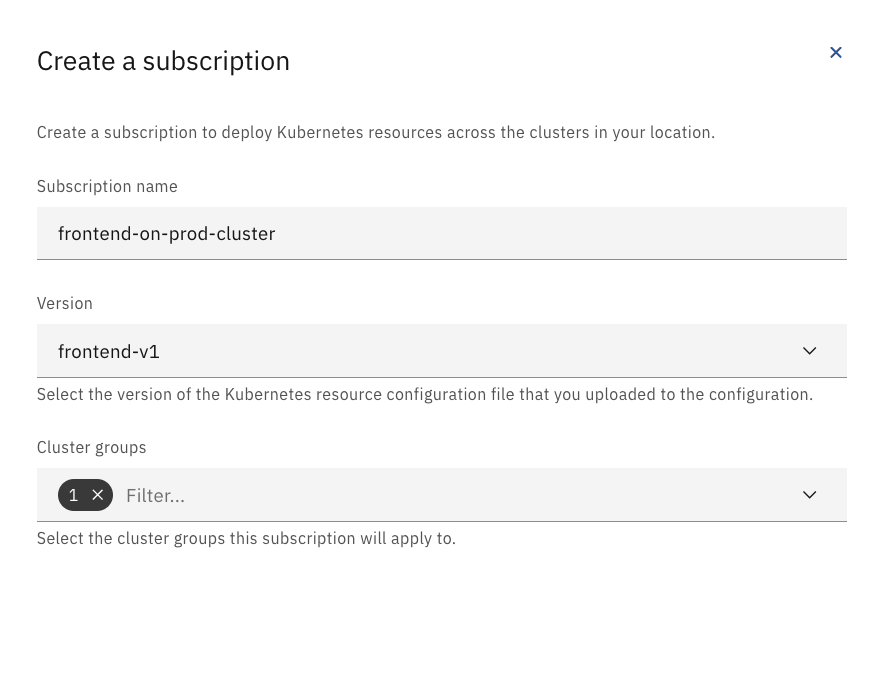
Podswithin the cluster(s) to see if the services are running. - Create a Cloud Satellite subscription labeled
frontend, choose the versionfrontend-v1or the name you provided for the first frontend yaml file and add the cluster group. - Check
Podswithin the cluster(s) to see if the services are running. - Go to
Routesin your cluster(s) and find theexample-foodroute. Open the URL.
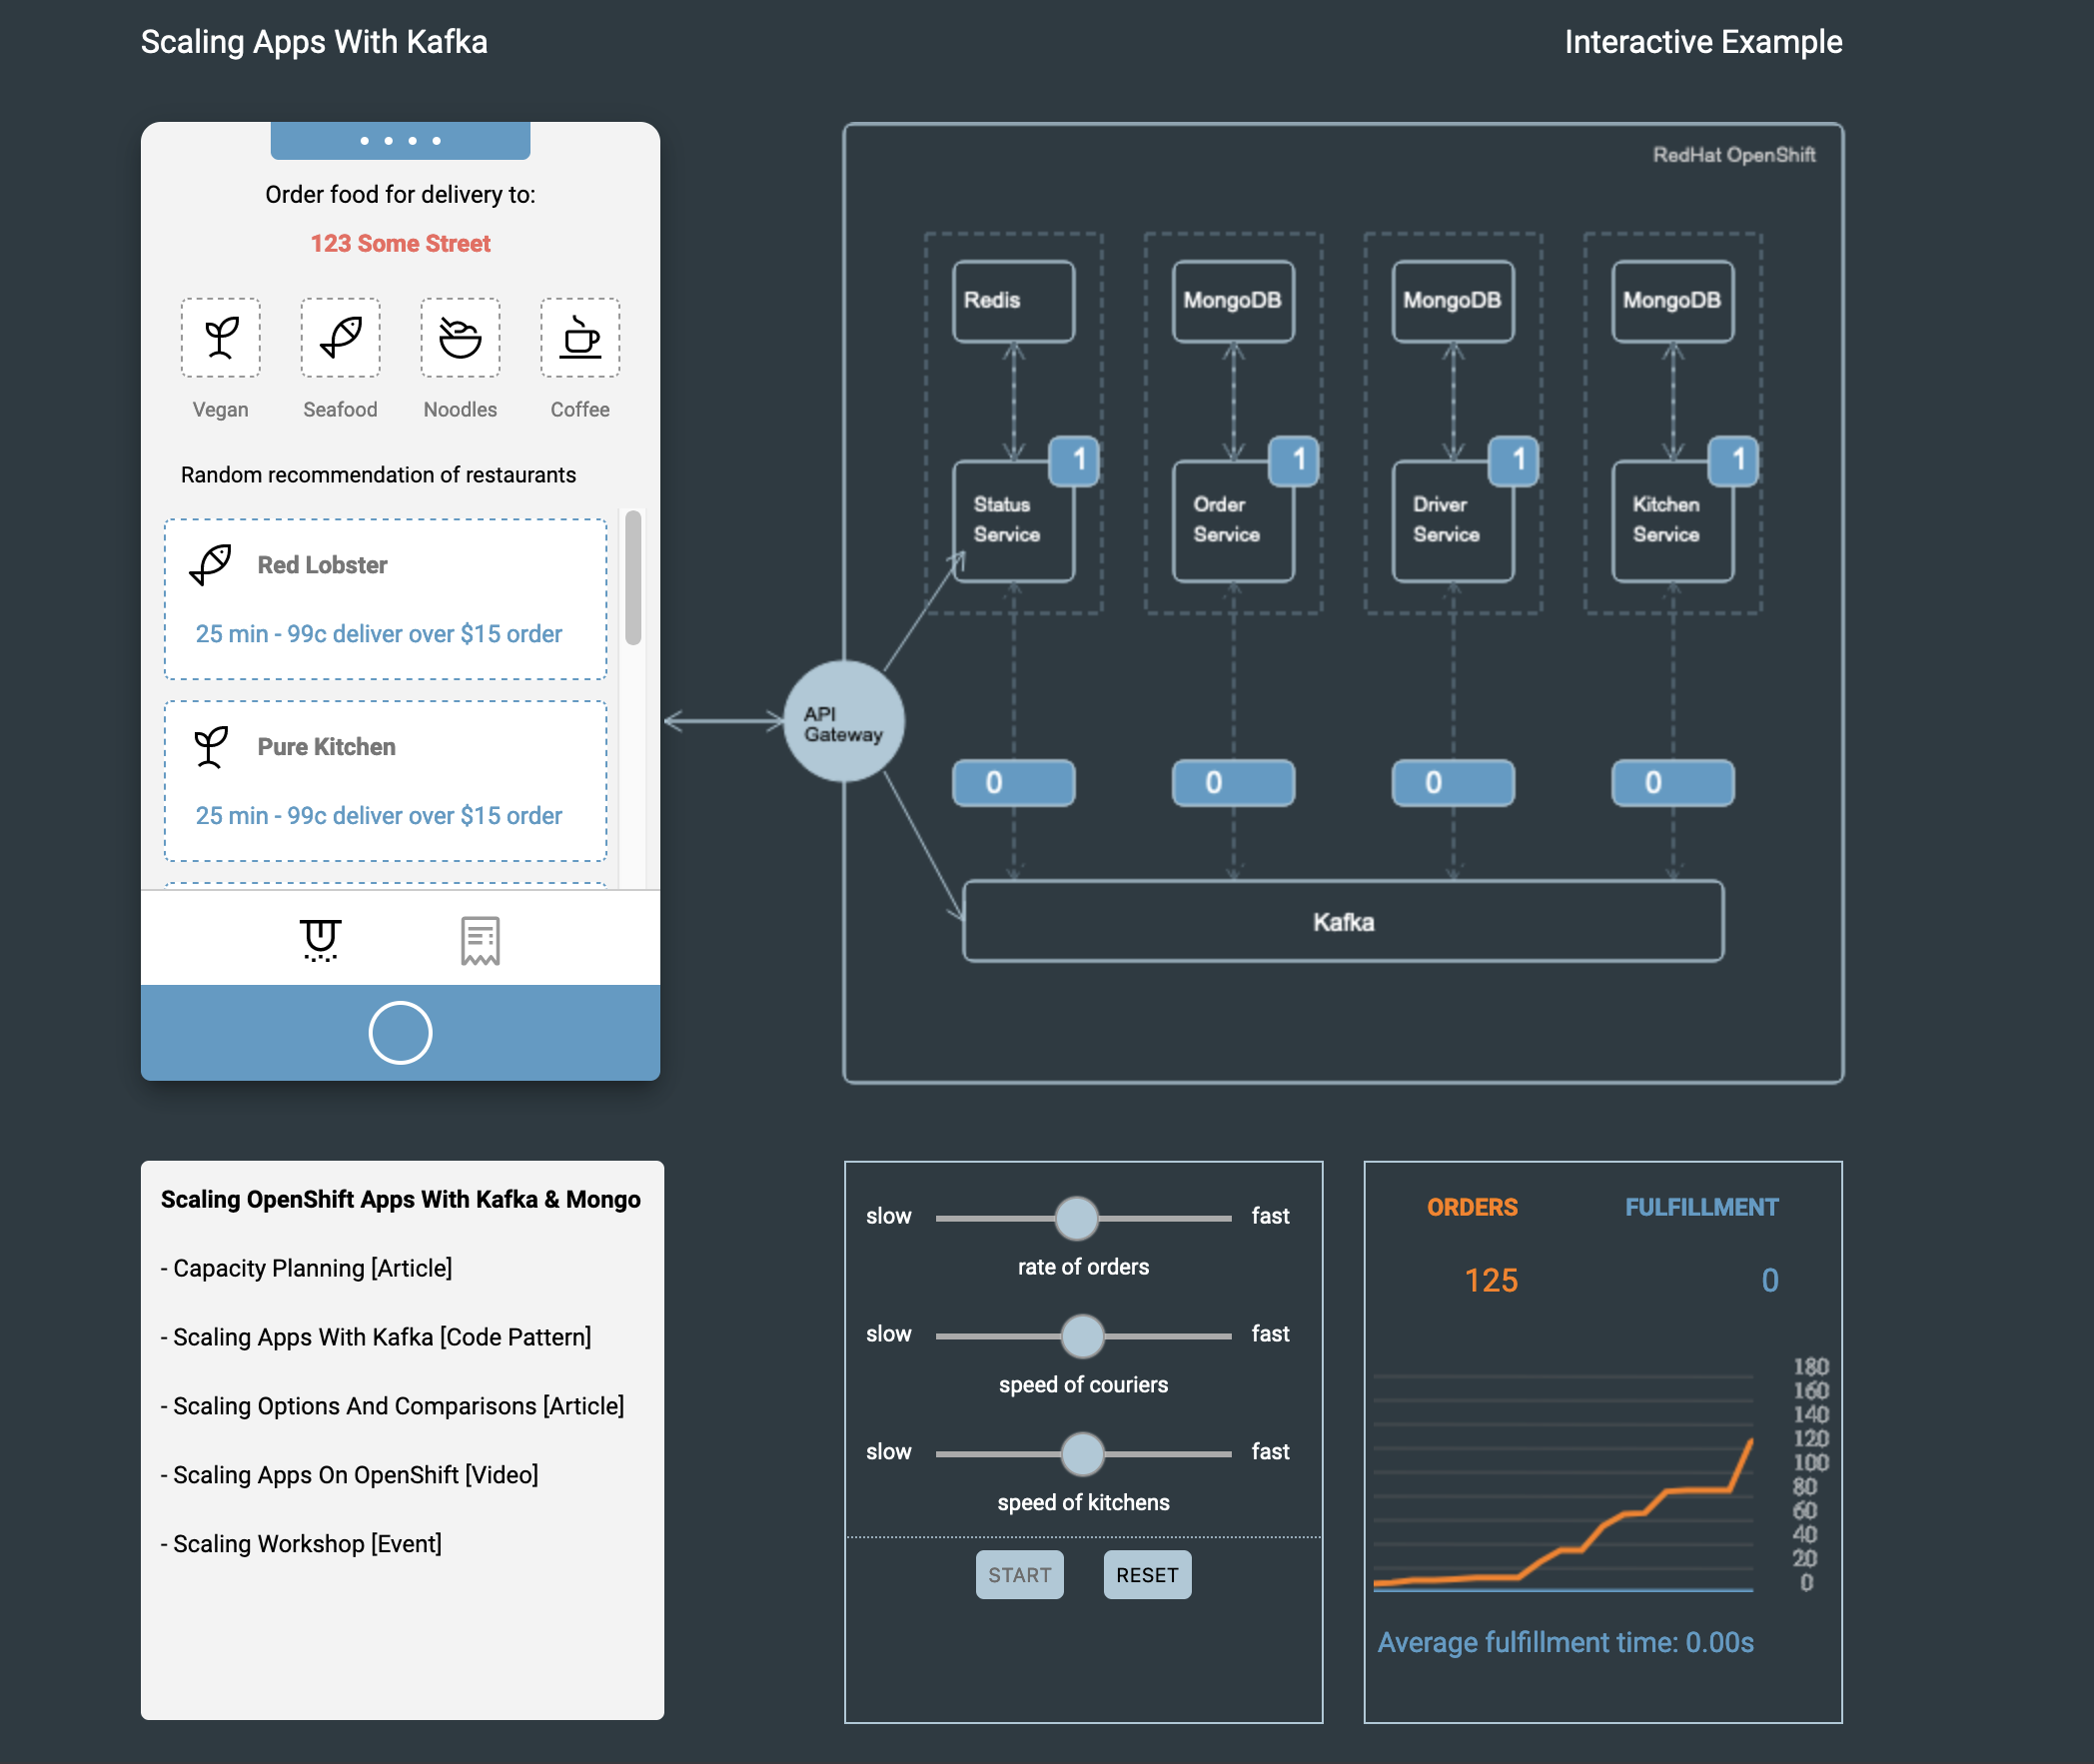
- Now we will show updates to the application by switching from a frontend light theme (
frontend-v1) to a dark theme (frontend-v2). - If the
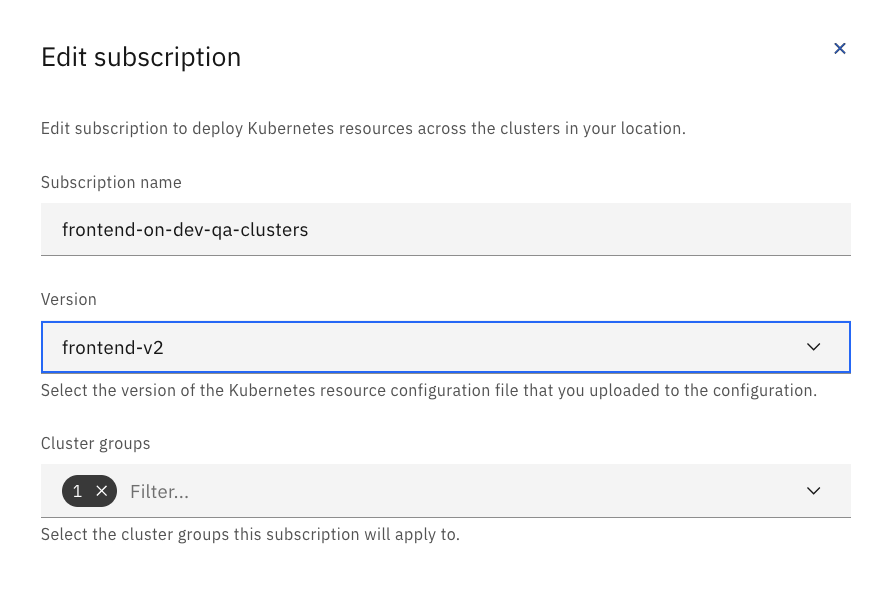
frontend-v2version is already created in your project's configuration, then skip this step. Open the project's Cloud Satellite Configuration and selectVersionsfrom the sidenav bar. Find thefrontend-v1version and open the ellipsis to selectDuplicate. Change the title tofrontend-v2and the- image: mcltn/example-food-frontend:1.0to- image: mcltn/example-food-frontend:2.0. PressAdd. - Go into the Cloud Satellite subscriptions. Update the
frontendsubscription to thefrontend-v2version and pressSave.
- Look at
Podsto see a newexample-fooddeployment configured (frontend-v2) and another deployment (frontend-v1) terminating.
- Once the
frontend-v1deployment terminates, open theexample-foodapplication route again and view the application to see the update to the dark theme thatfrontend-v2configured.
- Press
Starton the management controls panel in theexample-foodGUI to increase theOrderquantity. - Adjust the controls to have a higher rate of food orders, increase the speed of the couriers and kitchens.
This demonstration shows the near-to instant update of an application via Cloud Satellite Config.
