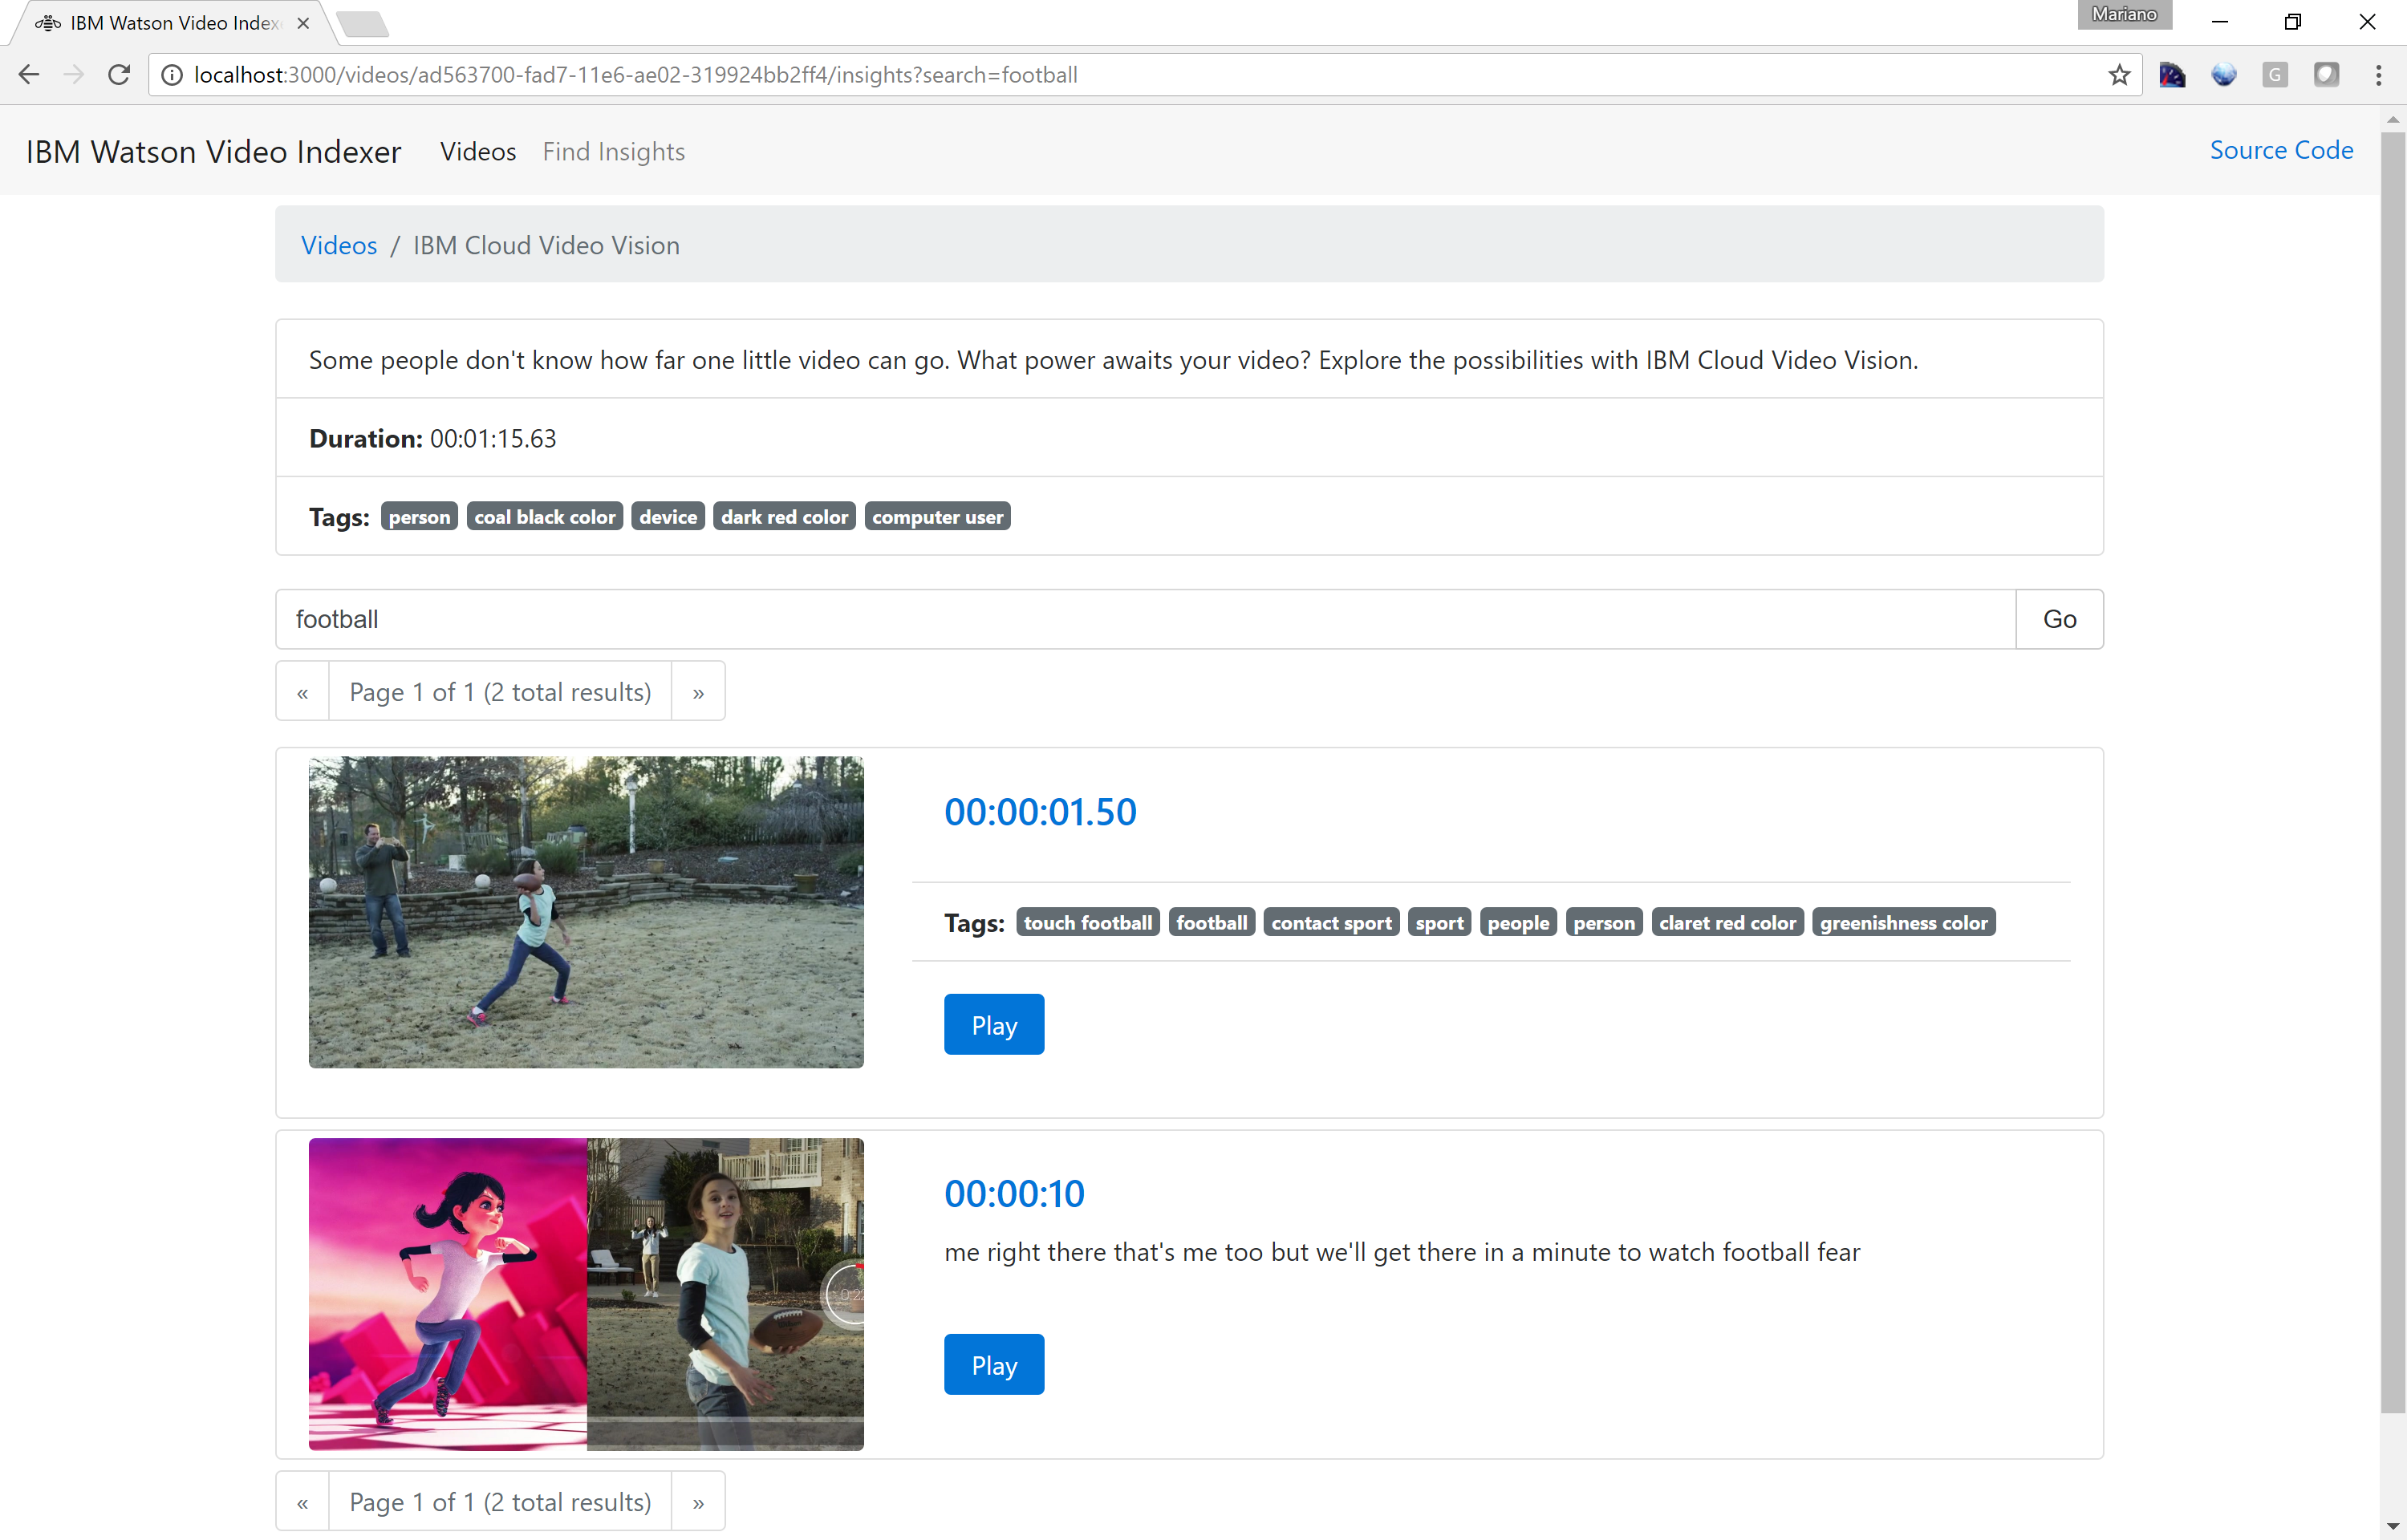
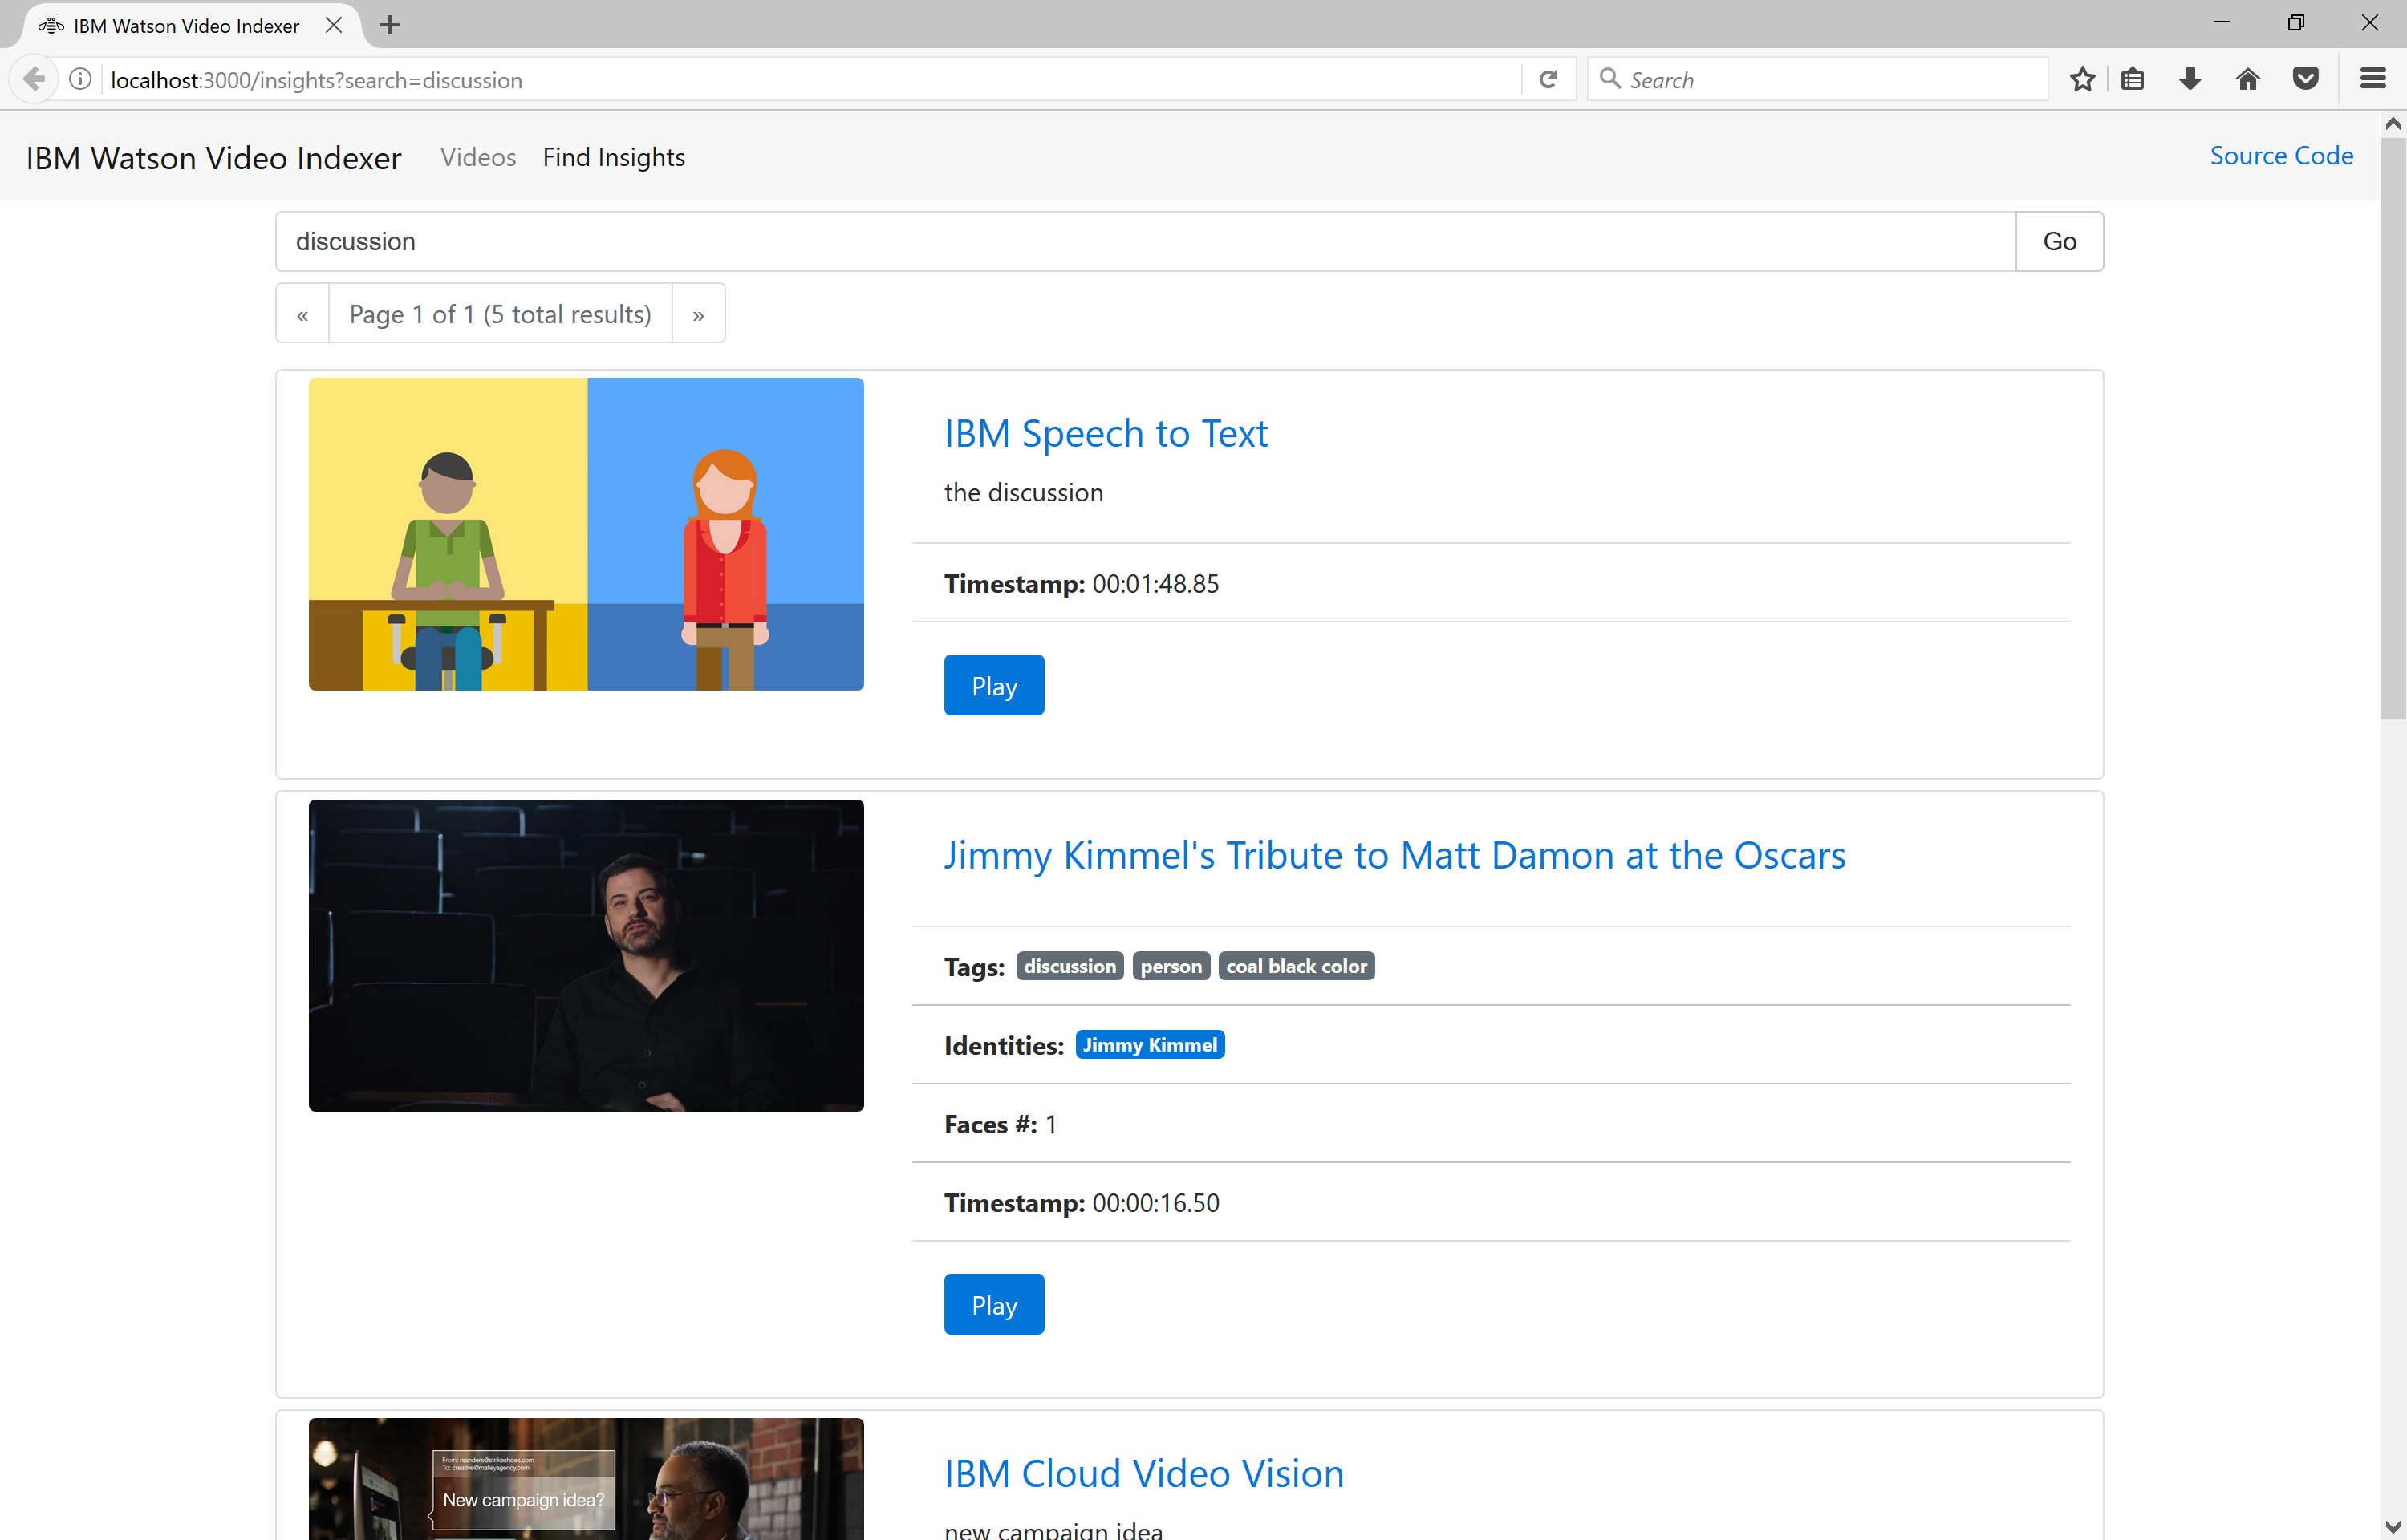
This is a proof-of-concept sample application that uses IBM Bluemix services to automatically index video files by analyzing the video frames (tag clasification, face and identity detection, and text recognition) and the audio track (speech to text recognition).
You can run full-text search queries on the metadata (title, description, tags summary and identities summary) to find a video in your library.
You can click a particular video to navigate its details page and then find insights 'inside' the video content leveraging the metadata generated by IBM Watson services (tag clasification, face and identities, OCR and audio speech).
Or you can click Find Insights in the navigation bar to find insights 'inside' the content across all your videos.
To upload a new video just drag-and-drop the file in the drop zone. In the Uploading file dialog enter a Title and Description (optional), click Upload and then wait until the process completes.
Note: OpenWhisk currently has a 5 minutes maximum action timeout system limit. Because of this, the speech and visual analyzers processors might timeout if your video is too long. To avoid this issue, make sure to upload videos that are up to 5 minutes long.
Built using IBM Bluemix, the application uses:
- Watson Visual Recognition
- Watson Speech to Text
- OpenWhisk
- Compose for Elasticsearch
- Cloud Object Storage
- IBM Bluemix account. Sign up for Bluemix, or use an existing account.
- Docker Hub account. Sign up for Docker Hub, or use an existing account.
- Node.js >= 6.7.0
Note: if you have existing instances of these services, you don't need to create new instances. You can simply reuse the existing ones.
-
Open the IBM Bluemix console.
-
Create a Compose for Elasticsearch service instance.
-
Create a Watson Visual Recognition service instance.
-
Create a Watson Speech to Text service instance.
-
Create a Cloud Object Storage (S3 API) service instance.
-
Go to the Cloud Object Storage (S3 API) details page and create a new bucked called media.
-
Change to the web/server/lib directory.
-
Replace the placeholders in the config-elasticsearch-credentials.json file with the Compose for Elasticsearch service instance credentials.
-
Replace the placeholders in the config-visual-recognition-credentials.json file with the Watson Visual Recognition service instance credentials.
-
Replace the placeholders in the config-speech-to-text-credentials.json file with the Watson Speech to Text service instance credentials.
-
Replace the placeholders in the config-s3-credentials.json file with the Cloud Object Storage (S3 API) service instance credentials.
-
Replace the placeholders in the config-openwhisk-credentials.json file with the OpenWhisk CLI credentials.
These analyzers requires ffmpeg to extract audio, frames and metadata from the video. ffmpeg is not available to an OpenWhisk action written in JavaScript or Swift. Fortunately OpenWhisk allows to write an action as a Docker image and can retrieve this image from Docker Hub.
To build the images, follow these steps:
-
Change to the processors directory.
-
Ensure your Docker environment works and that you have logged in Docker hub.
-
Run the following commands:
./buildAndPushVisualAnalyzer.sh %youruserid%/%yourvisualanalyzerimagename%
./buildAndPushSpeechAnalyzer.sh %youruserid%/%yourspeechanalyzerimagename%
Note: On some systems these commands need to be run with sudo.
- After a while, your images will be available in Docker Hub, ready for OpenWhisk.
- Ensure your OpenWhisk command line interface is property configured with:
wsk list
This shows the packages, actions, triggers and rules currently deployed in your OpenWhisk namespace.
- Create the visualAnalyzer action.
wsk action create -t 300000 -m 512 --docker visualAnalyzer %youruserid%/%yourvisualanalyzerimagename%
- Create the speechAnalyzer action.
wsk action create -t 300000 -m 512 --docker speechAnalyzer %youruserid%/%yourspeechanalyzerimagename%
- Create the videoAnalyzer sequence.
wsk action create -t 300000 -m 512 videoAnalyzer --sequence /%yourorganization%/visualAnalyzer,/%yourorganization%/speechAnalyzer
This Web application is used to upload videos, monitor the processing progress, visualize the results and perform full-text search queries to find insights inside the content.
-
Change to the web directory.
-
Get the dependencies and build the application:
npm install && npm run build
- Push the application to Bluemix:
cf push
That's it! Use the deployed Web application to upload videos, monitor the processing progress, view the results and find insights inside your content!


