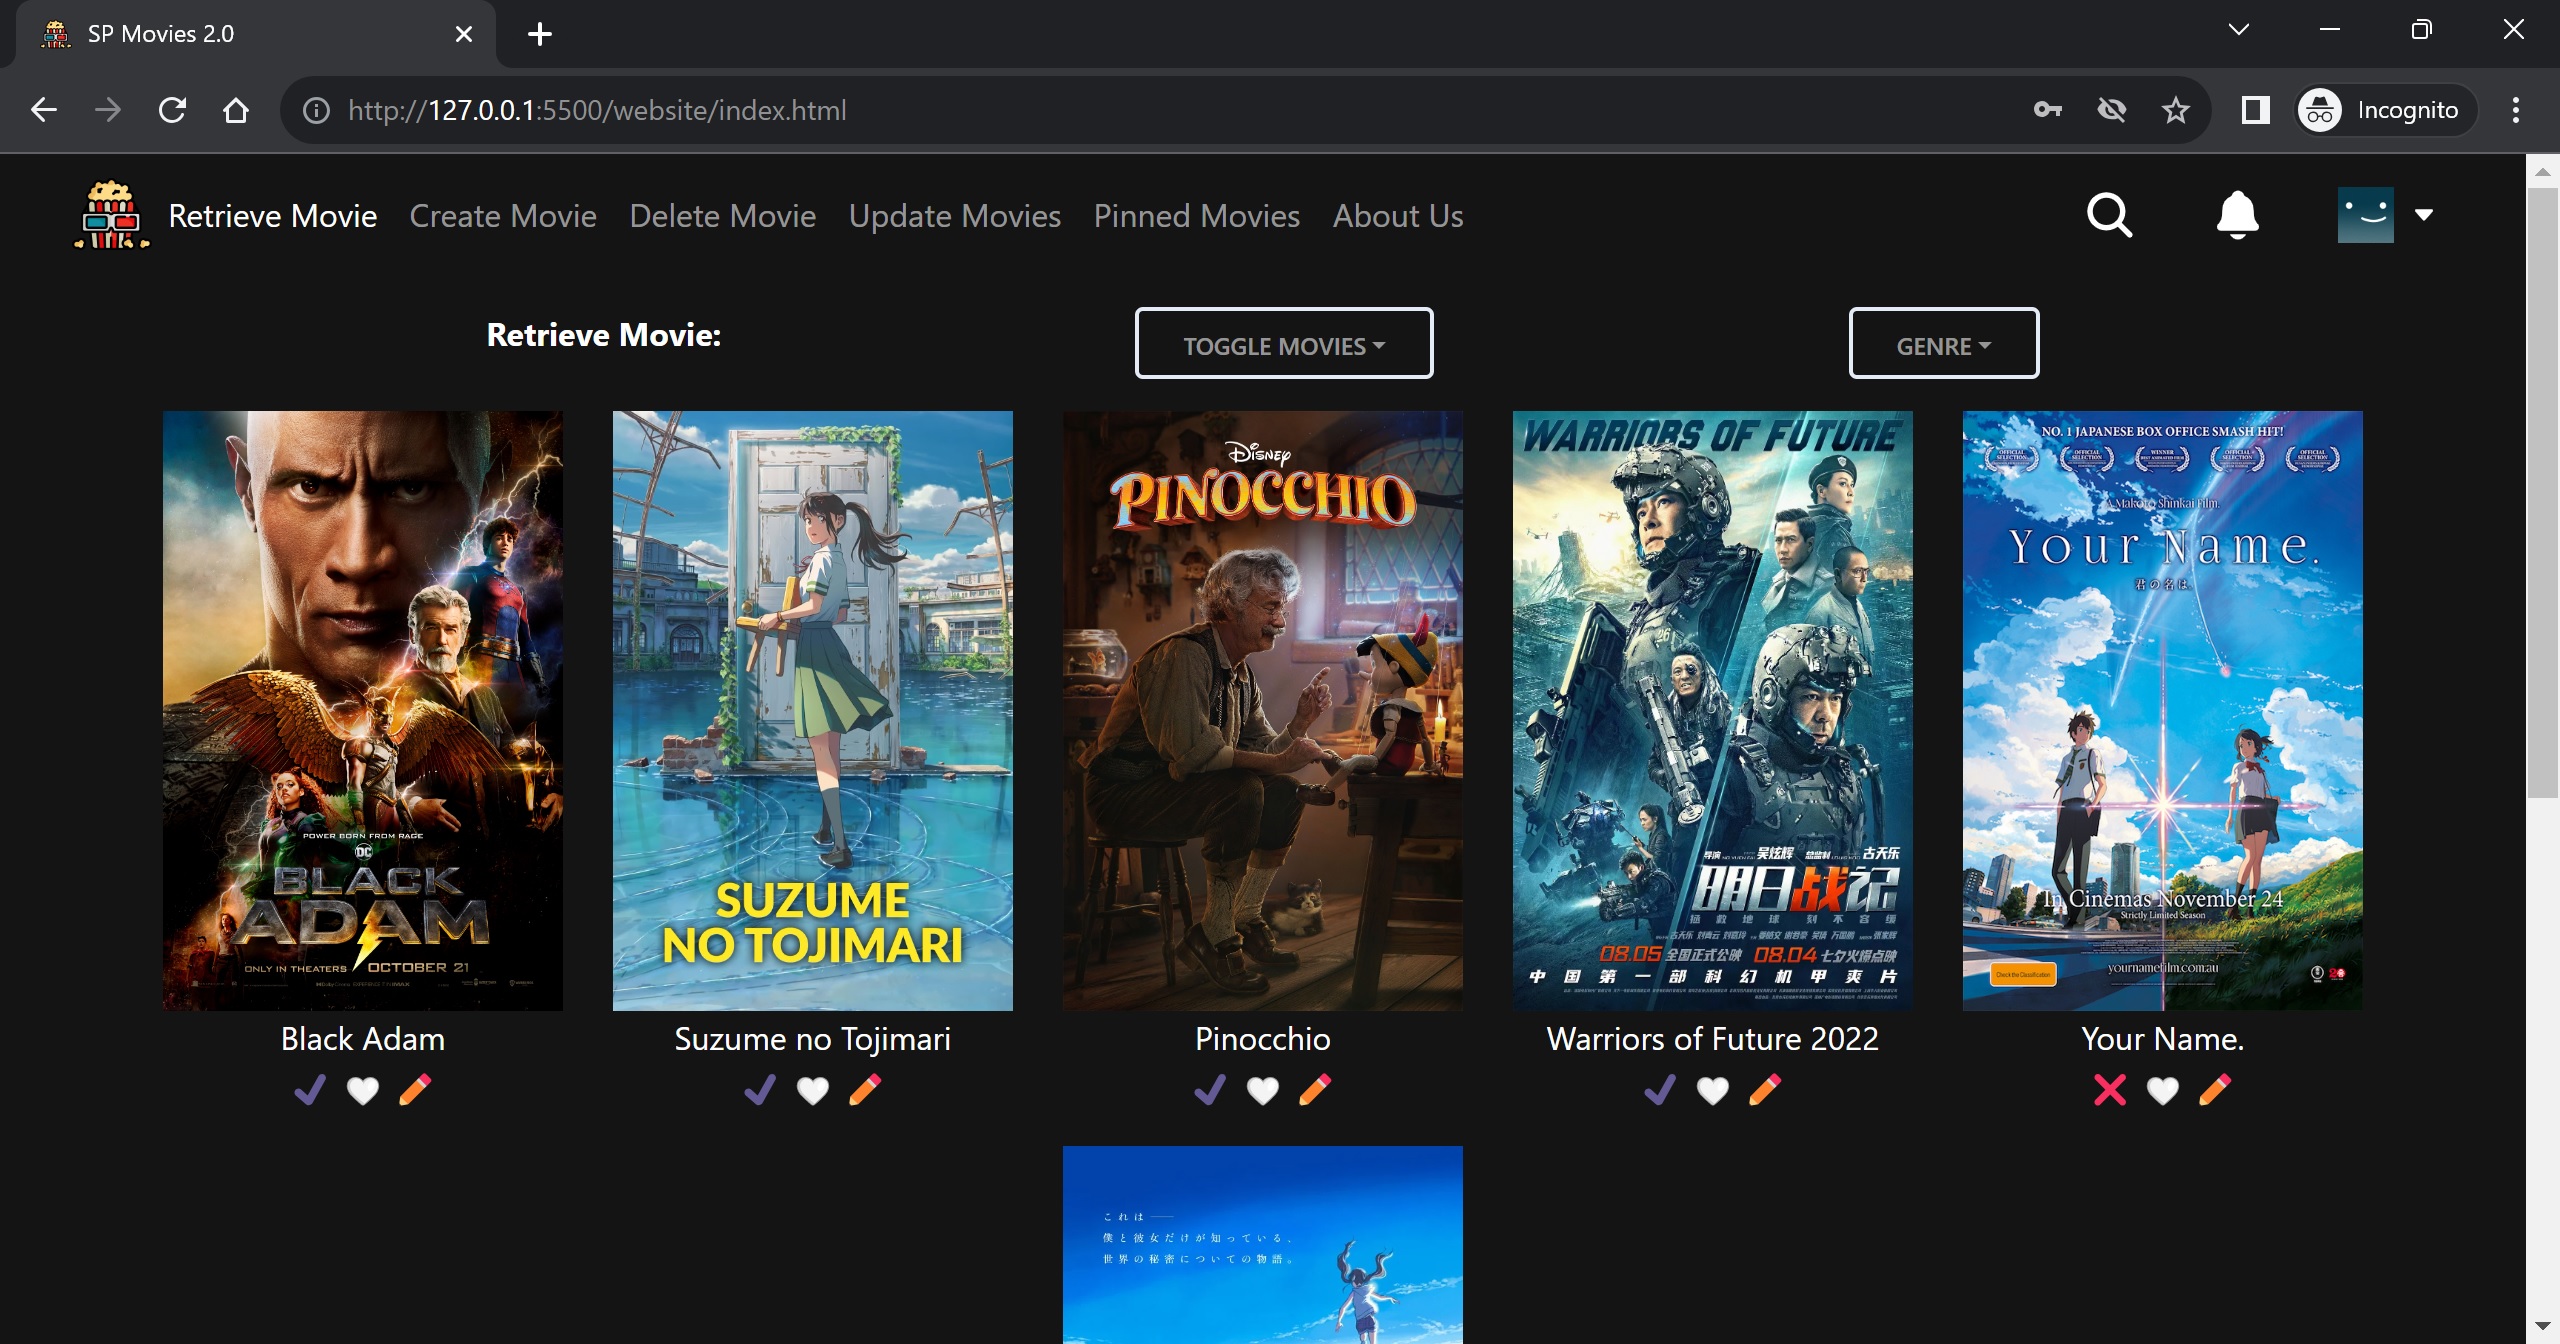
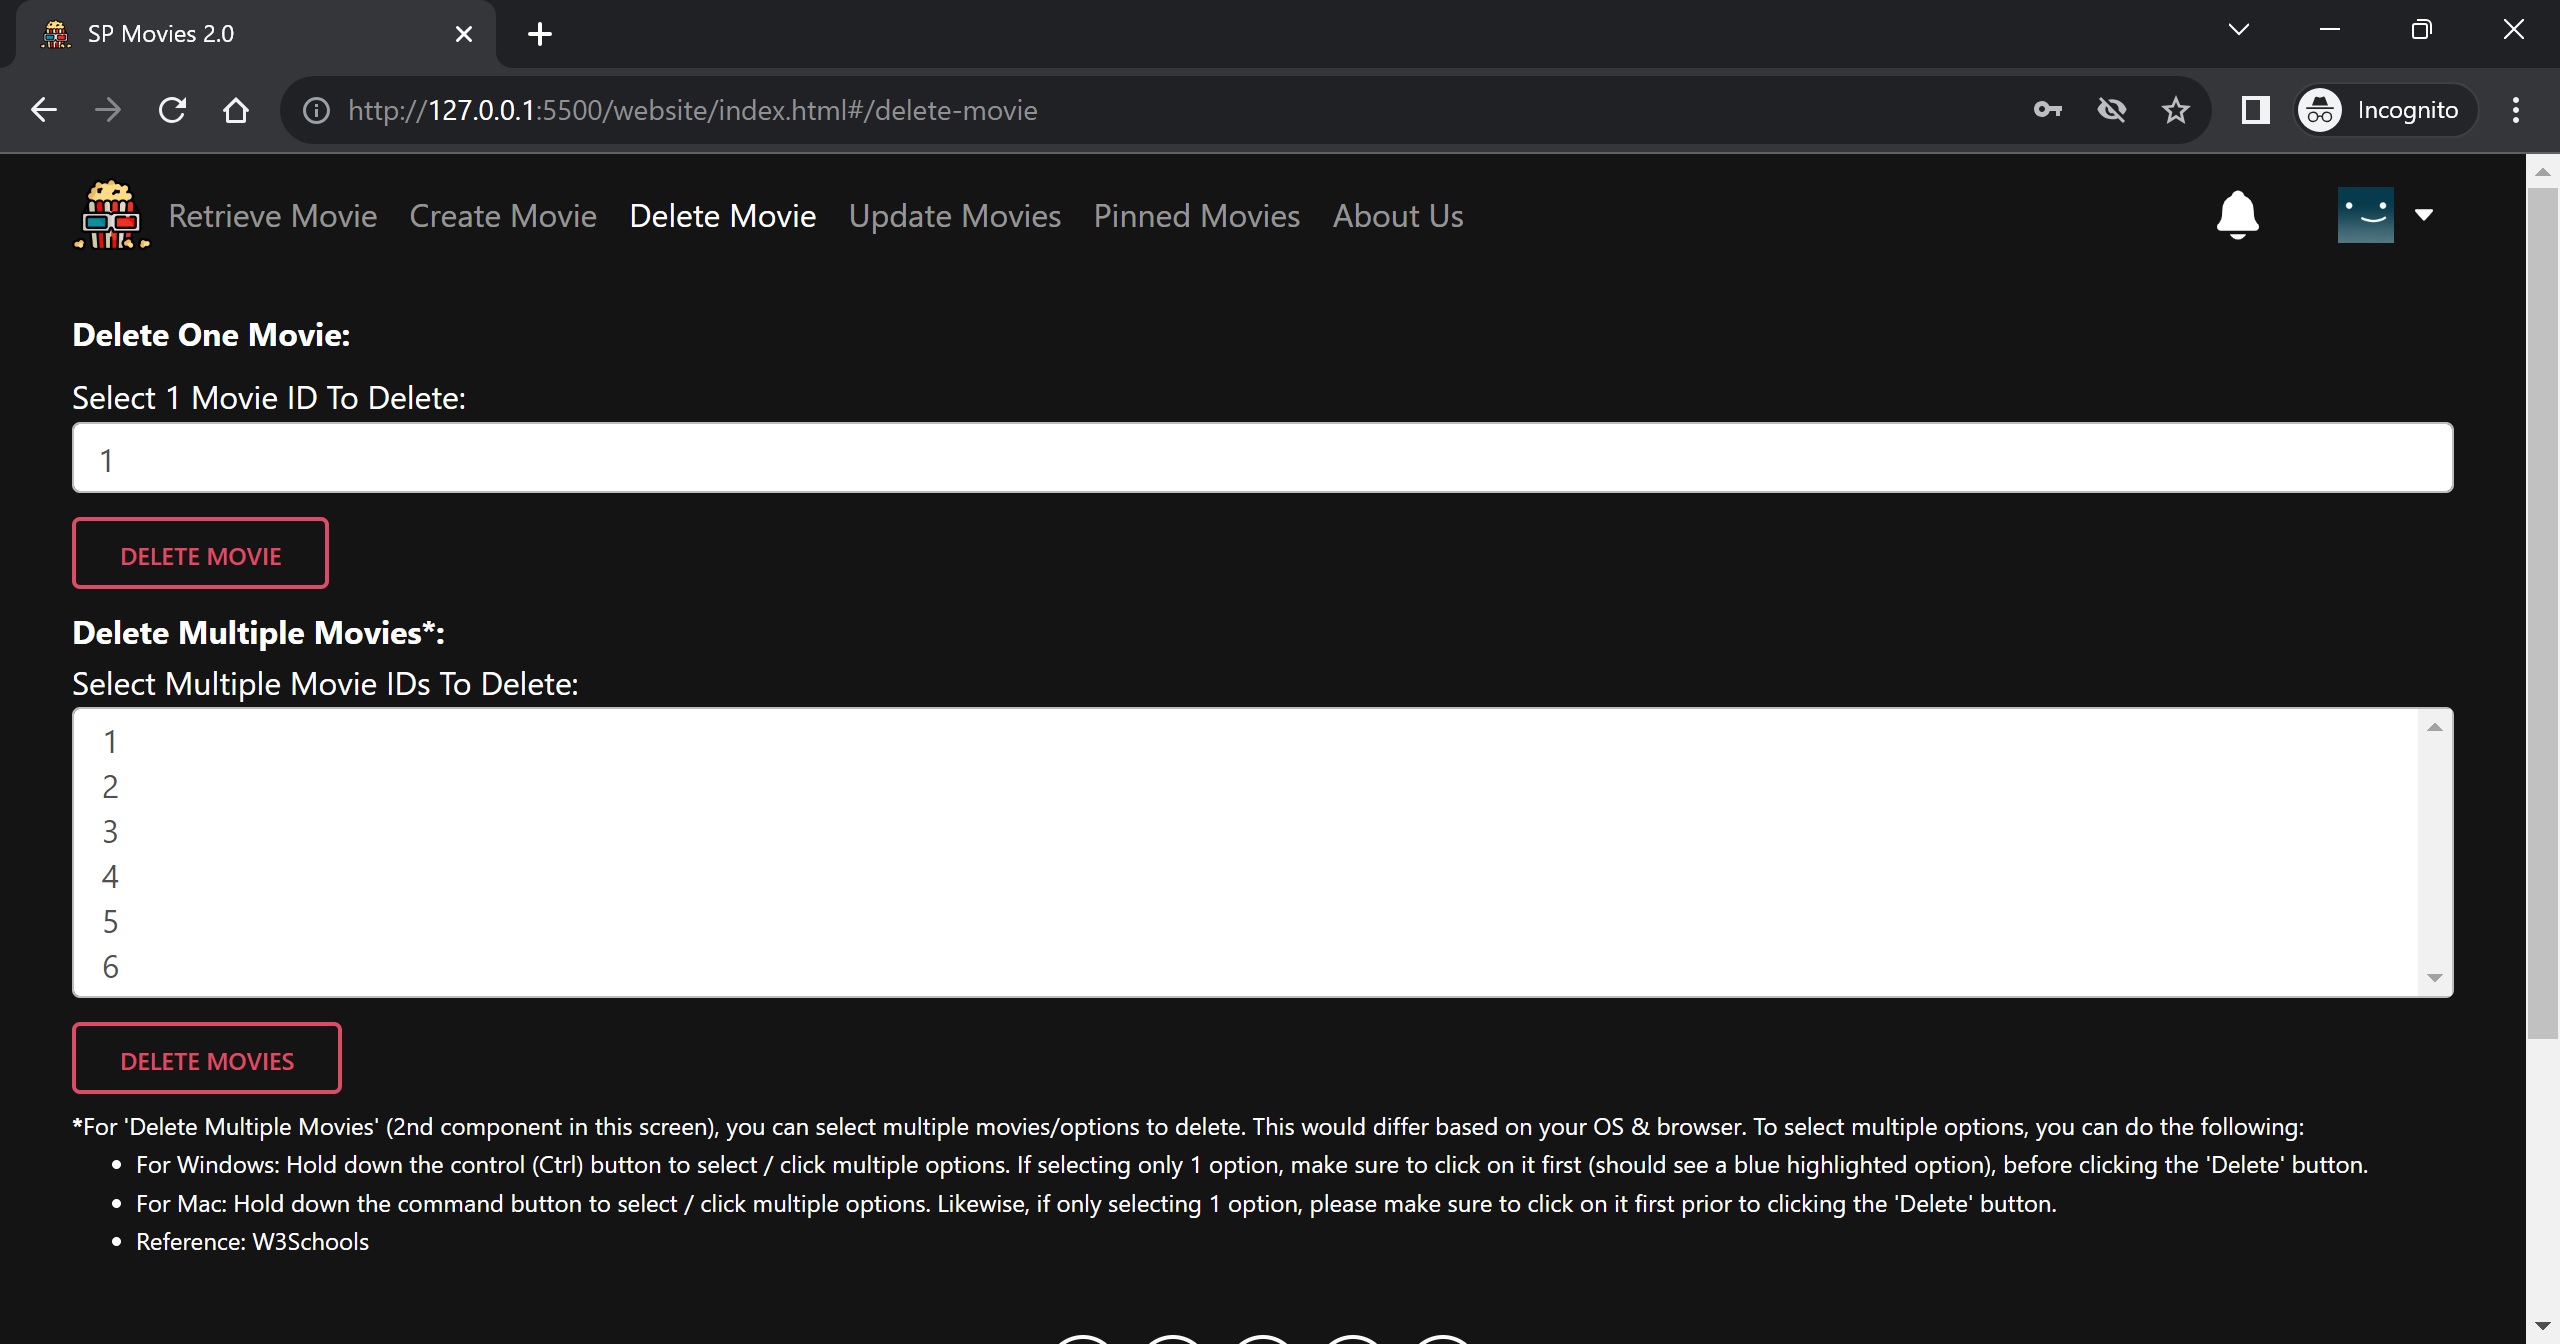
This full-stack web application allows an admin to manage a list of movies in the system. Using this application, the admin can:
- Retrieve a list of movies
- Toggle hide/show past movies
- Filter movies by genre
- Create movies
- Delete one or multiple movie(s)
- Update movies
- Pin movies
It also allows a normal user to retrieve/toggle/filter a list of movies & to pin their favourite movies.
HTML5, CSS3, JavaScript, SQL
Frontend Tech Stack:
- React.js, Redux, React-Router-DOM, Bootstrap 5, MDBootstrap 5, React-Icons, React-Spinners, Babel, Webpack, GitHub Pages (for hosting Frontend App)
Backend Tech Stack:
- Node.js, Express.js, MySQL, AWS (for hosting Backend App)
To run the web application locally, follow the steps below:
- Clone the repository using
git clone <REPOSITORY_ADDRESS>command & Open the repository using a code editor like VS Code. - At the root of the project, you should see 2 folders titled
website&server. The 3rd folder.githubcontains various automation related scripts that are used by GitHub Actions to automatically add reviewers & assignees to pull requests (advanced feature). - Open the first terminal window & change directory into the
serverfolder by entering the commandscd server. Once there, install all the dependencies usingnpm installcommand. - Start the server using the command
nodemon server.js. - Open a second terminal window & change directory into the
websitefolder by entering the commandcd website. Once there, install all the dependencies usingnpm installcommand. - Run the command
npm run startto allow Babel to transpile the code. An/outputfolder should appear after transpilation. - Open a third terminal window &
cd website. This time round, run the commandnpm run buildto allow Webpack to transpile once again and bundle the code. A/distfolder should appear after transpilation. - Right click the index.html file (in the root directory) & click on 'Open with Live Server' to start the web application. To open the HTML file with a local development live server, please kindly ensure that you have installed beforehand the Live Server extension in your VS Code editor.
- Check & ensure that your website is started at http://127.0.0.1:5500 and your server is started at http://localhost:8081.
- Once your website & server are set up locally, proceed to open MySQL workbench and create a local database using the provided SQL script in the
/sqlfolder of the /server directory. The SQL script is titledDump20230125.sql. - Depending on your MySQL workbench settings, you might also need to change lines 8 & 9 in the
/server/model/databaseConfig.jsfile to match your own MySQL workbench username & password. This is done so that the server can connect to the locally generated database (from step 11 earlier). - Since this code repository is configured for cloud deployment, if you wish to test it locally instead, you would need to change a few parameters (to the localhost variant) such as:
- Line 17 in
constants.jsfile (API_HOST variable) - Line 21 in
databaseConfig.jsfile (host parameter)
- Line 17 in
-
Admin Credentials (Admin Account for localhost):
- Email:
admin@gmail.com - Password:
password123
- Email:
-
User Credentials (Public Account for localhost):
- Email:
user@gmail.com - Password:
password123
- Email:
-
Take note Admin Account has ALL functionalities while the Public User Account has only RESTRICTED/LIMITED functionalities.
-
Only ONE login session is allowed at anytime. When you wish to end your session, kindly make sure to click the 'Logout' button.
-
If running the full-stack app locally:
-
Ensure both your website & server are running at the correct ports - i.e. Website (http://127.0.0.1:5500) & Server (http://localhost:8081)
-
If you are facing issues logging in despite entering the correct email & password AND have ensured that your website & server are running at the correct ports, as a last resort, please kindly clear your browser's cache & cookies.
-
Your browser might still contain the cookie with the JWT token, hence this might cause future login attempts to fail. Clearing the cookies in your browser will resolve this issue.
-
If you are facing server-side/backend related issues, it could be due to the custom middleware
verifyAgainstCSRFAttackswhich I (Melvin) have written in verificationLib.js. In short, this is a custom middleware that helps to mitigate against CSRF attacks by blocking out requests that came from untrusted/unauthorized origins. -
You can disable that particular middleware by commenting out Line 65 in app.js -
app.use(verificationLib.verifyAgainstCSRFAttacks)if it's causing backend related issues when you are testing the application locally. -
On our end, as a team, we have tested the application locally and all the features work fine with that custom protective middleware enabled 😊
-
-
If for any reason, you wish to test our backend API endpoints via Postman, you can do by finding the relevant Postman collections in the
/postmanfolder of the server directory. Import those Postman collections to your desktop Postman app, and you can start testing the API endpoints. -
However, do take note that when hitting Admin protected API endpoints via Postman, in your Request Header, please remember to manually add a Cookie header accompanied with the relevant JWT token/value. This step is important for admin protected APIs. Without it, admin APIs will return an unauthorized error object. You can refer to a document titled
Postman_Testing_FYI.pdfin the postman folder for more details.
Class 1 Team 1:
- Ng Cheng Wai Melvin (P7411407) 😎 - Team Leader
- Kua Zi Lin (P7461142) 👿 - Team Member
- Ng Chye Yong (P7461085) 🥶 - Team Member
We had regular meetings/standups to update each other on our progress & to ensure that the project deliverables (and many additional features) are met within the stipulated timeline.
Our GitHub Projects Kanban Board can be found here:
Update as of 24th Aug 2023:
- Link: https://melvincwng.github.io/capstone-assignment-class-1-team-1/website/index.html
- However, due to AWS costs, we have stopped hosting the backend app. Hence, certain functionalities of the live web application may not be available.
- You can still run the project locally by following the instructions above.
Frontend App:
- Hosted on GitHub Pages
Backend App:
- Hosted on AWS (utilizing various AWS services such as EC2, RDS, Route53, ACM, ALB)
- Utilizing a .tech domain: https://movies.sp-cet-capstone-backend.tech
© 2023 IT8907-FCP Class 1 Team 1


