This script demonstrated how a microservice can be developed using Twelve-Factor principals, integrated using Oracle Integration Cloud Service and protected using the Oracle API Platform.
You have the following cloud accounts:
- Oracle Application Container Cloud Service
- Oracle Integration Cloud Service
- Oracle API Platform Cloud Service
- Apiary Pro Account
- Google Cloud Account
- A GitHub account.
- You have Git installed.
- You have Node.js installed.
The Library Microservice is part of a microservices “container” application that has several microservices. The microservices are combined into a single application to conserve cloud resources. A single deployment can support a growing library of demo use cases.
-
Fork the https://github.com/wbleonard/node-api-container to your GitHub account.
-
Clone the https://github.com/{your-github-id}/node-api-container to your local workstation:
{ ~ } » git clone https://github.com/{your-github-id}/node-api-container.git Cloning into 'node-api-container'... remote: Counting objects: 323, done. remote: Compressing objects: 100% (9/9), done. remote: Total 323 (delta 2), reused 0 (delta 0), pack-reused 314 Receiving objects: 100% (323/323), 95.86 KiB | 0 bytes/s, done. Resolving deltas: 100% (197/197), done. Checking connectivity... done. -
Install the application’s node modules:
{ node-api-container } master » npm install -
Start the app:
{ node-api-container } master » node app.js Example app listening on port 8080! -
Test in your browser:
-
In either a new or existing Developer Cloud Service project, select Administration > Repositories
-
Create a New External Repository and set the URL to https://github.com/{your-github-id}/node-api-container.git. Optionally set the Description to something like ** A generic Node Express container application for creating APIs to be used in demonstrations.**
-
Create a New free-style Build Job named Node API Container
-
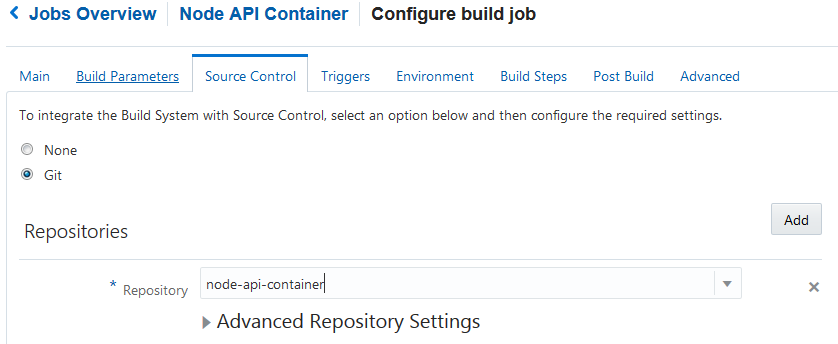
Under Source Control, select the node-api-container repository:
-
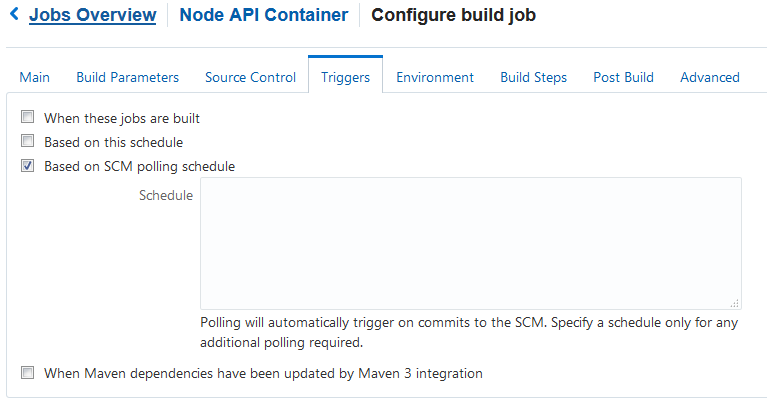
Under Triggers select Based on SCM polling schedule:
-
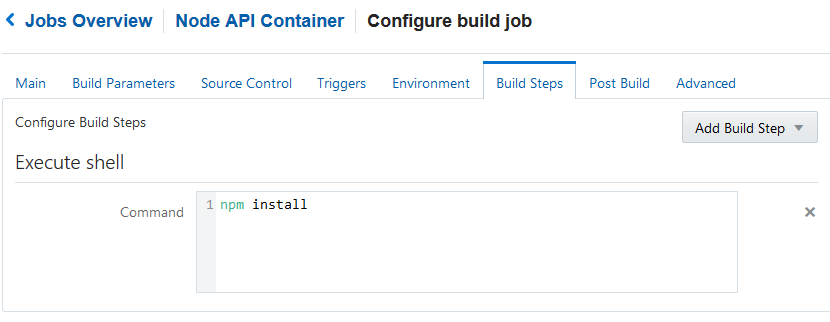
Under Build Steps add an Execute shell Build Step and set the Command to npm install:
-
Under Post Build, select Archive the Artifacts and set the Files to Archive to *.zip:
-
Save and click Build Now to validate the build configuration:
-
-
Create a new Deployment Configuration named NodeAPIContainer
-
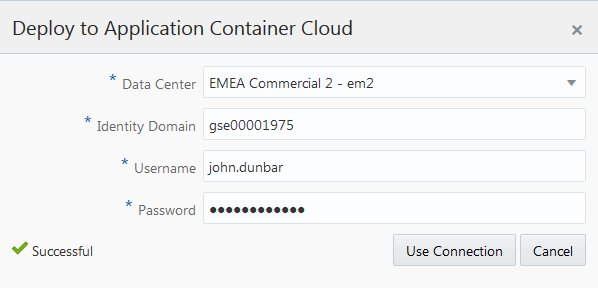
Create a new Application Container Cloud Deployment Target:
-
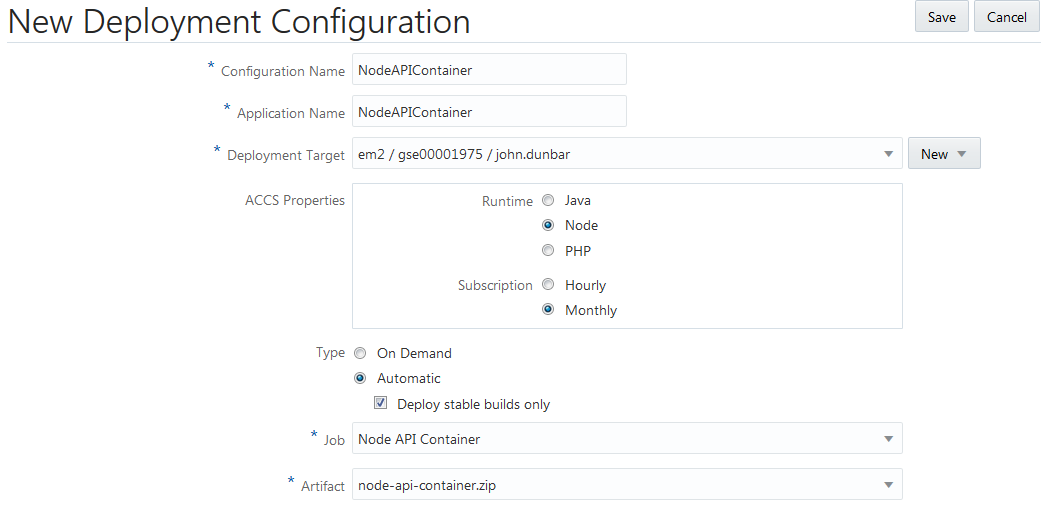
Set the remaining Deployment Configuration properties:
- ACCS Properties: Node
- Type: Automatic, selecting to Deploy stable builds only
- Job: Node API Container
- Artifact: node-api-container.zip
-
On your local workstation, make a change to the node-api-container source. I like to change the payload in instructionalRouter.js.
-
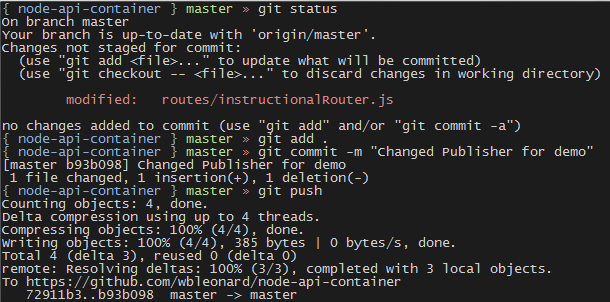
Commit and Push the change. You can do this from Eclipse, NetBeans, SoruceTree, etc. I prefer to use the command line:
-
Validate that the commit triggers a build and successful deploy.
This next step uses Oracle Integration Cloud Service (ICS) to automatically resubmit the request, instructing the service to relax its search requirements by adding a query parameter to the service call. For example:
returns 0 records. However,
returns records. ICS will be used to resumbit the request with relax=true if recordsFound=0.
-
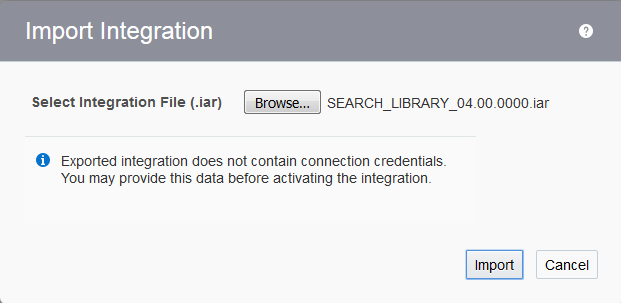
Import the Search Library Integration (SEARCH_LIBRARY_04.00.0000.iar into ICS).
-
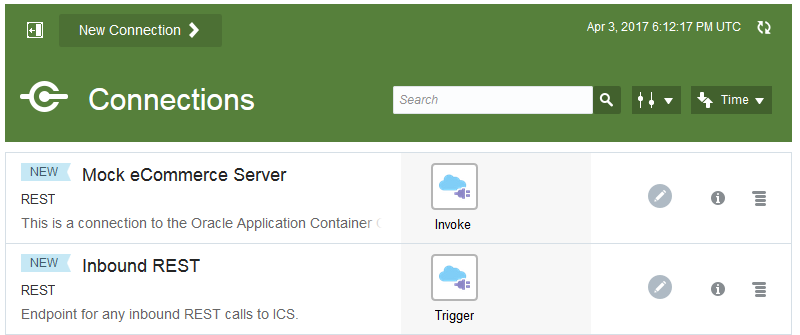
Along with the Search Library Integration, the Inbound REST and Mock eCommerce Server Connections were also imported:
-
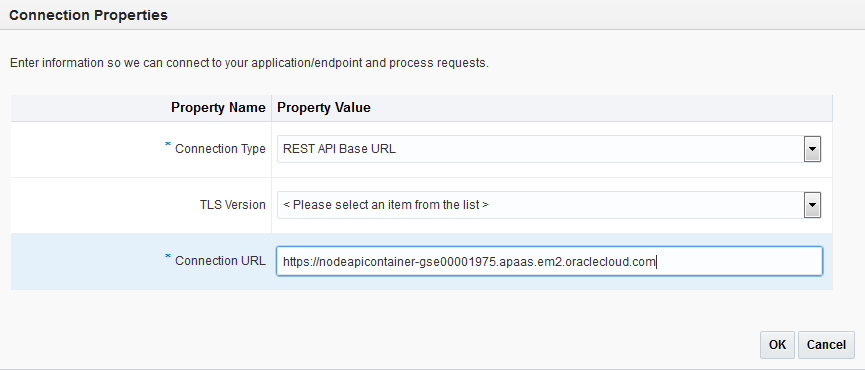
The Connection URL of the Mock eCommerce Service needs to be set the the DNS name of your application container cloud service. For example:
-
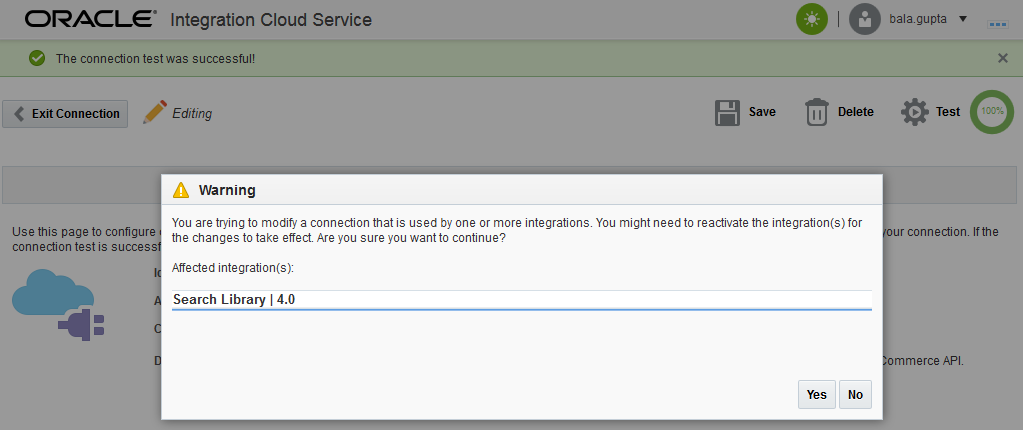
Test and Save your integration. Select Yes on the Warning that appears:
-
Likewise, open the Inbound REST Connection and select Test and Save.
-
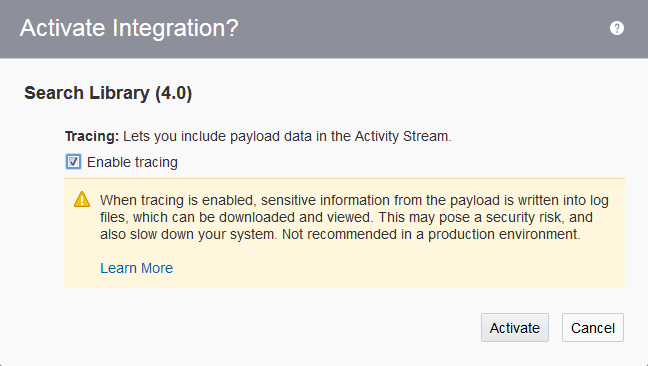
Activate the Integration and Enable tracing:
-
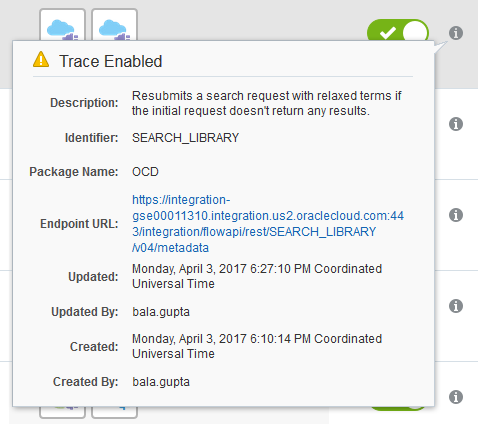
When Activation is complete, grab the Endpoint URL from the Integration's information icon. We'll need this for the next step:
In this step Apiary is used to document the API. Apiary supports both Swagger and API Blueprint. The Library API has been documented using API Blueprint (a nice exercise would be also document the API using Swagger).
-
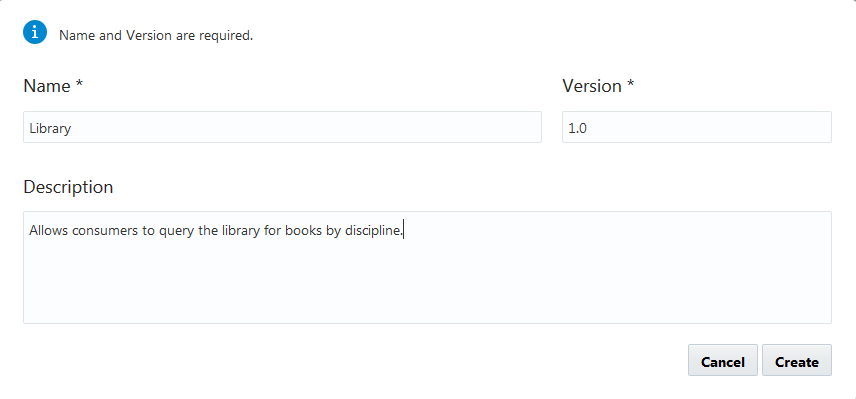
Create a New API Blueprint API called Library:
-
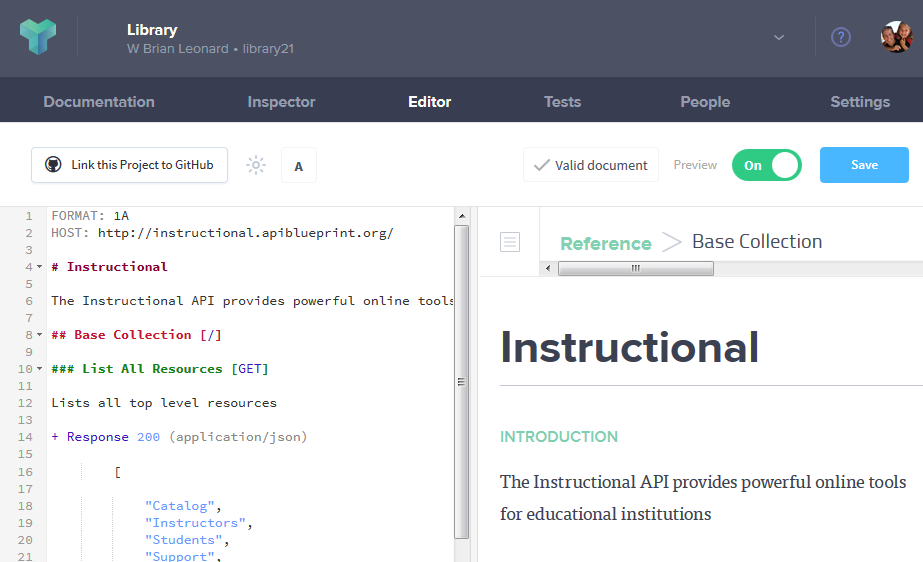
Copy and Paste the Library API Blueprint into your new Library API (replacing the sample Polls API) and Save:
In this next step we will use the Oracle API Platform Cloud Service to manage, publish and monitor the API.
-
Create a new API called Library
-
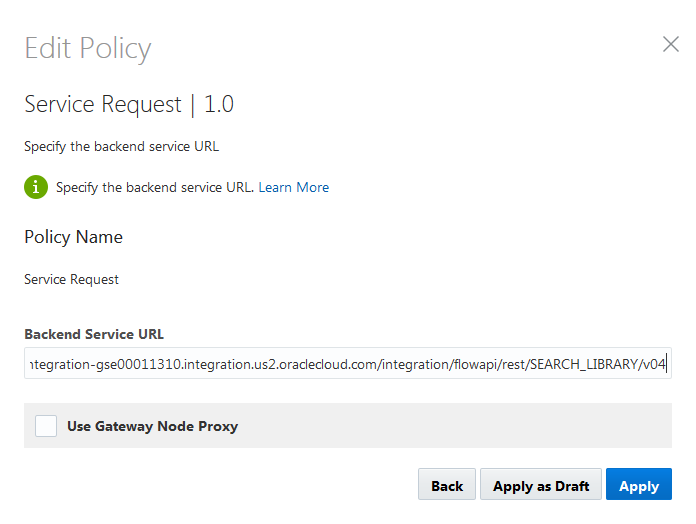
Set the Backend Service URL to the ICS URL we saved from the previous step, excluding the metadata path element at the end:
-
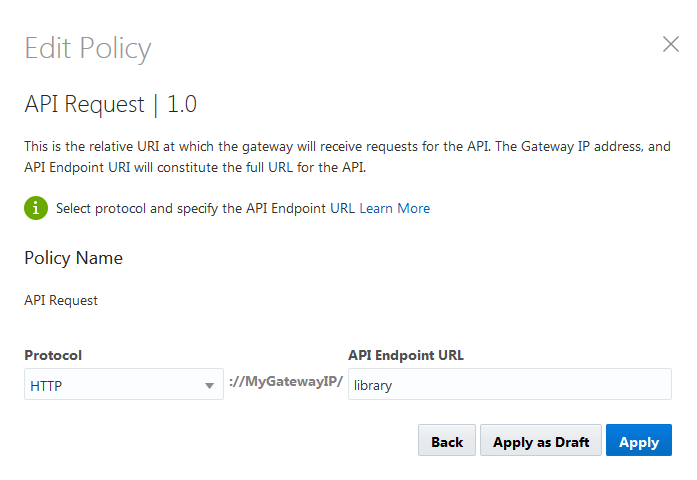
Set the API Endpoint URL to library
-
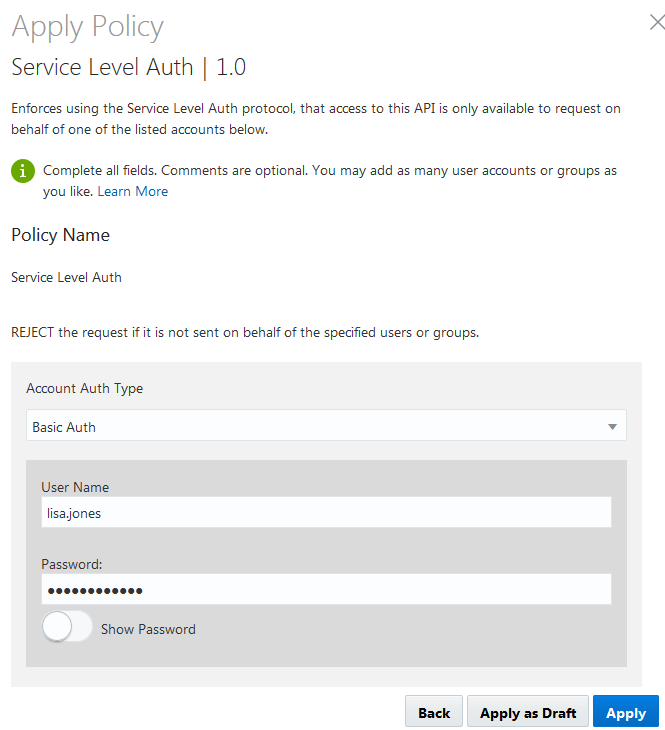
Apply a Service Level Auth policy to log us into ICS:
-
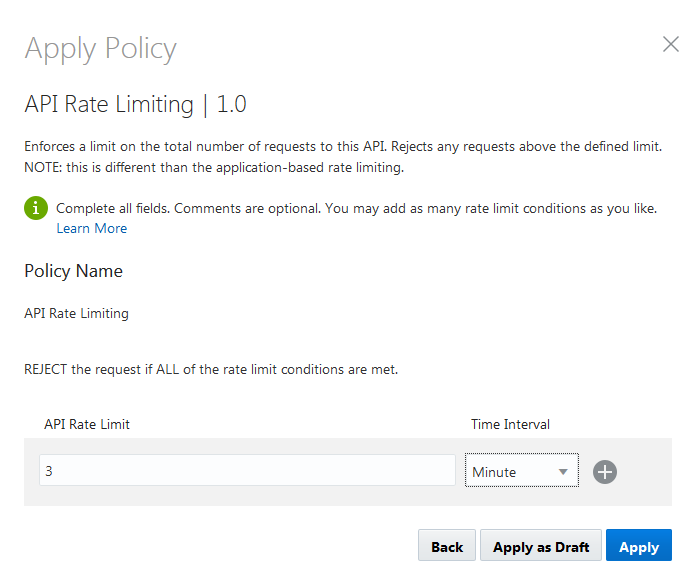
Apply an API Rate Limiting Policy of 3 per Minute:
In this step the API is deployed to a gateway.

In this step the API is published to the Developer Portal.
-
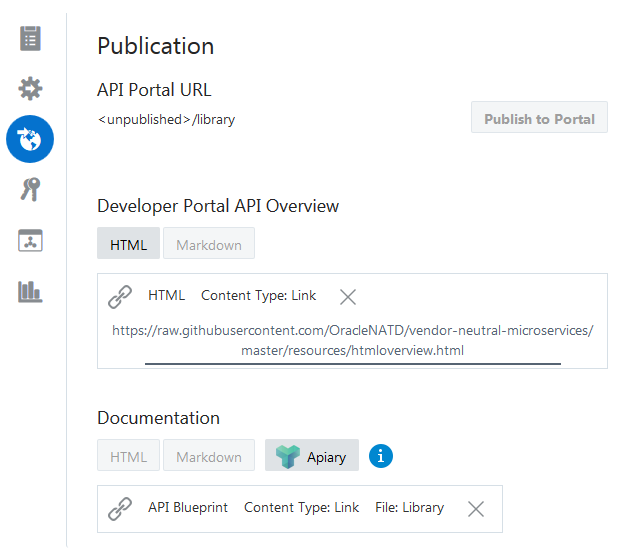
In the API's Publication tab, name the portal Library
-
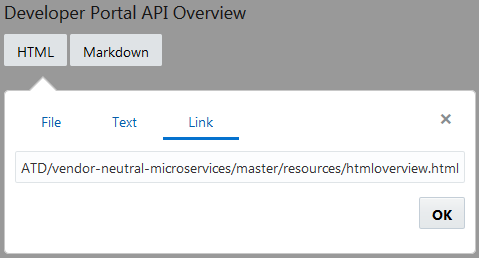
For the Developer Portal API Overview, select HTML and then Link. Set the link to: https://raw.githubusercontent.com/OracleNATD/vendor-neutral-microservices/master/resources/htmloverview.html.
-
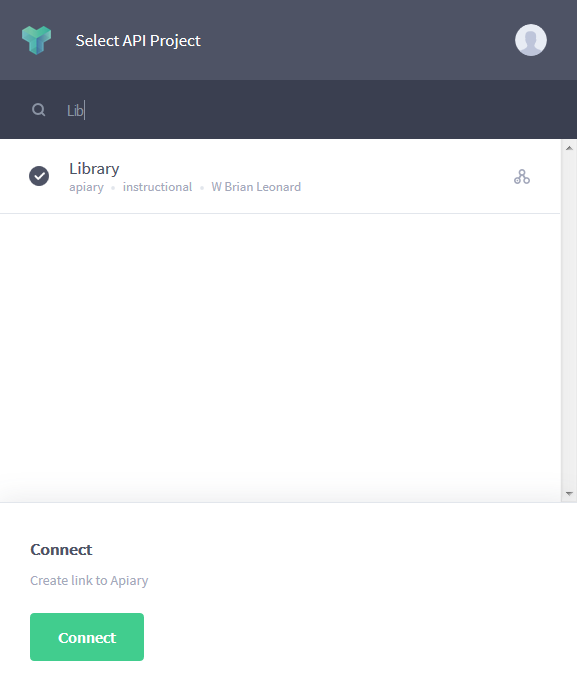
For Documentation, click the Apiary button, log in and select the Library API:
-
Save you Changes and click Publish to Portal
In this step you grant the app-dev-user rights to register applications against this API.
-
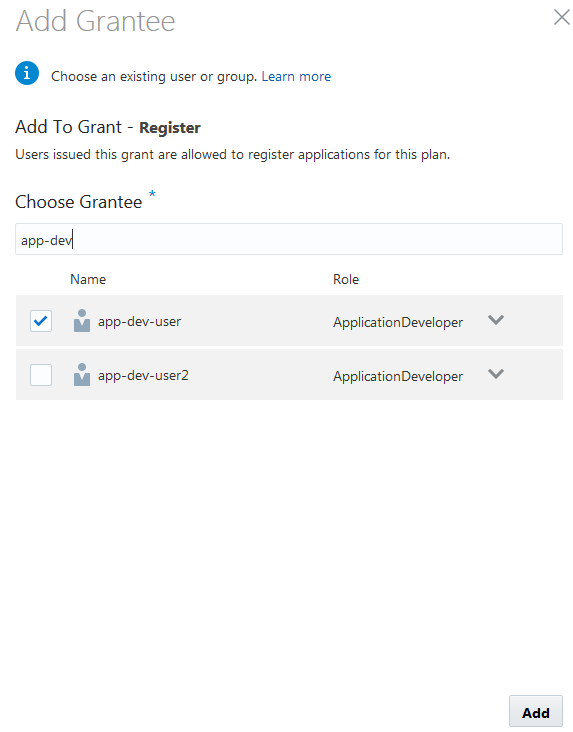
Switch to the Grants tab, select the Register tab and click Add Grantee. Select a user with an ApplicationDeveloper role:
Finally we have the front-end Oracle JET application which consumes the API (and does a bunch of other stuff).
-
Fork the https://github.com/OracleNATD/OracleJETQuickStart.git to your GitHub account.
-
Clone the https://github.com/{your-github-id}/OracleJETQuickStart to your local workstation
-
Install the application’s node modules.
-
Open doc_root\js\viewModels\library.js in your favorite editor.
-
Update the root variable to point to the address and port of your API Platform gateway load balancer.
-
Start the application:
{ OracleJETQuickStart } master » node server.js listening on port 8085 -
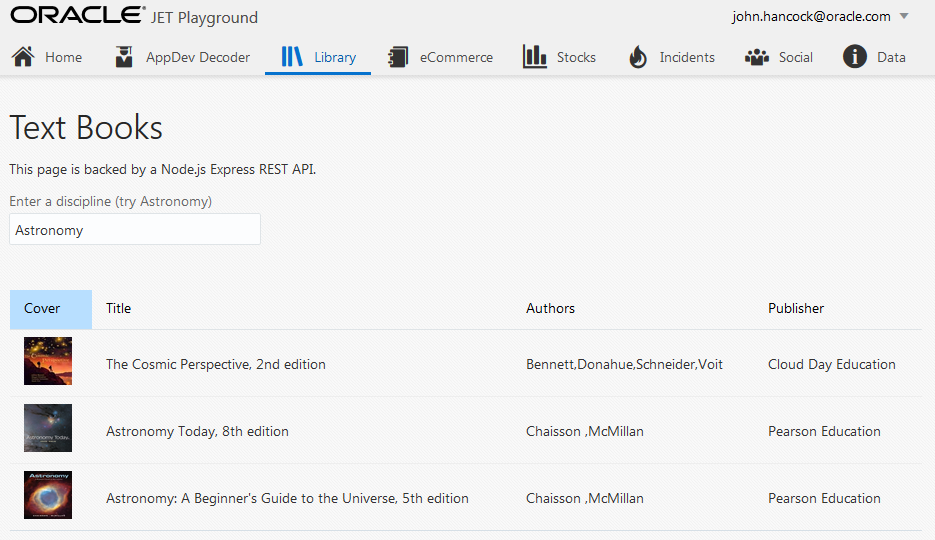
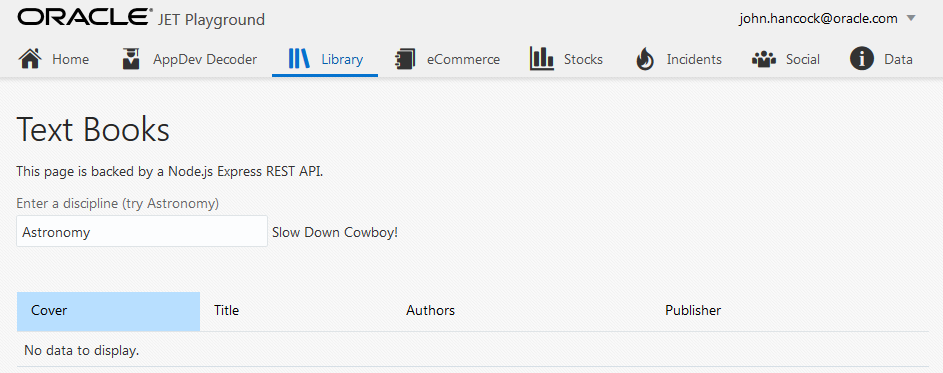
Launch the application from your browser (http://localhost:8085/?root=library) and search for Astronomy:
-
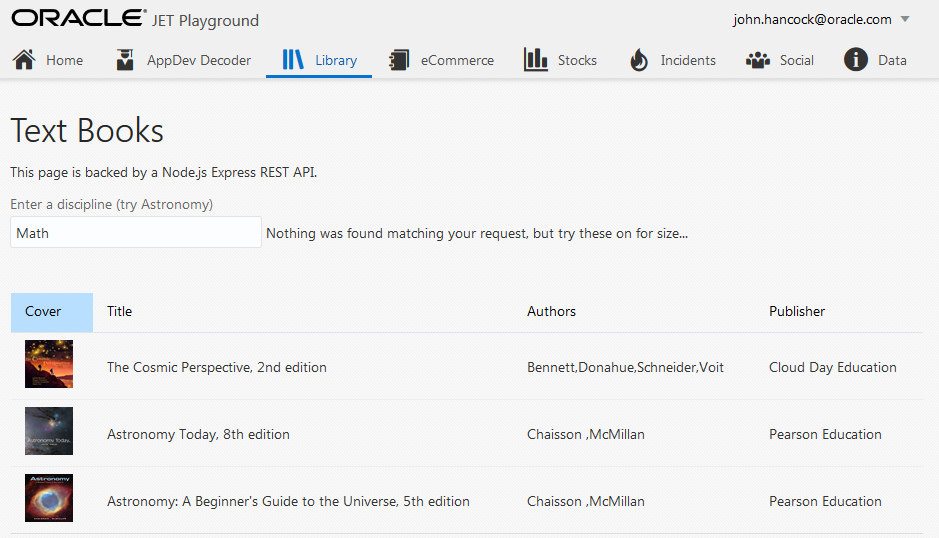
Search for anything else, and ICS will ensure results are still returned:
-
Search more than 3 times a minute and the API Platform will stop you in your tracks:


