A privacy-preserving electronic-signature protocol on Ethereum
Launch App
.
Video Demo
·
Report Bug
·
Request Feature
Table of Contents
Donate : Paypal | ko-fi
Video Demo : YouTube Link
PSYdocs allows for pseudonymous signing of documents on the Ethereum network. You no longer have to worry about your confidential documents with personal details being stored forever on a central server! With PSYdoc the document doesn't leave your device!
How does it work?
Each document is hashed locally on your browser and the resulting hash is sent to the PSYdoc's smart-contract, where it is minted as an NFT. It has all the features of ERC-721 standard, which means that it can change hands just like any other NFT.
The person who mints the NFT becomes the owner of it and their address is automatically added to the list of signees. They in turn can invite other addresses to sign the document/ NFT by inviting them through the smart-contract. After an address is invited, they can easily sign the document.
What problems does it solve?
- If the document is tampered with, the hash of the file changes. So, this allows for checking for any foul play on the side of the issuer.
- The document/NFT remains on the blockchain forever, unless it is burnt.
- As mentioned above, your file won't be hosted on some central server.
Is it legal binding?
Since the user mints/signs the document under their own volition, it can be argued in a court of law that the signature is legally binding. (Not a legal advise)
To get a local copy up and running follow these steps. Or if you just want to get a demo of the site, click here
This project requires npm, node & truffle installed.
- npm
npm install npm@latest -g
- truffle
npm install truffle -g
-
Get Infura API for deploying to the testnets
-
Install the required npm packages
cd contracts && npm install
- Create a .env file in /contracts folder
touch .env
- Put the mnemonic of you wallet and the above mentioned Infura API to the .env file
mnemonic='input your mnemonic here'
urlRopsten='https://ropsten.infura.io/v3/yourAPI'
urlKovan='https://kovan.infura.io/v3/yourAPI'
urlRinkeby='https://rinkeby.infura.io/v3/yourAPI'
urlGorli='https://goerli.infura.io/v3/yourAPI'
urlMumbai='https://polygon-mumbai.infura.io/v3/yourAPI'
- Migrate the contracts to testnets, one by one.
truffle migrate --network gorli
truffle migrate --network rinkeby
truffle migrate --network ropsten
truffle migrate --network kovan
truffle migrate --network mumbai
- Install the required npm packages
cd client && npm install
- Run the React app
npm start
Video Demo: Youtube Link
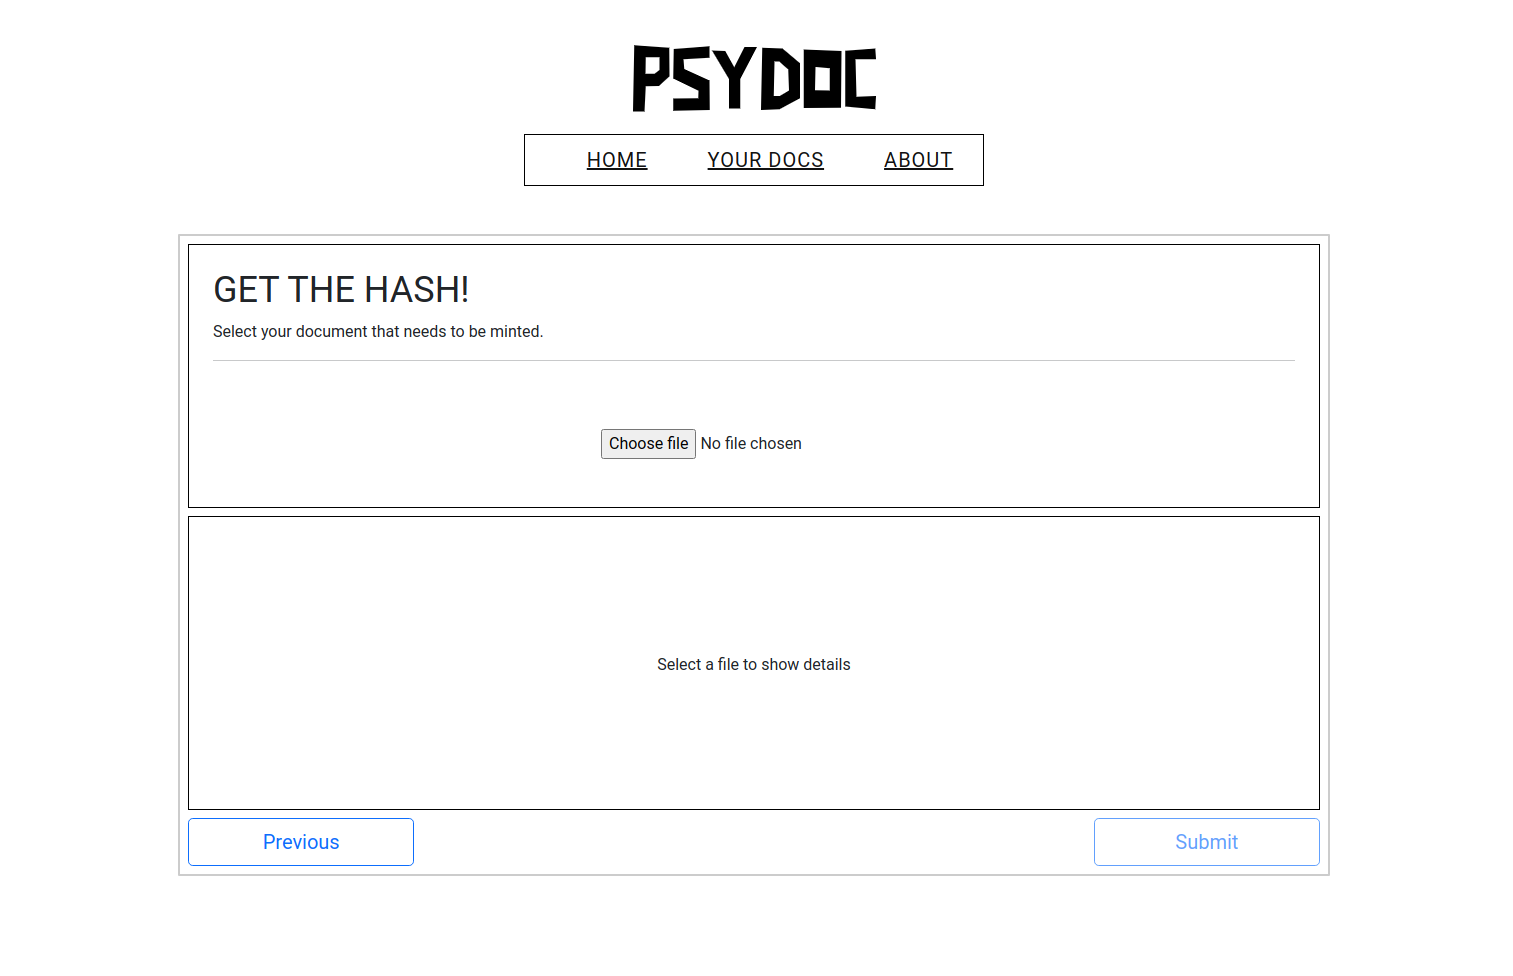
- Select the file
- Click on submit
- After it's minted, you can invite people to sign your document by clicking on 'invite' button. (See 3.)
P.S The minter is by default a signee on the NFT
- Select the TokenID.
- Select the file which you want to sign. (This step is to verify that you are signing the right document)
- Click on 'verify' to see if the hashes match.
- If it's a match, you can go ahead and sign the document.
- Select one of the NFT you have minted.
- Enter the address of the person.
- Click on invite.
So far, the smart-contracts have been deployed to
-
Ropsten Network: 0x5c007a1d8051dfda60b3692008b9e10731b67fde
-
Rinkeby Network: 0x6d5556285e263e3375Cf91cD53C0cc6534a74d1F
-
Gorli Network: 0xf2944e8a6CB7EEeF75F67765f6f0DcE609870C6F
Contributions are what make the open source community such an amazing place to be learn, inspire, and create. Any contributions you make are greatly appreciated.
- Fork the Project
- Create your Feature Branch (
git checkout -b feature/AmazingFeature) - Commit your Changes (
git commit -m 'Add some AmazingFeature') - Push to the Branch (
git push origin feature/AmazingFeature) - Open a Pull Request
Even though this project will remain open-sourced, you can request new features by sponsoring it. :)
Distributed under the GPL License (aka GNU General Public License v3.0). See LICENSE for more information.


