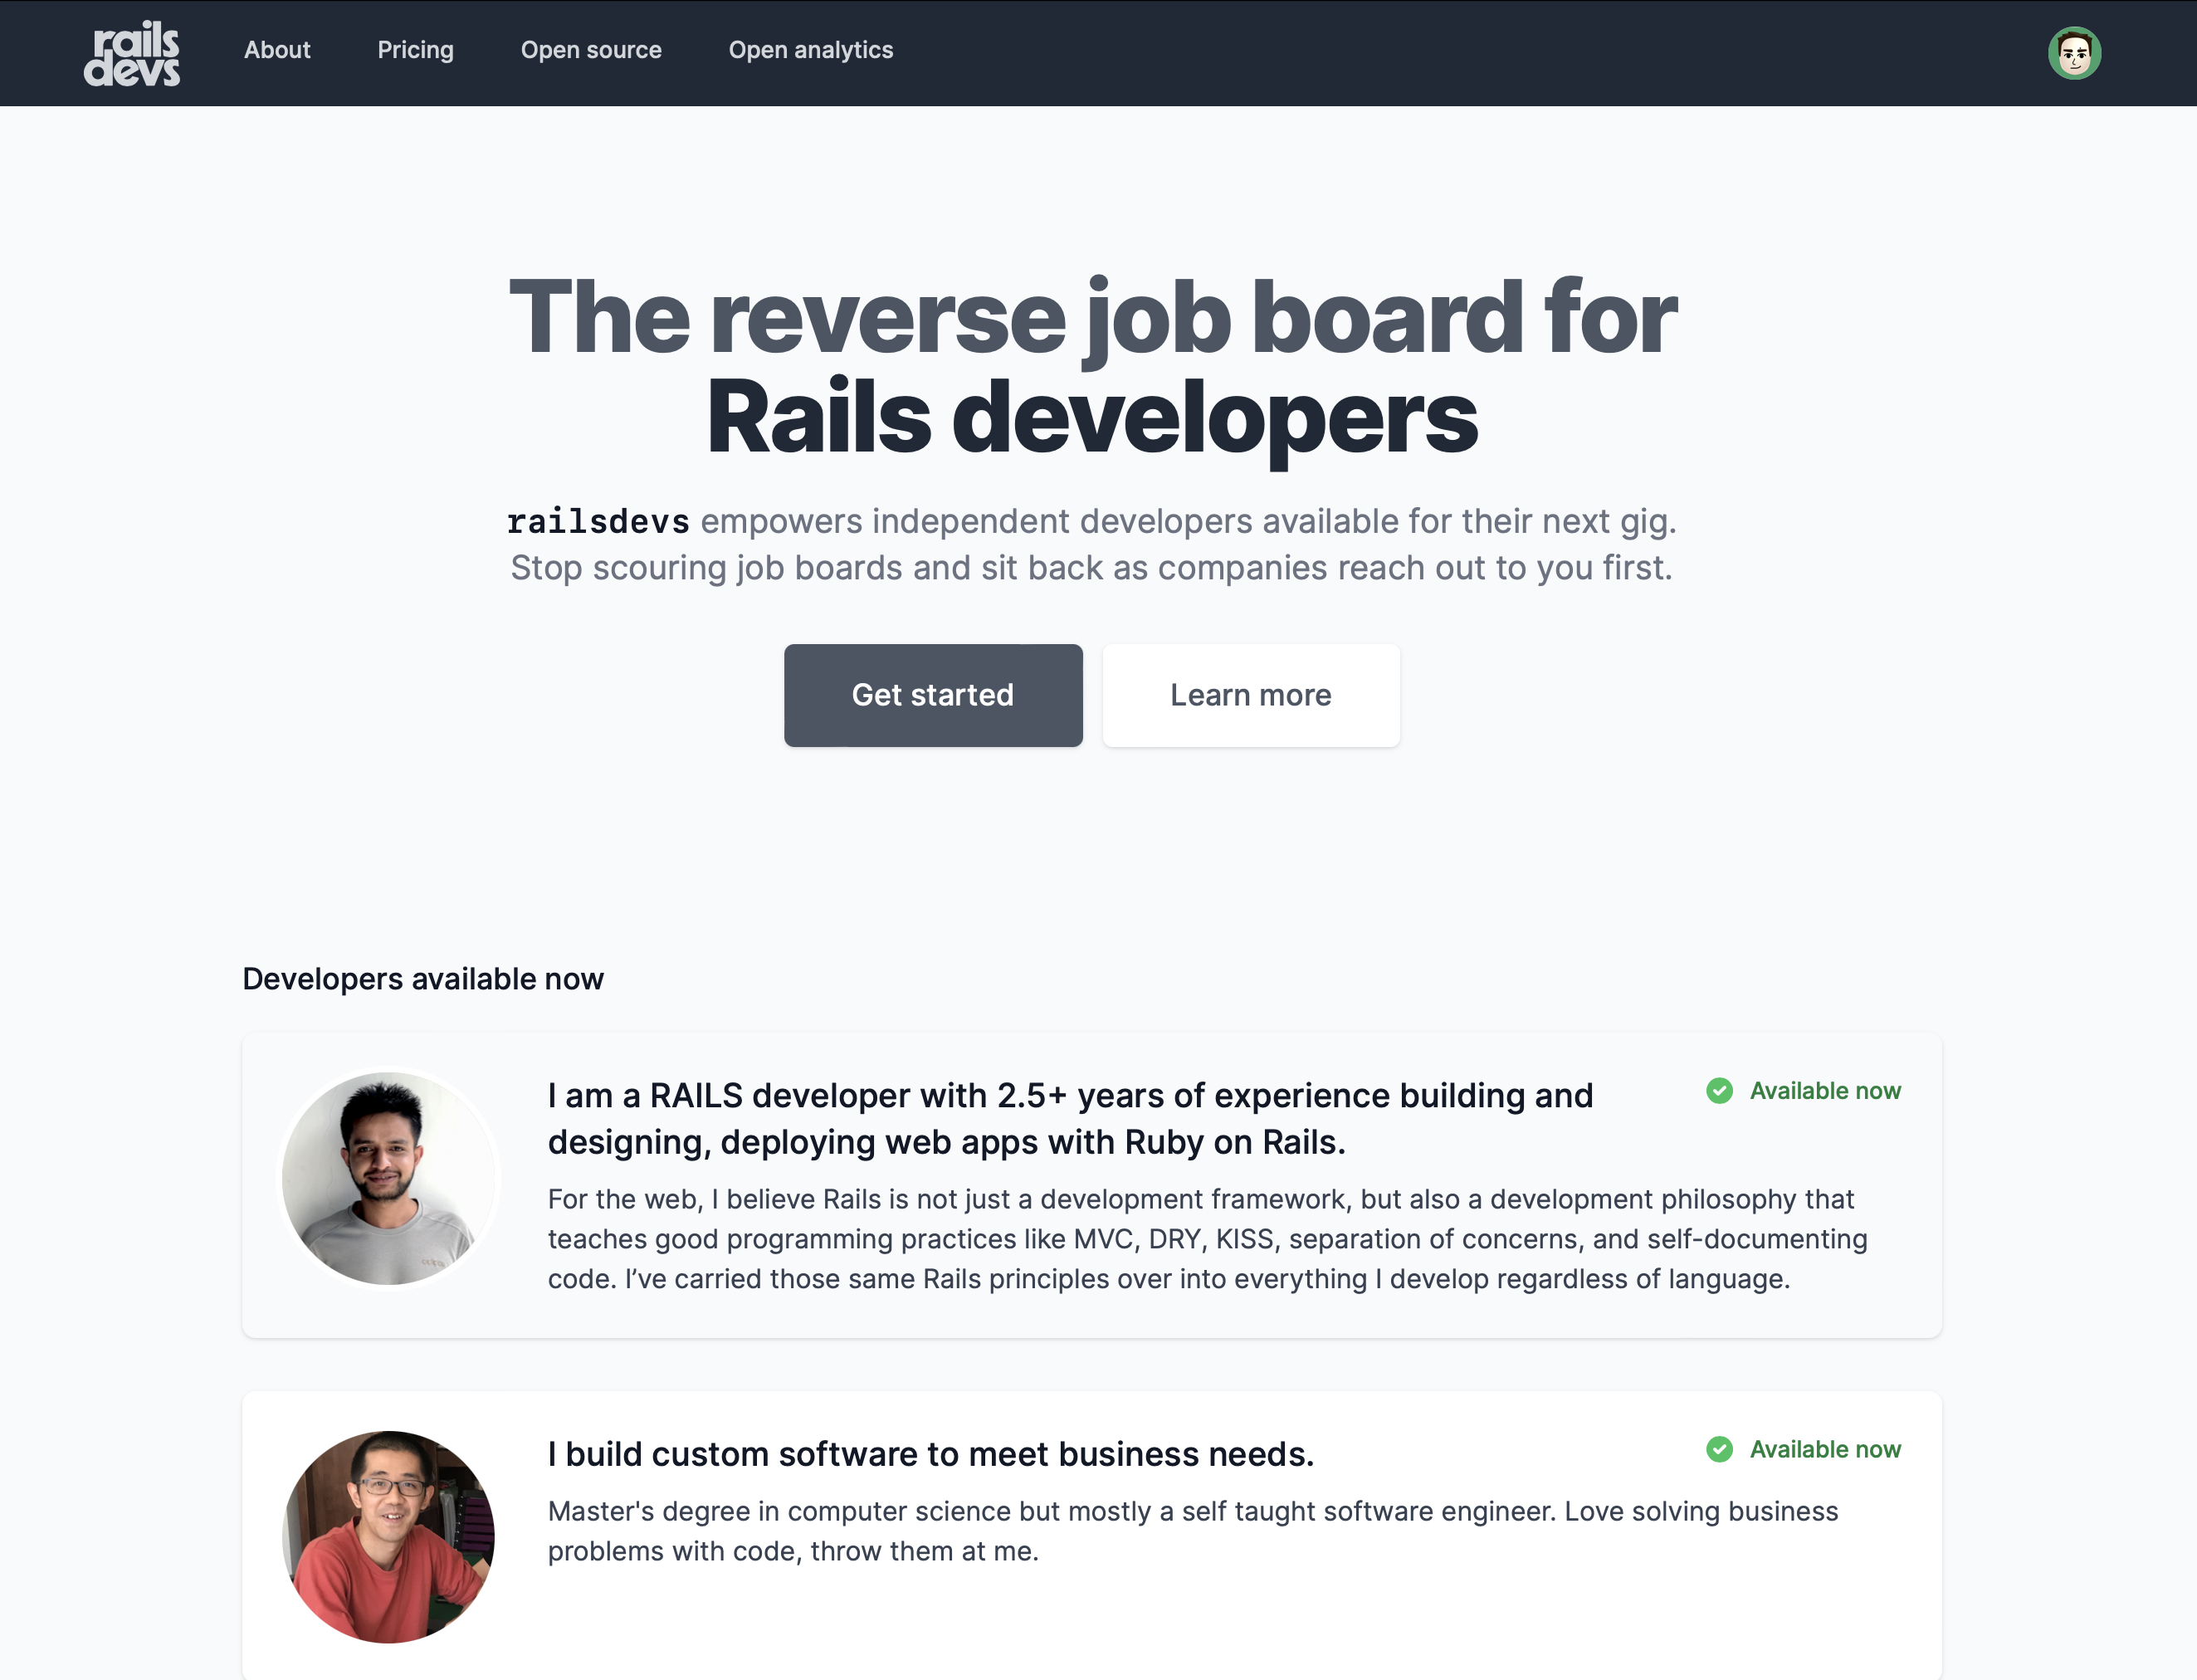
The reverse job board for Rails developers.
railsdevs empowers independent developers available for their next gig. It is being built around three core values:
- Empowering the independent developer
- Doing everything in public
- Creating a safe, inclusive environment
You need the following installed:
- Ruby 3.0 or higher
- bundler -
gem install bundler - Redis -
brew install redis - Imagemagick -
brew install imagemagick - Yarn -
brew install yarn - Stripe CLI -
brew install stripe/stripe-cli/stripe
Optional:
These are listed in Brewfile, which you can install via:
brew bundle install --no-upgradeAn installation script is included with the repository that will automatically get the application setup.
bin/setupRun the following to start the server and automatically build assets.
- Requires
foremanorovermind - Requires
stripe
bin/devSeeding the database, either via rails db:seed or during bin/setup, creates a few accounts with developer profiles. Sign in to these with the following email addresses; all the passwords are password.
ada@example.combjarne@example.comdennis@example.com
There is also a single business account, business@example.com, that has an active subscription. Use this to test anything related to messaging.
You will need to configure Stripe or do a mock configuration (ie set dummy values for the last step listed below) if you are working on anything related to payments.
- Register for Stripe and add an account
- Download the Stripe CLI via
brew install stripe/stripe-cli/stripe - Login to the Stripe CLI via
stripe login - Configure your development credentials
- Create a Stripe secret key for test mode
- Run
stripe listen --forward-to localhost:3000/pay/webhooks/stripein order to generate your webhook signing secret. - Create a product with a recurring, monthly price
- Generate your editable development credentials file via
EDITOR="mate --wait" bin/rails credentials:edit --environment development. You may need to install and provide terminal access to the editor first (mate, subl, and atom should all work). If you run the code above and receive the message "New credentials encrypted and saved", without having had the opportunity to edit the file first, things have gone astray. You will need to troubleshoot this step based on your OS and desired editor, to ensure you are able to edit the development.yml file before it is encoded and saved. See here for more details. - Add the secret key, the price, and your webhook signing secret to your development credentials in the following format, and save/close the file:
stripe:
  private_key: sk_test_YOUR_TEST_STRIPE_KEY
  signing_secret: whsec_YOUR_SIGNING_SECRET
  price_id: price_YOUR_PRODUCT_PRICE_ID
Application monitoring is powered by Scout APM. This helps identify N+1 queries, slow queries, memory bloats, and more. Scout APM is free for open source.
- Run
rails testto run unit/integration tests. - Run
rails test:systemto run system tests, usingheadless_chrome. - Run
HEADFUL=1 rails test:systemto run system tests, usingheadful_chrome.
