A tutorial app that demonstrates how to write and setup end to end integration tests against an application that integrates with Twilio. For the full detail, please read our blog posts.
We assume you are already familiar with the followings
- Basic knowledge about how to use Twilio.js
- Basic knowledge of Ruby and Sinatra web framework
- Basic knowledge of JavaScript
- Basic knowledge of testing frameworks and tools, such as RSpec, Gherkin, and Capybara
- Basic knowledge of CI (Continuous Integration), such as Semaphoreci though the approach is applicable to other solutions.
This project is tested under OS X only.
We use RUBY QUICKSTART: HELLO MONKEY CLIENT as a base project.
This sample project demonstrates the followings
- Write Capybara tests that assert when a consultant receives a call from a customer
- Dynamically start ngrok and fetch its url
- Dynamically update a Twilio incoming phone number callback url to point to the ngrok url
- Configure Chrome driver to enable running on the headless environment
- Run the integration tests on Semaphore
- Chrome driver
- ngrok
- Ruby (tested with version 2.2.3)
- Bundler
- Semaphore CI account which is free for open source. You can also adapt the solution for other CI services.
- Twilio account of course
For CI servers other than Semaphore, you will need to provision Xvfb if this is
not started or installed.
Substitute your own clone/fork of this repo if desired
git clone https://github.com/simplybusiness/signal
cd signal
bundle
cp config/config.yml.example config/config.yml
Follow this Twilio guide to obtain Account SID and Auth token, then add them to config/config.yml as account_sid and auth_token
Obtain Twilio incoming number, then add the number to config/config.yml as caller_id (please omit +)
bundle exec rake
Create a project in Semaphore CI from your forked/cloned copy of our repo.
At the Project Setting section of your project in Semaphore, please do the following
Remove the Setup job.
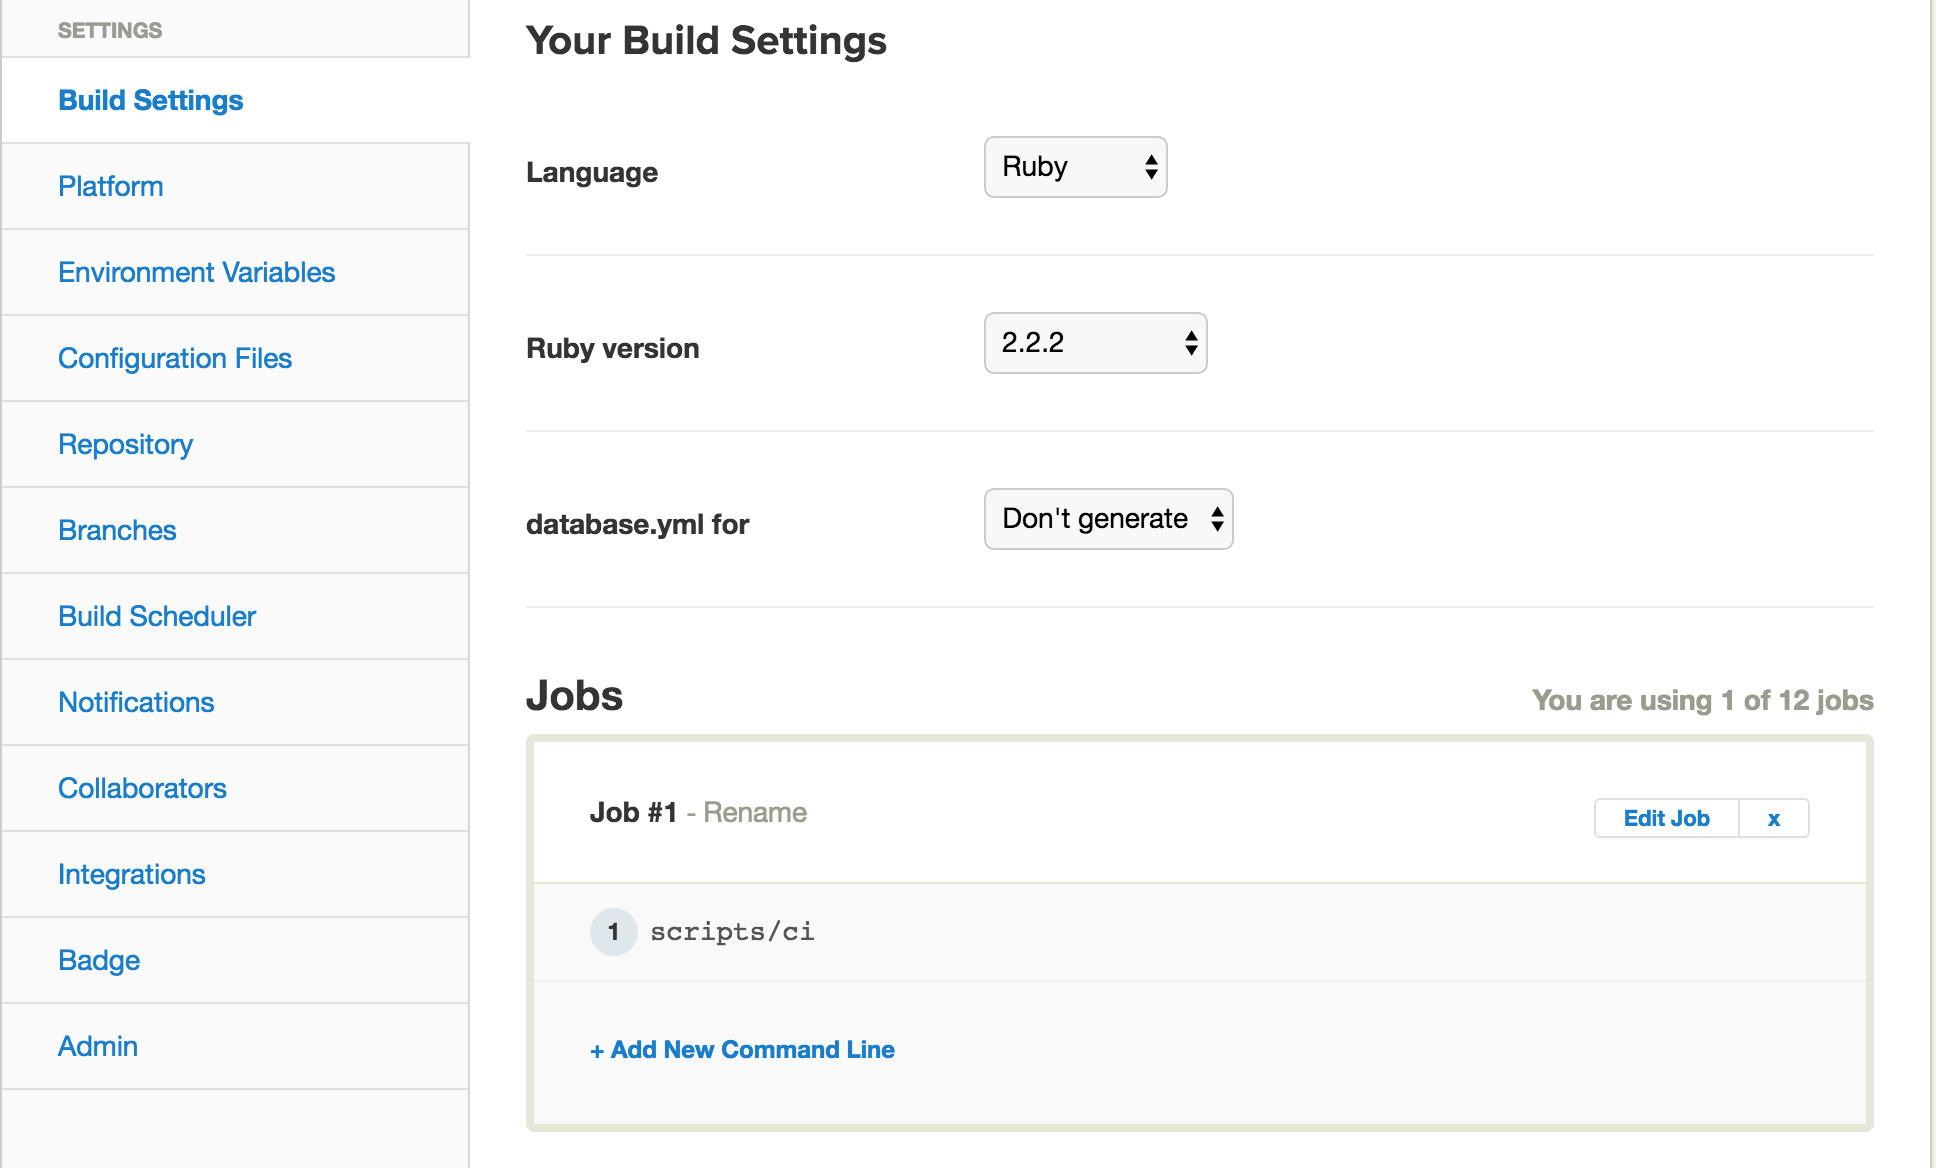
Add scripts/ci to the Jobs section, removing what is already there.
The final result should look like this:
You may need code like the following in your CI setup code.
NOTE: This code has not been tested
export DISPLAY=:99.0
/sbin/start-stop-daemon --start --quiet --pidfile /tmp/cucumber_xvfb_99.pid --make-pidfile --background --exec /usr/bin/Xvfb -- :99 -ac -screen 0 1600x1200x16
Make sure you tick 'Encrypt file'

