This repository will explain you the way to train your custom object detection model using tensorflow via google colab (FREE GPU). This tutorial is a combination of several tutorial below:
- How to train custom object detection model using Google Colab (Free GPU) Part 1
- How to train custom object detection model using Google Colab (Free GPU) Part 2
- How to train custom object detection model using Google Colab (Free GPU) Part 3
- How to Train a Custom Model for Object Detection (Local and Google Colab!)
- You can download labelImg here
- Change
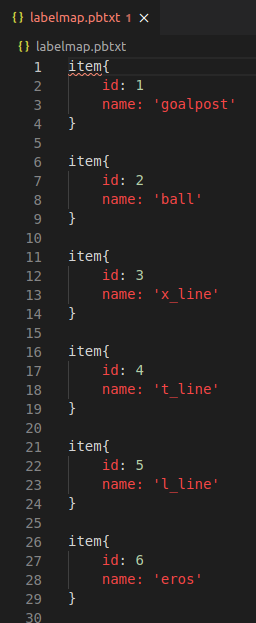
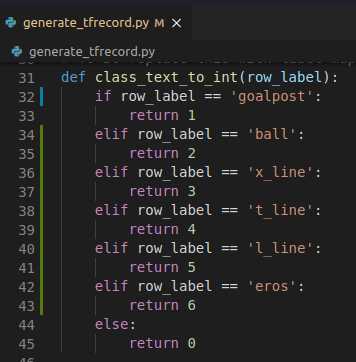
predefined_classes.txtinsidedatawith your object target name. Here is the example that i use:
goalpost
ball
x_line
t_line
l_line
eros
- Open your terminal
- Type these following commands:
sudo apt-get update
sudo apt-get install python3 python3-pip pyqt5-dev-tools git
git clone https://github.com/tzutalin/labelImg.git
cd labelImg
pip3 install -r requirements/requirements-linux-python3.txt
make qt5py3- Change
predefined_classes.txtinsidedatawith your object target name. Here is the example that i use:
goalpost
ball
x_line
t_line
l_line
eros
- To run labelImg, you can type
python3 labelImg.pyin your terminal inside labelImg folder
-
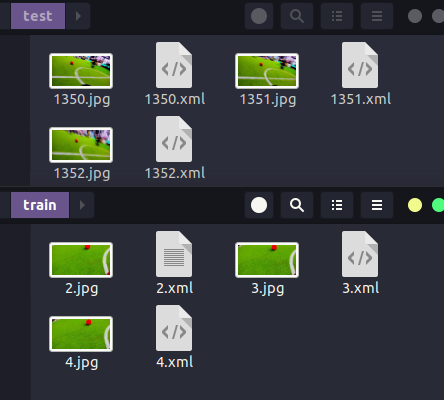
First, you need to create two folders: train and test

-
Split your images into two folder
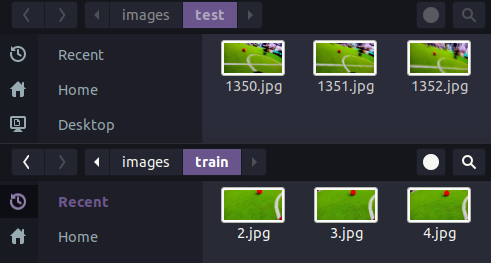
note: you need to put 80% of your images to
trainfolder and put the rest of it totestfolder (i only put three images as an example). Also make sure that all of your object target is exist in both folder. -
Open your labelImg and make sure that your save format is
PascalVOC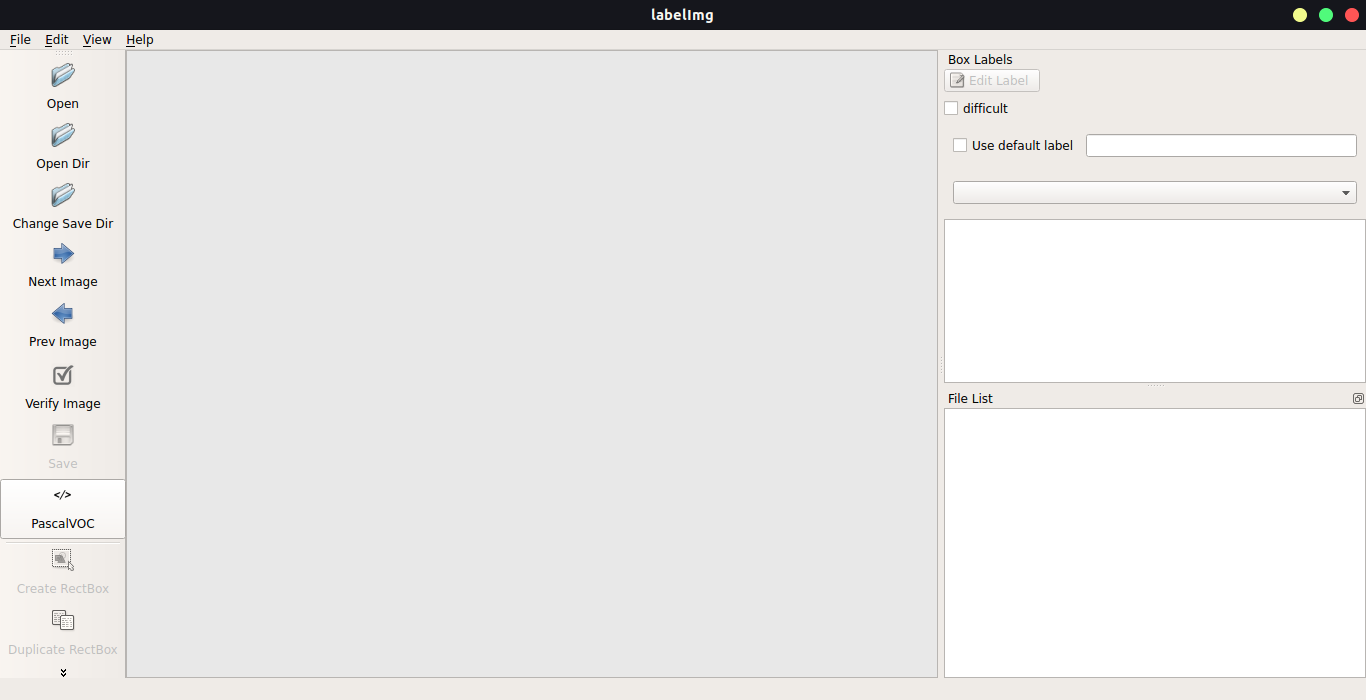
-
Click
Open Dirand select your folder. I started it withtestfolder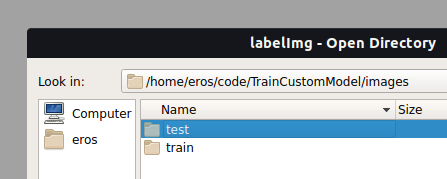
-
Click
Change Save Dirand select the same folder that you opened in previous step
-
Click
viewand selectauto save mode -
Start annotate your images. Click W to create rectangle. Click D to move to the next image, and Click A to move to the previous image
-
Select your object label
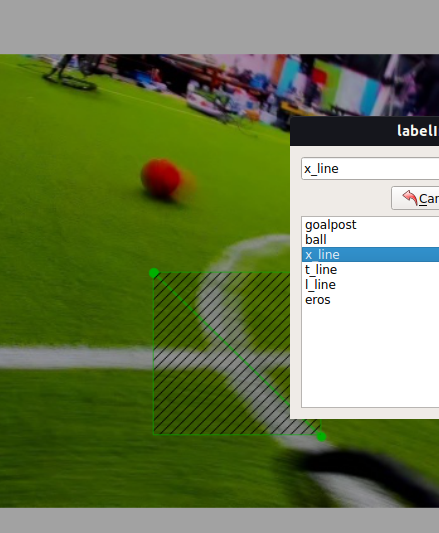
-
If you are done with all of images in
testfolder, you can repeat step 4 withtrainfolder -
If you did it in a correct way, you will found several xml file inside your
testandtrainfolder
-
There are tons of configuration in tensorflow. But i choose ssd_mobilenet_v2 due to its speed and accuracy. If you want to try another config, you can access it here
-
Open your tensorflow config
-
Change your number of classes based on total object that you want to detect
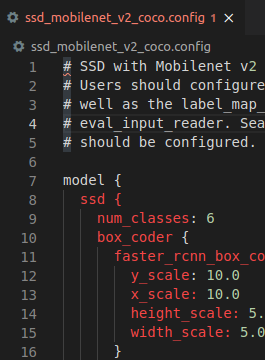
-
Set
fine_tune_checkpointbased on your config. If you use ssd_mobilenet_v2, you can ignore it cause i already set it. But if you want to use another config, you can check the fine_tune_checkpoint list here
-
Zip these file
images,generate_tfrecord.py,labelmap.pbtxt,ssd_mobilenet_v2_coco.config(your config), andtrain.py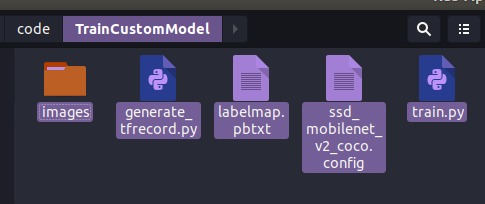
-
Rename it to
my_training.zip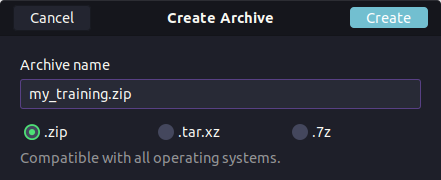
-
Drop your
my_training.zipandTrainCustomModelOnColab.ipynbto your google drive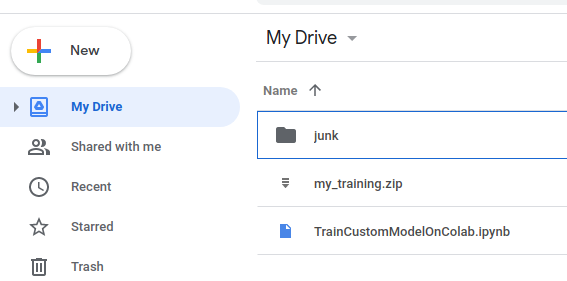
-
Open your
TrainCustomModelOnColab.ipynbwith Google Colab. If you are not adding it yet, you can add it by clickingConnect more appsand searchGoogle Colaboratory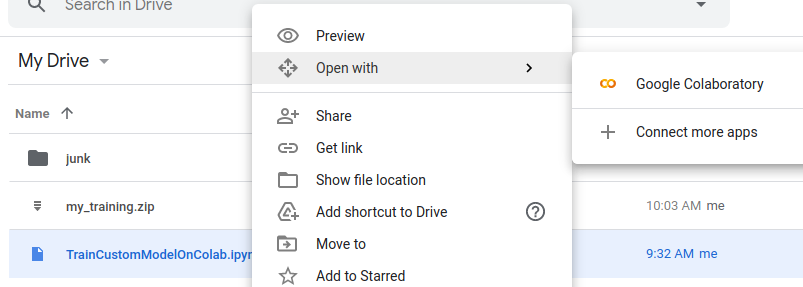
-
Click
runtime, and then clickchange runtime type, and selectGPU -
Click
runtimeand selectrun allto start your Google Colab program. You can check your running update below every code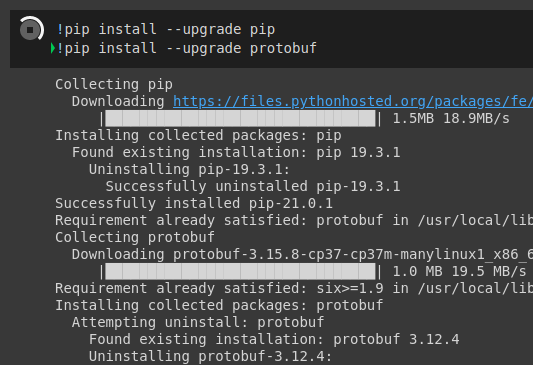
If you are worried about the process, you can run it one by one using alt + enter or click 'play' button for each step
-
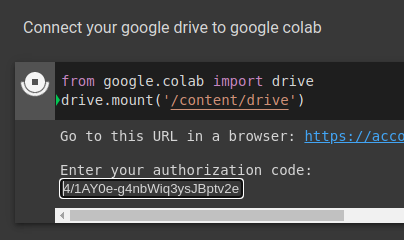
Don't forget to mount your drive with Google Colab by clicking the link that shown there or you can click here
-
Enter your authorization code
-
If your authorization and setup step succesfull, you can check your training progress
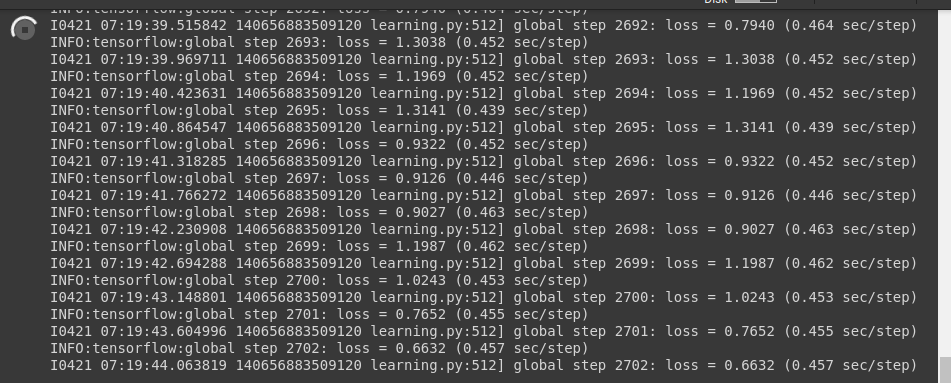
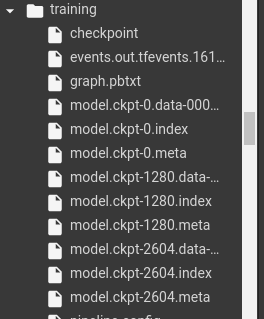
You can stop your training process when the loss rate is stagnant at low value (the lower your loss rate, the better result you will achieve) and your system already generate a checkpoint
-
Stop your training process by clicking stop button

-
Export your training to inference graph by changing
ckpt-XXXXwith the last checkpoint that you have (your ckpt index is like a picture on step 7)
-
Run all step and make sure that all step is done. if you did every step in a corret way, you will find
model_graph.zipandmodels-master.zipin your Google Drive
- Your training results is inside
models-master.zip
- models-master
- content
- models-master
- research
- object-detection
- new_graph
frozen_inference_graph.pbpipeline.config
- new_graph
- object-detection
- research
- models-master
- content
Your training process is over, you can check your training process by running inference that load your frozen_inference_graph.pb and pipeline.config. Good Luck!

