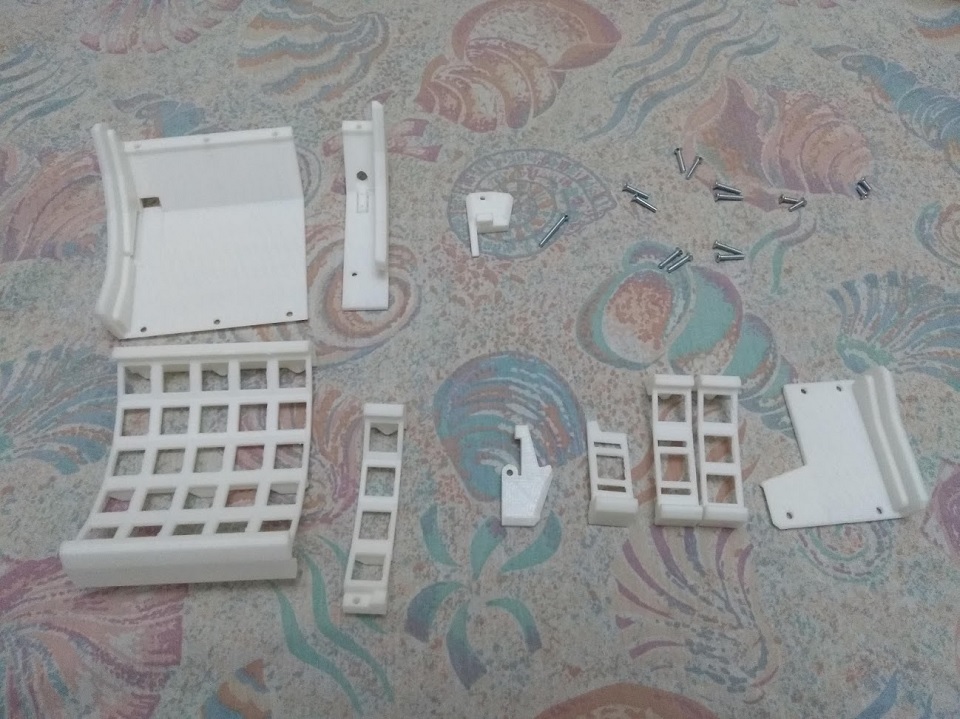
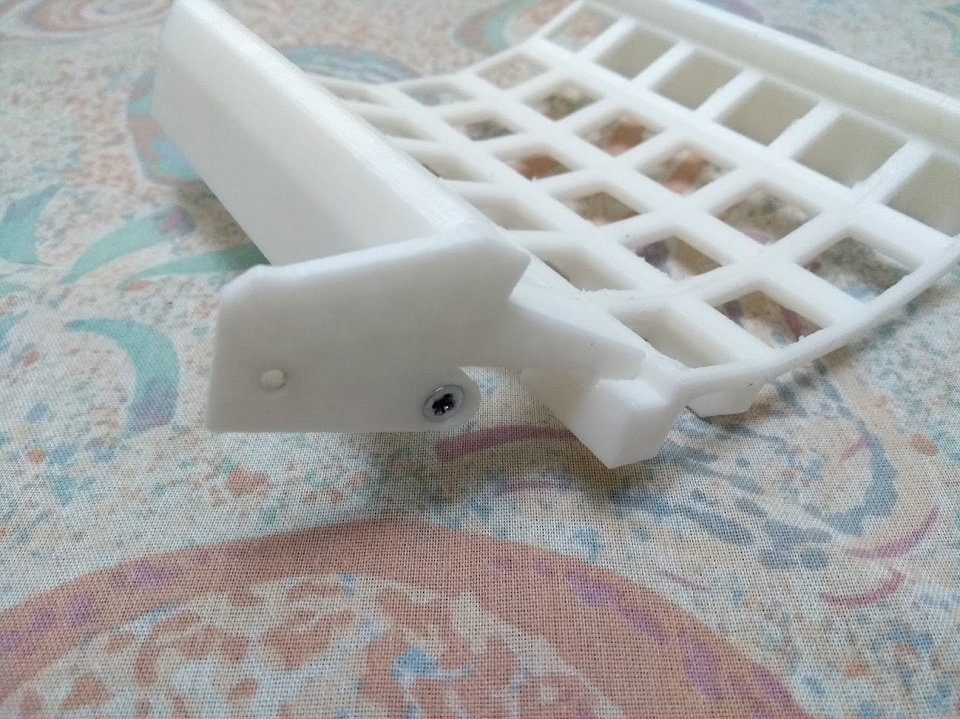
An easy-to-print ortholinear dactyl-like keyboard that requires no support! An accompanying blog post can be found here.
Print the STL files as oriented. No support generation required. If exported from Fusion 360, a certain face of each part has a 0.4 mm chamfer to account for elephant's foot. Orient the part such that that face is the bottom.
These files were designed for the blue Arduino Pro Micro and the RS Pro 805-1661 4-pole composite video jack in mind, which is a mistake because I thought those were TRRS jacks! Anyway, besides those two and the 3D prints, the additional hardware you need are:
- 1× M3×25 countersunk head screw
- 10× M3×16 countersunk head screw
- 2× M3×10 countersunk head screw
- 2× M3×8 countersunk head screw
Quantities are for one half only.
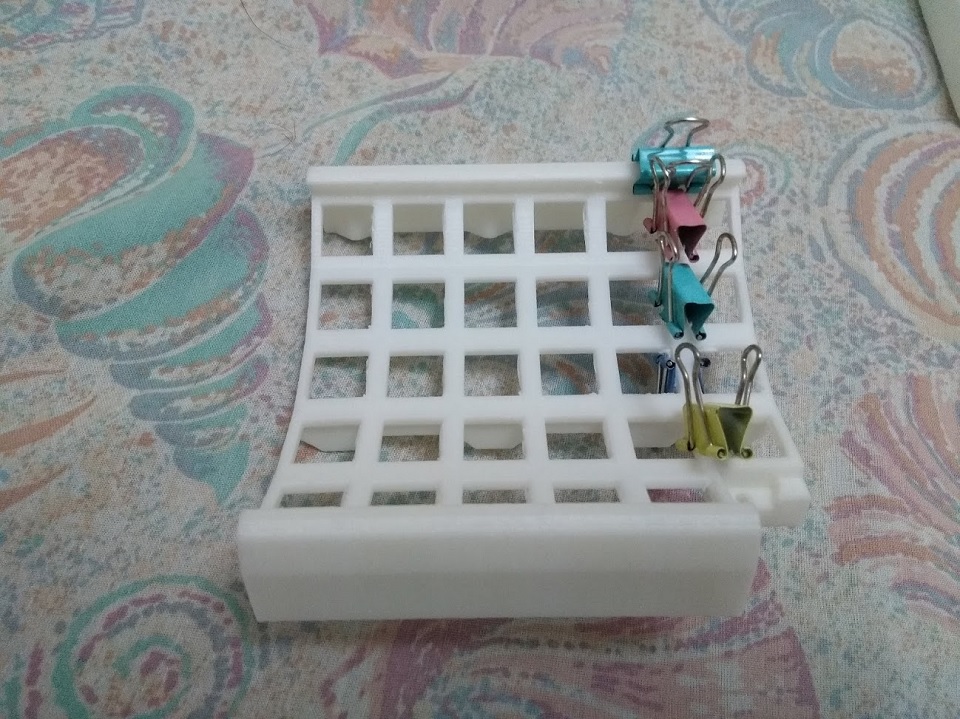
Glue Column_TGB to Columns_Alpha. Here, I used some bulldog clips to align everything before gluing.
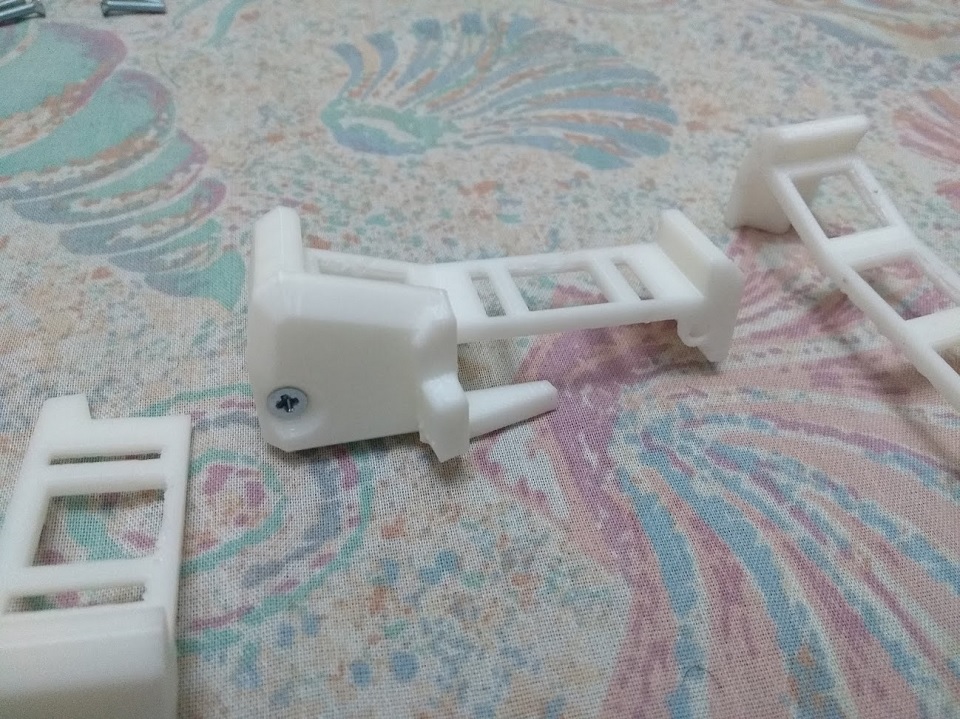
Use an M3×10 screw to connect ThumbCluster_B to Cap_Mini.
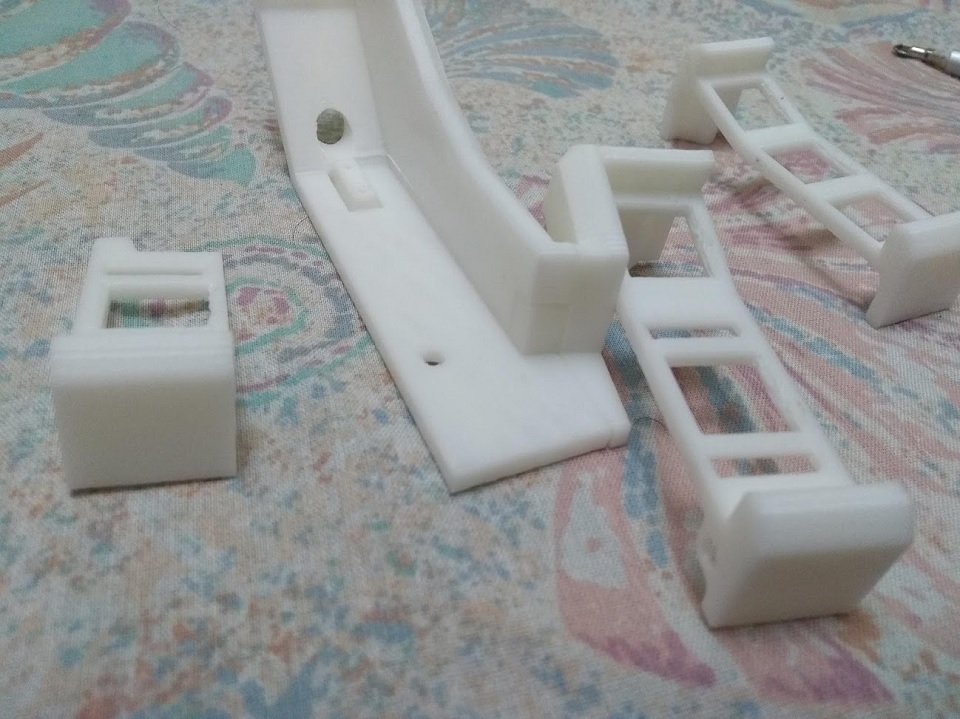
Slot the subassembly onto Cap_TGB.
Use an M3×10 screw to connect SmallCap to the alpha columns subassembly that was glued together.
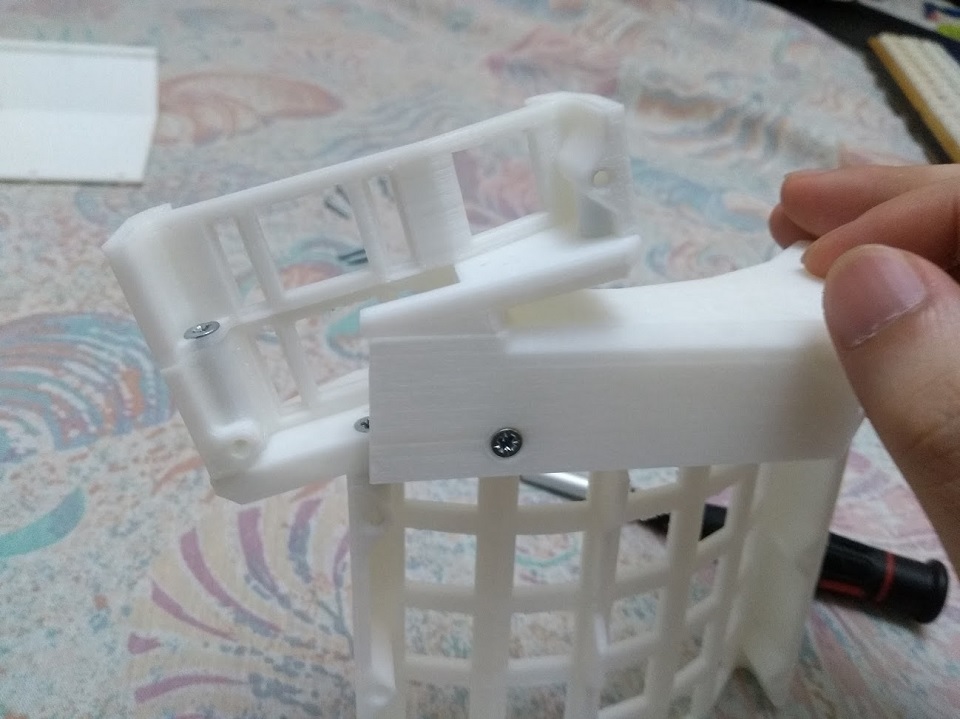
Use an M3×25 screw to connect the thumb cluster subassembly to the alpha columns, making sure to sandwich ThumbCluster_A between them.
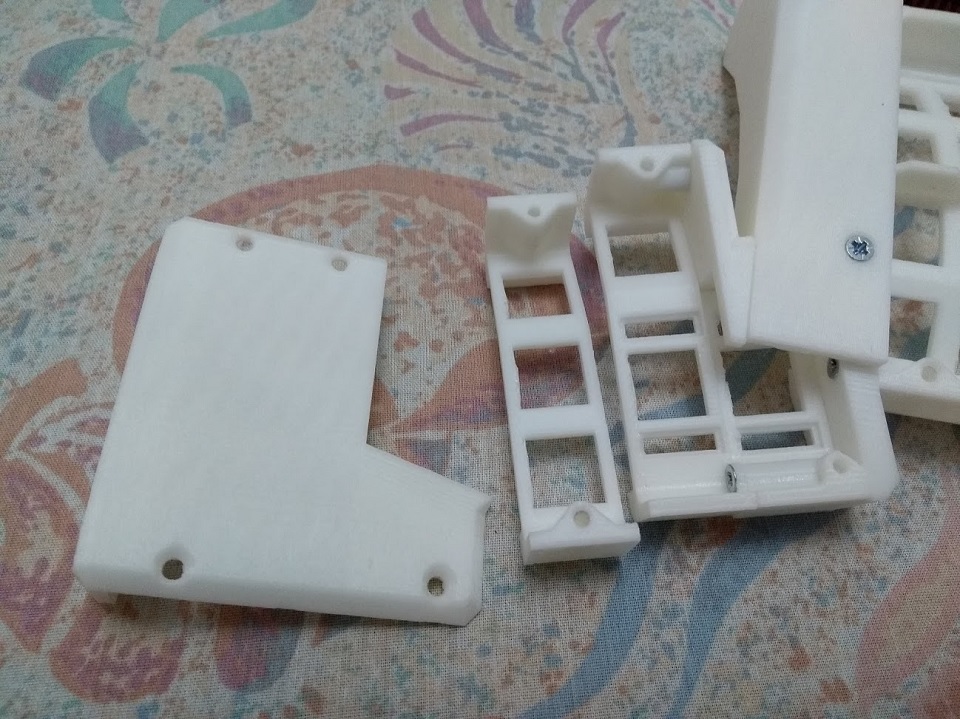
Use two M3×16 screws and two M3×8 screws to connect the whole subassembly, ThumbCluster_C and Cap_ThumbCluster. The two M3×16 screws are for the back of the thumb cluster while the two M3×8 screws are for the front.
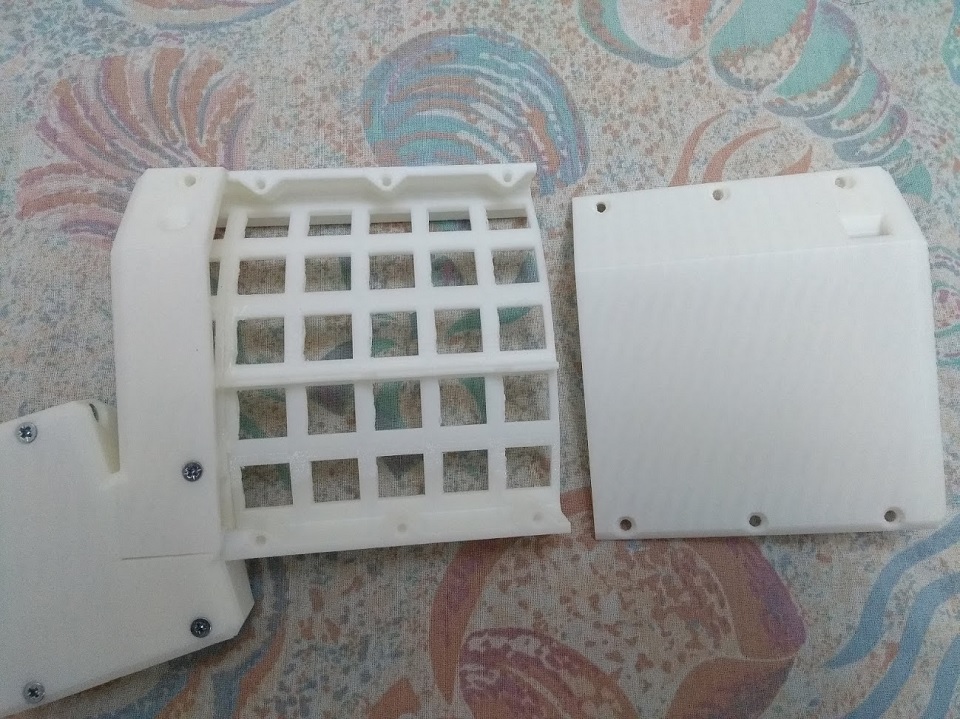
Finally, connect the whole assembly and Cap_Alpha using M3×16 screws. You're done!
The files and the source are licensed under GNU GPLv3. Please see the LICENSE.md for more details.

