Quickly Deploy a Network for Learning and Development
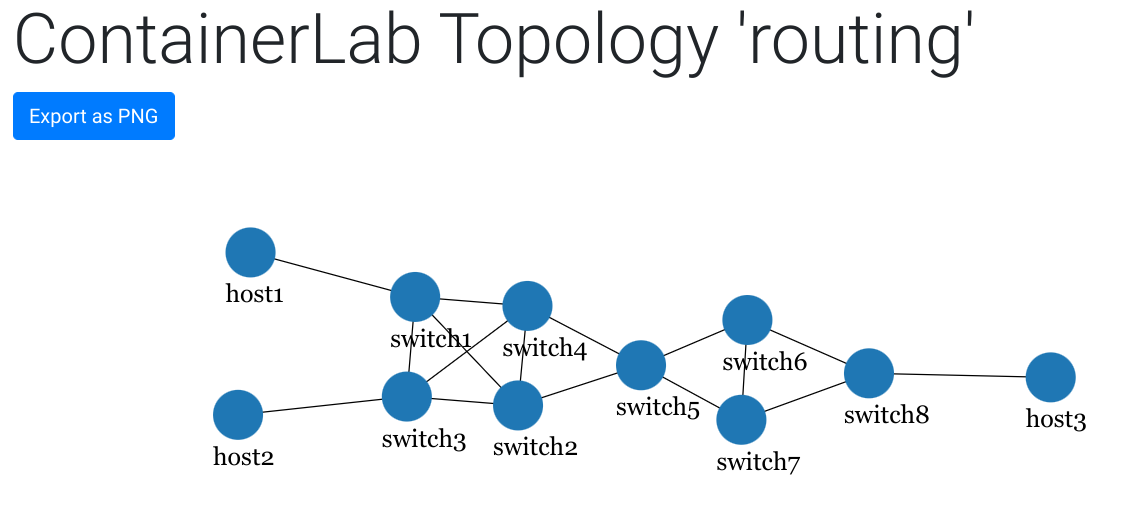
This repository creates the scaffolding needing to quickly deploy an arbitrarily large network topology with connected hosts. What you do with it is entirely up to you. However, consider testing beyond the scope of routing and switching and pinging devices in the topology. Instead, what else can you connect to this environment? Have you ever wanted to try your hand at network discovery and mapping? Or see how a particular piece of software will interact in a network? A VM hosted on KVM could easily be bridged into this environment...
The following is a list of services required to use lab-in-a-box. The links below will refer you to build product documentation or build instructions for the respective service.
Orchestrates infrastructure build of nodes and network connections.
Container service for network and server devices.
Provides free access to an industry leading network operating system (NOS).
Configuration management for the instantiated infrastructure by containerlab.
Guacamole three-tier app packaged in a single, easy to use container.
cd containers/nettest/The credentials used in this environment are admin/admin. Simply replace with the admin value when you create the container.
docker image build --tag nettest:1.0.0 --build-arg USER=<VAR> --build-arg PSWD=<VAR> .Assuming you have downloaded the cEOS tar file and are in the directory it is located in. If you download a different version than I have make sure you update accordingly.
docker import cEOS-lab-4.27.2F.tar docker pull oznu/guacamoleThis will store guacamole configuration folder and files in your user's root directory.
docker run -d -p 8080:8080 -v $HOME/guacamole:/config --name guac oznu/guacamoleOptionally, update the guac container so that it restarts after a system reboot.
docker update --restart unless-stopped guacAssumes working from the main directory of the repository.
sudo clab deploy --topo routing.yml(optional) Create a symbolic link to ansible-inventory generated by containerlab. This is optional, but saves you from having to type the path to this file. All commands shown after this will reference the sym link.
ln clab-routing/ansible-inventory.yml inventory.ymlansible-playbook -i inventory.yml ceos_deploy.yml The output from the playbook will only show statistics if it encounters 100% loss on a connection.
ansible-playbook -i inventory.yml ceos_validate.yml Example output from a successful deployment. At least one packet made it its destination.
ok: [clab-routing-switch2] => {
    "msg": [
        "PING 10.0.12.1 (10.0.12.1) 72(100) bytes of data.",
        "PING 10.0.23.2 (10.0.23.2) 72(100) bytes of data.",
        "PING 10.0.24.2 (10.0.24.2) 72(100) bytes of data.",
        "PING 10.0.25.2 (10.0.25.2) 72(100) bytes of data.",
        "PING 2001:10:0:12::1(2001:10:0:12::1) 72 data bytes",
        "PING 2001:10:0:23::2(2001:10:0:23::2) 72 data bytes",
        "PING 2001:10:0:24::2(2001:10:0:24::2) 72 data bytes",
        "PING 2001:10:0:25::2(2001:10:0:25::2) 72 data bytes"
    ]
}
Example outfrom a failed or non-configured deployment. Complete packet loss to device's peers.
ok: [clab-routing-switch4] => {
    "msg": [
        "PING 10.0.14.1 (10.0.14.1) 72(100) bytes of data.",
        "5 packets transmitted, 0 received, 100% packet loss, time 40ms",
        "PING 10.0.24.1 (10.0.24.1) 72(100) bytes of data.",
        "5 packets transmitted, 0 received, 100% packet loss, time 40ms",
        "PING 10.0.34.1 (10.0.34.1) 72(100) bytes of data.",
        "5 packets transmitted, 0 received, 100% packet loss, time 40ms",
        "PING 10.0.45.2 (10.0.45.2) 72(100) bytes of data.",
        "5 packets transmitted, 0 received, 100% packet loss, time 40ms"
    ]
}ansible-playbook -i inventory.yml linux_deploy.yml See Step 4 for examples of good/bad output.
ansible-playbook -i inventory.yml linux_validate.yml To establish SSH to the hosts, Guac will need a leg into the management network.
docker network connect clab_mgmt guacYou can find the management IPs of all the devices in the lab in the routing.yml file. From the host you deployed this lab on you can simply SSH to the management IP. The default credentials for everything should be admin/admin unless you entered something different along the way.
+----+----------------------+--------------+-----------------+-------+---------+-------------------+------------------------+
| #  |         Name         | Container ID |      Image      | Kind  |  State  |   IPv4 Address    |      IPv6 Address      |
+----+----------------------+--------------+-----------------+-------+---------+-------------------+------------------------+
|  1 | clab-routing-host1   | 6534611a67e0 | nettest:1.0.0   | linux | running | 172.100.100.51/24 | 2001:172:100:100::a/80 |
|  2 | clab-routing-host2   | 8fce1370292b | nettest:1.0.0   | linux | running | 172.100.100.52/24 | 2001:172:100:100::9/80 |
|  3 | clab-routing-host3   | 077e48a45eb3 | nettest:1.0.0   | linux | running | 172.100.100.53/24 | 2001:172:100:100::d/80 |
|  4 | clab-routing-switch1 | 13da2d2d71c2 | ceoslab:4.27.2F | ceos  | running | 172.100.100.11/24 | 2001:172:100:100::5/80 |
|  5 | clab-routing-switch2 | a9ec6d0dbf93 | ceoslab:4.27.2F | ceos  | running | 172.100.100.12/24 | 2001:172:100:100::7/80 |
|  6 | clab-routing-switch3 | af2749d238dc | ceoslab:4.27.2F | ceos  | running | 172.100.100.13/24 | 2001:172:100:100::8/80 |
|  7 | clab-routing-switch4 | 3838b6ab80ce | ceoslab:4.27.2F | ceos  | running | 172.100.100.14/24 | 2001:172:100:100::b/80 |
|  8 | clab-routing-switch5 | 7563cd8ccfc4 | ceoslab:4.27.2F | ceos  | running | 172.100.100.15/24 | 2001:172:100:100::3/80 |
|  9 | clab-routing-switch6 | fe884cbfe9cd | ceoslab:4.27.2F | ceos  | running | 172.100.100.16/24 | 2001:172:100:100::c/80 |
| 10 | clab-routing-switch7 | ce262dc8a0fc | ceoslab:4.27.2F | ceos  | running | 172.100.100.17/24 | 2001:172:100:100::6/80 |
| 11 | clab-routing-switch8 | 536277b101ea | ceoslab:4.27.2F | ceos  | running | 172.100.100.18/24 | 2001:172:100:100::4/80 |
+----+----------------------+--------------+-----------------+-------+---------+-------------------+------------------------+Assuming you chose to deploy Guacamole, it should be accessible on your hosts IP address. Browse to the address using your Web browser. For my host, the link is as shown below.
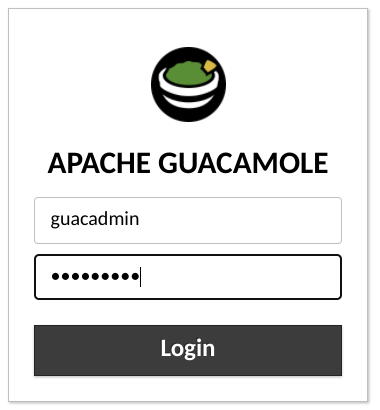
http://192.168.5.5:8080The default credentials for guac are guacadmin/guacadmin.
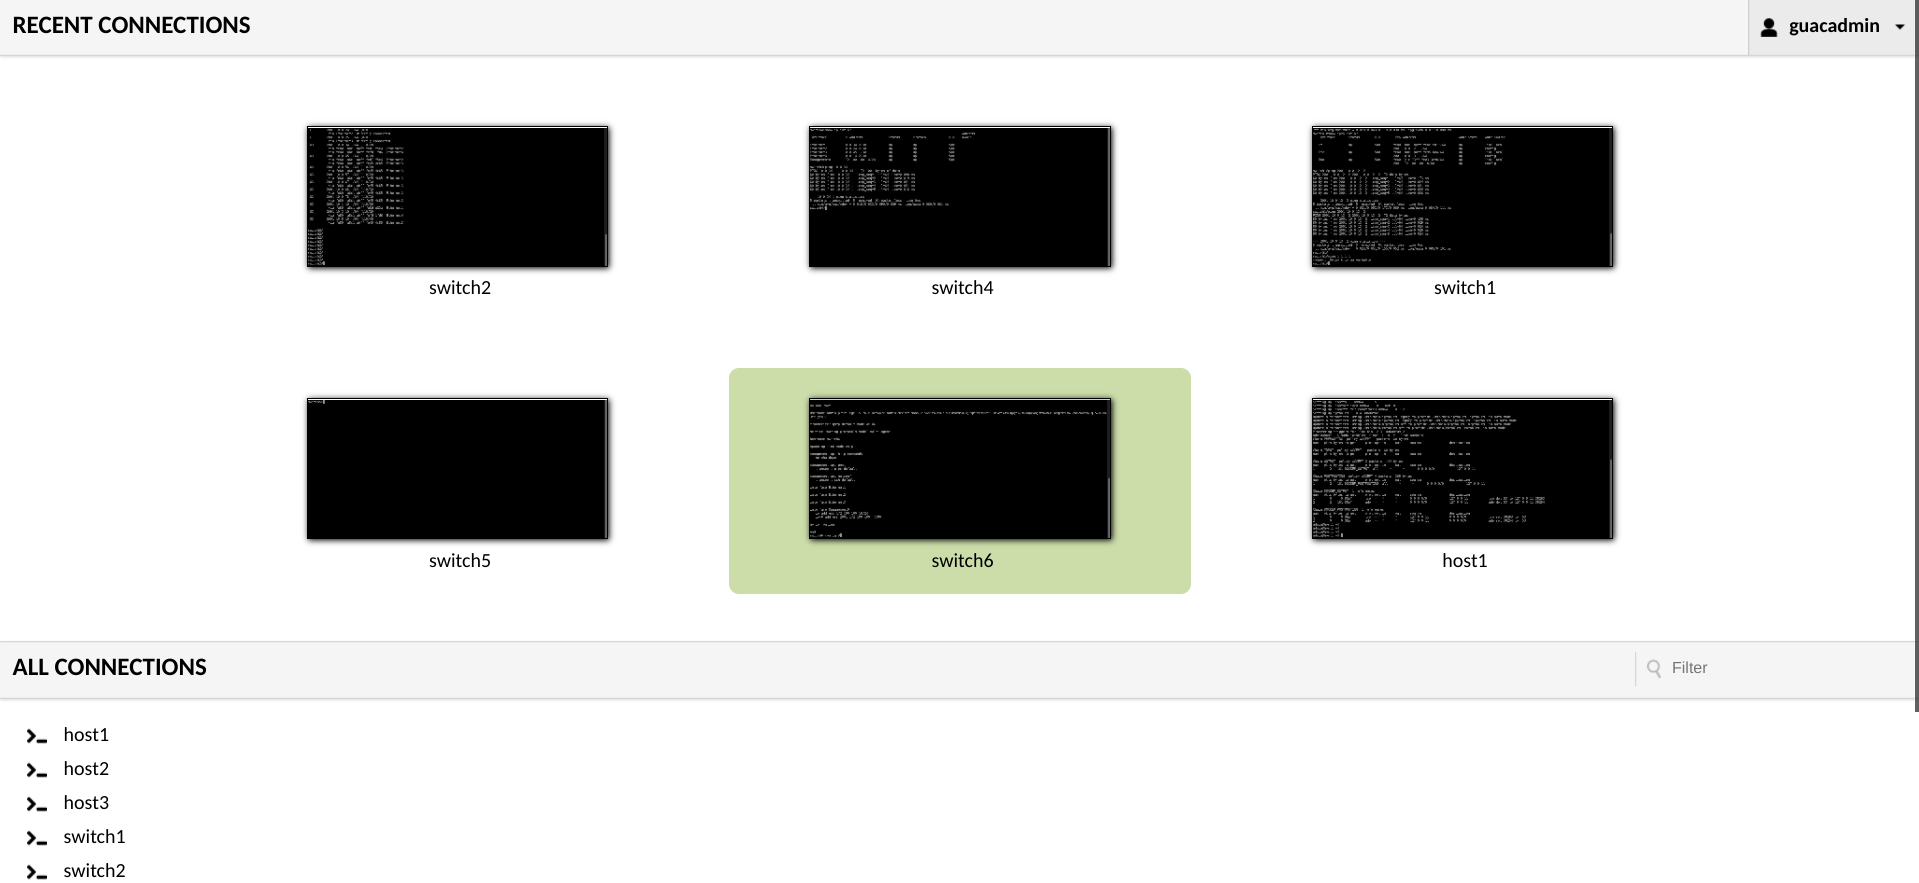
After logging in, be sure to setup your server with the configured hosts.


