Noisebridge Flaschen Taschen Project
Software and Raspberry Pi interface hardware for FlaschenTaschen.
FlaschenTaschen is inspired by projects such as the Muro de botellas or MateLight. A bunch of Noisebridgers have seen Mate Light in action at 32c3 and got excited :) So our Noisebridge interpretation of it has a German influenced name.
Unfortunately, in the US, bottle reuse is not at all a thing, so there are no standardized crates with bottles you can buy. So we use milk crates (which is a thing) and put common, clear 12oz (355ml) bottles in (Mate, Corona,..) inside. Wrapped in aluminum foil, they make nice pixels.
How about watching a movie ?
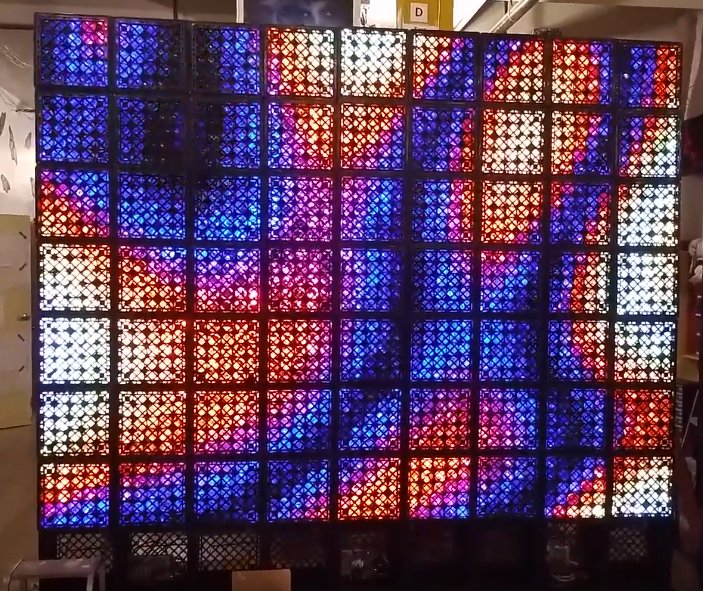
The set-up is 9 crates wide and 7 crates high for a total of 63 crates (see wiring here) with 25 'pixels' each (this is what fits in our MakerFaire booth). 45x35 pixels or 1575 pixels total. All operated by a Raspberry Pi that provides a network API to update the display.
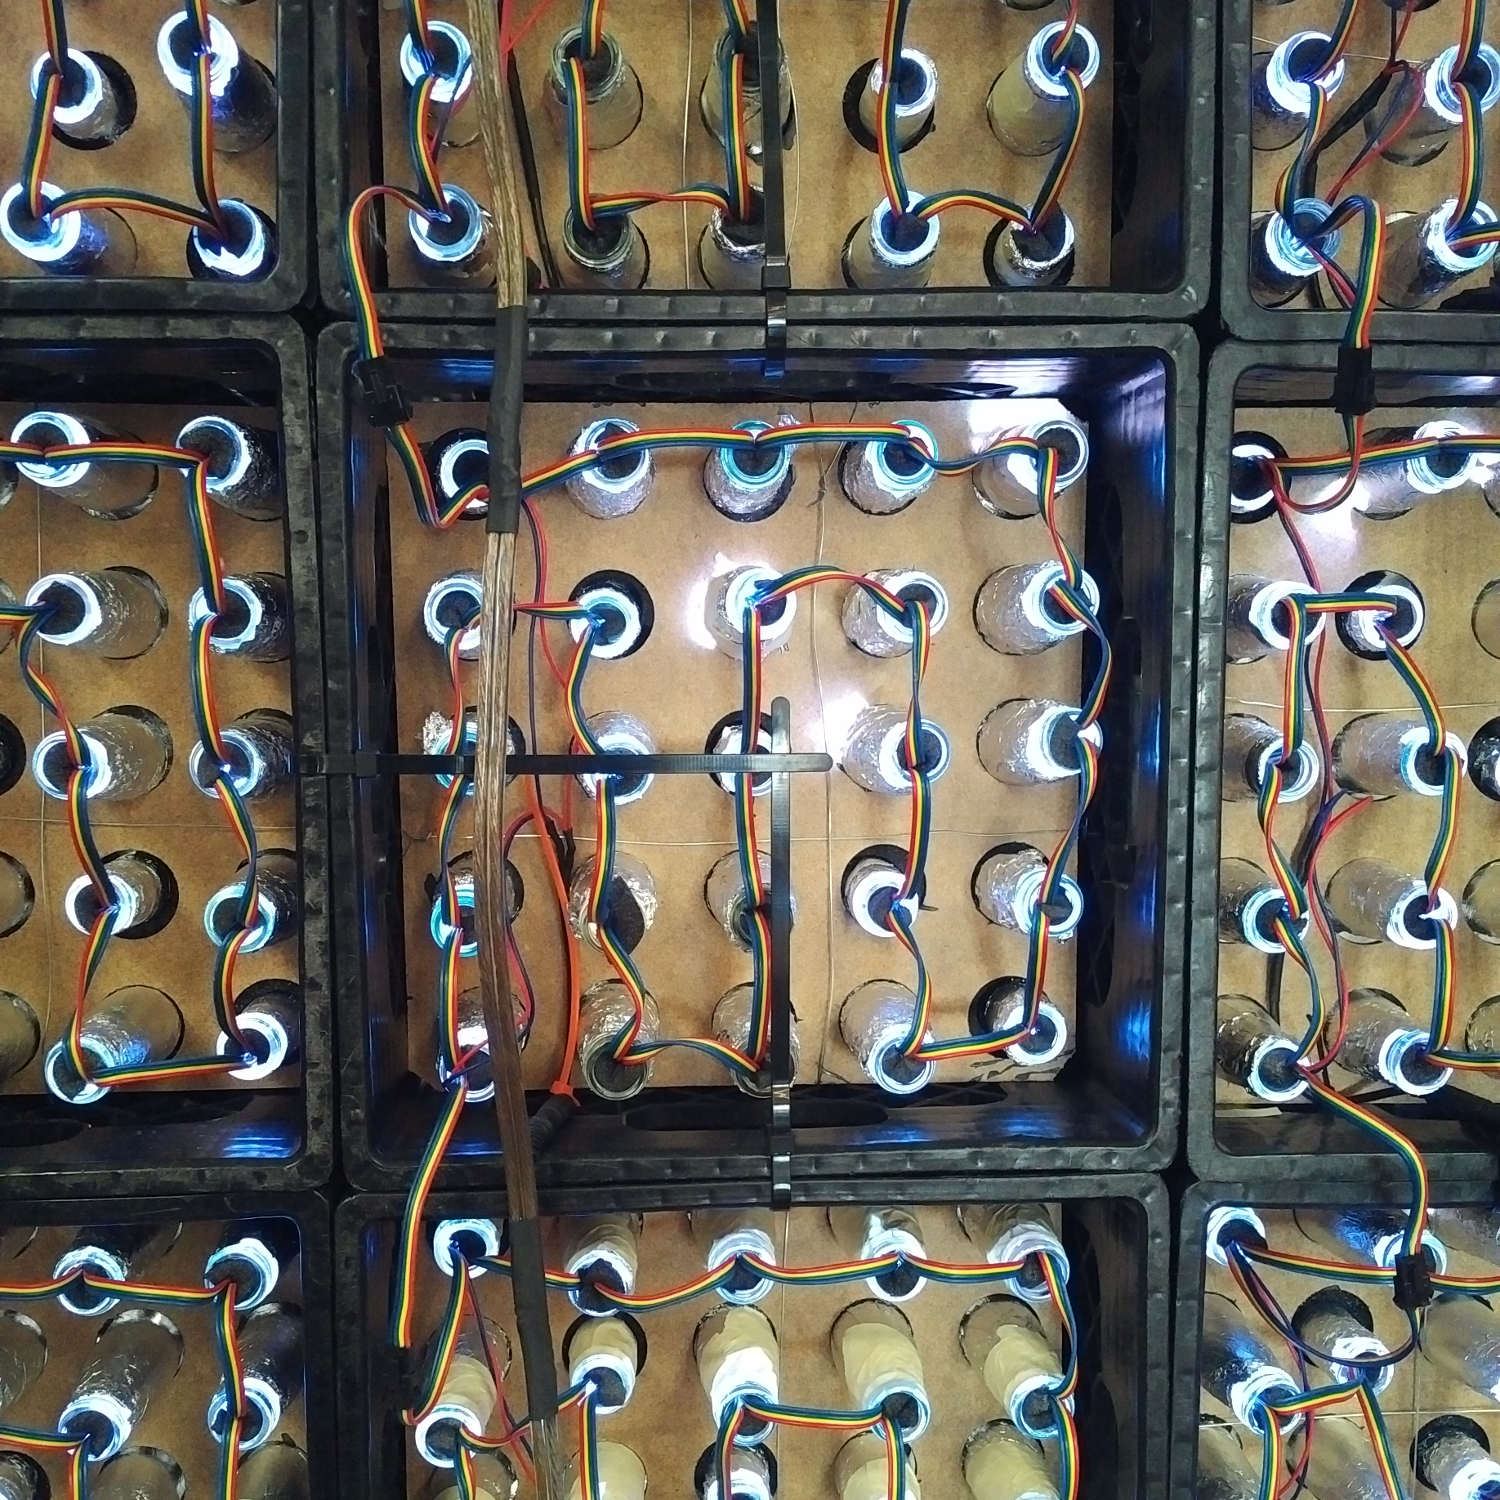
This is how it looks from the back:
Sending content to FlaschenTaschen
The client directory contains some useful utilities such as
send-text, send-image or send-video that you might be interested in.
Also, the current development VLC natively supports the FlaschenTaschen protocol if you want to send a video.
Tutorial: start local server and create new clients
To develop visuals for the FlaschenTaschen display once it is ready, here you can already play around writing software that updates the networked display.
1. Check out the project
$ git clone --recursive https://github.com/hzeller/flaschen-taschen.git
$ cd flaschen-taschen
2. Compile and run local server showing content in a Terminal
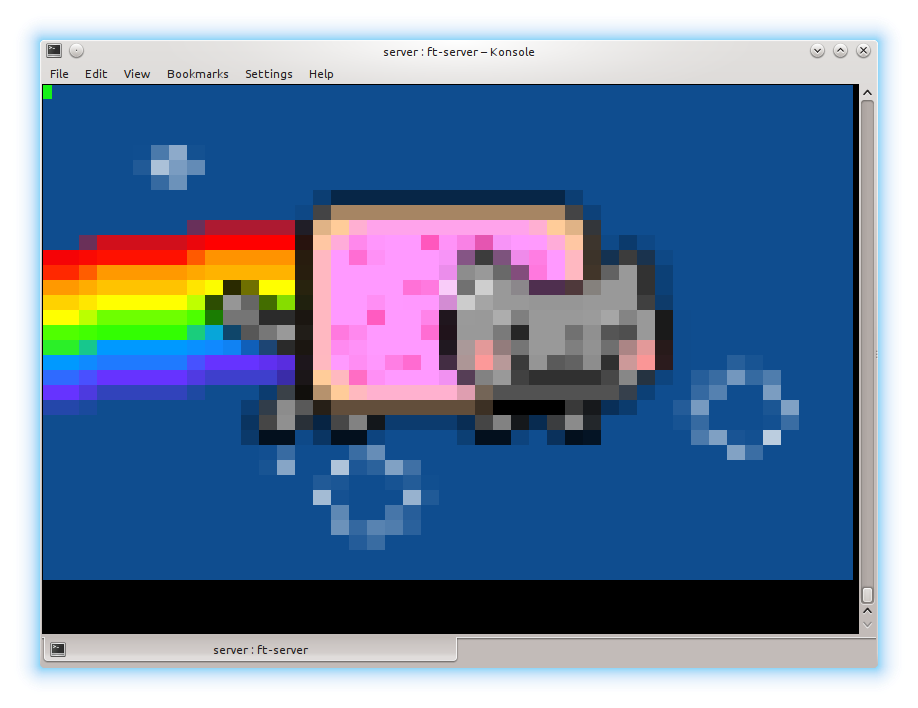
If you are not around Noisebridge to directly send images to the FlaschenTaschen installation, then you can start your own FlaschenTaschen server that displays the pixels as colored spaces in a terminal. Note, you need a fairly recent terminal that can display 24 Bit color (Konsole can do that for a while, more recent Gnome terminals as well. Also, newer xterms can do that as well. If you are on a Mac, an iTerm2 version 3.x will work).
In one terminal, go to the server/ directory, compile the terminal-based display and run it. Make sure to have it large enough to show all pixels:
$ cd server
$ make FT_BACKEND=terminal
$ ./ft-server   #  this will now show a black 'screen'
(looks too big on screen ? Try adding the option --hd-terminal)
If you want to dig into details and understand the various server implementations, check out the server README.
3. Get started with the API
FlaschenTasachen provides a network protocol, but there are also client APIs available - the api subdirectory is the best to inspect here.
To get started with programming, go to the examples-api-use/ directory, compile the programs and run it.
$ cd examples-api-use
$ make simple-animation
$ ./simple-animation localhost # <- network address of display.
Now go back to your terminal the ft-server is running and you'll see the
space-invaders animation!
Easiest to get started with the programming is to read the simple-example.cc code, then move on to simple-animation.cc.
If you want to implement the simple network protocol in another language check out the protocol description or look at the C++ implementation.
For some immediate fun, send a PPM image to your server. Since the server already understands that format natively, you can unleash the usual netpbm toolbox for image manipulation:
bash$ jpegtopnm myimage.jpg | pnmscale -xysize 45 35 > /dev/udp/localhost/1337
For a tool that decodes images (including animated gifs), go to
the client/ sub-directory compile send-image
(make send-image, see
Send-Image section in client/ for needed
dependencies), then run
./send-image -h localhost some-image.png which reads images and
sends them to the FlaschenTaschen display.
Related Software
There are various projects that create demos for F~T. Collecting links here. Check out these repositories:
- https://github.com/cgorringe/ft-demos Demos such as plasma, lines, quilt, ...
- https://github.com/scottyallen/flaschenvnc VNC implementation: cast your screen to FlaschenTaschen (like so)
- A FlaschenTaschen VLC output by François Revol. It is already submitted upstream, but until it hits distributions, you have to compile VLC from git. Then run it like so:
 $ vlc --vout flaschen --flaschen-display=ft.noise \
       --flaschen-width=45 --flaschen-height=35 \
       <video-filename-or-YouTube-URL>
Connecting LED strips to the Pi
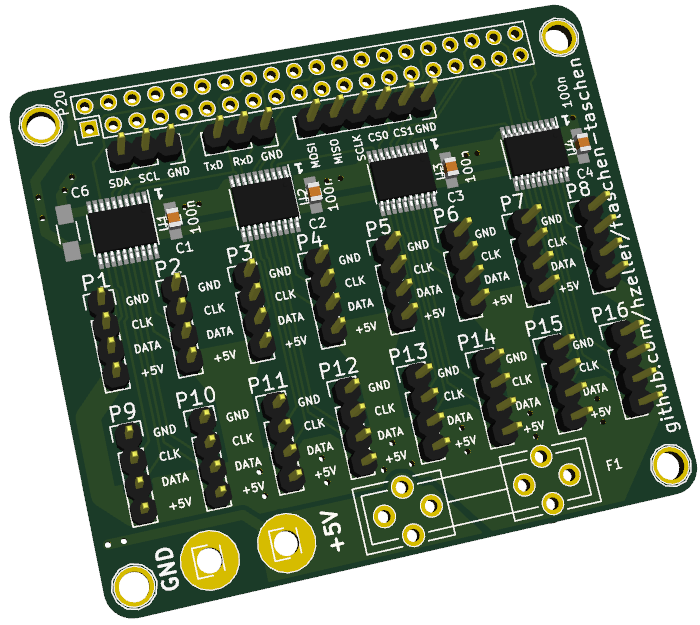
LED strips are controlled by a Raspberry Pi, connected via a custom level shifter for up to 16 strips (of which we only need 9 for our installation right now).


