This repository serves as Cutback Backend REST API. Its purpose is to provide data to be used in Front-End design with React. js. For the main project's documentation refer to Cutback project. The API endpoint can be found here
-
- Python 3.9.12: the primary language used to develop the server-side of the website.
-
- Django: python framework used to create all the logic.
- Django REST Framework: Django toolkit for building Web APIs.
-
- SQLite: was used as a development database.
- PostgreSQL: the database used to store all the data.
-
- Git: the version control system used to manage the code.
- Pipenv: the package manager used to install the dependencies. Pipenv combines using
pipandvirtualenv- they work togehter aspipenv. - Gunicorn: the webserver used to run the website.
- Psycopg2: the database driver used to connect to the database.
- Django-allauth: the authentication library used to create the user accounts.
- Django-cloudinary-storage: Django package that facilitates integration with Cloudinary by implementing Django Storage API.
- Pillow: This library provides extensive file format support, an efficient internal representation, and fairly powerful image processing capabilities.
- Django-phonenumber-field: A Django library that interfaces with python-phone numbers to validate, pretty print and convert phone numbers.
- Django-money: A little Django app that uses py-moneyed to add support for Money fields in your models and forms.
- Django-countries: A Django application that provides country choices for use with forms, flag icons static files, and a country field for models.
- dj-rest-auth: a set of REST API endpoints to handle User Registration and Authentication tasks.
- Simple JWT: provides a JSON Web Token authentication backend for the Django REST Framework.
- dj-database-url: Django utility that allows utilizing the 12factor inspired DATABASE_URL environment variable to configure Django application.
- django-cors-headers: adds Cross-Origin Resource Sharing (CORS) headers to responses. This allows in-browser requests to Django applications from other origins.
- Heroku: the hosting service used to host the website.
- GitHub: used to host the website's source code.
- VSCode: the IDE used to develop the website.
- Chrome DevTools: was used to debug the website.
- Draw. io was used to make a flowchart for the README file.
- PEP8: was used to validate Python code for the website.
- Grammarly: was used to check grammar and typo errors.
Manual testing implemented for the Back-End application listed below:
| User Actions | Expected Results | Y/N | Comments | |
|---|---|---|---|---|
| APPS | ||||
| Profiles | ||||
| 1 | Logged-in user enters profiles URL | Profile List renders all profiles as an array of objects. User cannot create a profile, only list view available | Y | Profile creation is handled by django-signals |
| 2 | Profile owner enters profile's detailed URL with existing PK | Renders profile's details in the browser, is_owner property is set to true, user can update details with form and submit with PUT method. The DELETE button is visible. |
Y | Form fields are populated with fetched profile data. |
| 3 | User clicks DELETE button | Profile is deleted. The user is redirected to the Profile List view. The deleted profile is not displayed. The user instance is destroyed with django-signals. | Y | |
| 4 | The user enters the profile's detailed URL which he does not own with existing PK | Renders profile's details in the browser, is_owner property is set to false, update form is not displayed. The DELETE button is not visible. |
Y | |
| 5 | Profile owner change data and submits with PUT button |
The updated profile detail view is rendered. Data is saved in the database. | Y | |
| 6 | Filters: User selects a product in the field filters | List all profiles which owners give a rating to the selected product | Y | DRF known bug for [invalid name] present |
| 7 | Filters: User selects ordering by products_count ascending | List of all profiles is displayed sorted by products_count in ascending order | Y | |
| 8 | Filters: User selects ordering by products_count descending | List of all profiles is displayed sorted by products_count in descending order | Y | |
| 9 | Filters: User selects ordering by ratings_count ascending | List of all profiles is displayed sorted by ratings_count in ascending order | Y | |
| 10 | Filters: User selects ordering by ratings_count descending | List of all profiles is displayed sorted by ratings_count in descending order | Y | |
| 11 | Filters: User selects ordering by comments_count ascending | List of all profiles is displayed sorted by comments_count in ascending order | Y | |
| 12 | Filters: User selects ordering by comments_count descending | List of all profiles is displayed sorted by comments_count in descending order | Y | |
| Products | ||||
| 1 | Logged-in user enters product URL | Product List renders all products as an array of objects. Users can create a product in the form rendered in the browser. | Y | |
| 2 | Logged-in user fills all required fields in the Product form and clicks thePOST button |
The submitted product is displayed in the browser and the database is updated. | Y | |
| 3 | Logged-in user does not fill all required fields in the Product form and clicks thePOST button |
The required field is highlighted, and the user is prompted that the field cannot be blank | Y | |
| 4 | Logged-in user does not fill all required fields in the Product form and clicks thePOST button |
The required field is highlighted, and the user is prompted that the field cannot be blank | Y | |
| 5 | Product owner enters product's detailed URL with existing PK | Renders product's details in the browser, is_owner property is set to true, user can update details with form and submit with PUT method. The DELETE button is visible. |
Y | Form fields are populated with fetched product data. |
| 6 | User enters product's detailed URL which he does not own with existing PK | Renders product's details in the browser, is_owner property is set to false, update form is not displayed. The DELETE button is not visible. |
Y | |
| 7 | Product owner change data and submits with PUT button |
The updated product detail view is rendered. Data is saved in the database. | Y | |
| 8 | Filters: User selects owner in the field filters | List all products of the selected owner | Y | |
| 9 | Filters: User selects InStock boolean value in the field filters | List all products with selected value | Y | |
| 10 | Filters: User selects Category value in the field filters | List all products with selected category | Y | |
| 11 | Filters: User types existing Brand name in the field filters | List all products with specified Brand | Y | |
| 12 | Filters: User selects ordering by price ascending | List of all products is displayed sorted by price in ascending order | Y | |
| 13 | Filters: User selects ordering by price descending | List of all products is displayed sorted by price in descending order | Y | |
| 14 | Filters: User selects ordering by avg_score ascending | List of all products is displayed sorted by avg_score in ascending order | Y | |
| 15 | Filters: User selects ordering by avg_score descending | List of all products is displayed sorted by avg_score in descending order | Y | |
| 16 | Filters: User selects ordering by all_scores ascending | List of all products is displayed sorted by all_scores in ascending order | Y | |
| 17 | Filters: User selects ordering by all_scores descending | List of all products is displayed sorted by all_scores in descending order | Y | |
| 18 | Filters: User selects ordering by title ascending | List of all products is displayed sorted by title in ascending order | Y | |
| 19 | Filters: User selects ordering by title descending | List of all products is displayed sorted by title in descending order | Y | |
| 20 | Filters: User selects ordering by created_at ascending | List of all products is displayed sorted by title in created_at order | Y | |
| 21 | Filters: User selects ordering by created_at descending | List of all products is displayed sorted by created_at in descending order | Y | |
| 22 | Filters: User types existing user's username in the search bar | List of all products is displayed that matches username search query | Y | |
| 23 | Filters: User types existing product's title in the search bar | List of all products is displayed that matches product's title search query | Y | |
| 24 | Filters: User types keyword to be searched in the product's description in the search bar | List of all products is displayed that matches keyword in products descriptions search query | Y | |
| Comments | ||||
| 1 | Logged-in user enters comments URL | Comments List renders all comments as an array of objects. Users can create a comment in the form rendered in the browser. | Y | |
| 2 | Logged-in user fills all required fields in the Comment form and clicks thePOST button |
The submitted comment is displayed in the browser and the database is updated. | Y | |
| 3 | Logged-in user does not fill all required fields in the Comment form and clicks thePOST button |
The required field is highlighted, and the user is prompted that the field cannot be blank | Y | |
| 4 | Comment owner enters comment's detailed URL with existing PK | Renders comment's details in the browser, is_owner property is set to true, user can update details with form and submit with PUT method. The DELETE button is visible. |
Y | Form fields are populated with fetched comment data. |
| 5 | User enters comment's detailed URL which he does not own with existing PK | Renders profile's details in the browser, is_owner property is set to false, update form is not displayed. The DELETE button is not visible. |
Y | |
| 6 | Comment owner change data and submits with PUT button |
The updated comment detail view is rendered. Data is saved in the database. | Y | |
| 7 | Filters: User selects Comment in the field filters | List all comments of the selected Comment | Y | |
| 8 | Filters: User selects Owner in the field filters | List all comments with selected Owner | Y | |
| Ratings | ||||
| 1 | Logged-in user enters rating URL | Rating List renders all ratings as an array of objects. Users can create ratings in the form rendered in the browser. | Y | |
| 2 | Logged-in user fills all required fields in the Rating form and clicks thePOST button |
The submitted rating is displayed in the browser and the database is updated. | Y | All fields are choice fields with default value - no blank |
| 4 | Rating owner enters rating's detailed URL with existing PK | Renders rating's details in the browser, is_owner property is set to true, user can update details with form and submit with PUT method. The DELETE button is visible. |
Y | Form fields are populated with fetched rating data. |
| 5 | User enters rating's detailed URL which he does not own with existing PK | Renders profile's details in the browser, is_owner property is set to false, update form is not displayed. The DELETE button is not visible. |
Y | |
| 6 | Rating owner change data and submits with PUT button |
The updated rating detail view is rendered. Data is saved in the database. | Y | |
| 7 | Filters: User selects Rating in the field filters | List all ratings of the selected Rating | Y | |
| 8 | Filters: User selects Owner in the field filters | List all ratings with selected Owner | Y | |
| Registration | ||||
| 1 | User clicks login button in the web browser DRF view | Login page renders with username and password fields to be filled | Y | |
| 2 | User enters dj-rest-auth registration URL | The dj-rest-auth registration page renders with registration form | Y | |
| 3 | User fills all required fields for registration and clicks thePOST button |
The form is submitted and email verification is sent to the user's email address | Y | Email verification is handled by the all-auth library, GET method is not allowed |
| 4 | User did not fill all required fields for registration and clicks thePOST button |
The form is rejected and the user is prompted which fields are required for registration. | Y | |
| 5 | User did not confirm his email address and loggs-in | User has Read-Only functionality - only GET function is allowed |
Y | |
| 6 | User confirmed his email address and logs in | User has full functionality including POST, PUT and DELETE |
Y | |
| 7 | User confirmed his email address and logs in | User has full functionality | Y |
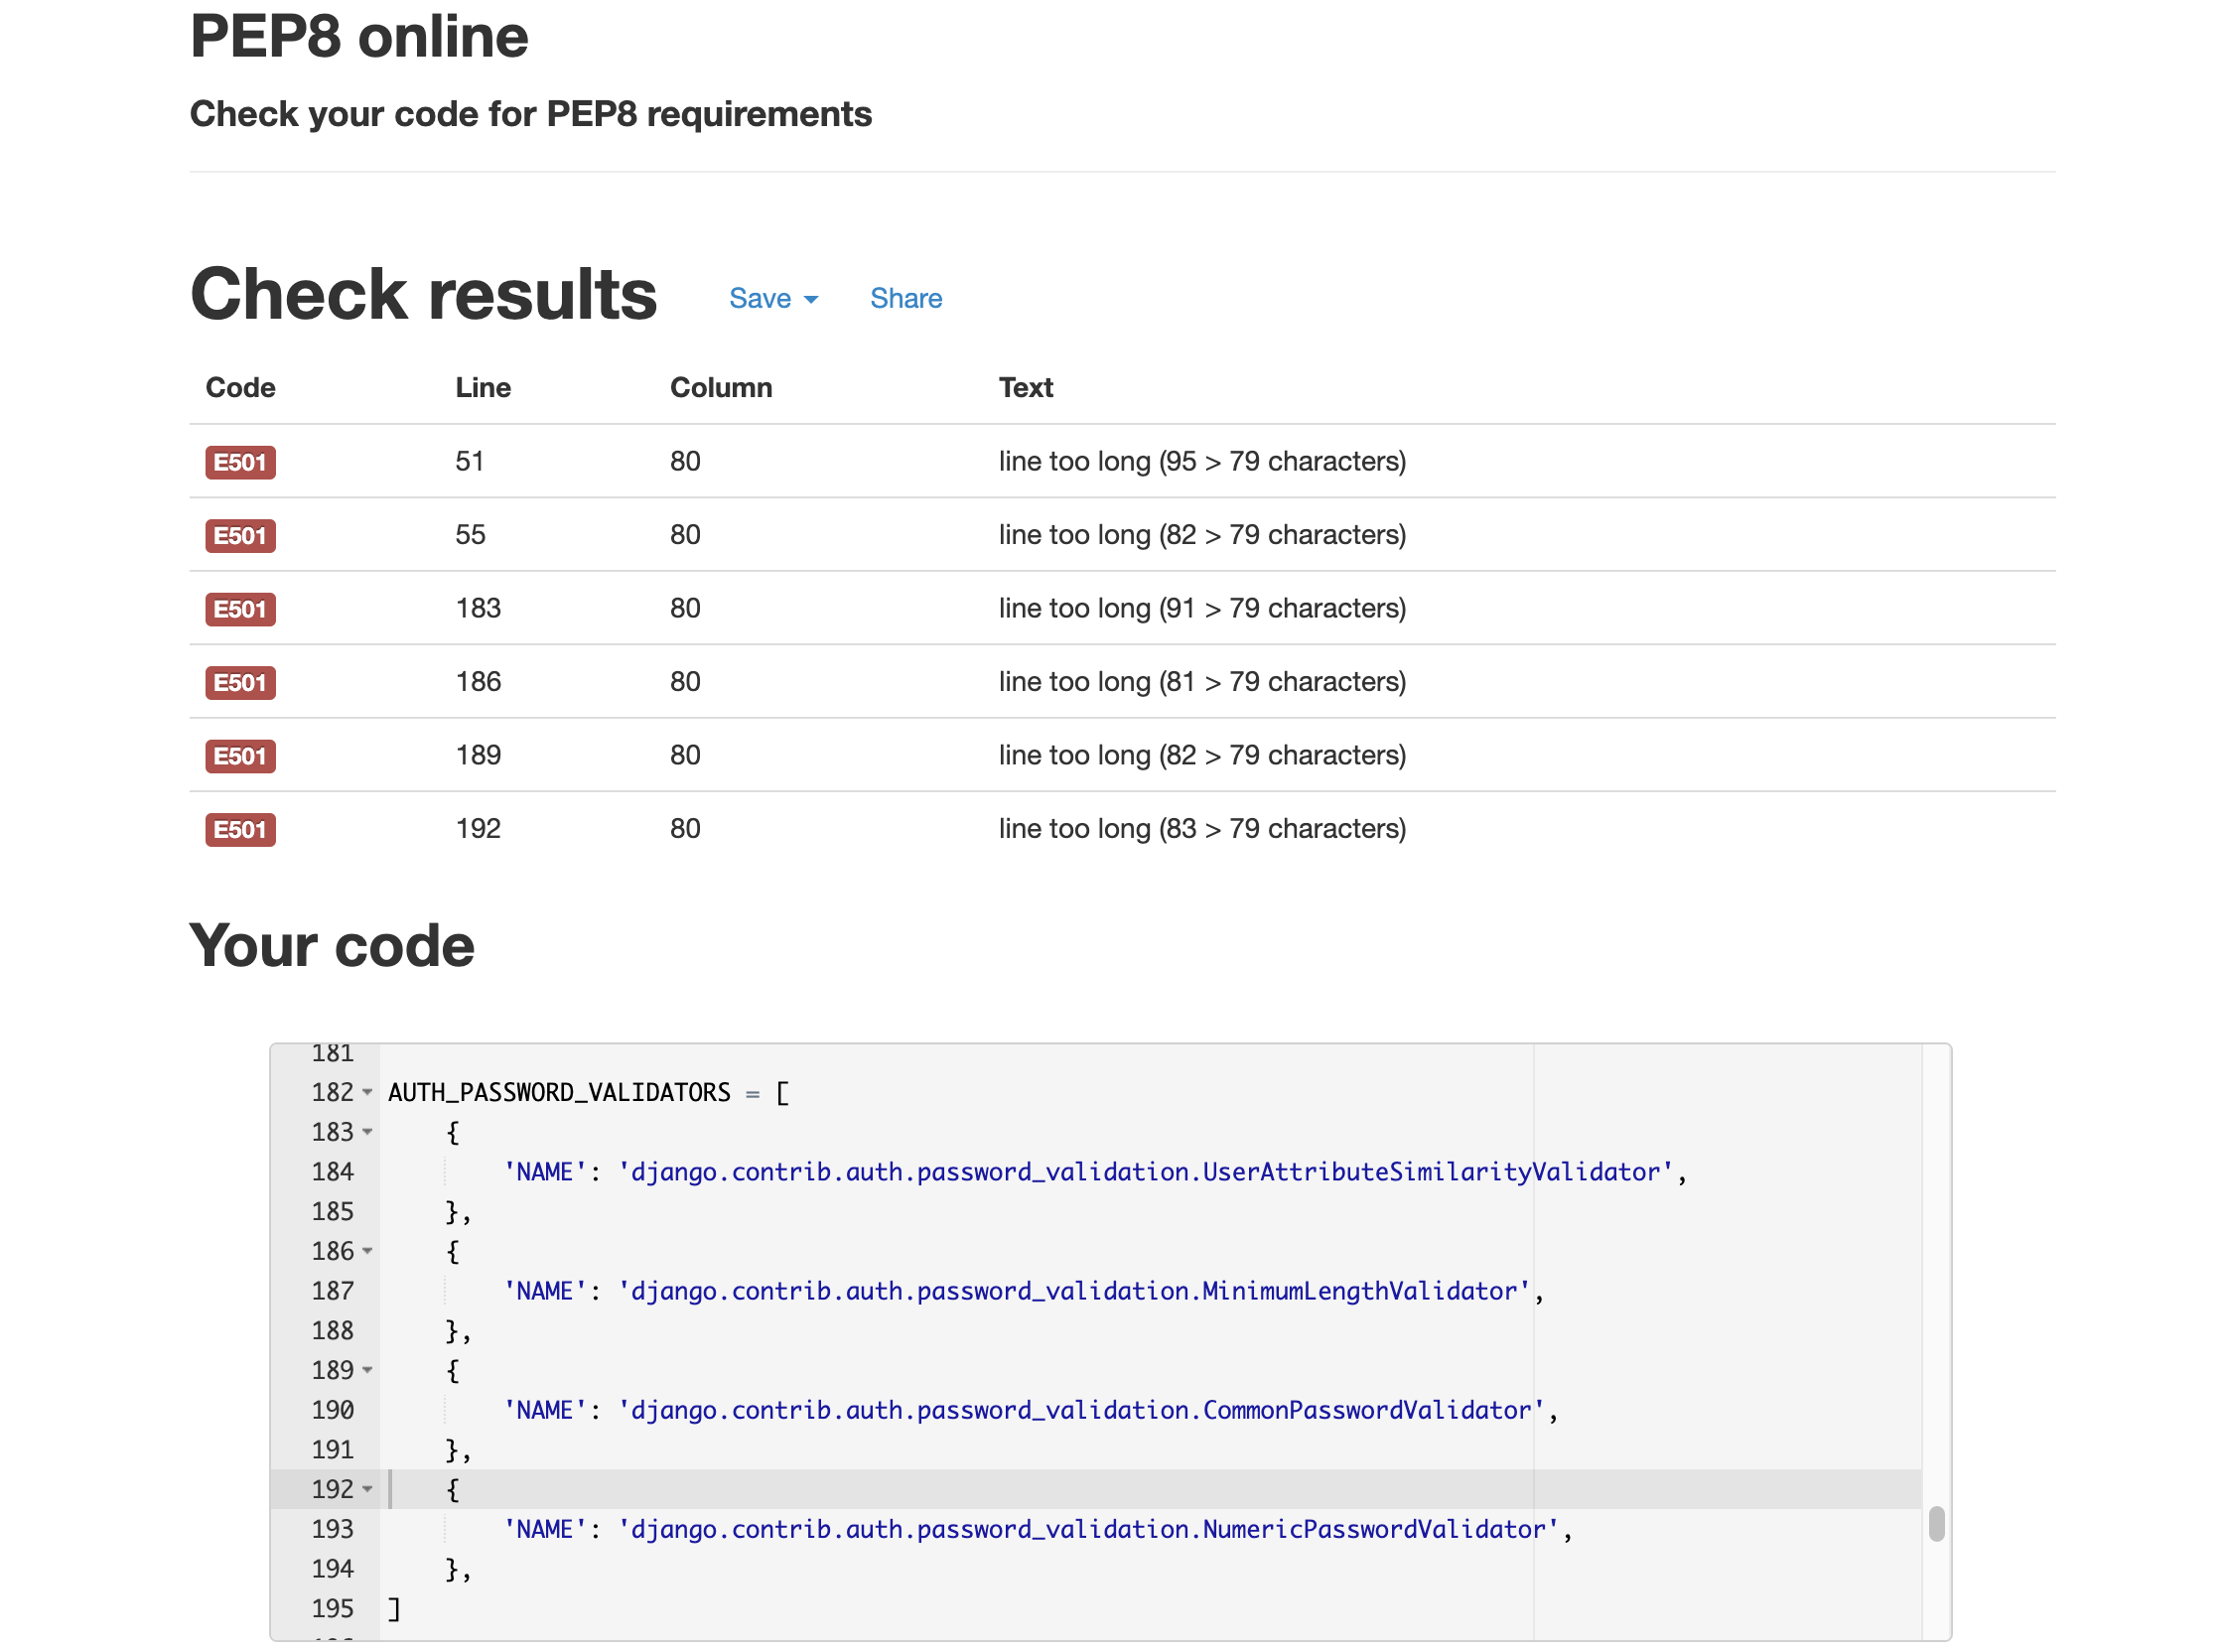
All code was formatted using autopep8. Additionally, manual validation was done with PEP8 online.
The only code which was left with long-line prompts is settings.py for code functionality.
All bugs were resolved in the development process. Any worth-mentioning bugs are documented in the project's GitHub issues panel.
- MoneyField object returned in the field after validation error: open.
- Custom "update" method in ProfileSerializer: open.
- Choice name display in Product Serializer get endpoint: open.
- The deployed version of the application uses PostgreSQL as a database.
- SQLite was used for the development version.
-
The ERD was created using draw.io.
-
The ERD can be found here.
-
The final production version defers with the planned data model. The location model was integrated to the Product model and currency choices were removed - only one was used for the app development.
- User
Created as a subclass of Django AbstractUser. Every user must confirm his account by email confirmation link.
| Name | Database Key | Field Type | Validation |
|---|---|---|---|
| EmailField | max_length=50, unique=True, blank=False | ||
| First Name | first_name | CharField | max_length=50, blank=False |
| Last Name | last_name | CharField | max_length=50, blank=False |
| Email Verified | email_verified | BooleanField | default=False |
- Profile
Designed as a custom model inheriting from Django models.Model. This model is a helper model for the User. Creates profile for User instance with OneToOne relationship.
-
When the user did not select any profile picture, the default picture is added by django-signals.
-
django-phonenumber-field is used to store phone number data.
Name | Database Key | Field Type | Validation | | ------------- | ------------- | ------------- | ---------- | | Owner | owner | OneToOne | settings.AUTH_USER_MODEL, on_delete=models.CASCADE | | Created At | created_at | DateTimeField | auto_now_add=True | | Updated At | updated_at | DateTimeField | auto_now=True | | Image | image | ImageField | upload_to='images/', default='../default_profile_glasses_r9uhlr' | | Phone Number | phone_number | PhoneNumberField | |
- Products
Designed as a custom model inheriting from Django models.Model. This model is a core data structure for the application and is used to organize Products created by users.
- django-signals handles extra validation - users are allowed to store 10 products.
- django-money is used to store price data.
| Name | Database Key | Field Type | Validation |
|---|---|---|---|
| Owner | owner | OneToOne | settings.AUTH_USER_MODEL, on_delete=models.CASCADE |
| Category | category | IntegerField | choices=CATEGORIES, blank=False |
| Price | price | MoneyField | max_digits=10, decimal_places=2, blank=False, currency_choices=CURRENCY_CHOICES |
| Title | title | CharField | max_length=50, blank=False |
| Description | description | TextField | max_length=500 |
| Brand | brand | CharField | max_length=50 |
| In Stock | in_stock | BooleanField | blank=False, default=False |
| Created At | created_at | DateTimeField | auto_now_add=True |
| Updated At | updated_at | DateTimeField | auto_now=True |
| Address | address | CharField | max_length=100 |
| City | city | CharField | max_length=50 |
| Country | country | CountryField | blank_label='(select country)' |
| Product | product | ForeignKey | Product, default=None, on_delete=models.CASCADE, related_name="product_location" |
    CATEGORIES = (
        (0, "Boards"),
        (1, "Kites"),
        (2, "Wetsuits"),
        (3, "Harnesses"),
(4, "Others"),- Product Image
Designed as a custom model inheriting from Django models.Model. This model is a helper model to store Product galleries.
- django-signals handles extra validation - every product is allowed to store 5 pictures.
- When a Product instance is created and the user did not upload any pictures - the default picture is added by django-signals.
| Name | Database Key | Field Type | Validation |
|---|---|---|---|
| Product | product | ForeignKey | Product, default=None, on_delete=models.CASCADE, related_name="product_images" |
| Image | image | ImageField | upload_to='images/', default='../default-image_aqtoyb' |
- Rating
Designed as a custom model inheriting from Django models.Model. This model stores Ratings for products. The product can be rated on a scale of 1-5.
| Name | Database Key | Field Type | Validation |
|---|---|---|---|
| Owner | owner | ForeignKey | settings.AUTH_USER_MODEL, on_delete=models.CASCADE |
| Product | product | ForeignKey | Product, default=None, on_delete=models.CASCADE, related_name="product_rating" |
| Score | score | PositiveSmallIntegerField | default=0, choices=RATE_CHOICES |
| Product | product | ForeignKey | Product, default=None, on_delete=models.CASCADE, related_name="product_location" |
| Created At | created_at | DateTimeField | auto_now_add=True |
    RATE_CHOICES = (
        (5, "excellent"),
        (4, "very good"),
        (3, "good"),
        (2, "poor"),
        (1, "bad"),
)- Comment Designed as a custom model inheriting from Django models.Model. This model stores Comments for products.
| Name | Database Key | Field Type | Validation |
|---|---|---|---|
| Owner | owner | ForeignKey | settings.AUTH_USER_MODEL, on_delete=models.CASCADE |
| Product | product | ForeignKey | Product, default=None, on_delete=models.CASCADE, related_name="product_comments" |
| Created At | created_at | DateTimeField | auto_now_add=True |
| Updated At | updated_at | DateTimeField | auto_now=True |
| Content | content | TextField |
-
Setup of the local workspace:
- This project was developed with the use of pipenv to handle all dependencies
- Managing a
requirements.txtfile can be problematic, so Pipenv uses the upcomingPipfileandPipfile.lockinstead, which is superior for basic use cases. - Create a
Procfilein the local workspace and type inrelease: python manage.py makemigrations && python manage.py migrateto allow for migration every time a new version is deployed andweb: gunicorn <name app>.wsgi:applicationinside the file. - Commit and push to GitHub
-
Cloudinary This project uses Cloudinary to host all static files. To allow the use of the hosting platform, the following steps were followed:
-
in
settings.pyfollowing code is necessary for Cloudinary:CLOUDINARY_STORAGE = { 'CLOUDINARY_URL': os.environ.get('CLOUDINARY_URL') } MEDIA_URL = '/media/' DEFAULT_FILE_STORAGE = 'cloudinary_storage.storage.MediaCloudinaryStorage'
In
env.pythe Cloudinary API key is stored for security reasons.
-
This project was deployed using Heroku with the following steps:
- Click on New in the top-right corner and then Create New App.

- On the next page give the app a unique name.
- Choose a region (the USA or Europe).
- Click Create app.

- Go to the Resources tab and search for PostgreSQL. Select Hobby dev - Free and click on the provision button to add it to the project

- On the next page click on the Settings tab.
- In the Settings page open Config Vars and add the following:

-
In
settings.pywe usedatabasedepending on'DEV'status in the environmental variables:DATABASES = { 'default': { 'ENGINE': 'django.db.backends.sqlite3', 'NAME': BASE_DIR / 'db.sqlite3', } if 'DEV' in os.environ else dj_database_url.parse( os.environ.get('DATABASE_URL') ) }
For the development version,
db.sqlite3is used and for the production version, the Heroku Postgres database is. -
This application uses Gmail as an email SMTP server. This requires adding the following variables to the project's
settings.pyfile:-
EMAIL_USE_TLS = True -
EMAIL_PORT = 587 -
EMAIL_HOST = 'smtp.gmail.com' -
EMAIL_HOST_USER = 'your_account@gmail.com' -
EMAIL_HOST_PASSWORD = 'yourGmailPassword' -
For Heroku deployment add the following values to Config Vars:
EMAIL_HOST_USER = 'your_account@gmail.com'EMAIL_HOST_PASSWORD = 'yourGmailPassword'
-
For the development version, the email backend is set to print emails in the console. For the production version, the Gmail server is set up to handle email communication.
DEBUGinsettings.pyisFalsedepending on the environmental variableDEVstatus. For production it is not included in Heroku Config Vars, resulting in aFalsestatement. For development, it isTrueto use debugging functionality.- Commit and push your changes to GitHub.
- Click on the Deploy tab.
- In the Deploy page in the Deployment Method select GitHub.
- After a successful connection to GitHub locate your repository and add it to Heroku.

- In the Manual Deploy section confirm that the main branch is selected and click Deploy Branch
- For Final Deployment confirm
DEBUG = Falseinsettings.pyand deleteDISABLE_COLLECTSTATICfrom Config Vars in Heroku. - Commit and push changes to GitHub.

A fork is a copy of a repository. Forking a repository allows you to freely experiment with changes without affecting the original project. The steps are as follows:
- On GitHub.com navigate to the repository page.
- In the top-right corner of the page, click Fork.

You can fork a repository to create a copy of the repository and make changes without affecting the upstream repository.
In GitHub, you have the option to create a local copy (clone) of your repository on your device's hard drive. The steps are as follows:
- On GitHub.com navigate to the repository page.
- Locate the Code tab and click on it.
- In the expanded window, click the two squares icon to copy the HTTPS link of the repository.

- On your computer, open Terminal.
- Navigate to the directory of your choice.
- Type git clone and paste the copied link of the repository.
- Press Enter and the local clone of the repository will be created in the selected directory.
- Project setup is based on Code Institute tutorial video Django REST Framework.
- The Comment app is copied from Code Institute tutorial video Django REST Framework and adjusted for the Cutback needs.
- Email confirmation functionality inspired from Stack Overflow.
- Deployment section is based on the owner's previous project OneTeam.
- My family for being my biggest supporters throughout the entire time!
- My mentor Samantha Dartnall for guidance and support on the project.
- Stack Overflow community for the best bug-solving space ever created!