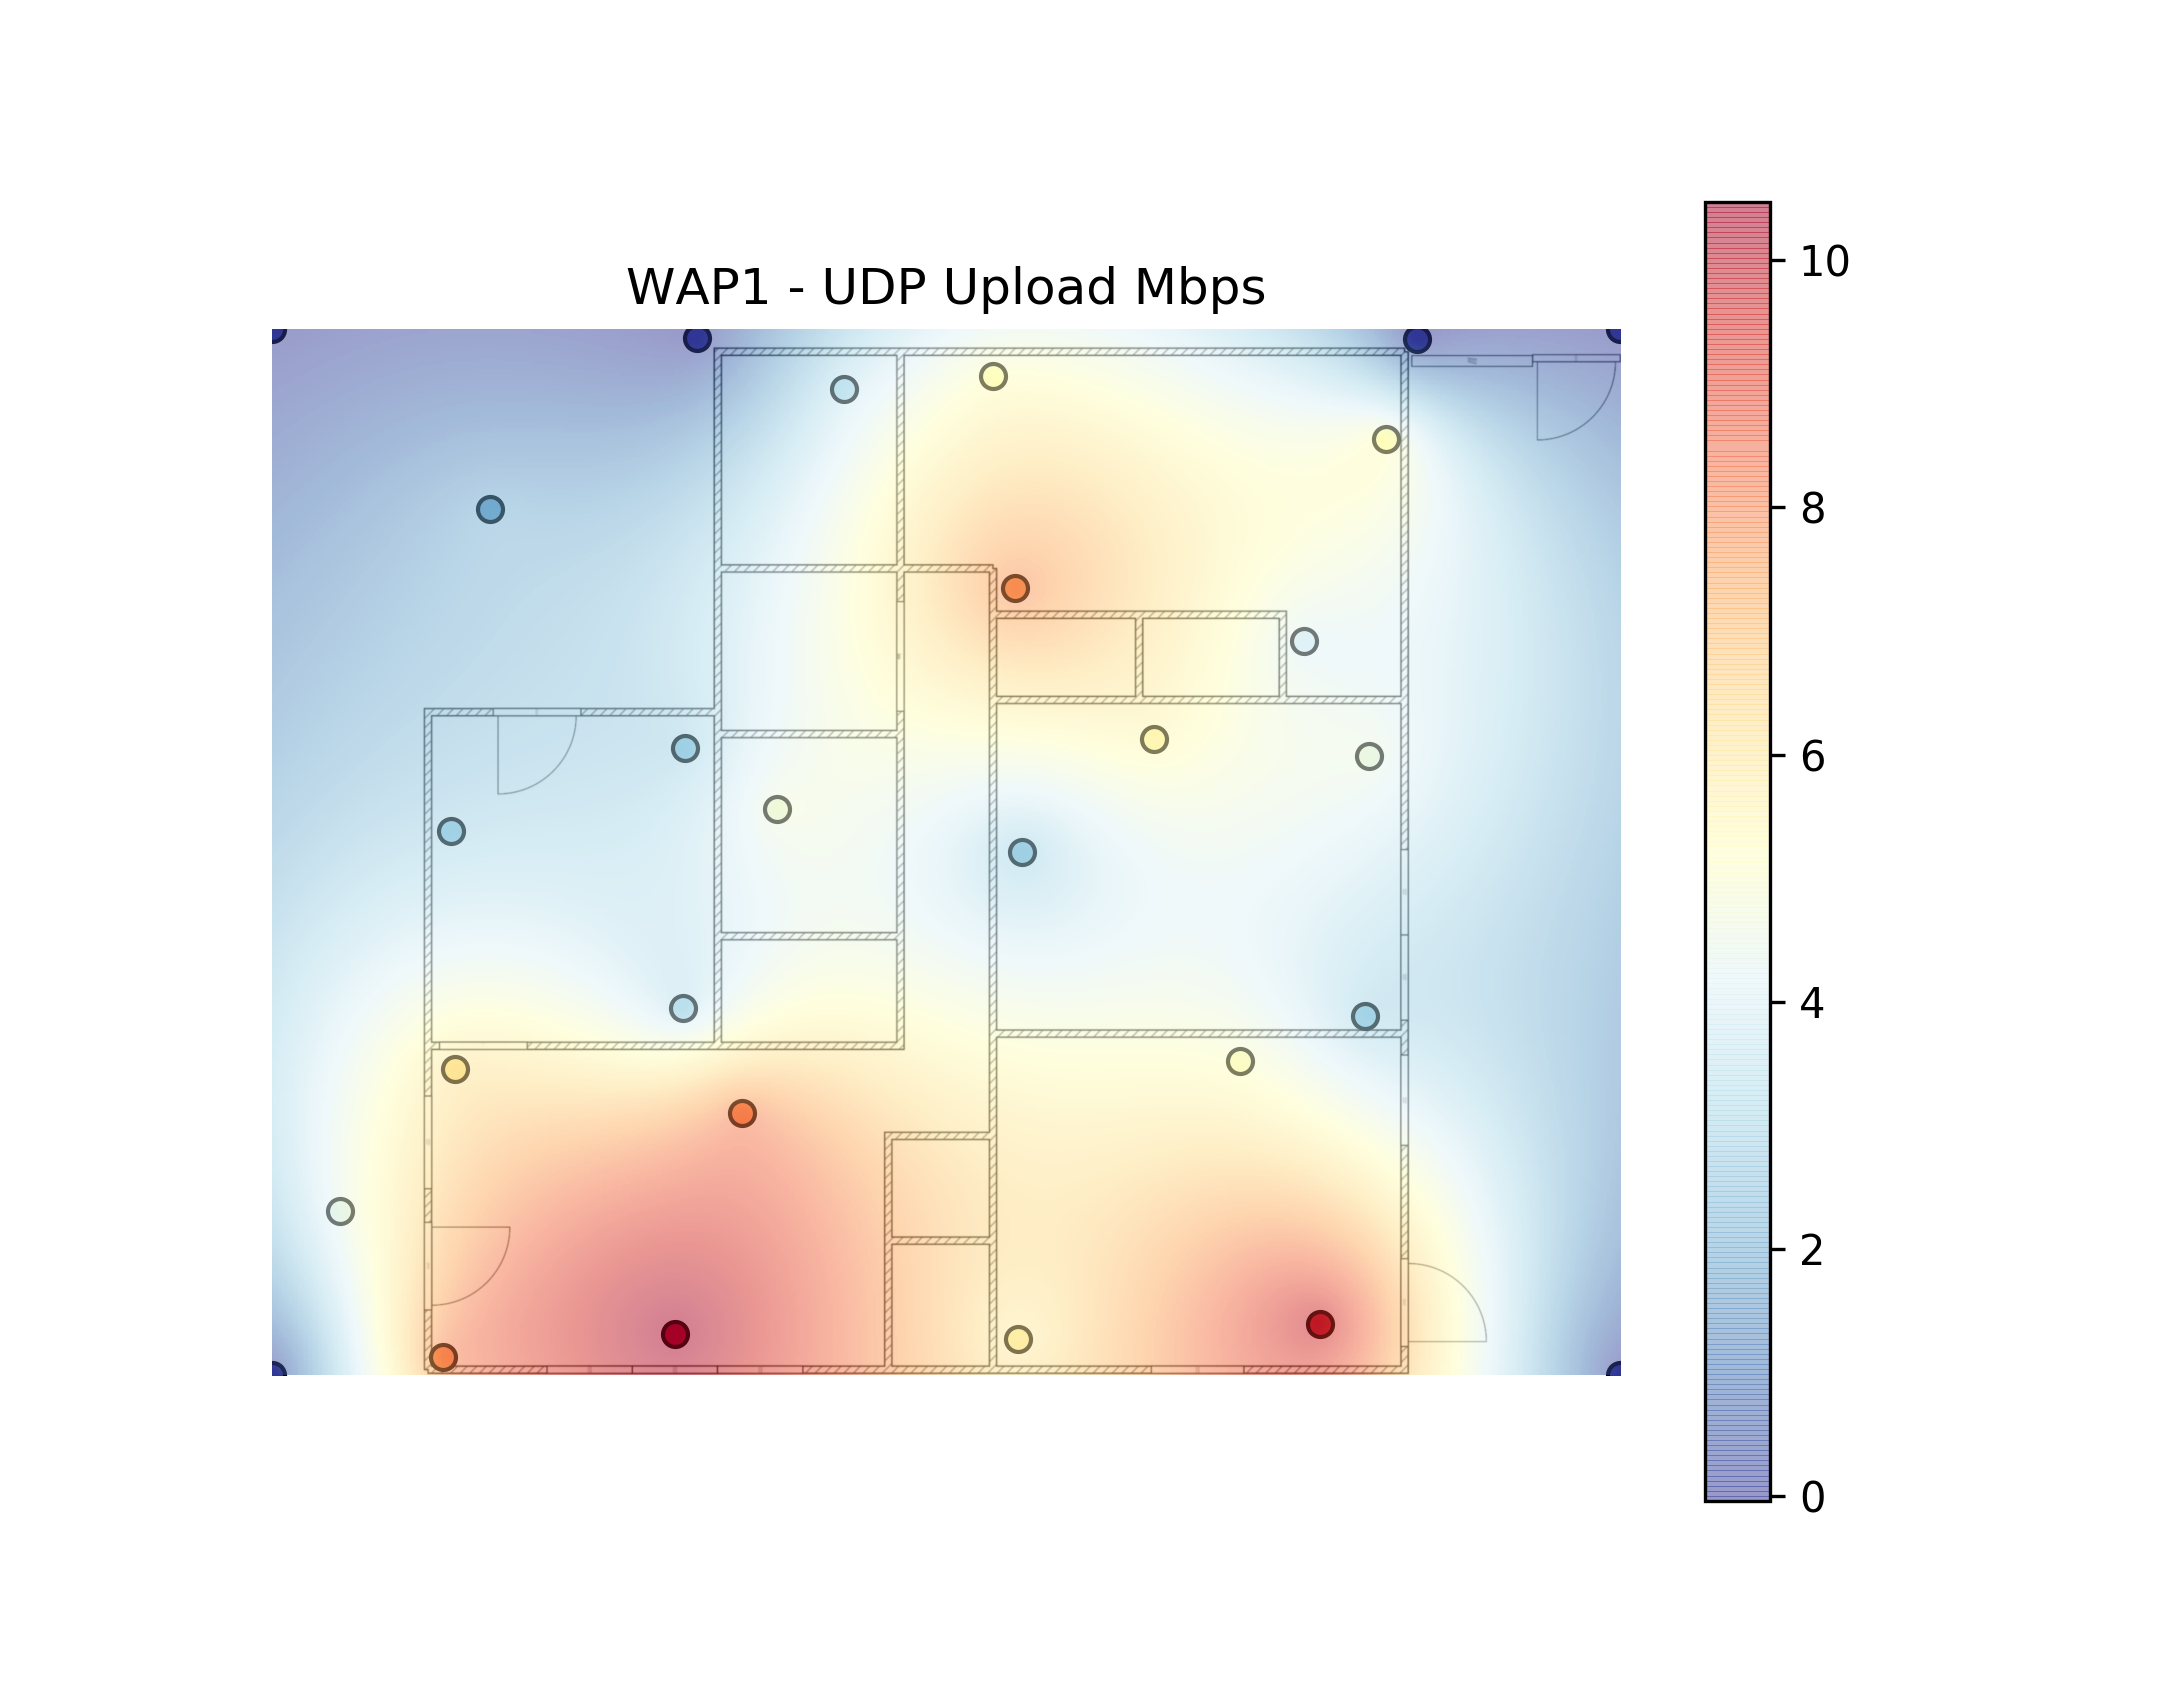
A Python application for Linux machines to perform WiFi site surveys and present the results as a heatmap overlayed on a floorplan.
This is very rough, very alpha code. The heatmap generation code is roughly based on Beau Gunderson's MIT-licensed wifi-heatmap code.
- The Python iwlib package, which needs cffi and the Linux
wireless_toolspackage. - The Python iperf3 package, which needs iperf3 installed on your system.
- wxPython Phoenix, which unfortunately must be installed using OS packages or built from source.
- An iperf3 server running on another system on the LAN, as described below.
Recommended installation is via python setup.py develop in a virtualenv setup with --system-site-packages (for the above dependencies).
Tested with Python 3.7.
At each survey location, data collection should take 45-60 seconds. The data collected is currently:
- 10-second iperf3 measurement, TCP, client (this app) sending to server, default iperf3 options
- 10-second iperf3 measurement, TCP, server sending to client, default iperf3 options
- 10-second iperf3 measurement, UDP, client (this app) sending to server, default iperf3 options
iwconfigcapture for current AP/ESSID/BSSID, frequency, bitrate, and quality/level/noise statsiwlistscan of all visible access points
On the system you're using as the iperf3 server, run iperf3 -s to start iperf3 in server mode in the foreground.
By default it will use TCP and UDP ports 5201 for communication, and these must be open in your firewall (at least from the client machine).
Ideally, you should be running the same exact iperf3 version on both machines.
The survey tool (wifi-survey) must be run as root or via sudo in order to use iwconfig/iwlist.
First connect to the network that you want to survey. Then, run sudo wifi-survey INTERFACE SERVER PNG Title where:
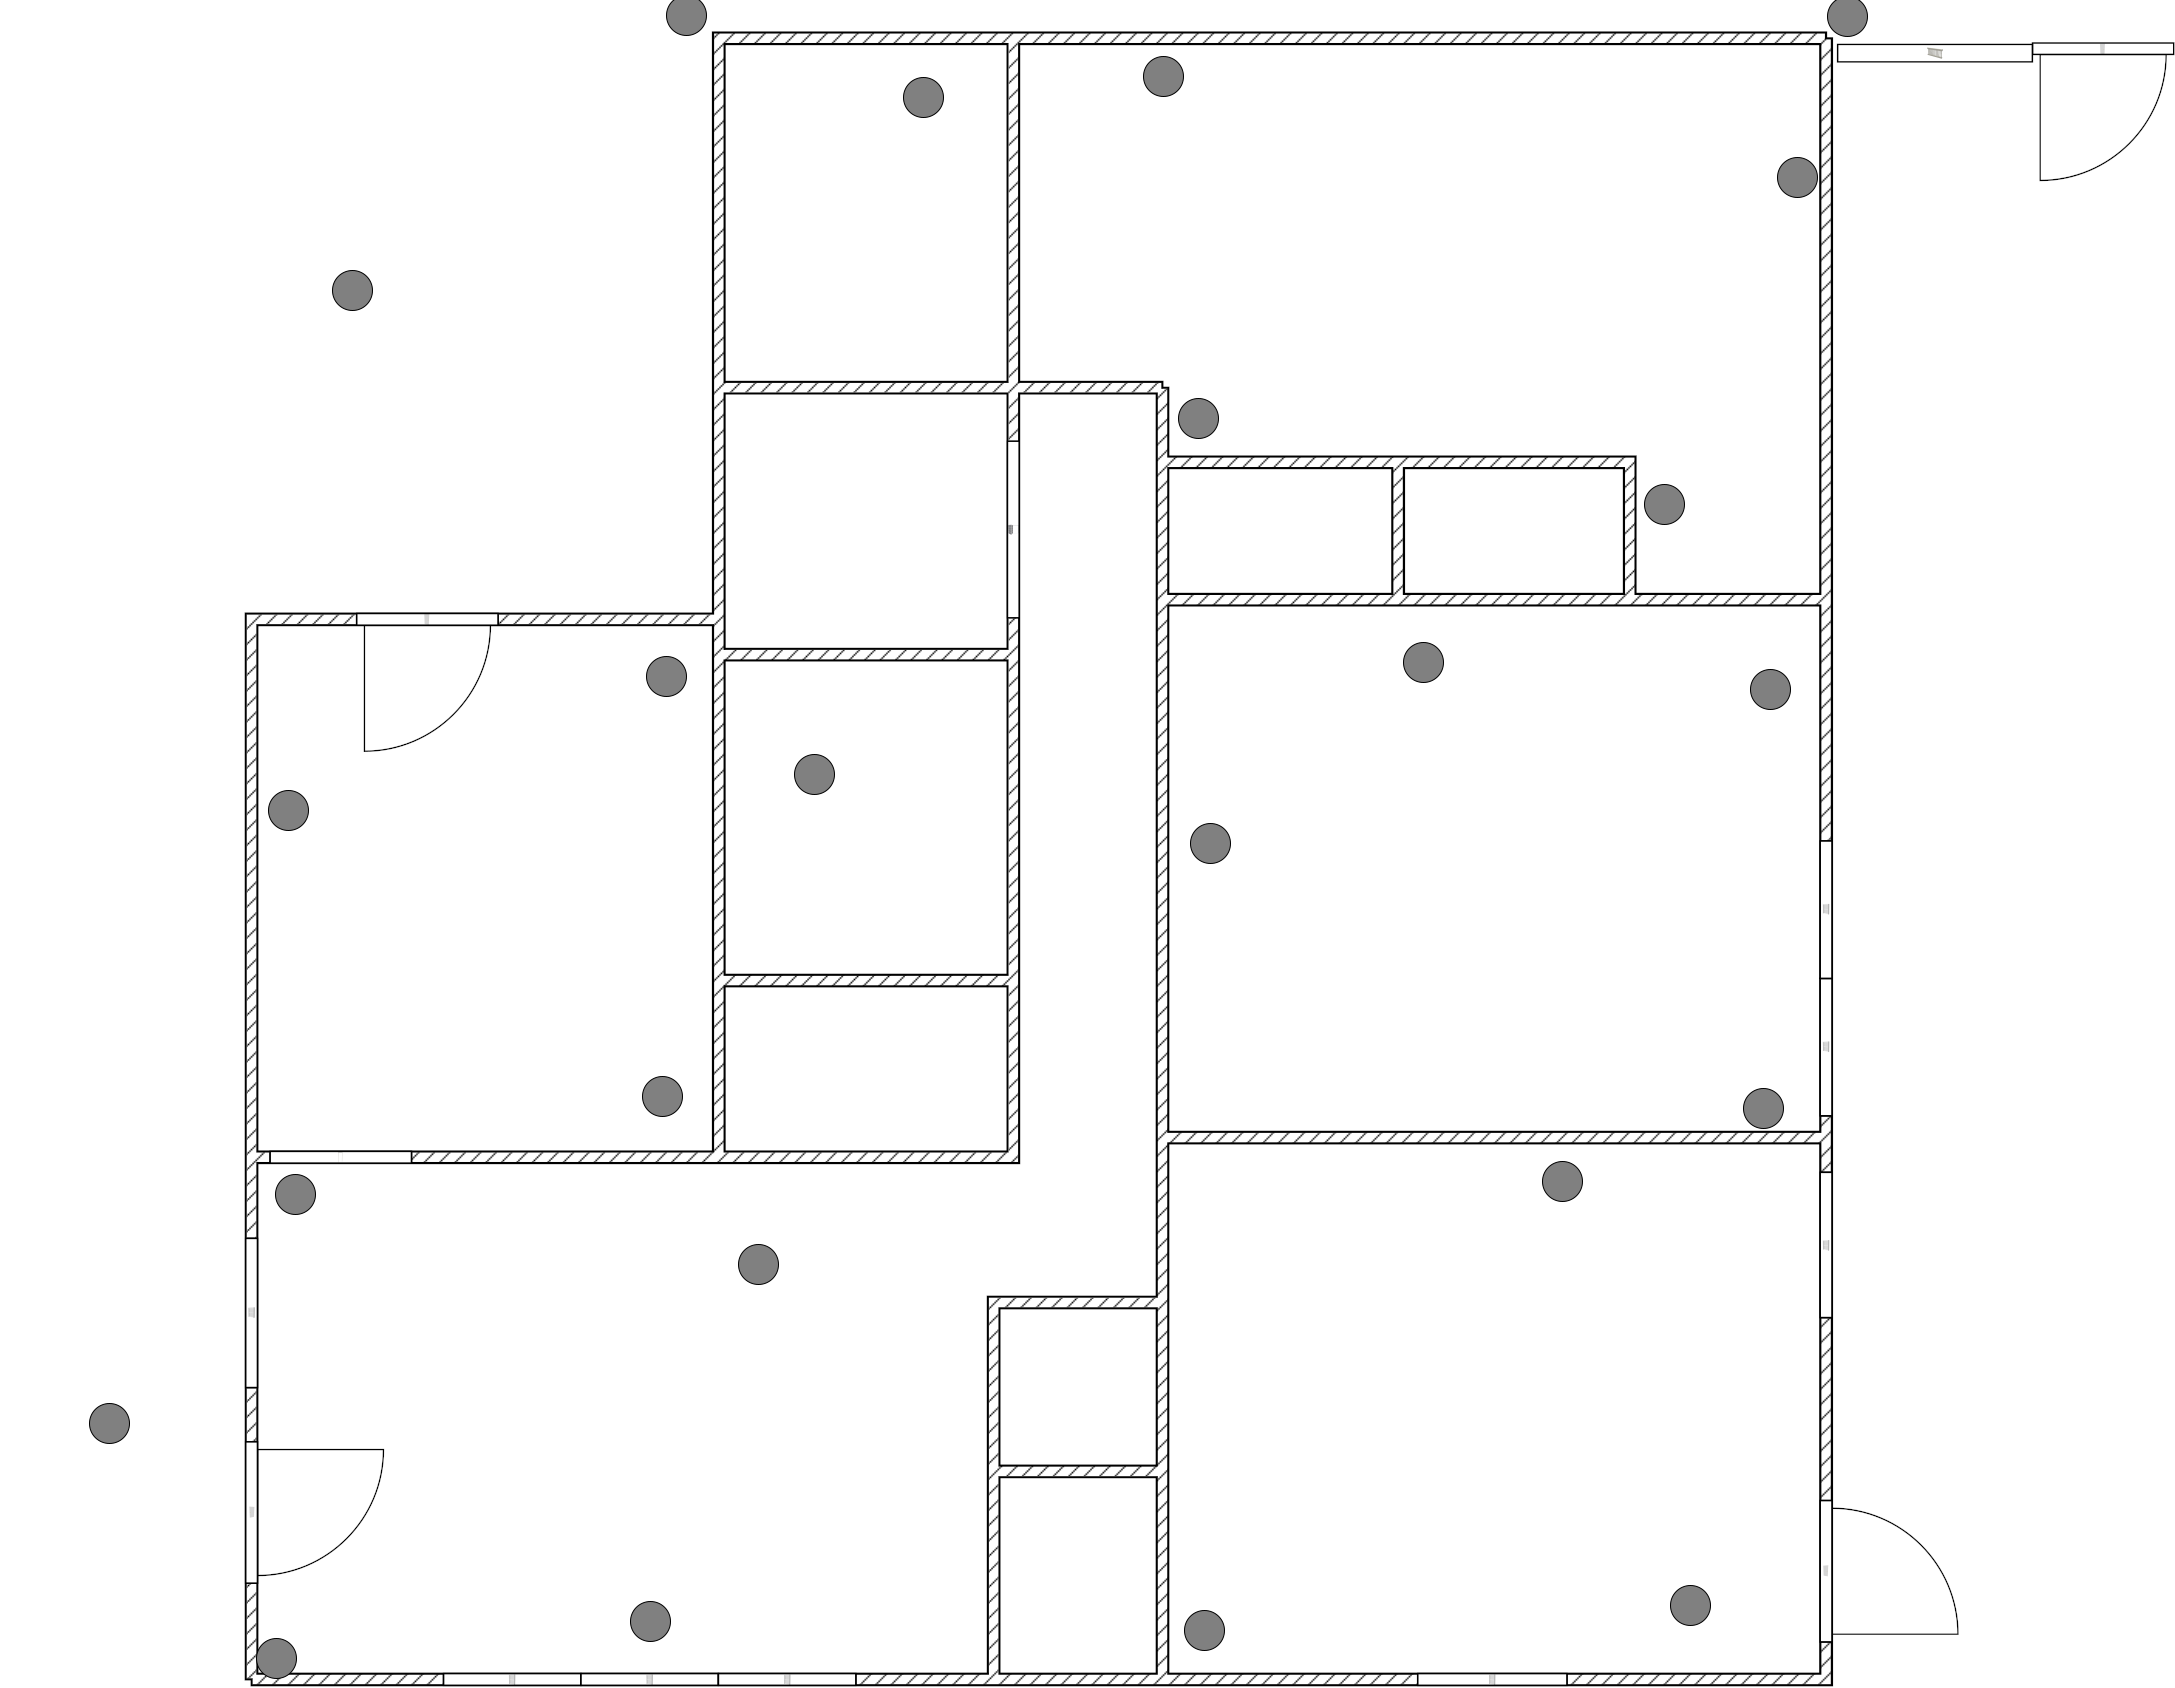
INTERFACEis the name of your Wireless interface (e.g.wlp3s0)SERVERis the IP address or hostname of the iperf3 serverPNGis the path to a floorplan PNG file to use as the background for the map; see examples/example_floorplan.png for an example. In order to compare multiple surveys it may be helpful to pre-mark your measurement points on the floorplan, like `examples/example_with_marks.png <examples/example_with_marks.png`_. The UI currently loads the PNG at exact size, so it may help to scale your PNG file to your display.Titleis the title for the survey (such as the network name or AP location), which will also be used to name the data file and output files.
If Title.json already exists, the data from it will be pre-loaded into the application; this can be used to resume a survey.
When the UI loads, you should see your PNG file displayed. If you click on a point on the PNG, the application should draw a yellow circle there. The status bar at the bottom of the window will show information on each test as it's performed; the full cycle typically takes a minute or a bit more. When the test is complete, the circle should turn green and the status bar will inform you that the data has been written to Title.json and it's ready for the next measurement. The output file is (re-)written after each measurement completes, so just exit the app when you're finished (or want to resume later). If iperf3 encounters an error, you'll be prompted whether you want to retry or not; if you don't, whatever results iperf was able to obtain will be saved for that point.
At the end of the process, you should end up with a JSON file in your current directory named after the title you provided to wifi-survey (Title.json) that's owned by root. Fix the permissions if you want.
Once you've performed a survey with a given title and the results are saved in Title.json, run wifi-heatmap PNG Title to generate heatmap files in the current directory. This process does not require (and shouldn't have) root/sudo and operates only on the JSON data file. For this, it will look better if you use a PNG without the measurement location marks.
The end result of this process for a given survey (Title) should be XX .png images in your current directory:
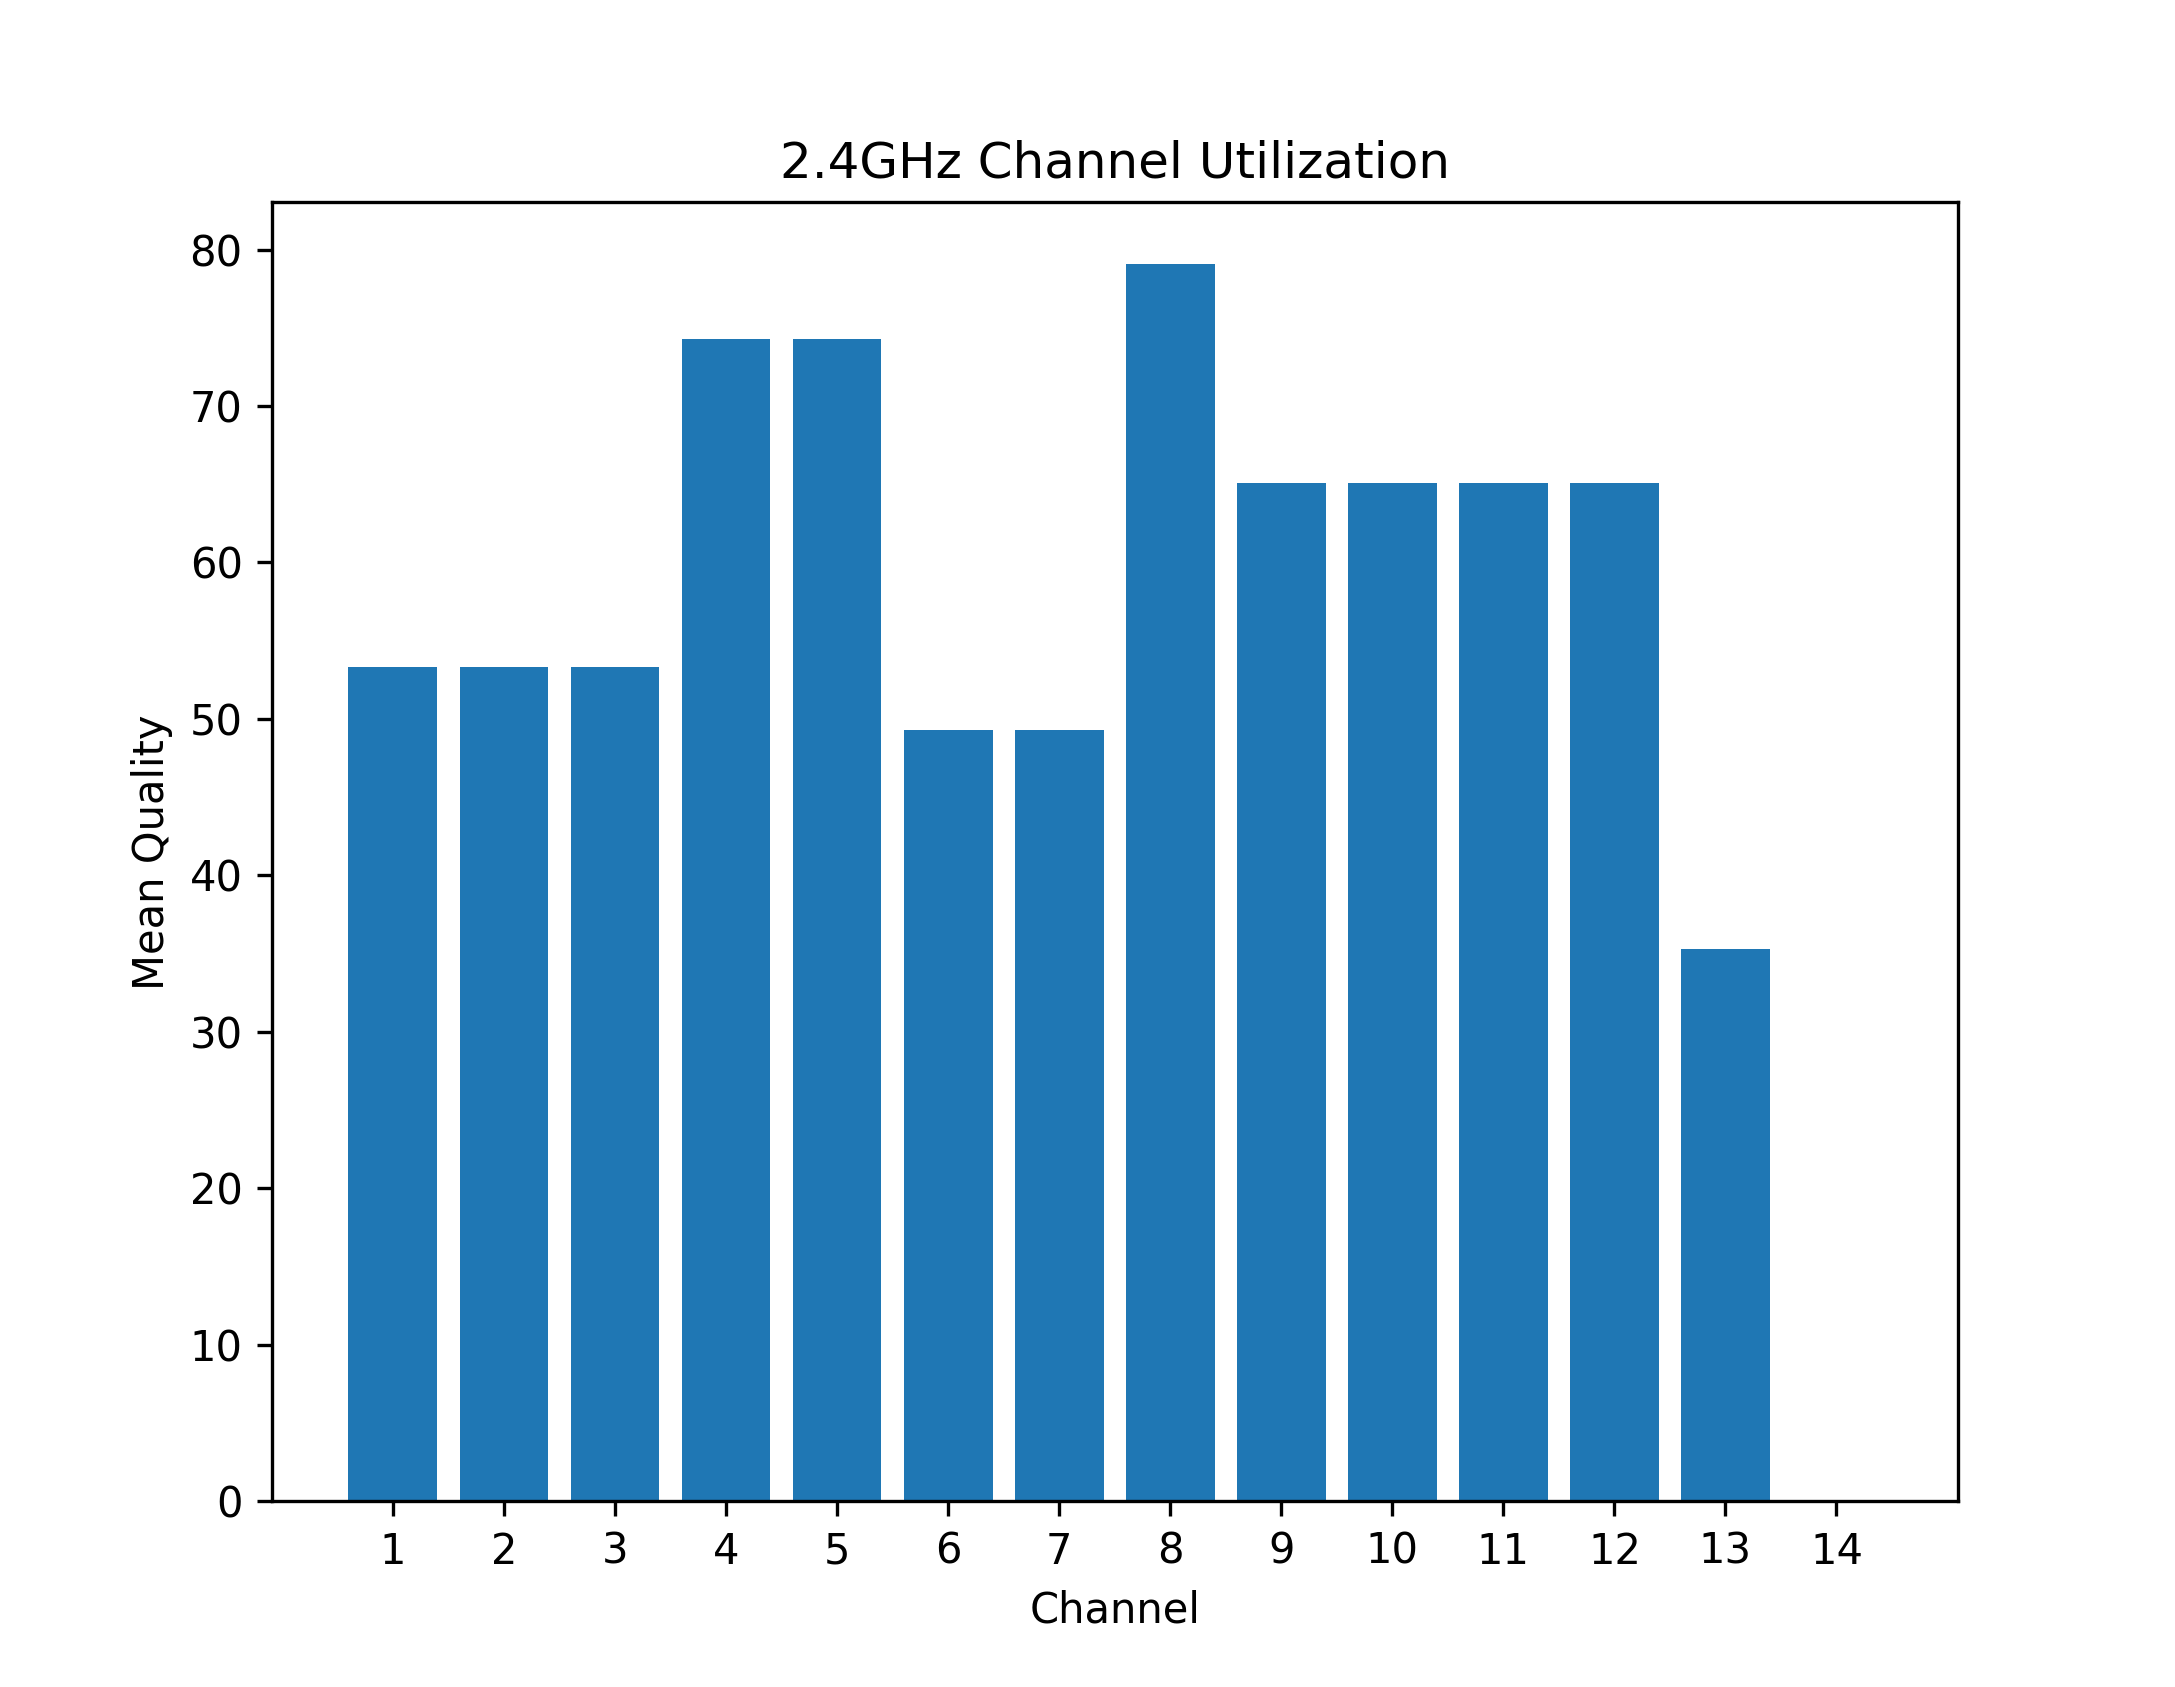
- channels24_TITLE.png - Bar graph of average signal quality of APs seen on 2.4 GHz channels, by channel. Useful for visualizing channel contention. (Based on 20 MHz channel bandwidth)
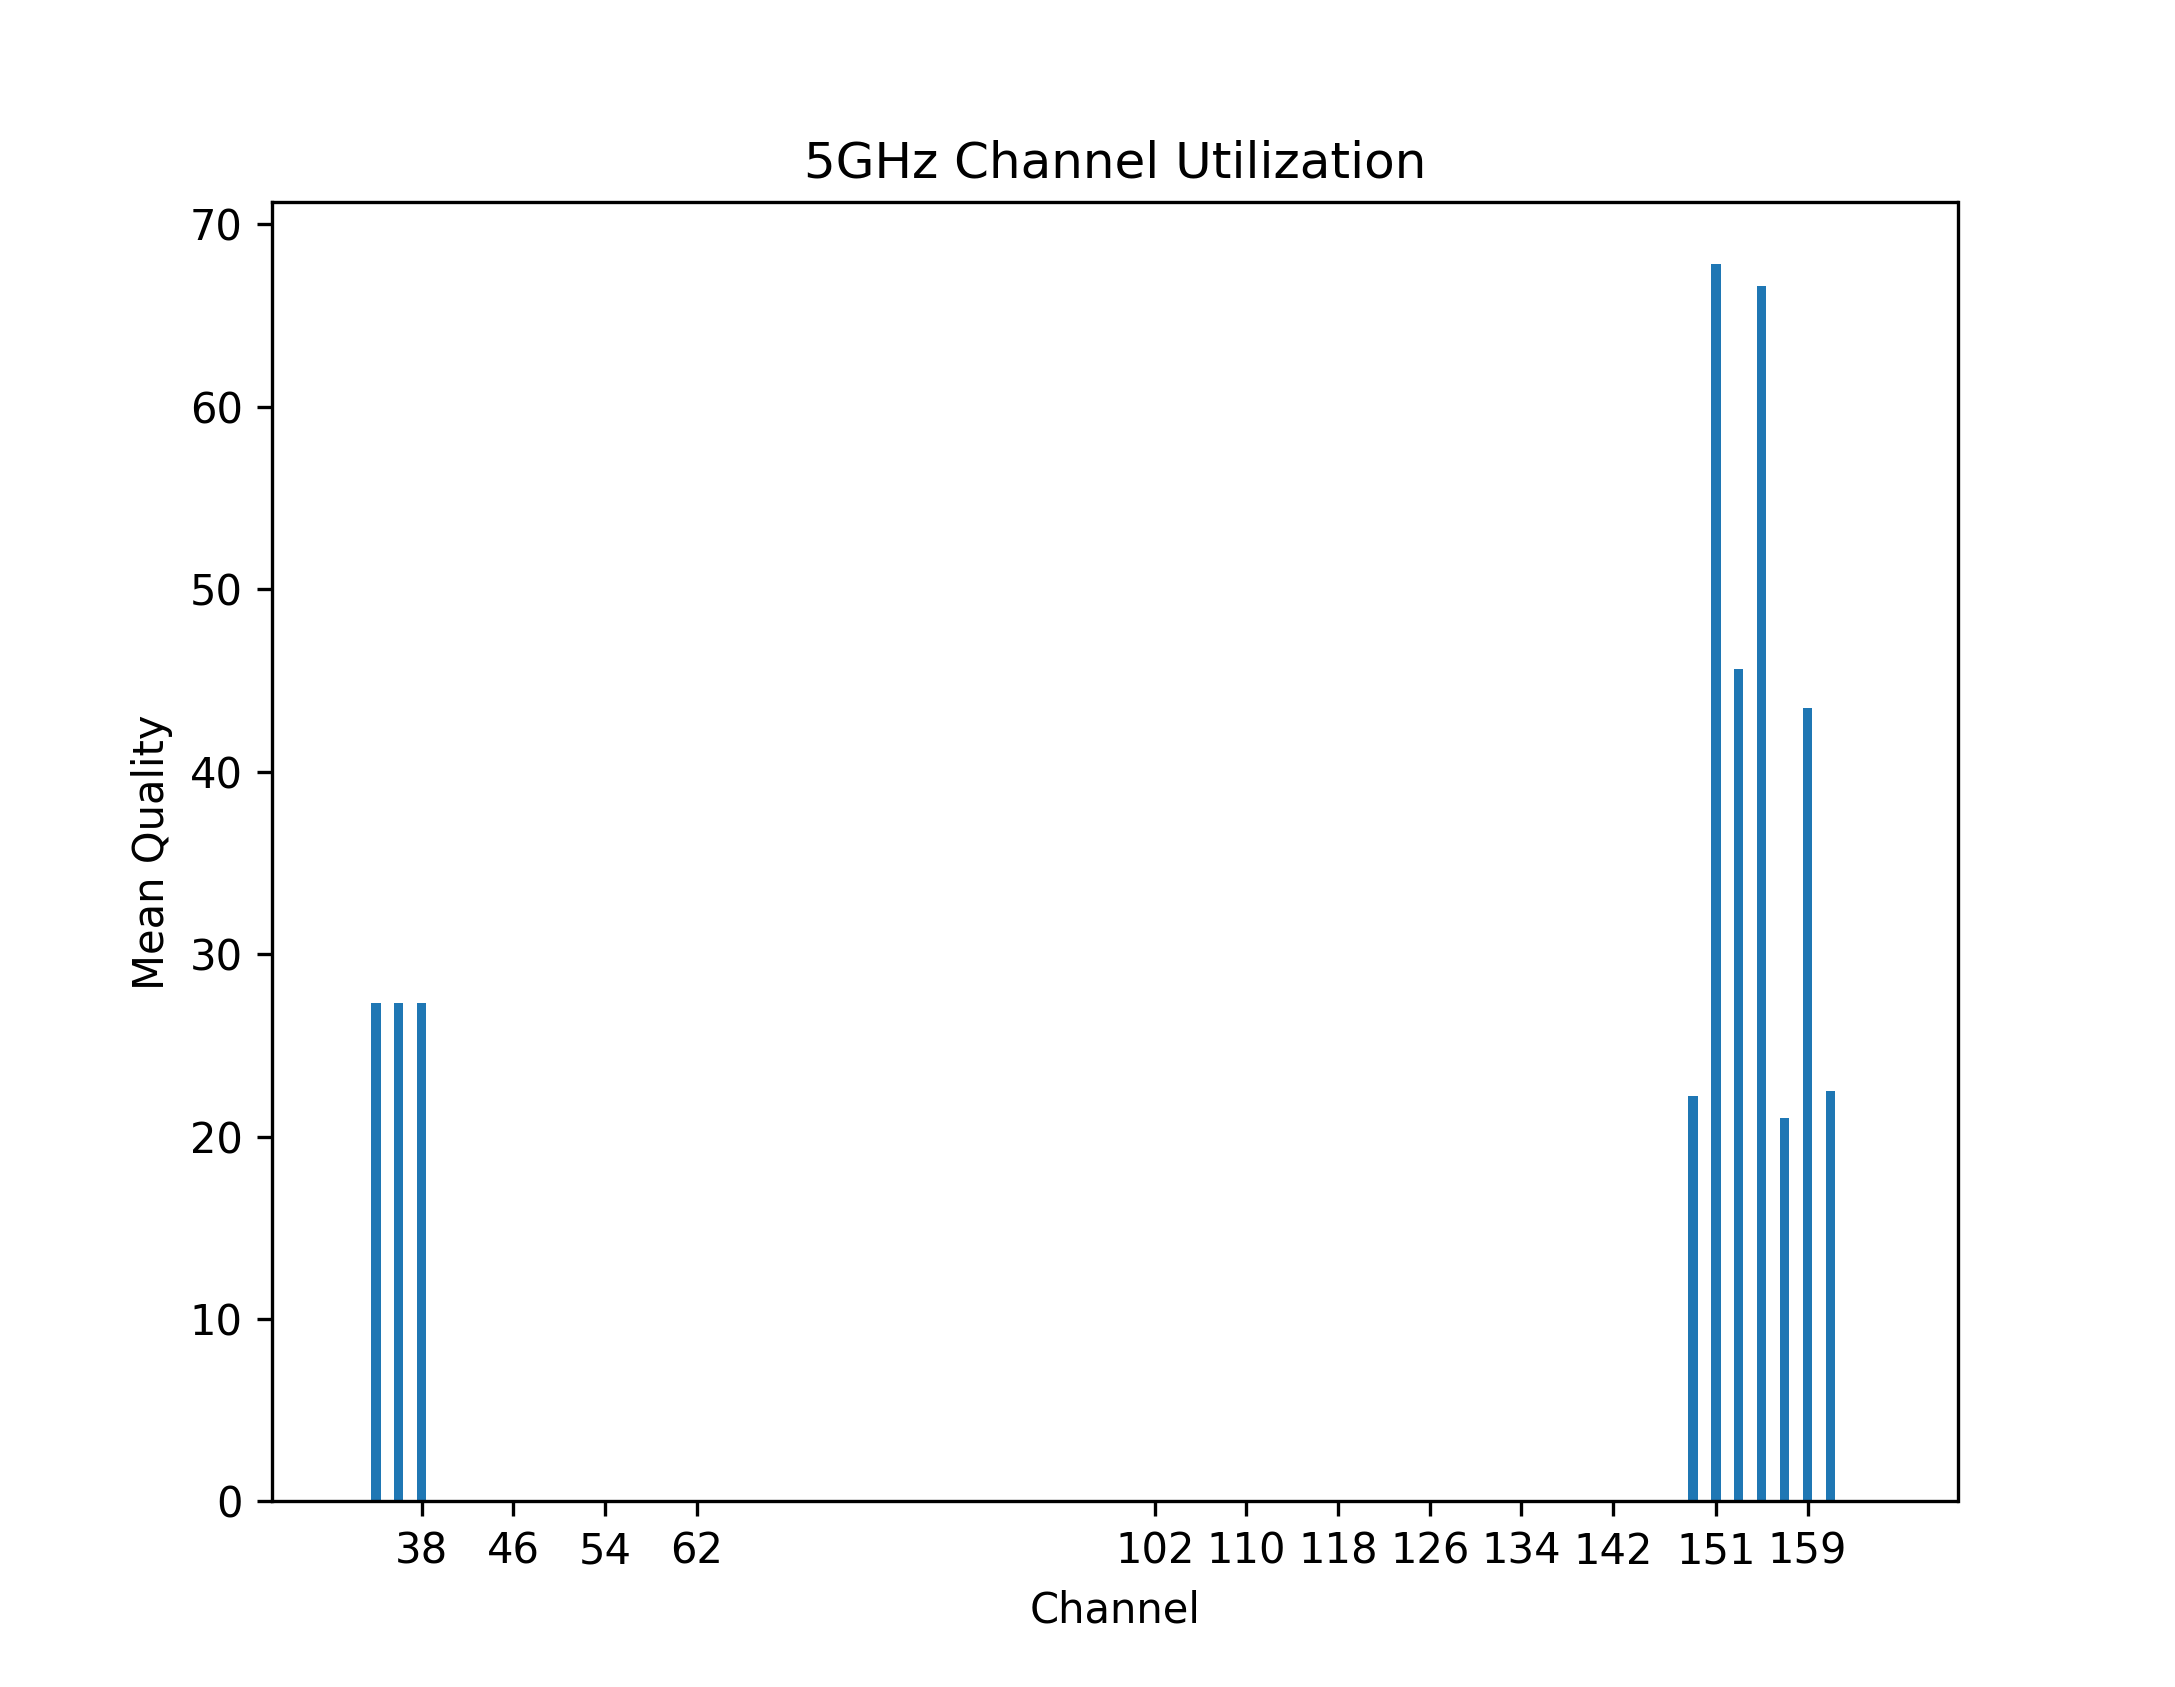
- channels5_TITLE.png - Bar graph of average signal quality of APs seen on 5 GHz channels, by channel. Useful for visualizing channel contention. (Based on per-channel bandwidth from 20 to 160 MHz)
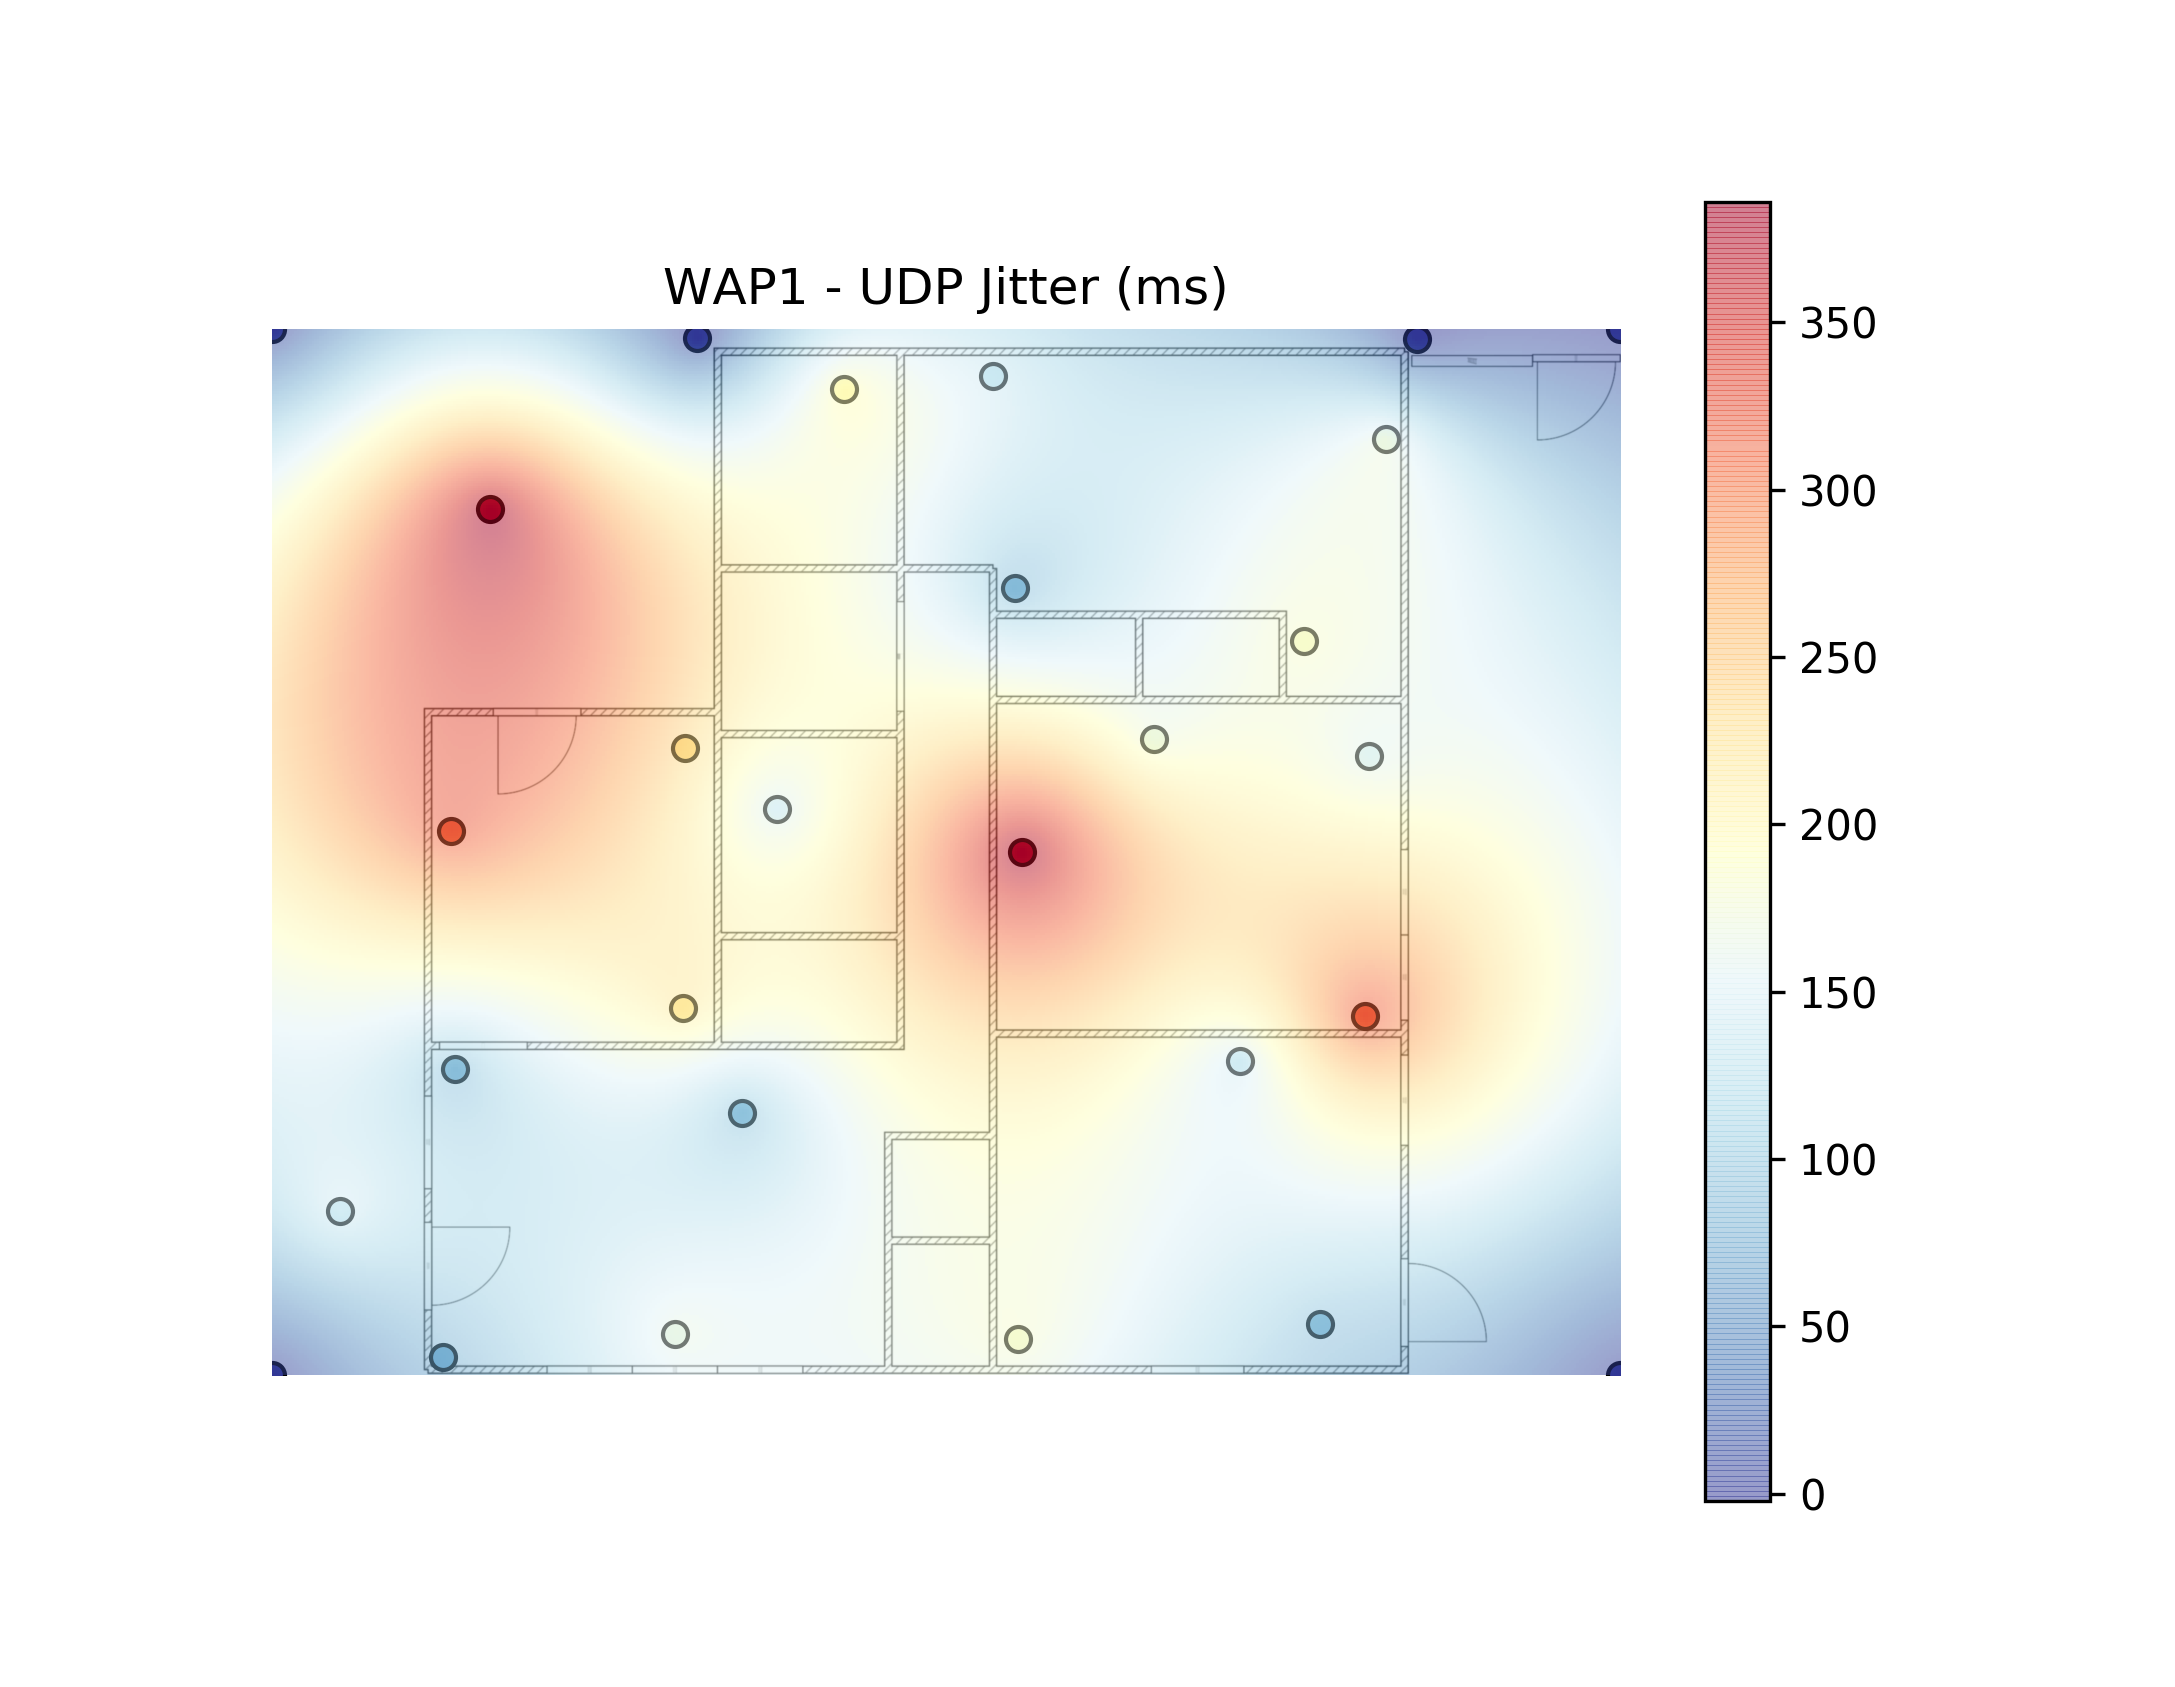
- jitter_TITLE.png - Heatmap based on UDP jitter measurement in milliseconds.
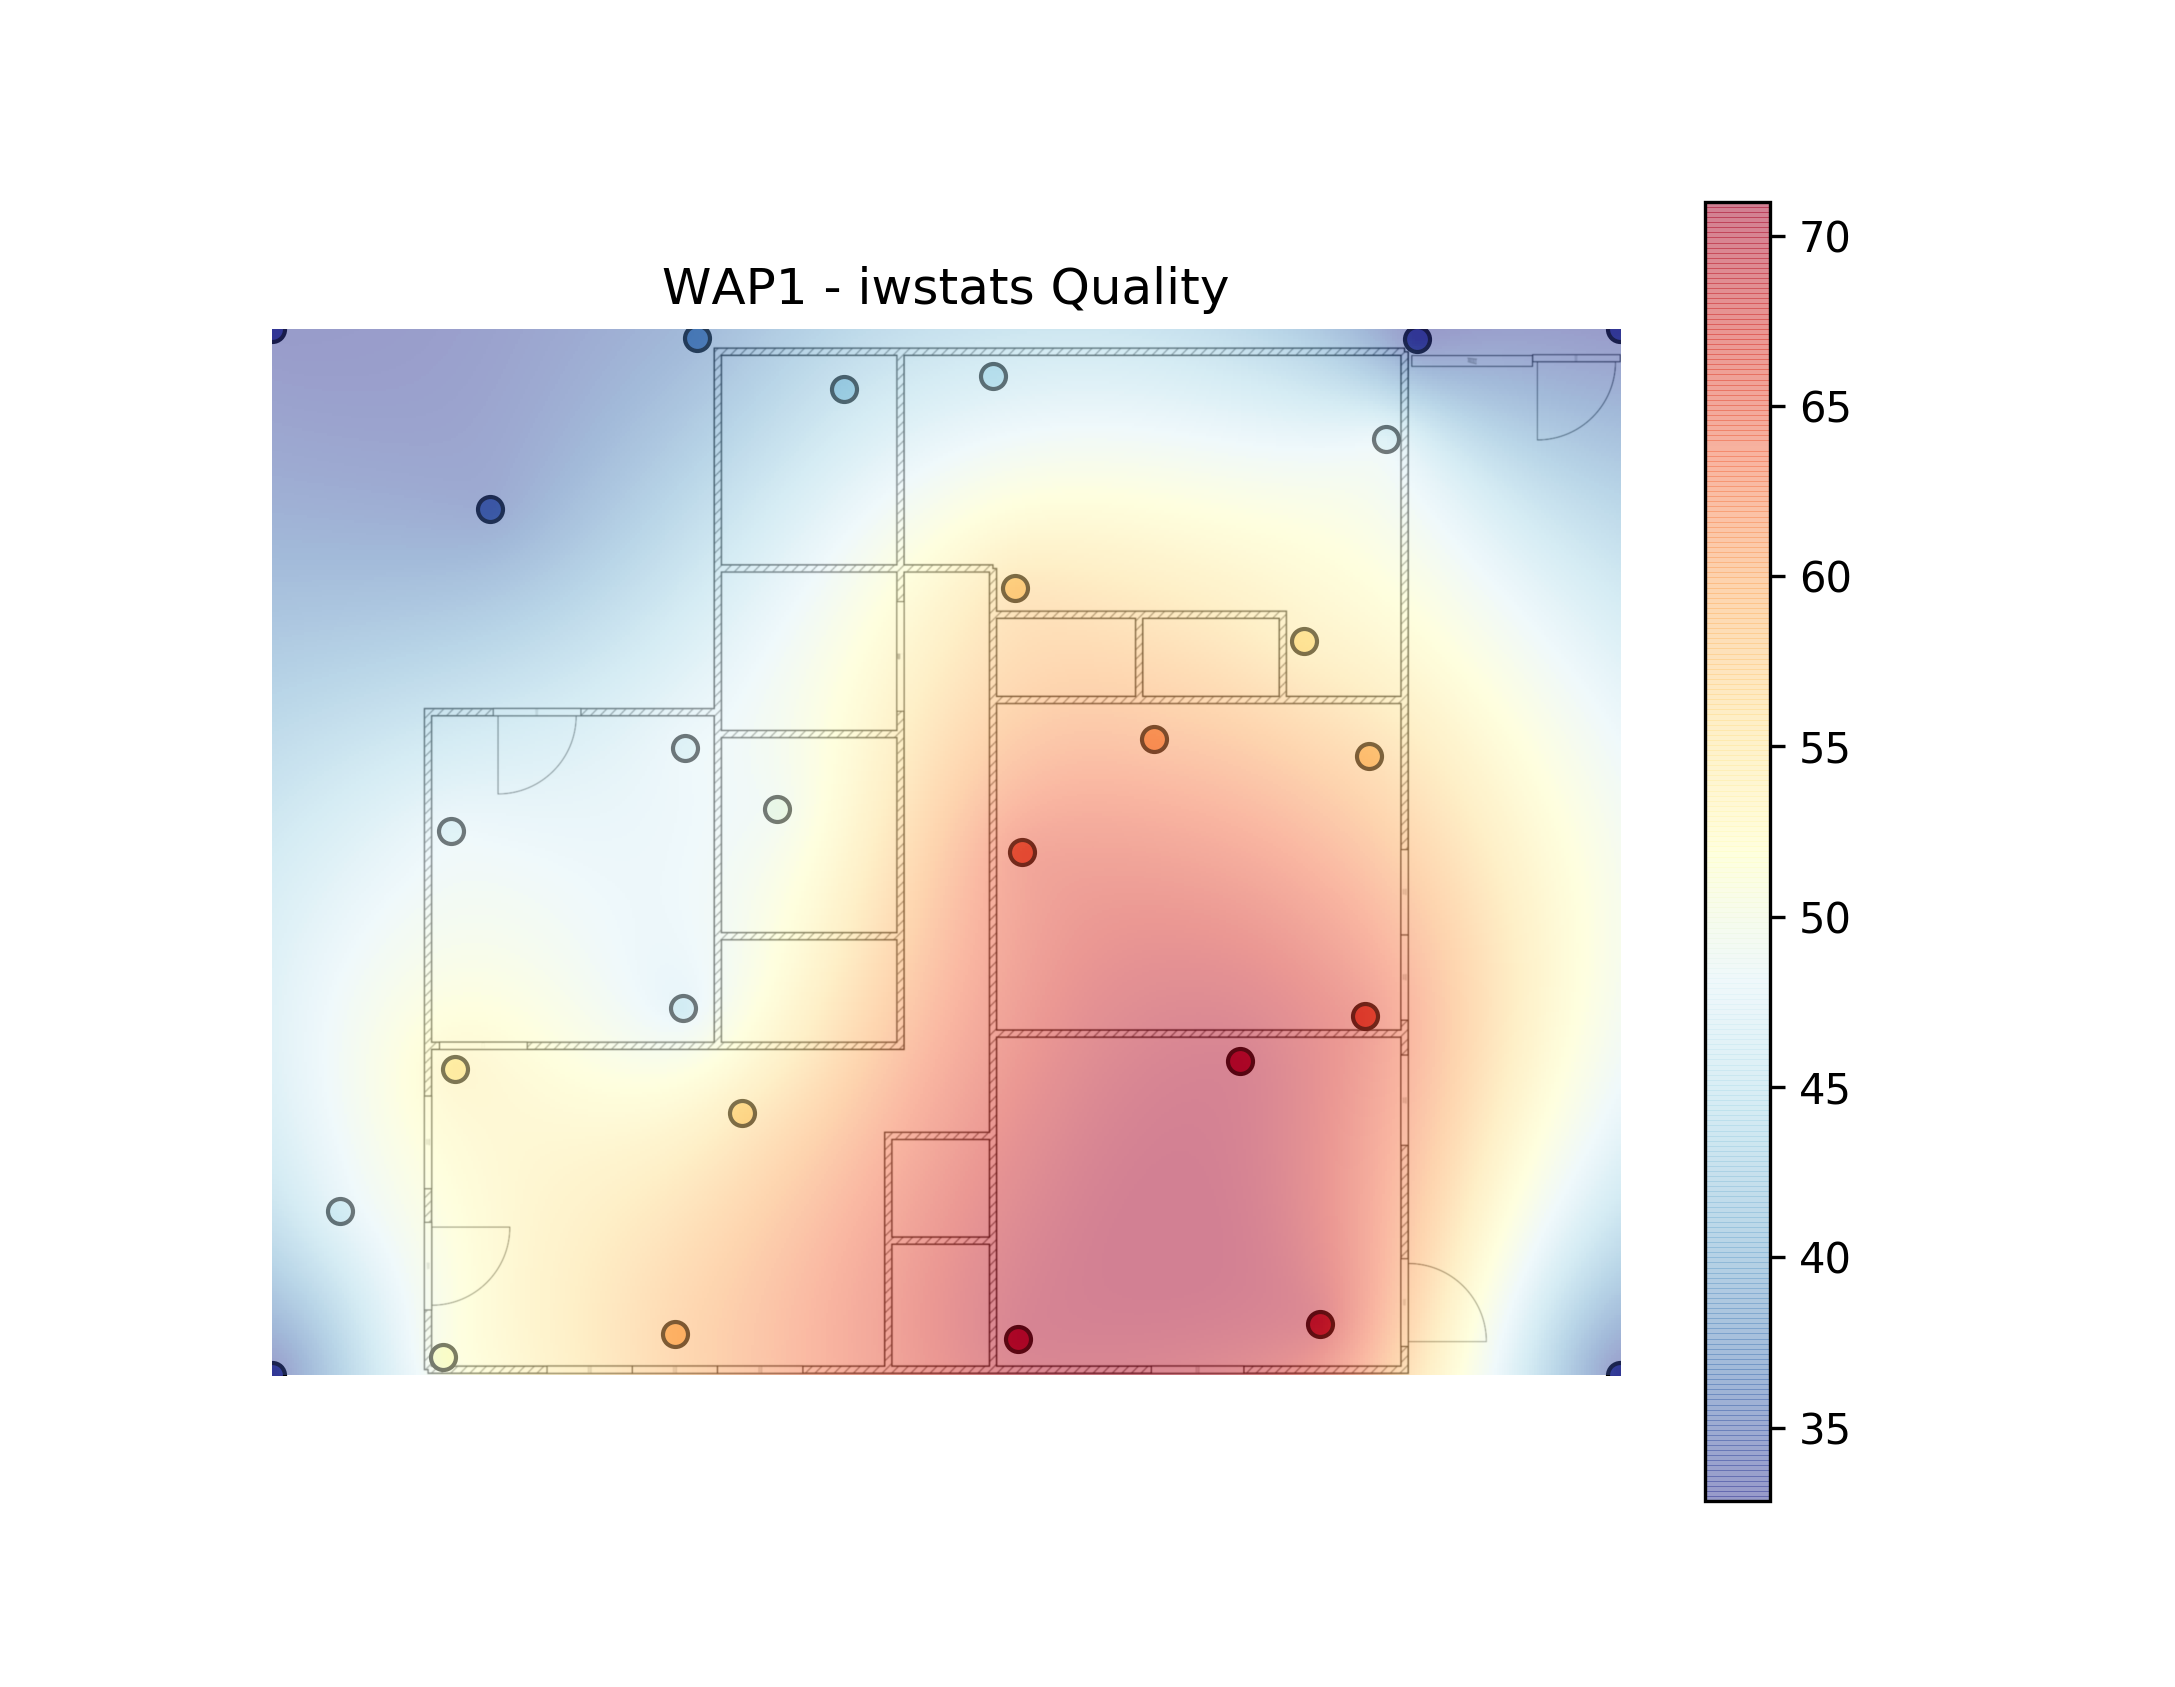
- quality_TITLE.png - Heatmap based on iwconfig's "quality" metric.
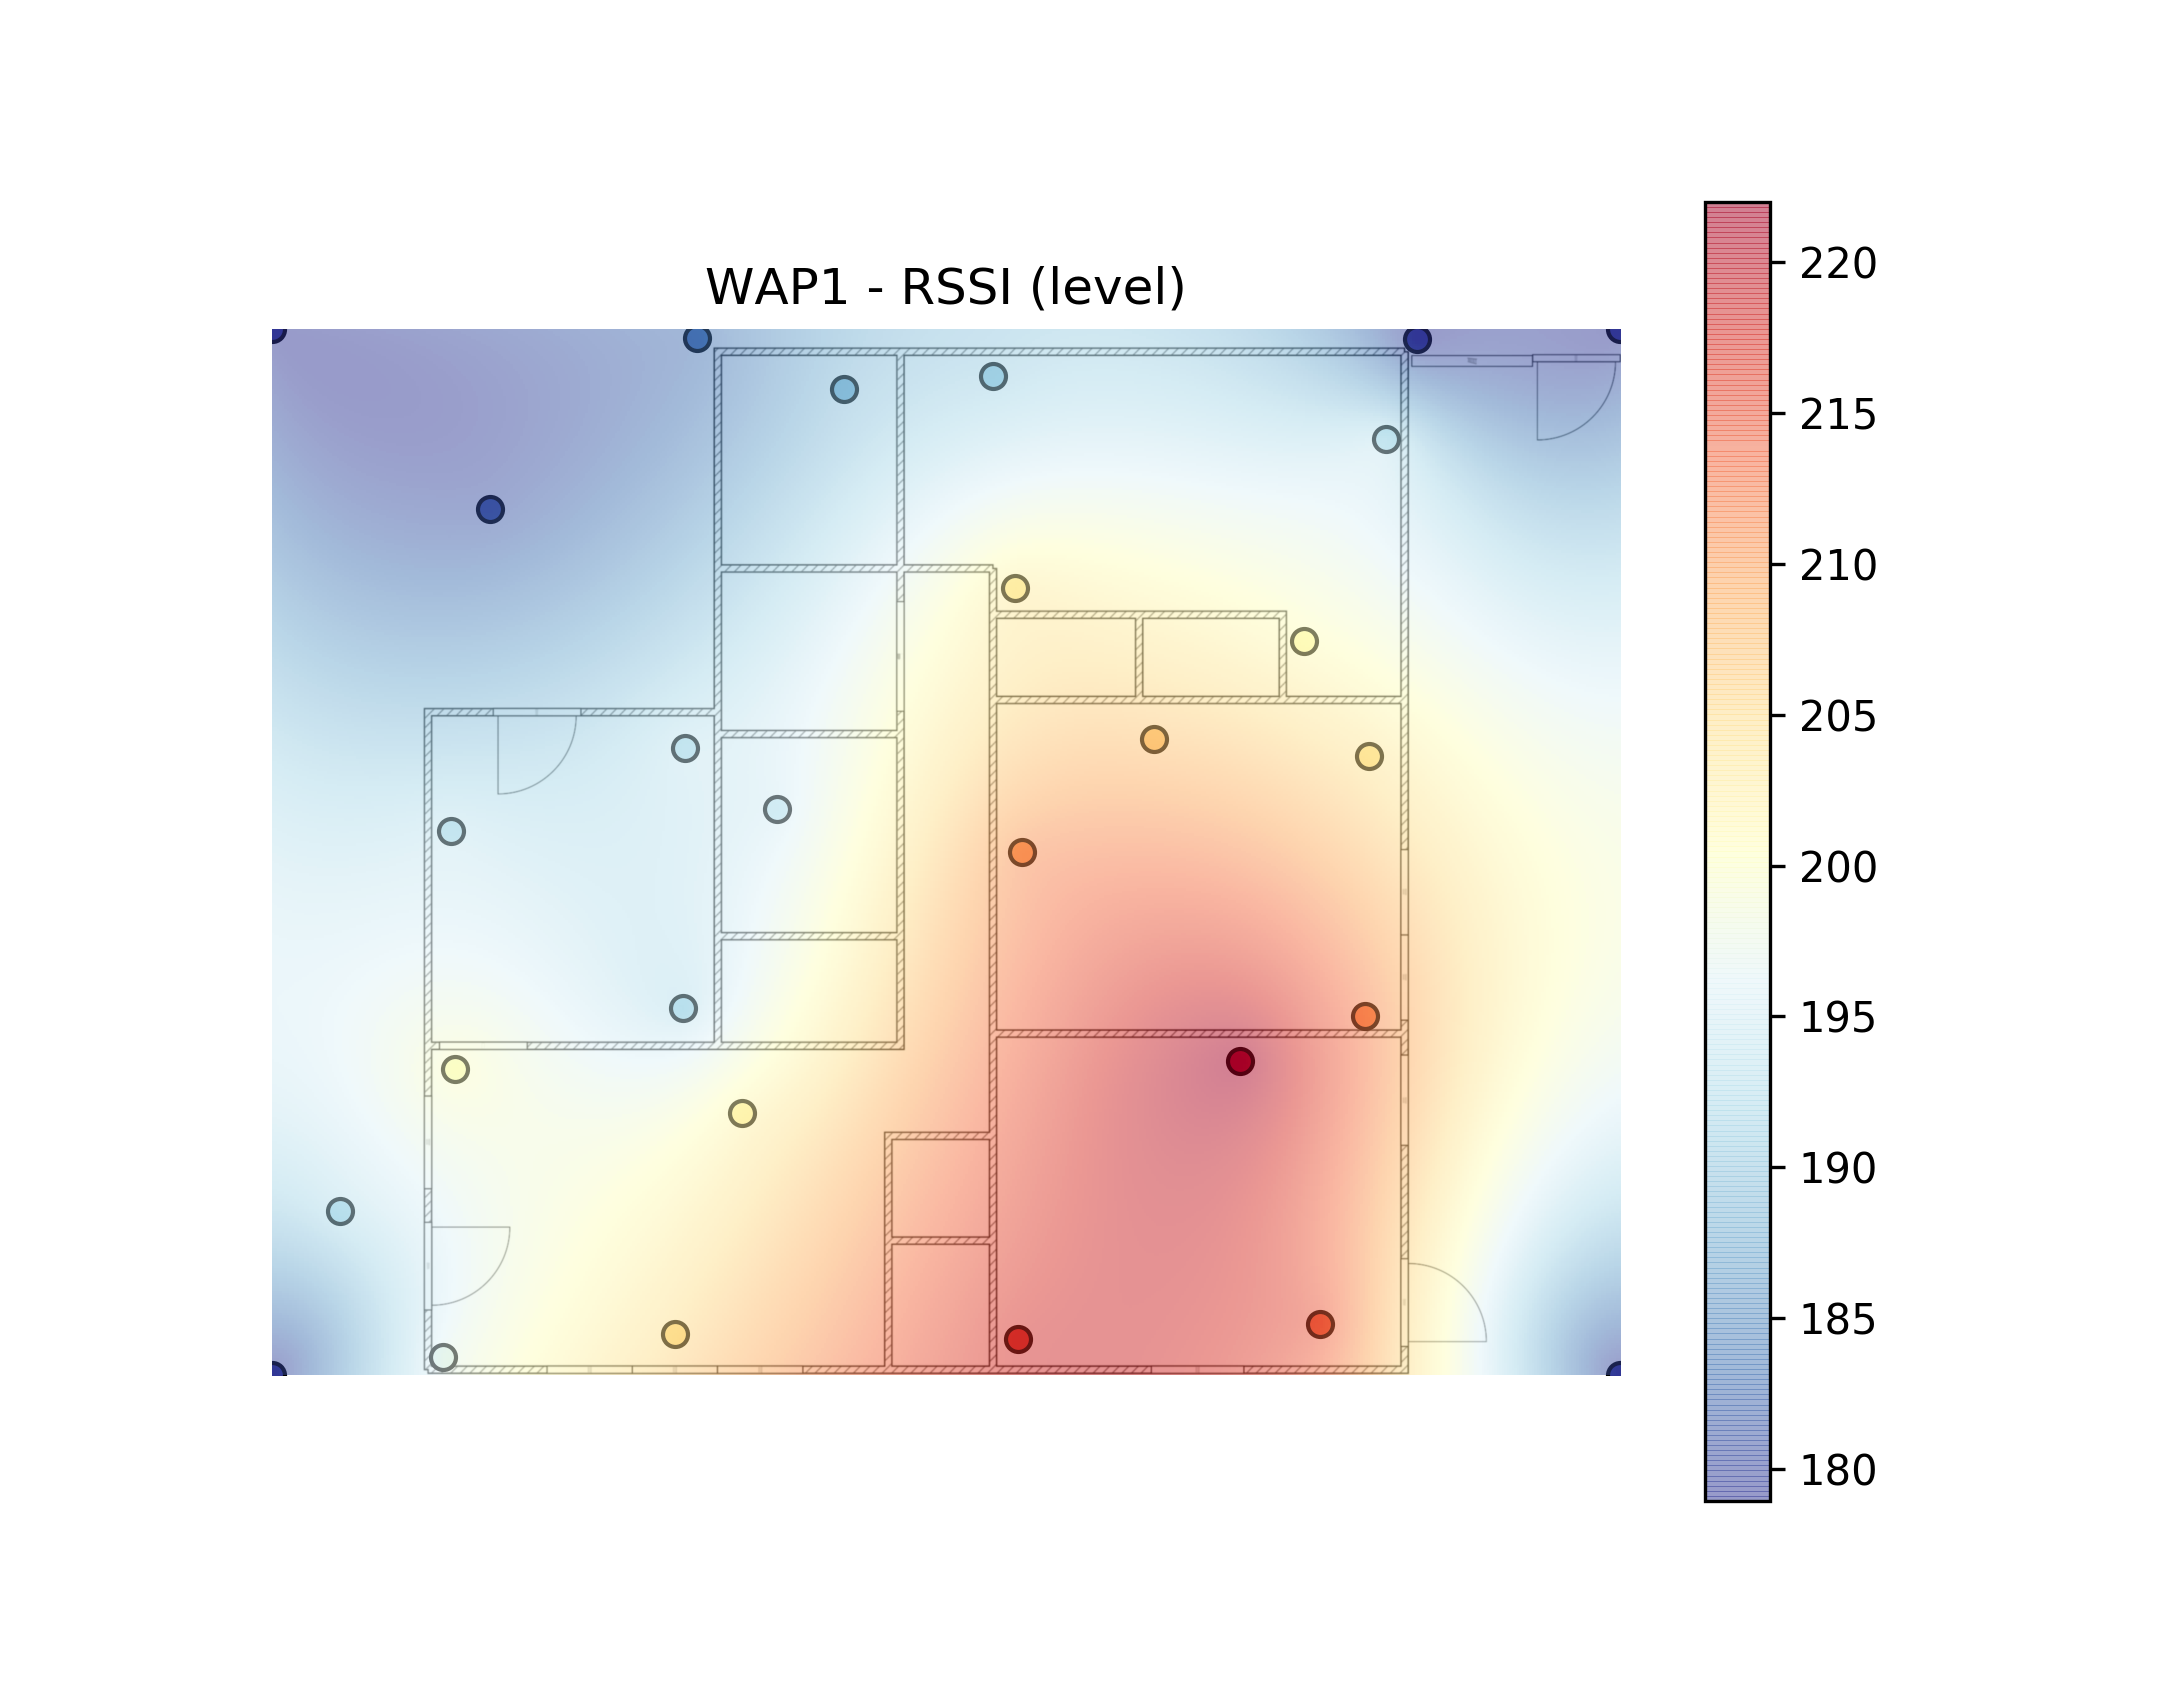
- rssi_TITLE.png - Heatmap based on iwconfig's signal strength (rssi) metric.
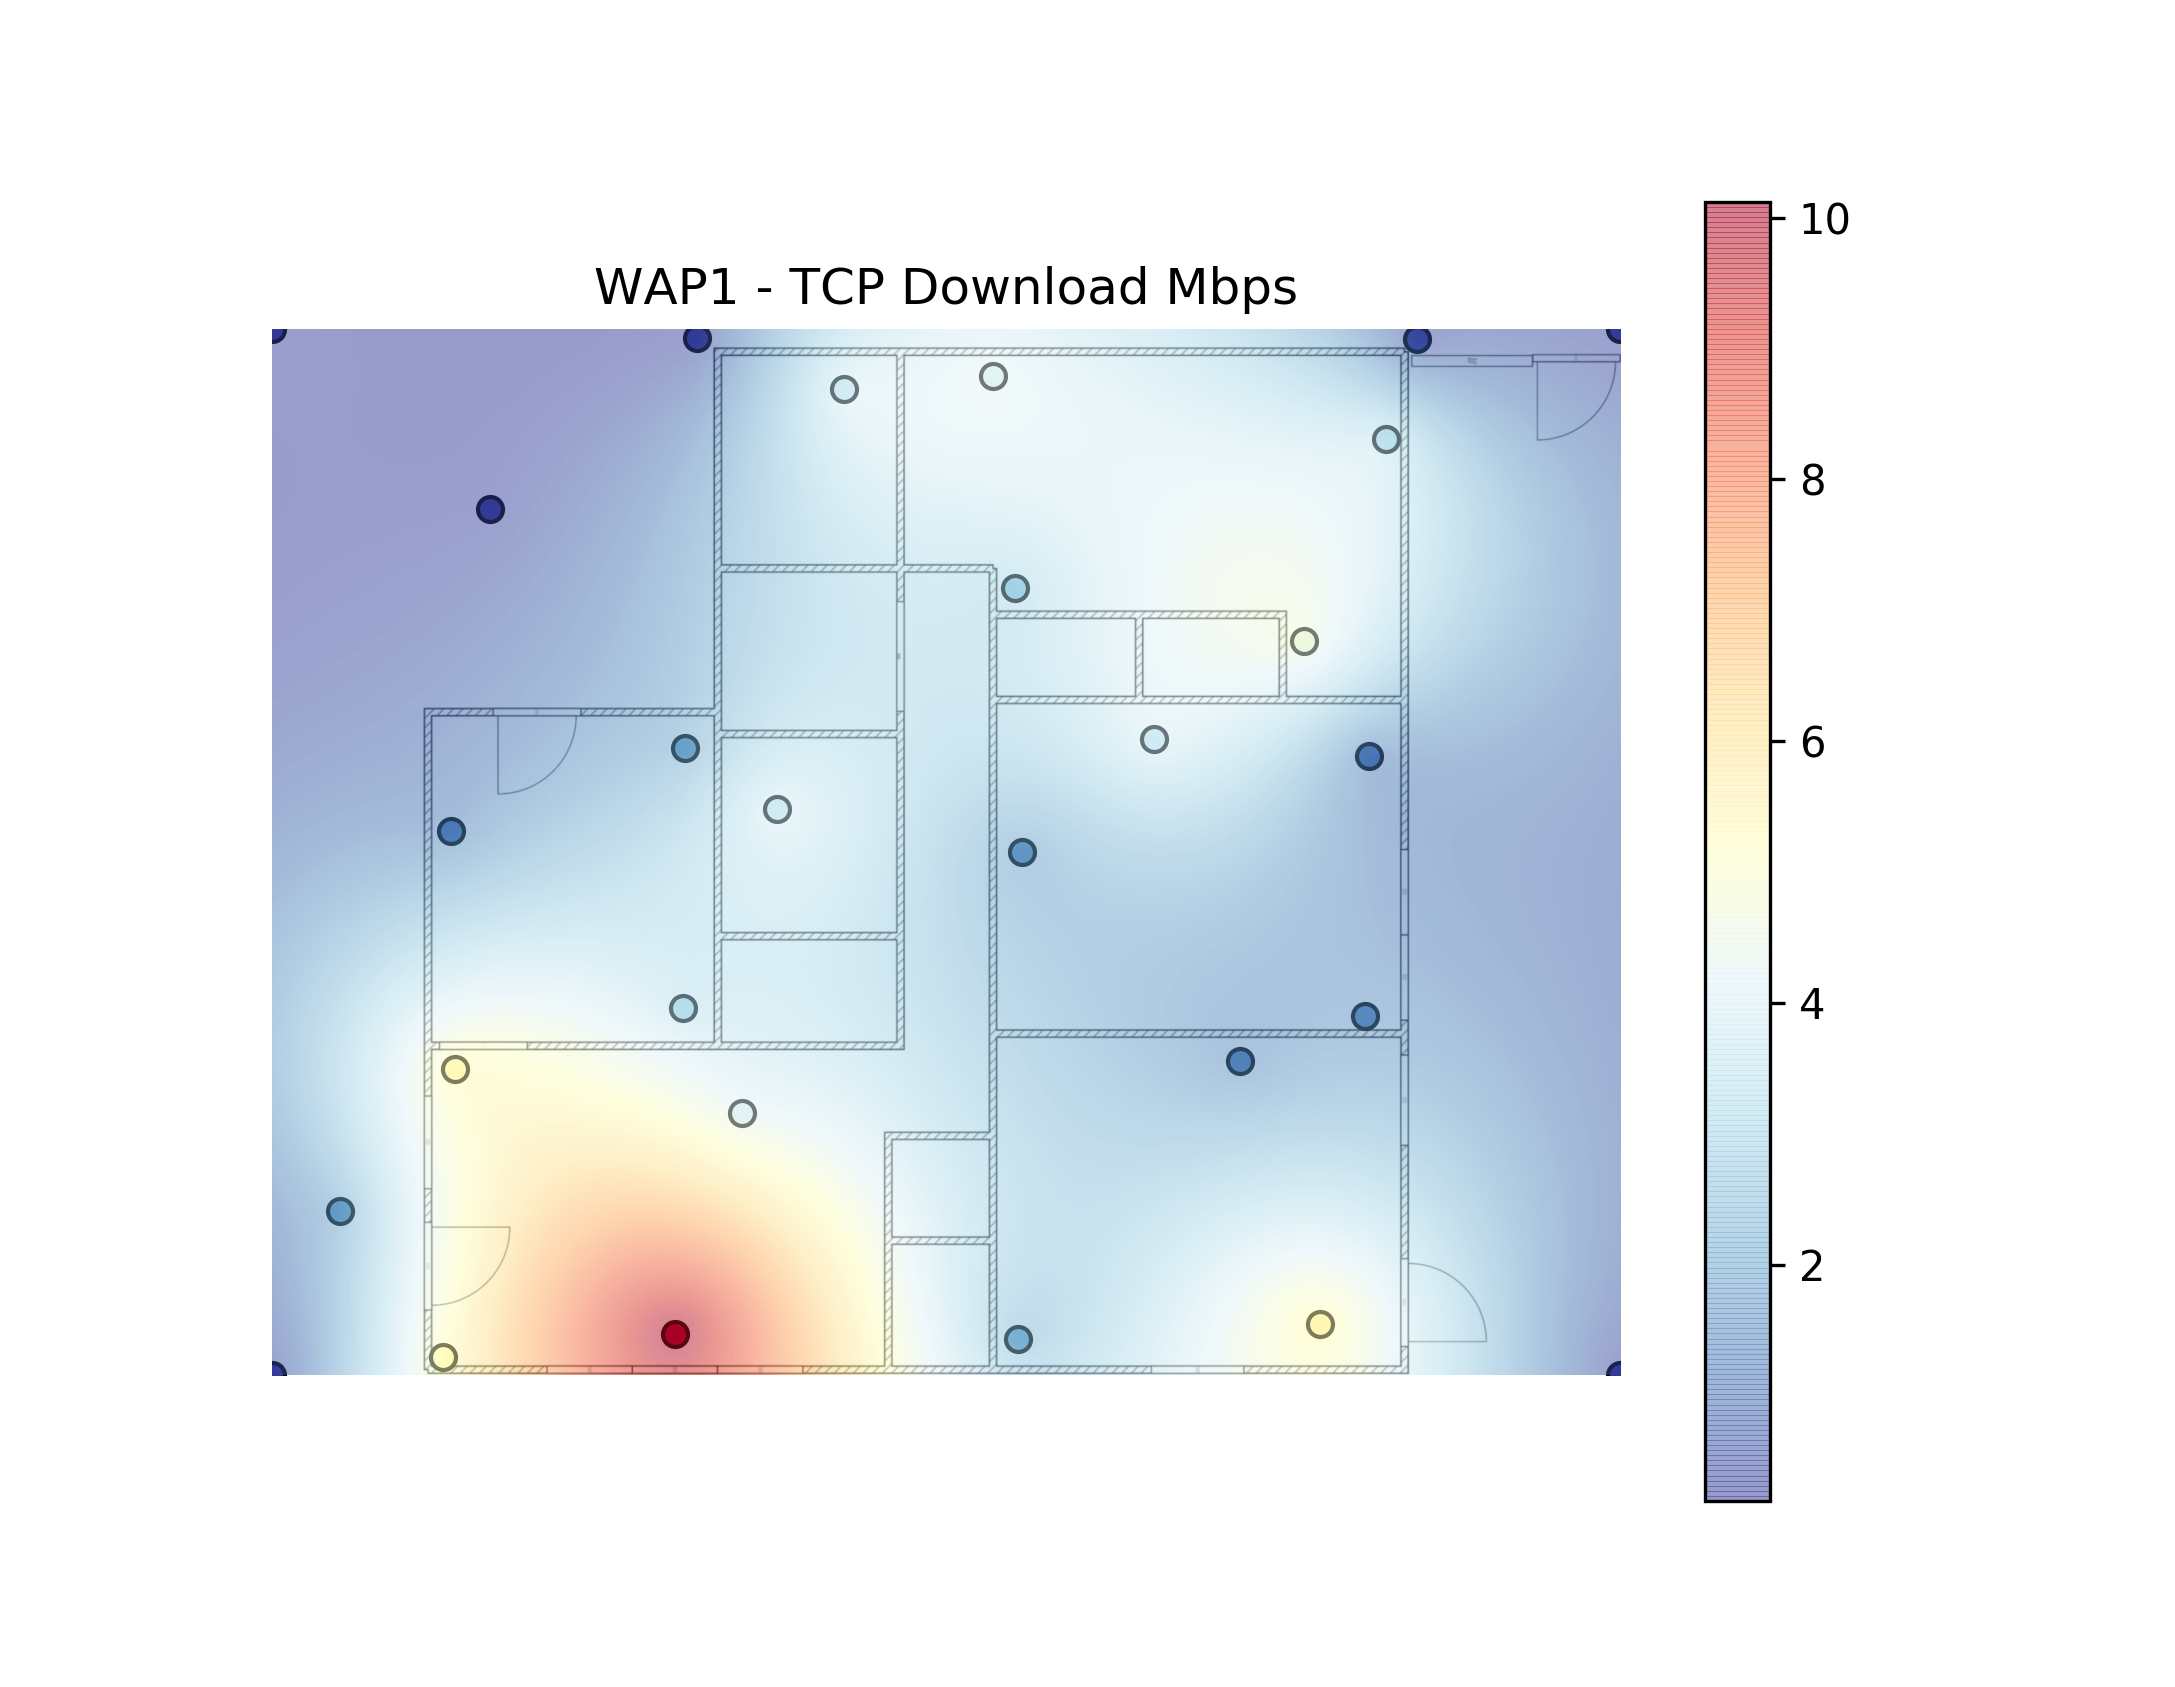
- tcp_download_Mbps_TITLE.png - Heatmap of iperf3 transfer rate, TCP, downloading from server to client.
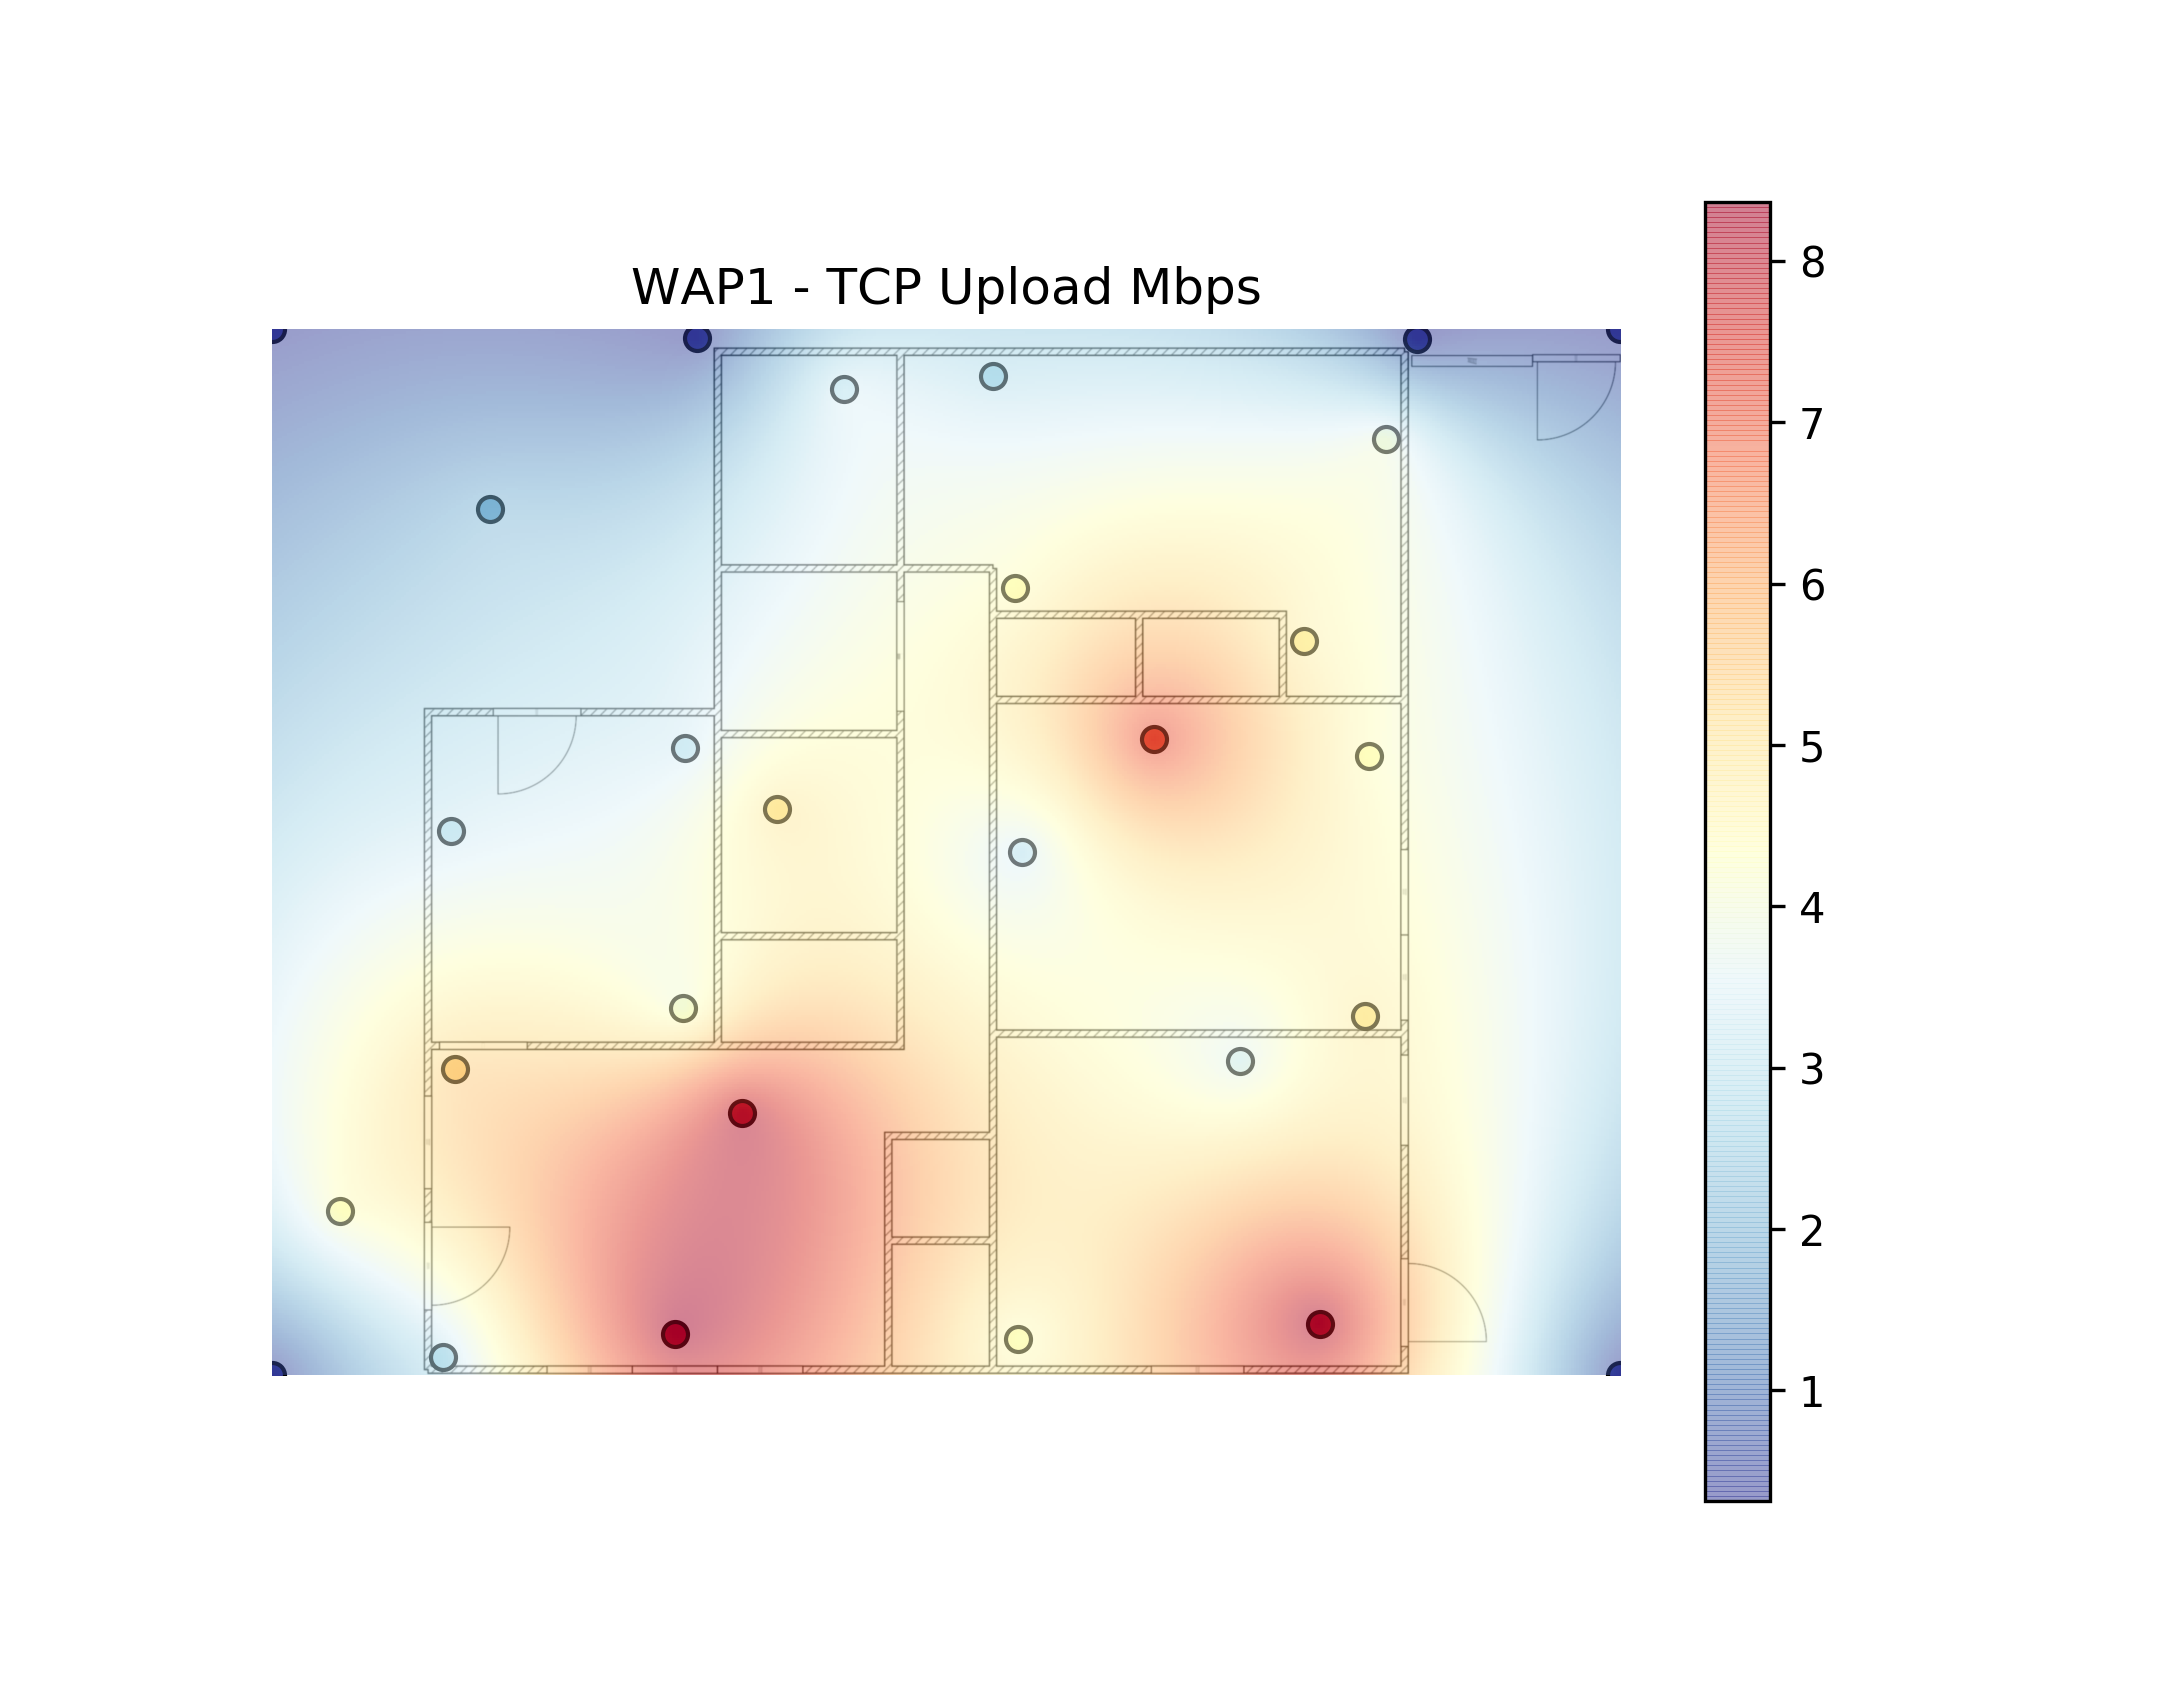
- tcp_upload_Mbps_TITLE.png - Heatmap of iperf3 transfer rate, TCP, uploading from client to server.
- udp_Mbps_TITLE.png - Heatmap of iperf3 transfer rate, UDP, uploading from client to server.

