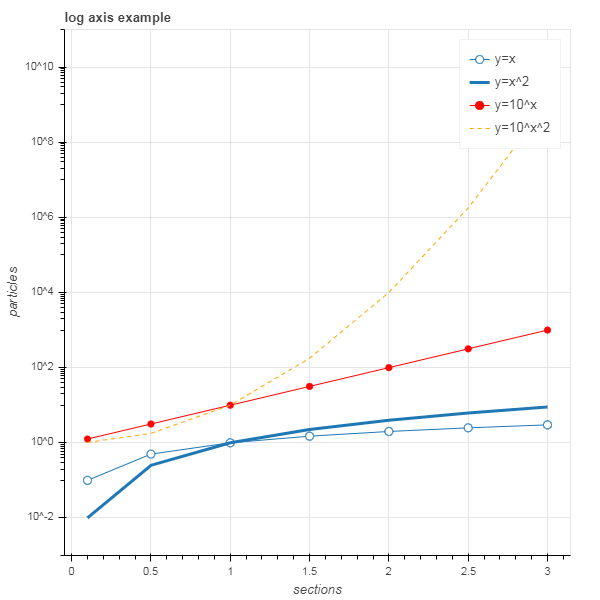
Bokeh(보케) is an interactive visualization library that targets modern web browsers for presentation.
$ conda install bokeh- png, svg 만으로 뽑을 수 있는 것이 아니고, html로 뽑을 수도 있다. jupyter notebook에서 그림을 확인하면서 진행.
>>> p.output_backend = "svg" // 출력방식을 변경
>>> export_svgs(p, filename="xxx.svg") // 파일로 추출
>>> output_file("xxx.html") // 결과 파일을 html 형태로 정의- jupyter notebook상에서 bokeh 설치
!pip install bokeh
$ bokeh sampledata$HOME/.bokeh/data에 다운로드 된다.
>>> import bokeh.sampledata
>>> bokeh.sampledata.download()- python과 browser 간에 동기화하는 것이 Bokeh Server의 주요 목적이다.
- Bokeh application을 만든 후, bokeh serve 명령을 통해 Bokeh 서버는 응용 프로그램 코드를 사용하여 다음을 연결하는 모든 브라우저에 대한 세션과 문서를 작성하는 구조이다.
- Bokeh 서버(왼쪽)는 응용 프로그램 코드를 사용하여 BokehDocuments를 만들고, 브라우저(오른쪽)에서 연결할 때마다 Bokeh서버가 해당 세션에 대해서만 새 문서를 작성한다.
- 응용 프로그램 코드는 새로운 연결이 이루어질 때마다 Bokeh 서버에서 실행되어, 새로운 Bokeh를 생성한다. Document 브라우저에 동기화되며, 위젯 값과 같은 속성이 변경될 때마다 실행해야 하는 callback을 응용 프로그램 코드가 설정한다.
$ bokeh serve --show xxx.py--show옵션을 선택하면 브라우저가 실행 중인 응용 프로그램의 주소로 새 탭을 자동으로 열어준다.http://localhost:5006/xxx- 응용 프로그램이 하나뿐이면 서버 root가 해당 응용 프로그램으로 redirection 되는데 그렇지 않으면, 서버 root에서 실행 중인 모든 응용 프로그램의 index를 볼 수 있다.
--disable-index옵션을 선택하면 redirection을 할 수 없게 한다.--disable-index-redirect옵션을 사용하면, 단일 python 파일에서 Bokeh 응용 프로그램을 만드는 것 외에도 directory에서 응용 프로그램을 만들 수도 있다.
- directory에는 최소한 pyBokehServer가 수행할 code가 구성되어 있어야 한다.
main.py
$ bokeh serve --show [Diretory]- 사용자 지정 변수는 다음을 통해 templates으로 전달할 수 있다.
// set a new single key/value
curdoc().template_variables["user_id"] = user_id

// or update multiple at once
curdoc().template_variables.update(first_name="Mary", last_name="Jones")
[전체 파일 구조]
- myapp
- main.py // 수행할 code
- server_lifecycle.py // 애플리케이션 생성의 다른 단계에서 선택적 콜백을 실행할 수 있는 파일
- static // 응용 프로그램과 연결된 정적 리소스를 서비스하는 데 사용할 수 있는 하위 디렉토리
- theme.yaml // Bokeh 모델 유형에 적용할 기본 특성을 기준으로 정의하는 파일
- templates
- index.html // 하위 디렉터리 Jinja template file
-
구글 Colab site에서
Copy to Drive하면 내 구글 드라이브 공간에Colab Notebook생성 -
.ipynb파일을 Google Colaboratory로 열기 -
GoogleCredentials 인증 키 입력 필요
- Google Cloud SDK access 허용
- 이어 뜨는 verification code 복사하여 입력
-
Google Cloud Platform에서 Google Sheets API 및 Google Drive API
사용 설정필요 -
Google Drive File Stream 인증 키 입력 필요
from google.colab import auth
auth.authenticate_user()

from google.colab import drive
drive.mount('/content/drive') // drive란 폴더를 만든 후, 우리 구글 드라이브의 root와 drive 폴더를 연결(mount)- 입출력용 파일은 반드시
.gsheet형태여야 한다.
worksheet = gc.open('My Test').sheet1- GitHub id/pwd만 입력하면 GitHub Repository에 저장이 가능
수정 → 노트 설정에서 커널 Python3, Python2 중에 하나를 선택할 수 있고 하드웨어 가속도 사용이 가능하다. (GPU, TPU)


