Arduino library/driver for the Renesas X9C102 (1k), X9C103 (10k), X9C503 (50k), and X9C104 (100k) family of digital potentiometers.
Easily drive these 100-step digital potentiometers to any absolute or relative position or voltage.
By Gabriel Staples
https://gabrielstaples.com
www.ElectricRCAircraftGuy.com
This library works on any and all Arduino or Arduino-compatible boards. Set these pins passed to the X9C_digital_pot class constructor to any digitalWrite()-capable pin number for your board as you see fit. (Update: for any non-AVR-based boards, such as the Due, Zero, Portenta, etc., digitalWrite() may actually be too fast, and I may have to add some delays after each digitalWrite() command in the library for those faster boards. Try it out and let me know.)
For the ATMega168/ATmega328-based boards, such as the Uno/Nano/Mini, using pins 0 and 1, however, is generally NOT recommended, as they are for serial communication to upload your program. Therefore, I recommend Digital pins 2 through 13, inclusive, or Analog pins A0 through A5, inclusive. NB: If your ATmega168/328-based board has an A6 or A7 pin, these pins do NOT support digitalWrite()/digitalRead() like other analog pins! Rather, A6 and A7 can do analogRead() only.
Done and works.
Library is done. It is complete and thorough, and it compiles and runs on an Arduino.
However, it is untested with actual X9C103 digital potentiometer hardware, as I'm still waiting on it to arrive in the mail.
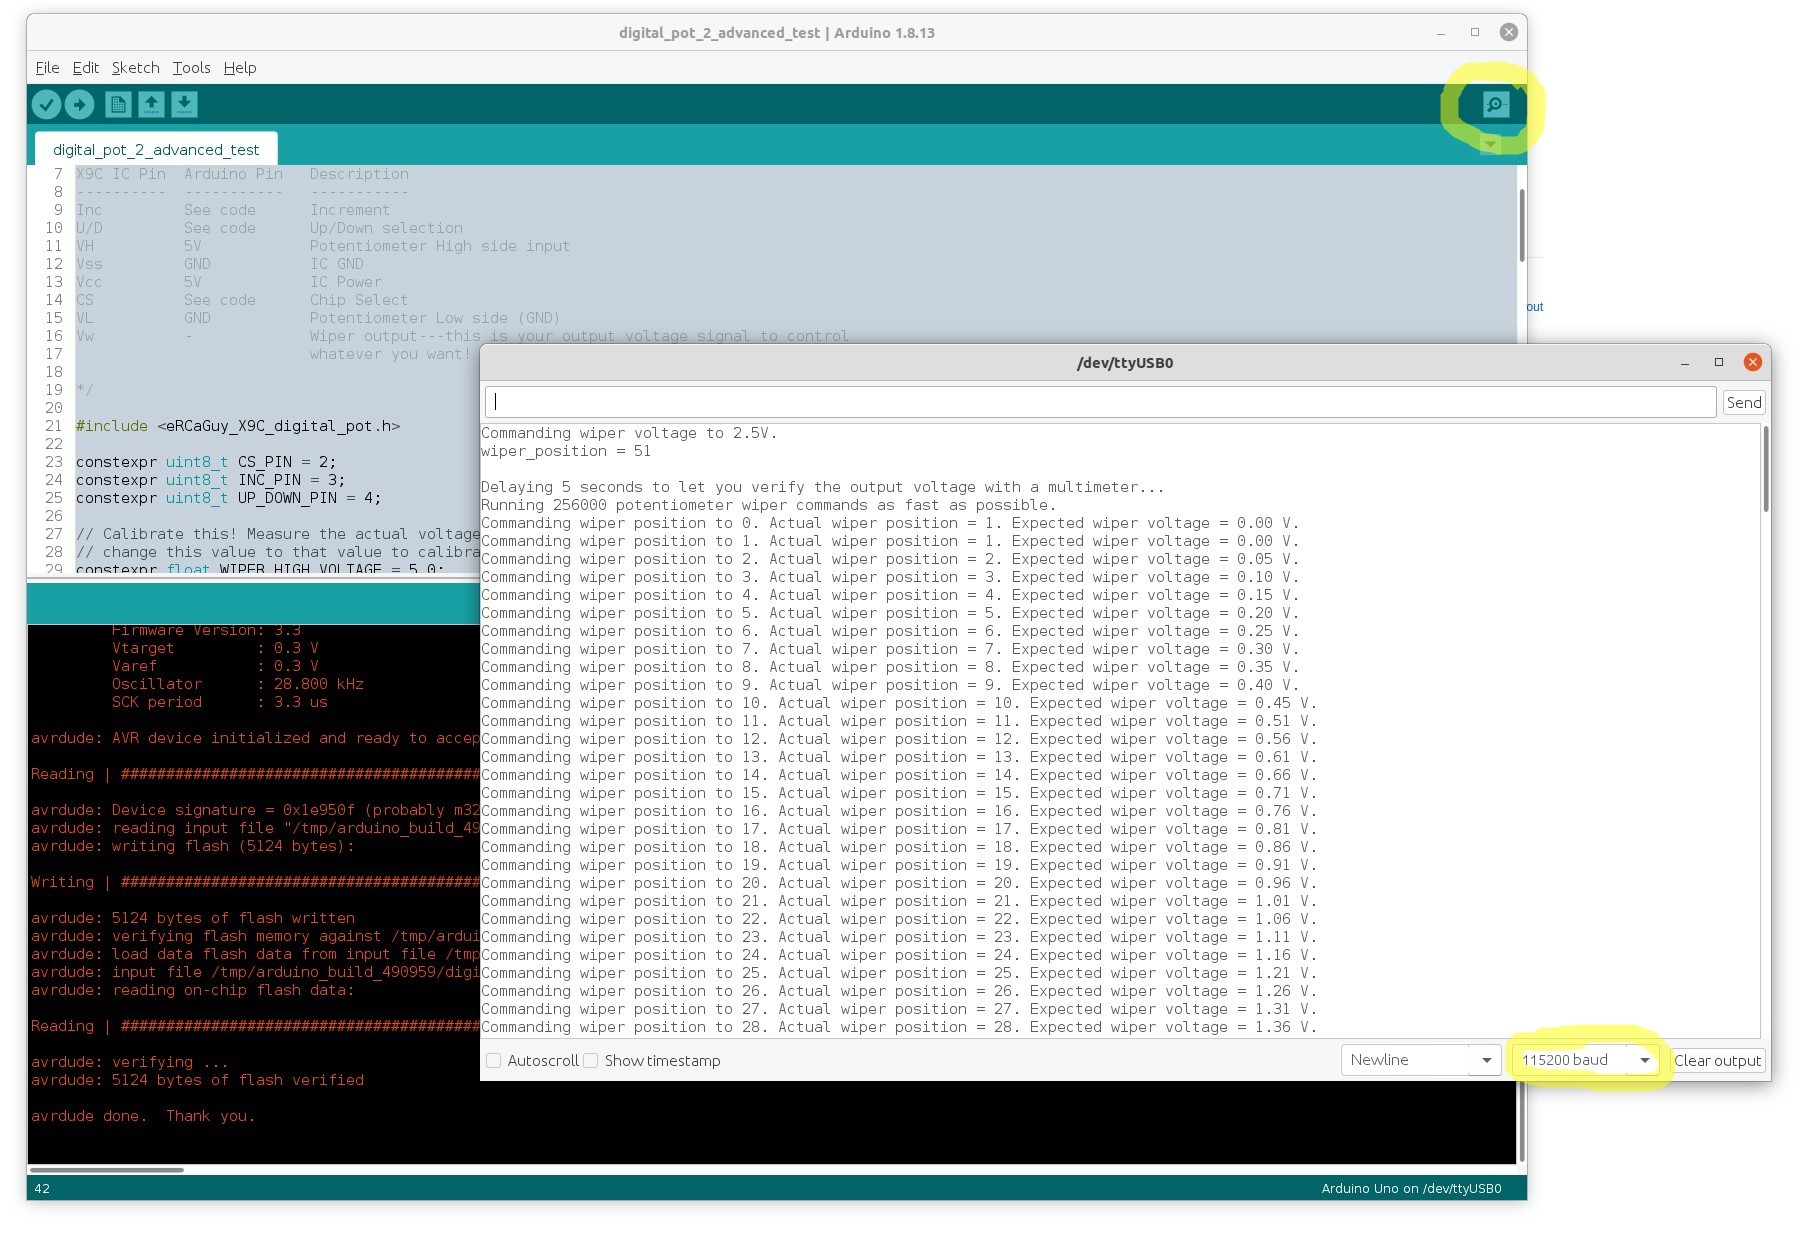
Update: A friend of mine working on this adaptivercsailing project (and using this X9C103 device and my driver) has run my digital_pot_2_advanced_test.ino example code continually for like 10 hrs. overnight, and it ran fine the whole time. He also verified with a multimeter that the actual voltage output from digital potentiometer matched the expected value (as printed by my example code over serial), including both at the beginning and ending of the test, indicating that the code works properly to turn the relative potentiometer into an absolute potentiometer via my library. This is great news.
Examples are written. Please take a look, try them out, and ensure they work!
MIT
- Reminder to follow this specification, folder layout, and to have a library.properties file or else Arduino won't accept and build your library! https://arduino.github.io/arduino-cli/latest/library-specification/ /////////////////////
- Restructure files...
- ...according to latest Arduino Library Specification: https://arduino.github.io/arduino-cli/latest/library-specification/#layout-of-folders-and-files.
- The library.properties files is empty, but its existence alone is enough to allow the examples to compile! :)
WRITE BLOG POST ON ARDUINO LIBRARY FOLDER LAYOUT, THE ERROR MESSAGE, ETC.
This library layout and structure conforms with the Arduino Library specification 1.5 library format (rev. 2.2).
- Write blog posts:
- How to make an Arduino library (focus on the mechanics and library specification, not really the code itself).
- Introducing this library briefly.
- Also do a PPM library intro while at it too.
