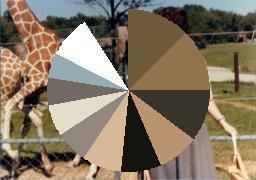
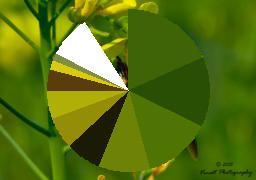
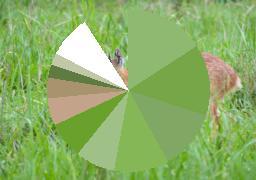
As part of CMPM 202, we are working on modifying an autoencoder that takes in images of colour clocks and produces some output image. The autoencoder uses TensorFlow and trains on a set of image files (ground truth) and color clocks generated from the ground truth images, and then attempts to reconstruct the original image from images of colour clocks.
Colour clocks were created using colour-clock.py at https://github.com/hugovk/pixel-tools
Original autoencoder code provided by https://github.com/manumathewthomas
We use the generated color clock to try to generate the original ground truth image:
Output for Model 1 (100,000 iterations, batch size = 5):
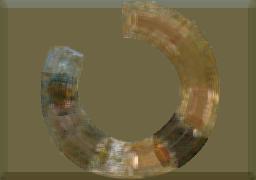
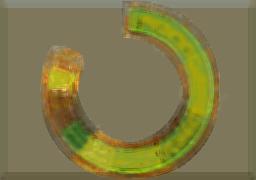
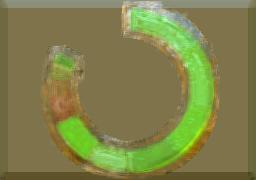
Output for Model 2 (200,000 iterations, batch size = 20):
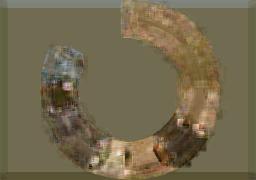
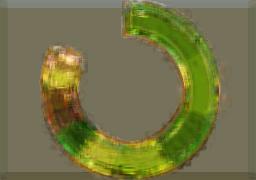
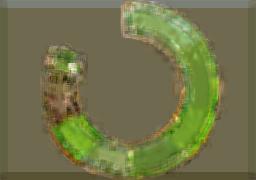
Another attempt -- using a different generated colour clock image with the original ground truth image as background.
Output for Model 3 (100,000 iterations, batch size = 50):
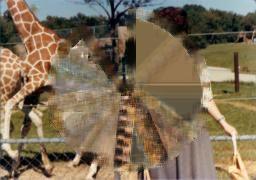
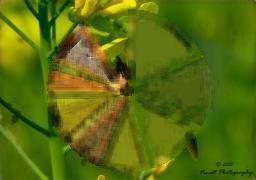

You can run pixel-tools/colour_clock.py on a set of images in order to create images of the corresponding colour clock. The output will have the same name as the original image. Width, height, and extension of the output file can be tweaked in the file.
To run the colour_clock function over every image in a given directory, use the command python colour_clock.py [PATH/TO/IMG_FOLDER]
Replace images in the dataset folder with the relevant images for training.
You can find the parameters for the autoencoder in the Autoencoder folder. Delete the existing Graphs and Checkpoints folders if they are in the directory. Then run python train.py.
You can find the results of training in the validation_results folder. You can also run the autoencoder on another image with the command python test.py [NAME_OF_IMG].
Mirek Stolee - https://github.com/mirekjames
Devi Acharya - https://github.com/dacharya64


