For this project, we will follow the example code from the NengoLoihi SDK. Our first goal will be running it on your computer (or one of the lab workstations). If you get stuck, just ask for help!
Create a new conda environment and activate it. Then use pip to install Nengo packages. We will need to install the following Python packages with pip:
- nengo
- nengo-dl
- nengo-loihi
- librosa
Make sure that Numpy and Jupyter is also installed in the conda environment.
Go to NengoLoihi SDK and copy the inference code from there. Paste it into a Jupyter notebook and see if it works. Do spend some time to understand what the code is doing. For example:
- What does the spiking neural network architecture looks like?
- How many neurons does the output layer have and why?
This is where the fun begins. The code that was used to load audio files and train the network can be found in the git repo at training.
- record your own audio files with the keyword, and also others
- convert the files to .wav files with 16000 Hz sampling rate (e.g. with ffmpeg).
- Modify the code to load your own .wav file with librosa (see
training_utils.pyin training) - Use the
mfcccode fromfeatures.pyto take the Mel-frequency_cepstrum of your audio (usen_cepstra = 26) to get frames of length-26 feature vectors. - The output from
mfccneeds to be taken in slices of 15 frames, which are then flattened. For details, seetraining_models.py. - The processed feature array should now have dimensions
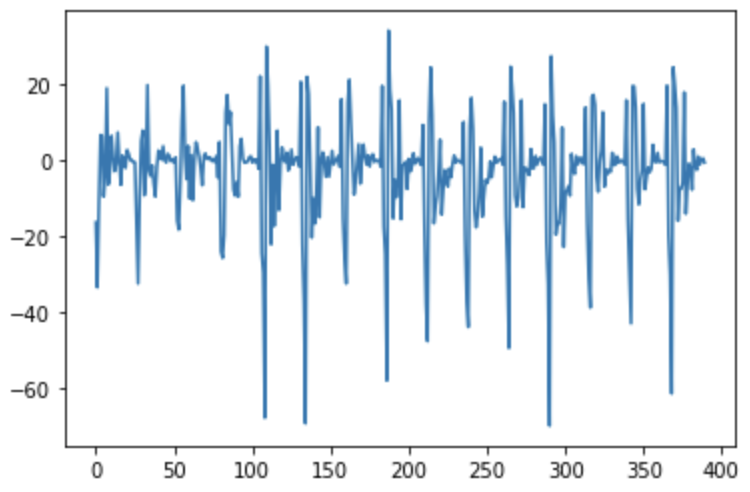
(N,390). The next step is to feed it to thenengo_loihi.Simulatorwhich runs the spiking neural network (your data should be passed likestreamin NengoLoihi SDK). - Plot the
char_outdata taken from the output layer to see how the network responds. - For reference, compare what your output looks like with what the SNN response looks like for
test_stream. - How well does it recognise your audio?
- see also this paper.
The training code is in a separate github repo. It is done with Tensorflow. Doing more training is quite involving, mainly because you need more training samples.
- Check out the code and try to understand
- Can you train your own audio files?
If everything works, let's try to run it on the actual neuromorphic hardware! Please contact for instructions on how to connect and run.
