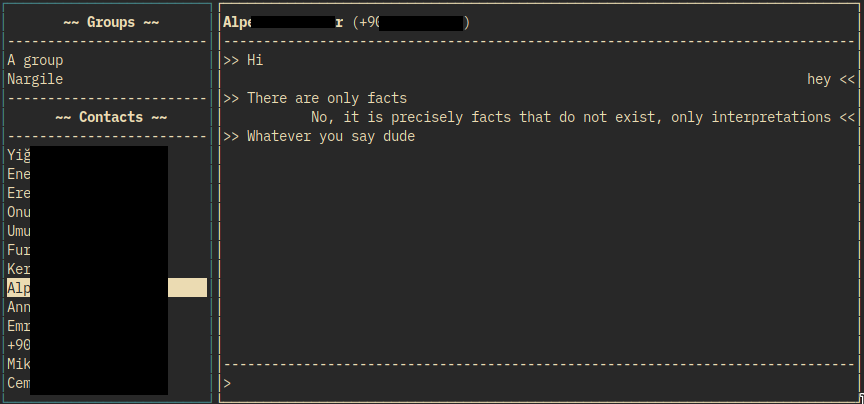
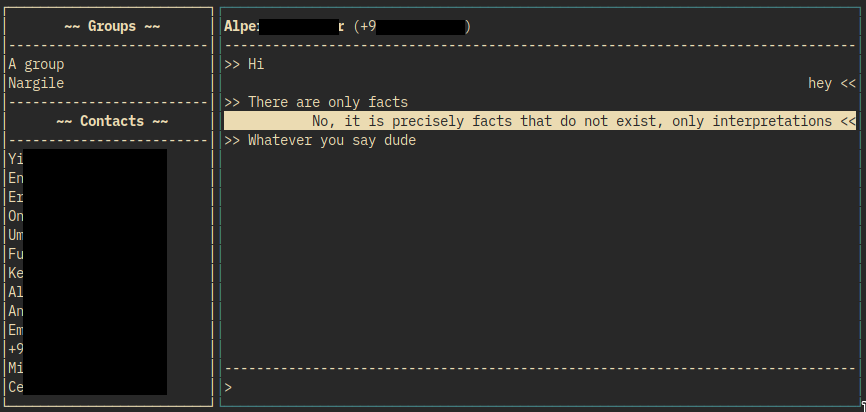
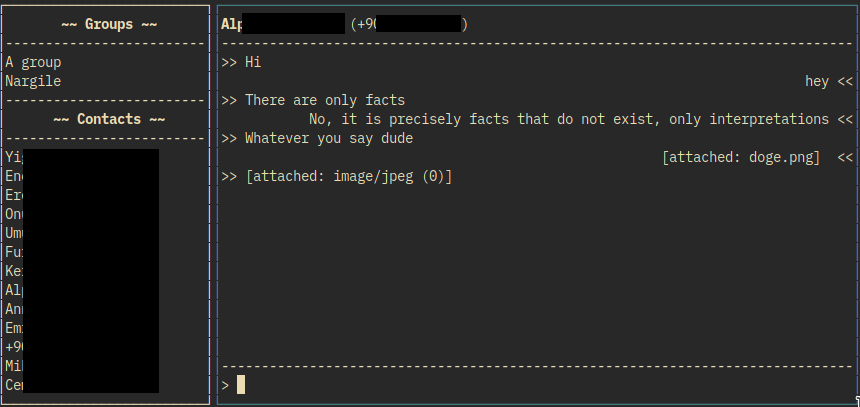
scli is a simple terminal user interface for Signal. It uses signal-cli and urwid.
- Firstly, you need to install signal-cli. Follow the guide provided in the README.
- Install
libunixsocket-javafrom your package manager if you have not installed it yet. (Arch Linux users should installlibmatthew-unix-javafrom AUR. If you installedsignal-clifrom AUR, you can skip this step.) - Install
urwid. You can install it trough your distributions package manager (search forpython3-urwidorpython-urwid) or you can usepipto install:pip3 install urwid. - (Optional) Install
urwid_readlineif you want readline keybinds while typing. It may be available through your distribution's package manager aspython3-urwid_readlineorpython-urwid_readline, or you can install it throughpipwithpip install urwid_readline
scli does not provide anything for registering/linking, you need to do this using signal-cli.
For linking your computer follow these steps (for registering a new number, see README of signal-cli)
- Run
signal-cli link -n "DEVICE_NAME". (DEVICE_NAME is just an alias for your computer. You can skip-n "DEVICE_NAMEpart. Without that, your devices alias will be justcli.) - This will output
tsdevice:/...URI (Do not terminate this command, it needs to be alive during linking process. Continue in a separate terminal.). Copy the URI and create a QR code with it usingqrencode(or any other QR code generator of your choice):
qrencode 'LINK' -o qrcode.png
- Open Signal application on your phone and scan the QR code you just generated.
- Run
signal-cli -u PHONE_NUMBER receive. This is required to fetch your contacts for the first time. - Now you can start using:
scli
Note: PHONE_NUMBER starts with + followed by the country code.
A simple two-paned interface is provided. Left pane contains the contact list and the right pane contains the conversation. You can switch focus between panes by hitting Tab (or Shift + Tab). Hitting tab for the first time focuses the conversation, hitting it again focuses to input line. So the tab order is Contacts -> Conversation -> Input, you can use Shift + Tab for cycling backwards.
- Use
j/kto go down/up in contacts list or in messages. - Hitting
enteron a contact starts conversation and focuses to input line. - Hitting
lon a contact only starts conversation. - Hitting
oon a message opens the URL if there is one, if not it opens the attachment if there is one. - Hitting
enteron a message opens the attachment if there is one, if not it opens the URL if there is one. - Hitting
yon a message puts it into system clipboard. (needsxclip) gfocuses first contact/message.Gfocuses last contact/message.ddeletes the message from your screen (and from your history, if history is enabled).ishow a popup that contains detailed information about the message.
There are some basic commands that you can use. Hit : to enter command mode (or simply focus the input line and type :).
:quitor:qsimply quits the program.:openUrlor:uopens last URL in messages, if there is one.:openAttachor:oopens last attachment in messages, if there is one.:attach FILE_PATHor:a FILE_PATHattaches given file to message.:attachClipor:cattaches clipboard content to message. This command tries to detect clipboard content. If clipboard contains something with the mime-typeimage/pngorimage/jpg, simply attaches the image to message. If clipboard containstext/uri-listit attaches all the files in that URI list to your message. This command needsxclipinstalled.:toggleNotificationsor:ntoggles desktop notifications.:editor:elets you edit your message in your$EDITOR.:toggleAutohideor:htoggles autohide property of the contacts pane.
Examples:
:attach ~/cute_dog.png check out this cute dog!
:attachclip here is another picture.
Note: Commands are case insensitive, :quit and :qUiT does the same thing.
There is a built-in search feature. Simply hit / while you are on the chat window (or focus the input line then type /) and start typing, the chat will be filtered out based on your input. You can focus any of the search results and hit enter (or l) to open that result in full conversation.
For searching through contacts, you need to hit / while you are on the contacts window and start typing, contacts will be filtered out while you are typing. Hit enter to focus the results. Hitting Esc will clear the search.
There are some simple configuration options. You can either pass them as command-line arguments or add them to your configuration file. Run scli --help to see options. Configuration file syntax is also pretty easy. Lines starting with # and empty lines are ignored, other lines should consist key=value pairs.
scli -u +1234567890 --enable-notifications=trueConfiguration file equivalent of this command is:
# Long option forms are used in config file. (u=+123... is not valid.)
username=+1234567890
enable-notifications=true

