- University Name: http://www.sjsu.edu/
- Course: Cloud Technologies
- Professor: Sanjay Garje
- Students:
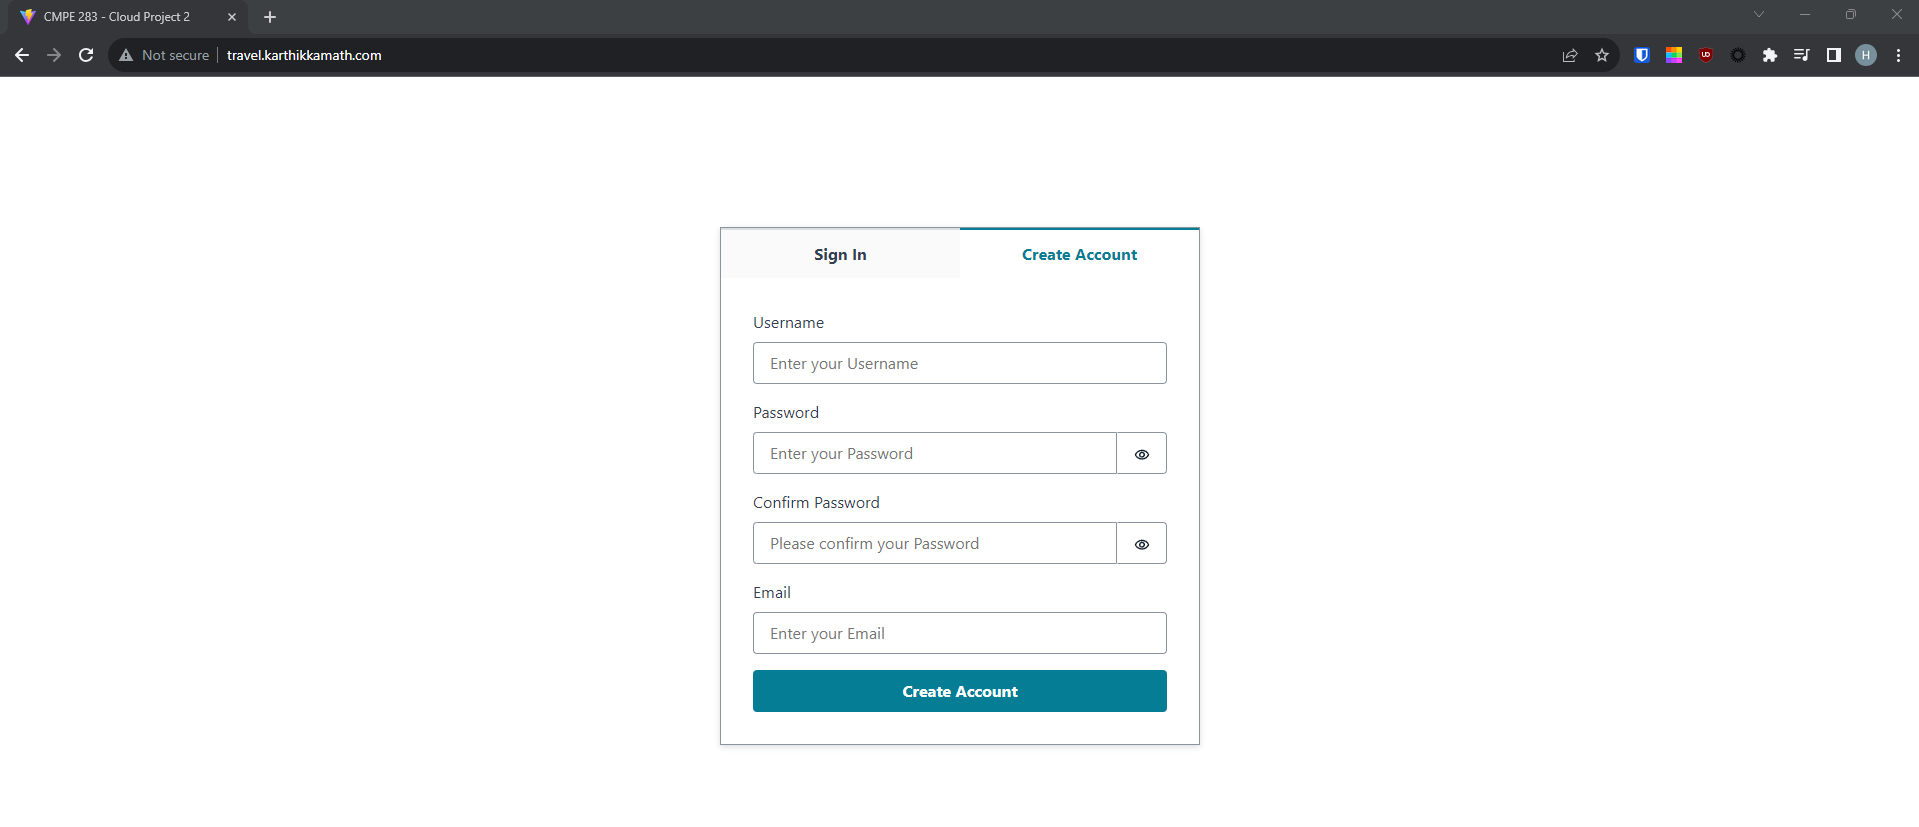
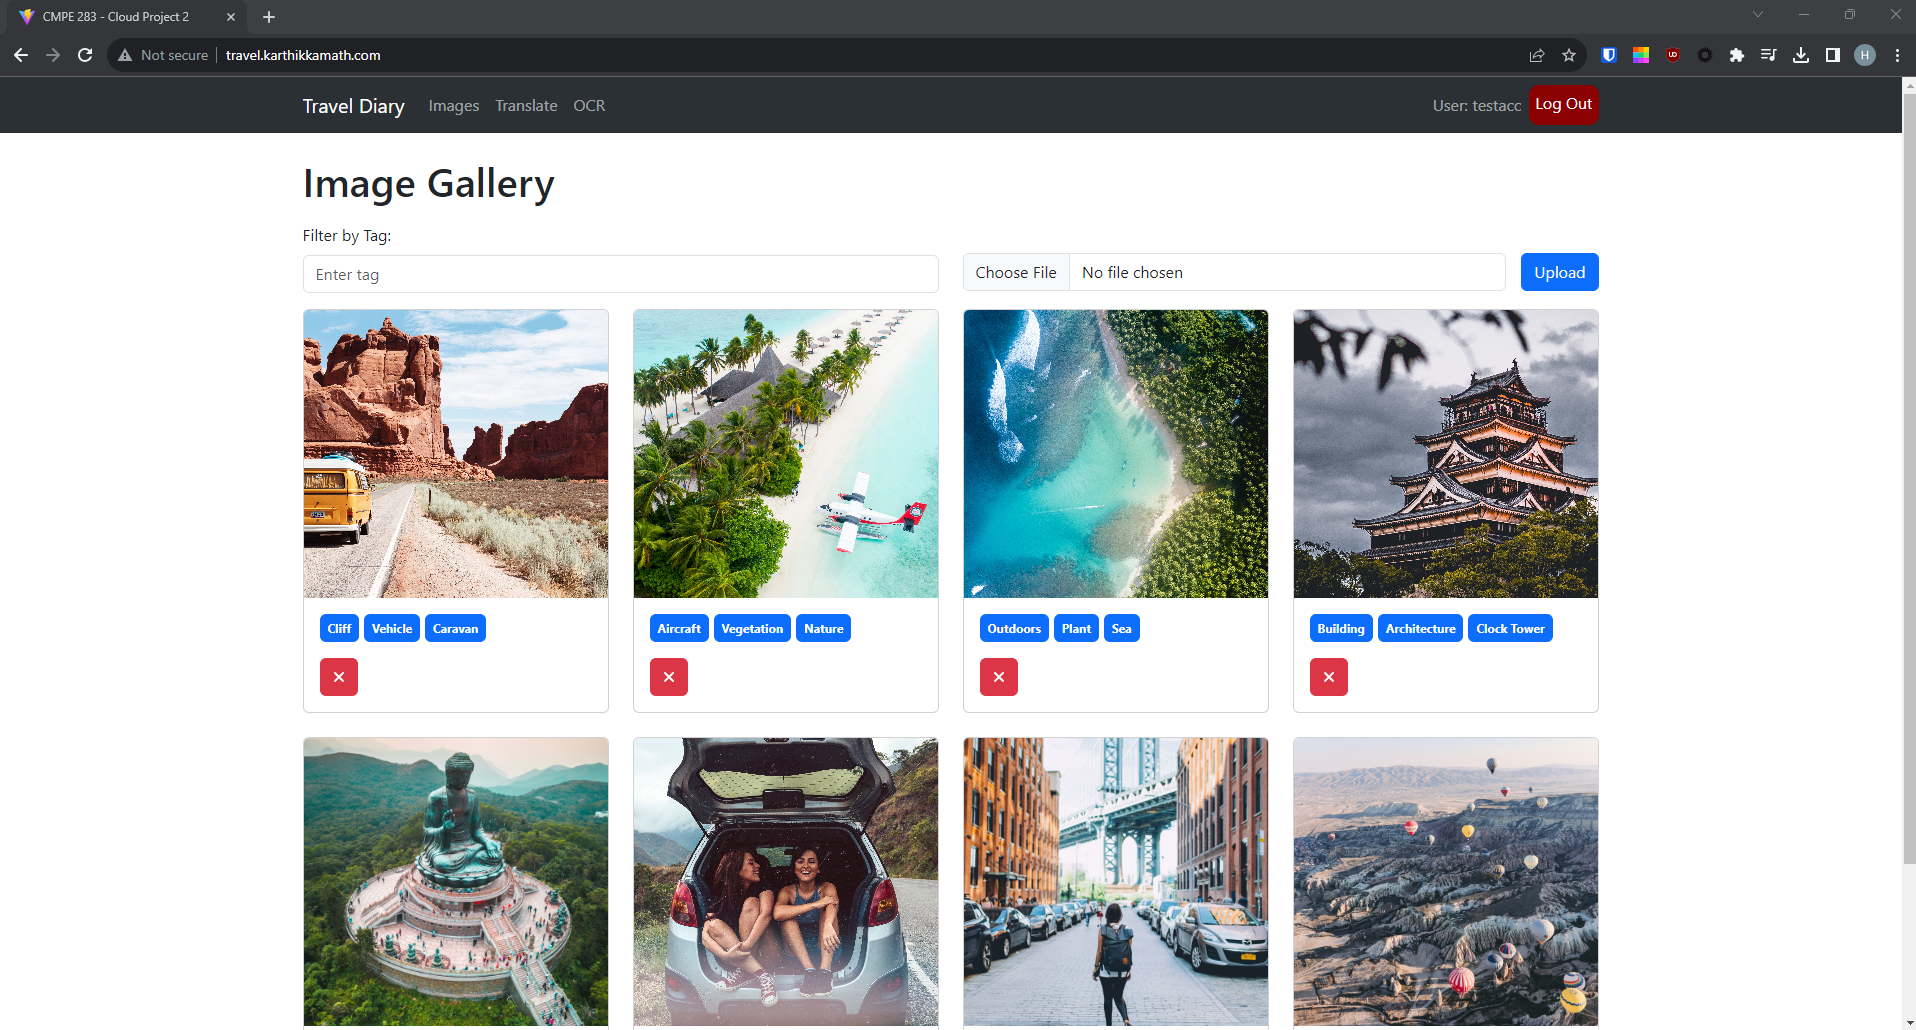
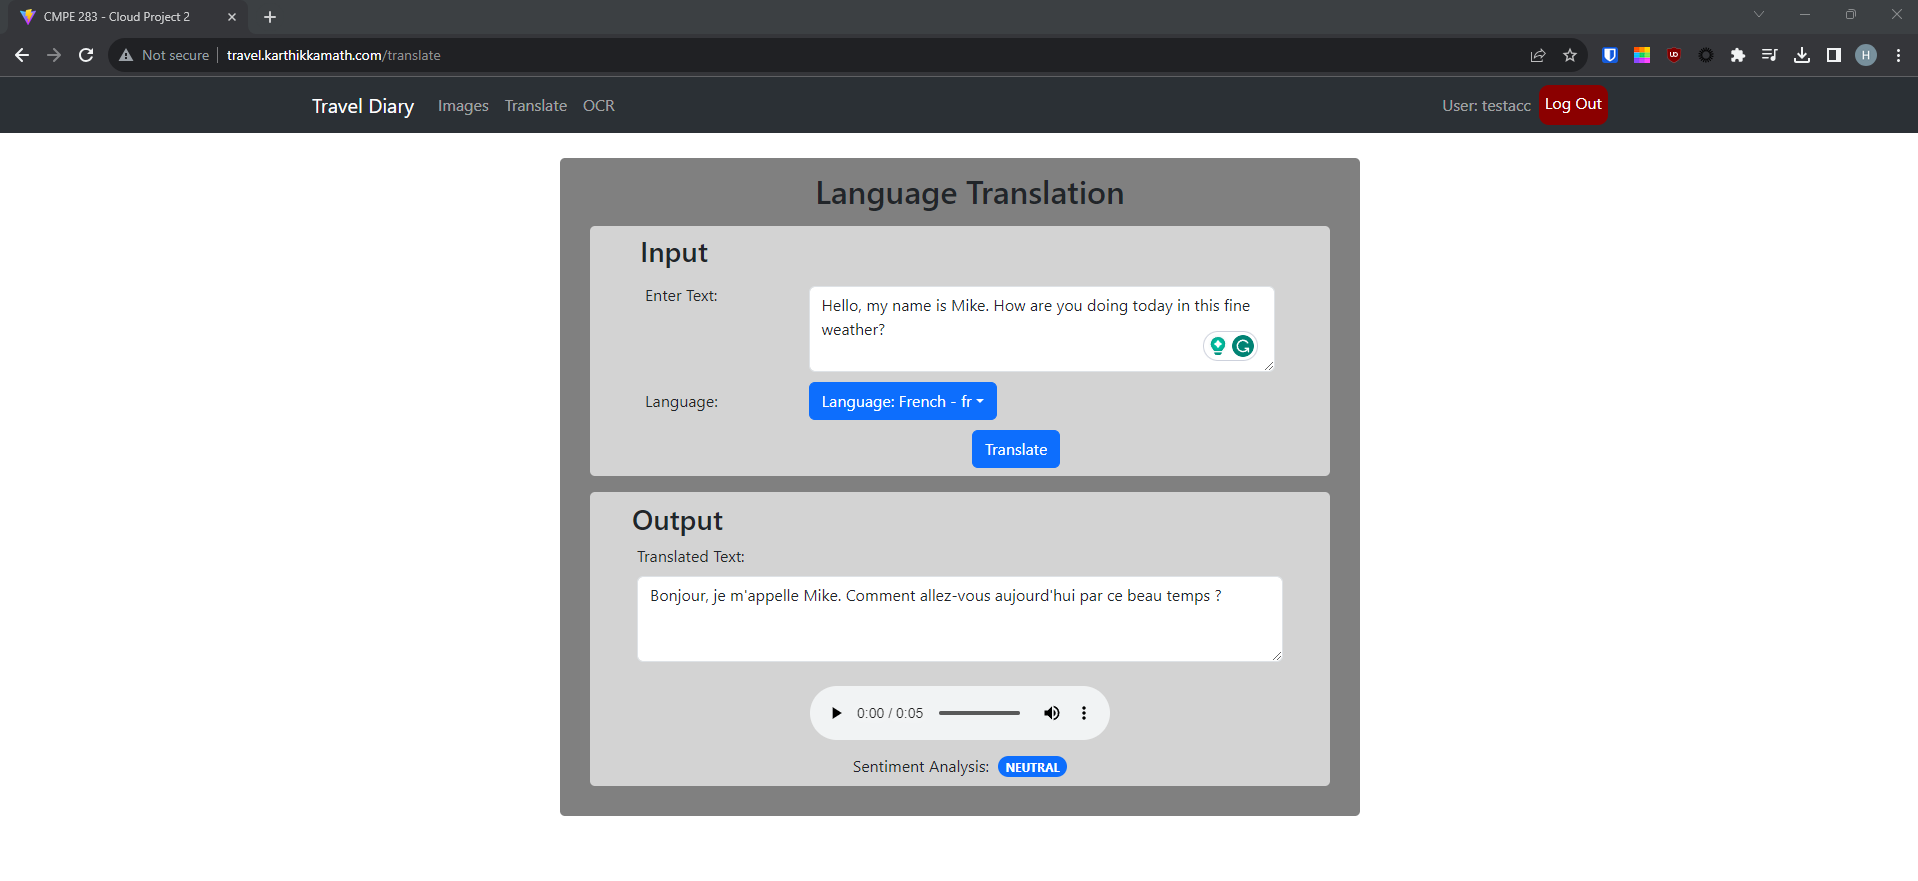
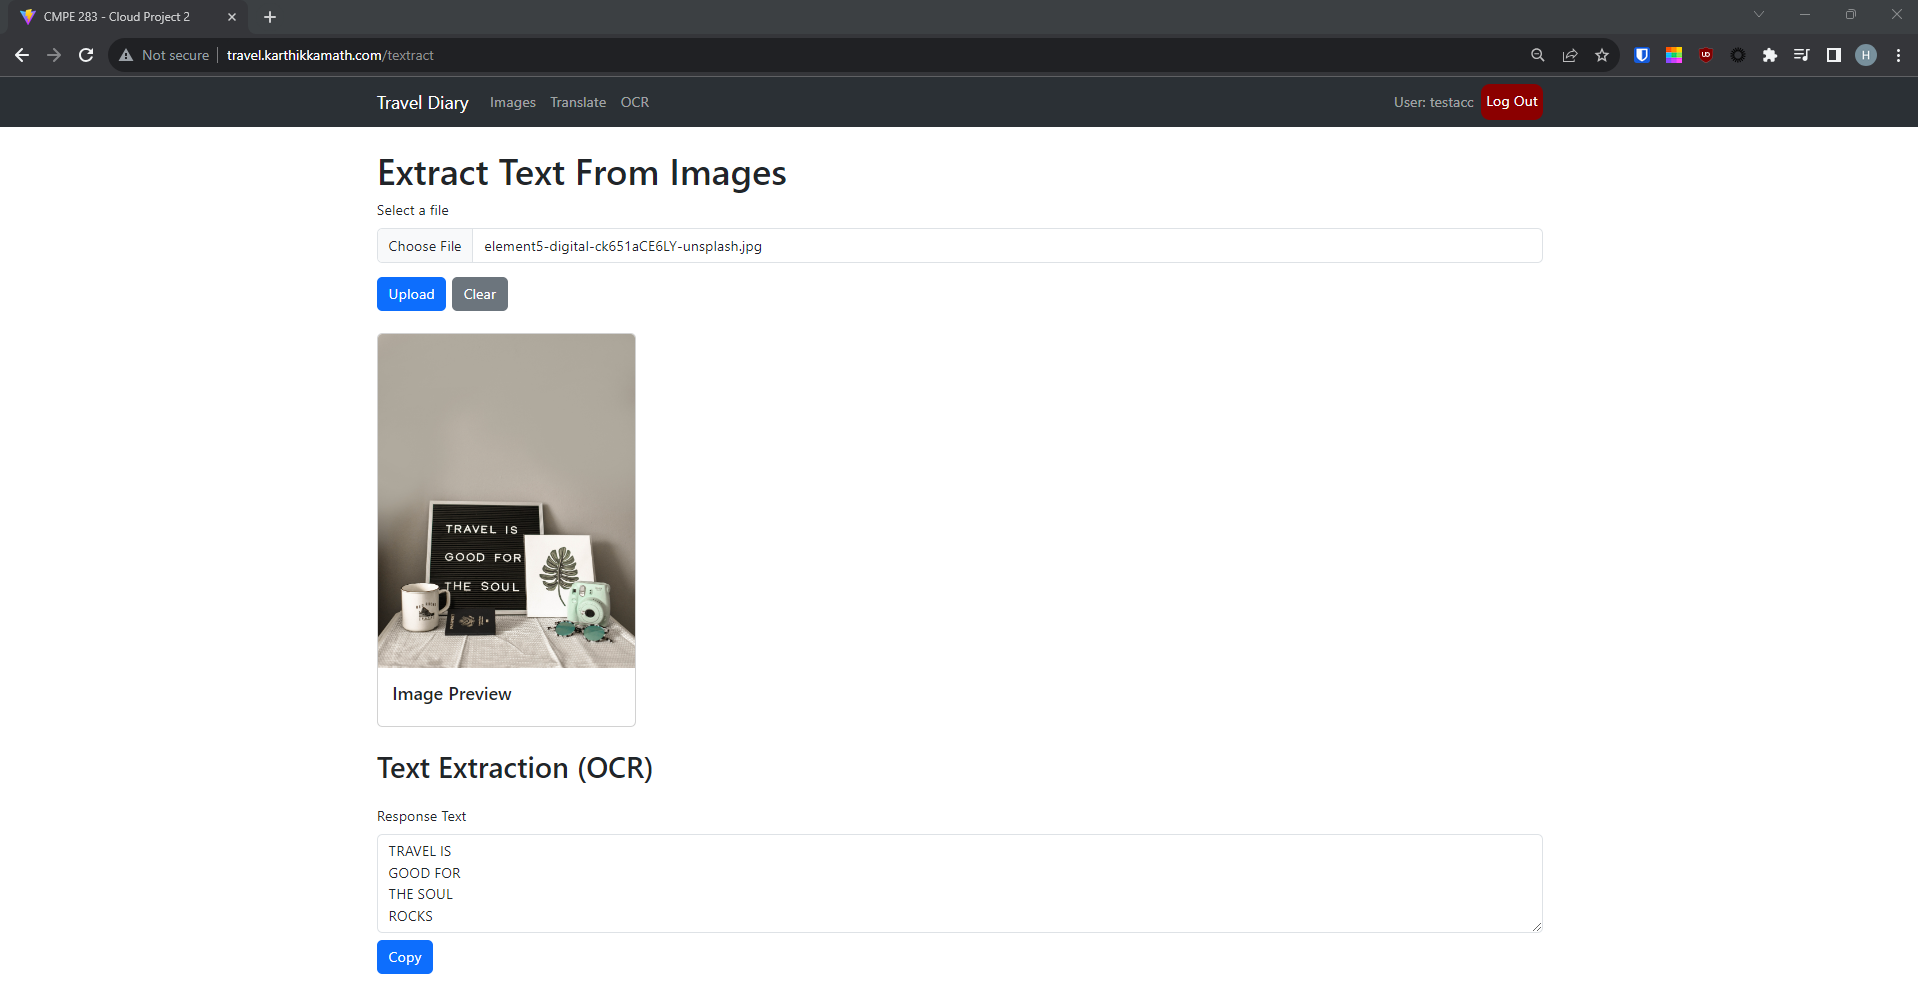
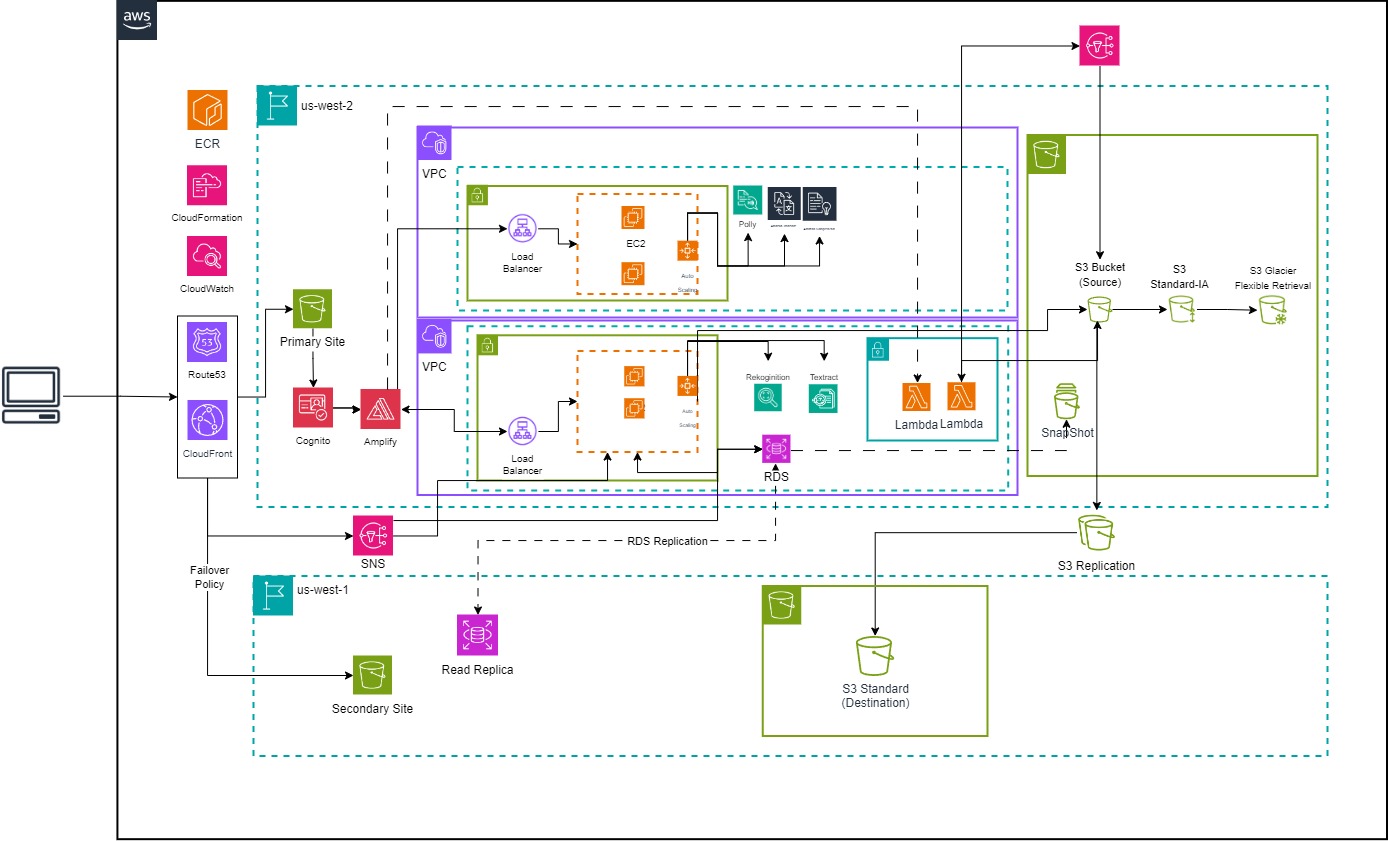
Travel diary application that goes beyond the traditional pen-and-paper format. This digital platform allows users to store and view images related to their travel experiences. What sets this application apart is its integration of artificial intelligence (AI) and machine learning (ML) models for image analysis, along with features like text translation and sentiment analysis.
The project's impact lies in offering a comprehensive and intelligent solution for documenting travel experiences. It goes beyond the basic functionalities of traditional travel diaries by leveraging AI to organize, translate, and add emotional context to entries. The application's relevance is evident in its ability to address common challenges faced by travelers, making it a valuable tool for those seeking a more enriched and technologically advanced way to capture and remember their journeys. The potential societal impact, through enhanced cultural understanding, adds an additional layer of significance to the project.
- Image Analysis
- Image Categorization
- Text Translation
- Audio Pronunciation
- Sentiment Analysis
- Optical Character Recognition
- File Cloud Storage
Before running the project, make sure to set up the following resources in your cloud account:
- IAM User (With appropriate permissions)
- S3 Bucket
- CloudFront Distribution
- RDS
- AWS Cognito (from CLI / CloudFormation)
- EC2
- Load Balancer
- Auto Scaling Groups
- Route 53
- AWS Lambda (from CLI / CloudFormation)
- SNS
Make sure you have the following software installed on your local machine:
- NodeJS
- NPM
- AWS CLI
- AWS Amplify CLI
- VSCODE IDE
- IntelliJ
- MySQL Workbench
- JDK 11
- Maven
- PostMan
-
Create IAM User
-
Grant Admin Access to Manage and Create Resources
-
Create access keys (remember to save them)
-
Configure Amplify with IAM User
$ amplify configure
[Provide instructions on how to configure the project locally, if applicable]
- Clone the Repository:
$ git clone https://github.com/Harshil-V/CMPE281-Cloud-Project-2

$ cd CMPE281-Cloud-Project-2$ cd frontend2. Install Dependencies
$ npm i # or npm install$ amplify init # complete the steps$ amplify add auth # complete the stepsNote: Use 'Default configuration' and 'Sign In with Username'
$ amplify push Note: This uses CloudFromation
$ npm run dev # application will be accessible at `http://localhost:5173/``Note: Update
baseURLwhere needed
Note: Have a JDK installation on your system. Either set the JAVA_HOME environment variable pointing to your JDK installation or have the java executable on your PATH.
This project uses JDK 11. To check your JDK version installed locally:
$ java -version$ cd frontend$ mvn clean install$ mvn clean package$ java -jar target/travel-app-0.0.1-SNAPSHOT.jar$ mvn spring-boot:run$ cd NLPfunctionality2. Install Dependencies
$ npm i # or npm install3. Open Code Editor and create a .env file
4. Add values to AWS_ACCESS_KEY_ID AWS_SECRET_ACCESS_KEY AWS_DEFAULT_REGION
$ npm start # application will be accessible at `http://localhost:4000/`
