This tutorial details how to deploy locally a Kubernetes cluster, with GitOps and observability components.
If you'd like to follow along with this tutorial on your own machine, you'll need a few things first:
- kubectl command-line tool installed and configured to access the cluster
- gh command-line tool installed and configured with your account
- Flux CD command-line tool installed.
- A Kubernetes cluster running.
In this tutorial, you'll use kind. You may also use alternatives like k3d, cloud providers, or others.
kind requires some configuration to use an IngressController on localhost, see the following example:
cat kind.configkind: Cluster
apiVersion: kind.x-k8s.io/v1alpha4
name: traefik-hub-gitops
nodes:
- role: control-plane
extraPortMappings:
- containerPort: 30000
hostPort: 80
protocol: TCP
- containerPort: 30001
hostPort: 443
protocol: TCP- Clone this GitHub repository:
git clone https://github.com/traefik-workshops/traefik-hub-gitops.git
cd traefik-hub-gitops- Create the Kubernetes cluster:
Using kind
Create the cluster:
kind create cluster --config=kind.config
kubectl cluster-info
kubectl wait --for=condition=ready nodes traefik-hub-gitops-control-plane
Add a load balancer (LB) to this Kubernetes cluster:
kubectl apply -f https://raw.githubusercontent.com/metallb/metallb/v0.13.11/config/manifests/metallb-native.yaml
kubectl wait --namespace metallb-system --for=condition=ready pod --selector=app=metallb --timeout=90s
kubectl apply -f clusters/kind/metallb-config.yaml
Using k3d
k3d cluster create traefik-hub-gitops --port 80:80@loadbalancer --port 443:443@loadbalancer --port 8000:8000@loadbalancer --k3s-arg "--disable=traefik@server:0"Flux needs to be able to commit on the repository, this tutorial can only work on a fork that you own. You will also need a GitHub personal access token (PAT) with administration permissions.
gh repo fork --remote
kubectl apply -f clusters/kind/flux-system/gotk-components.yamlLogin to the Traefik Hub UI, open the page to generate a new agent. Do not install the agent, but copy your token.
Now, open a terminal and run these commands to create the secret needed for Traefik Hub.
export TRAEFIK_HUB_TOKEN=xxx
kubectl create namespace traefik-hub
kubectl create secret generic hub-agent-token --namespace traefik-hub --from-literal=token=${TRAEFIK_HUB_TOKEN}Then, you can configure flux and launch it on the fork. You'll need to create a Personal Access Token(PAT) with repo access on your fork.
First, export your GitHub username and your newly created PAT into a variable.
export GITHUB_ACCOUNT=xxx
export GITHUB_TOKEN=yyy
Second, configure Flux CD for your fork of this tutorial.
flux create secret git git-auth --url="https://github.com/${GITHUB_ACCOUNT}/traefik-hub-gitops" --namespace=flux-system -u git -p "${GITHUB_TOKEN}"Third, adjust the repository on Flux to use your fork.
sed -i -e "s/traefik-workshops/${GITHUB_ACCOUNT}/g" clusters/kind/flux-system/gotk-sync.yaml
git commit -m "feat: GitOps on my fork" clusters/kind/flux-system/gotk-sync.yaml
git push origin
In the next step, deploy the repository.
kubectl apply -f clusters/kind/flux-system/gotk-sync.yamlThis will start the Kustomization. Flux will now sync, validate and deploy all components.
This process will take several minutes.
You can track the process from the CLI.
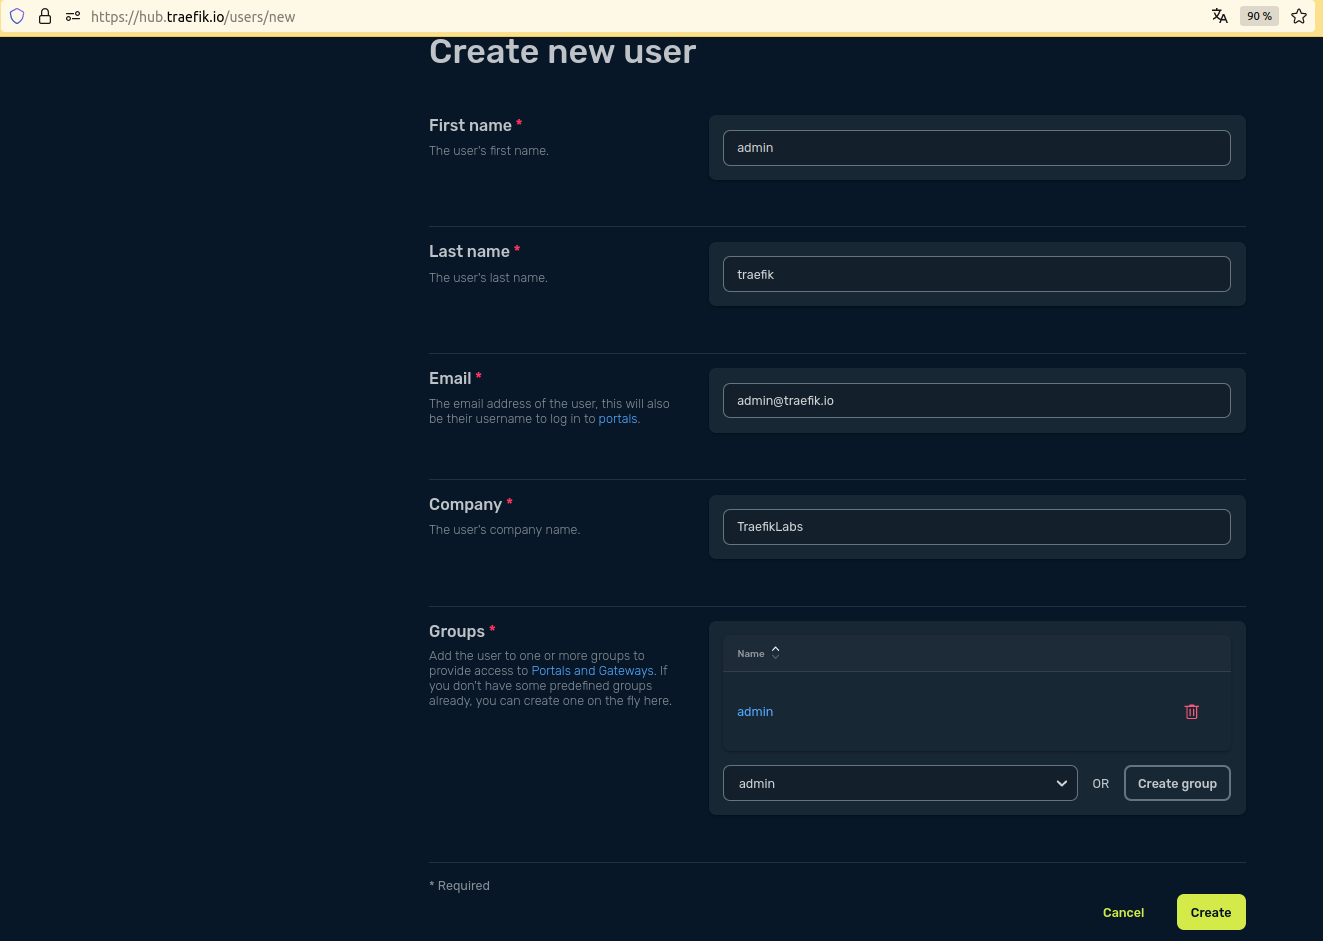
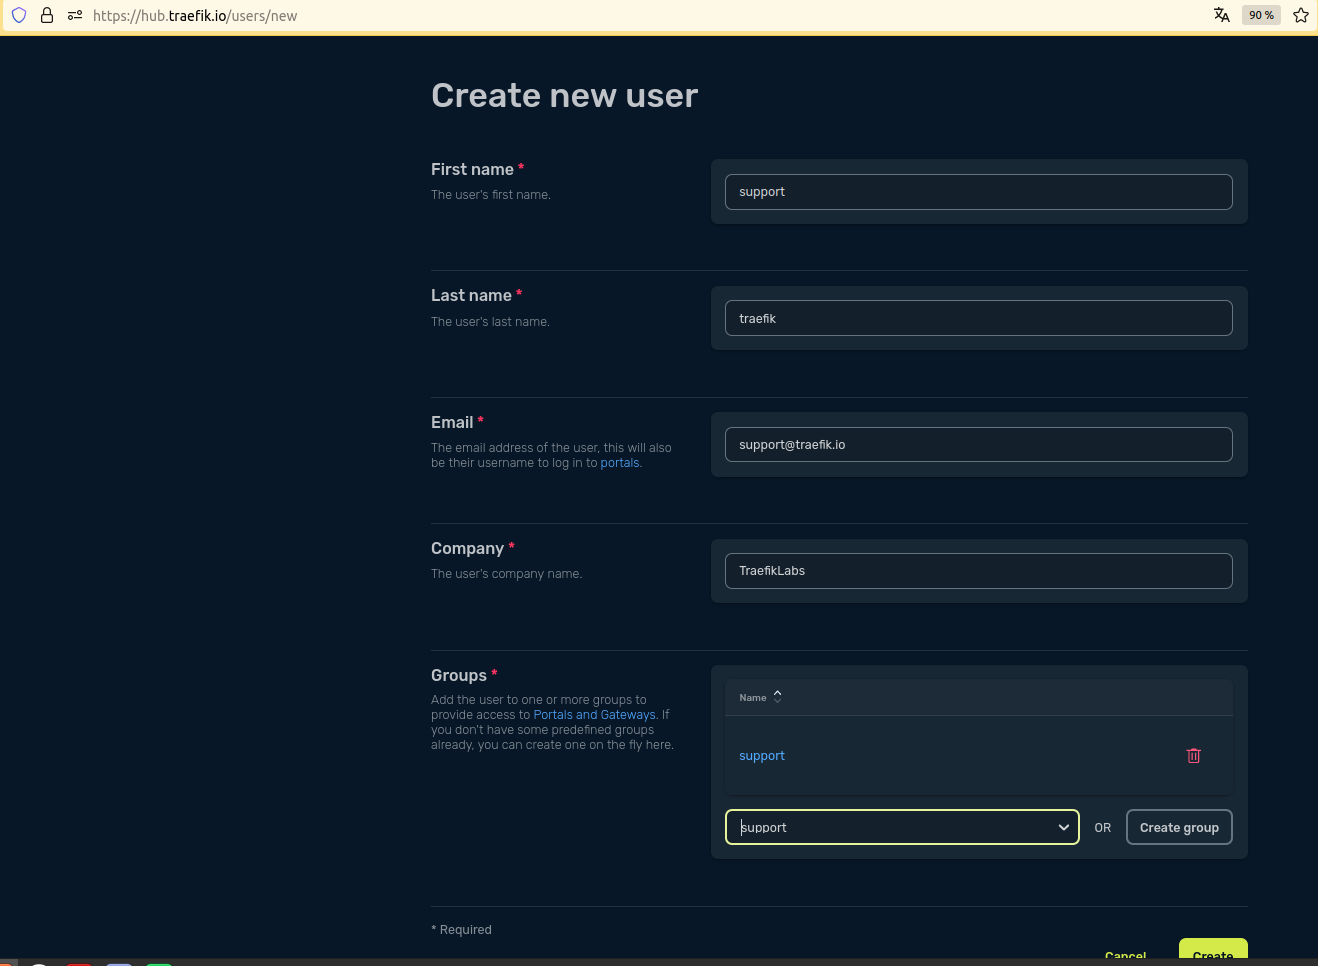
flux get ksTo generate traffic, create two users, an admin and a support user and their groups.
The admin user needs to be part of the admin group and the support user needs to be part of the support group.
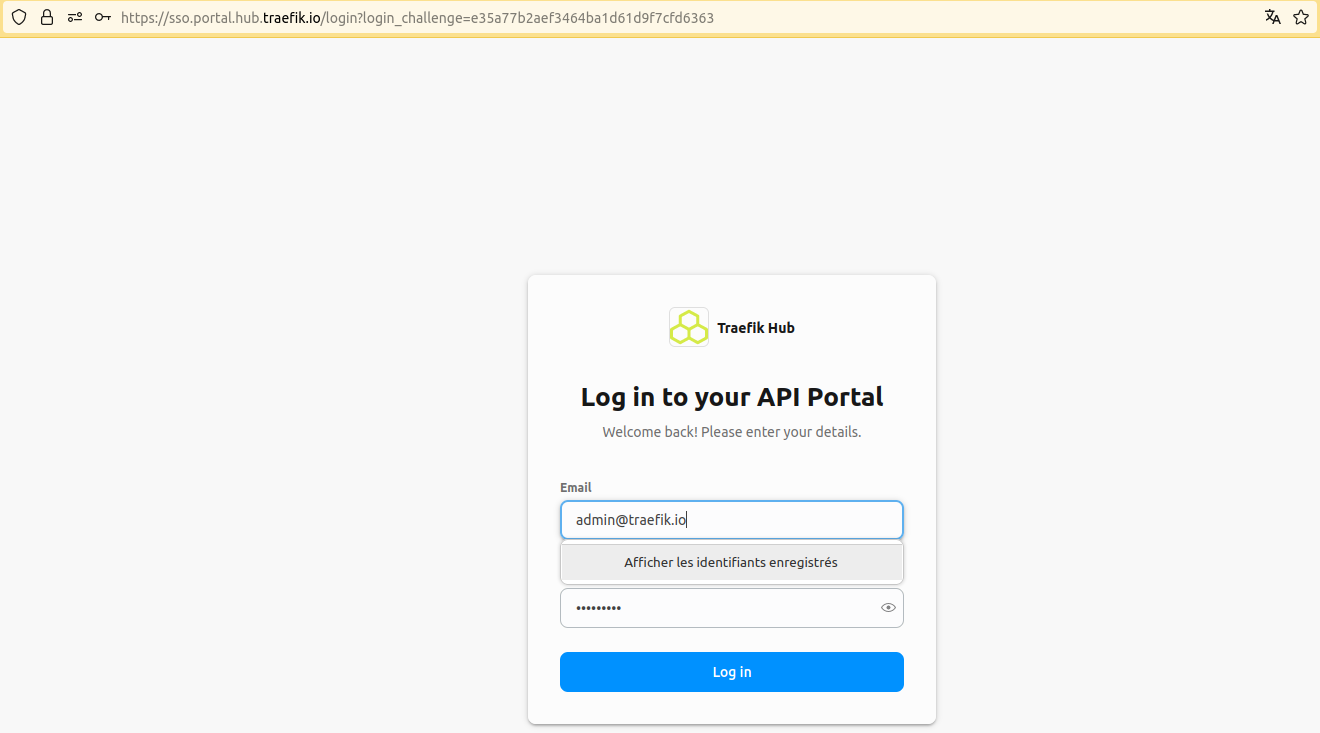
When the Kustomization is ready, you can open API Portal, following URL available in the UI or in the CRD:
kubectl get apiportalLog in to the API Portal:
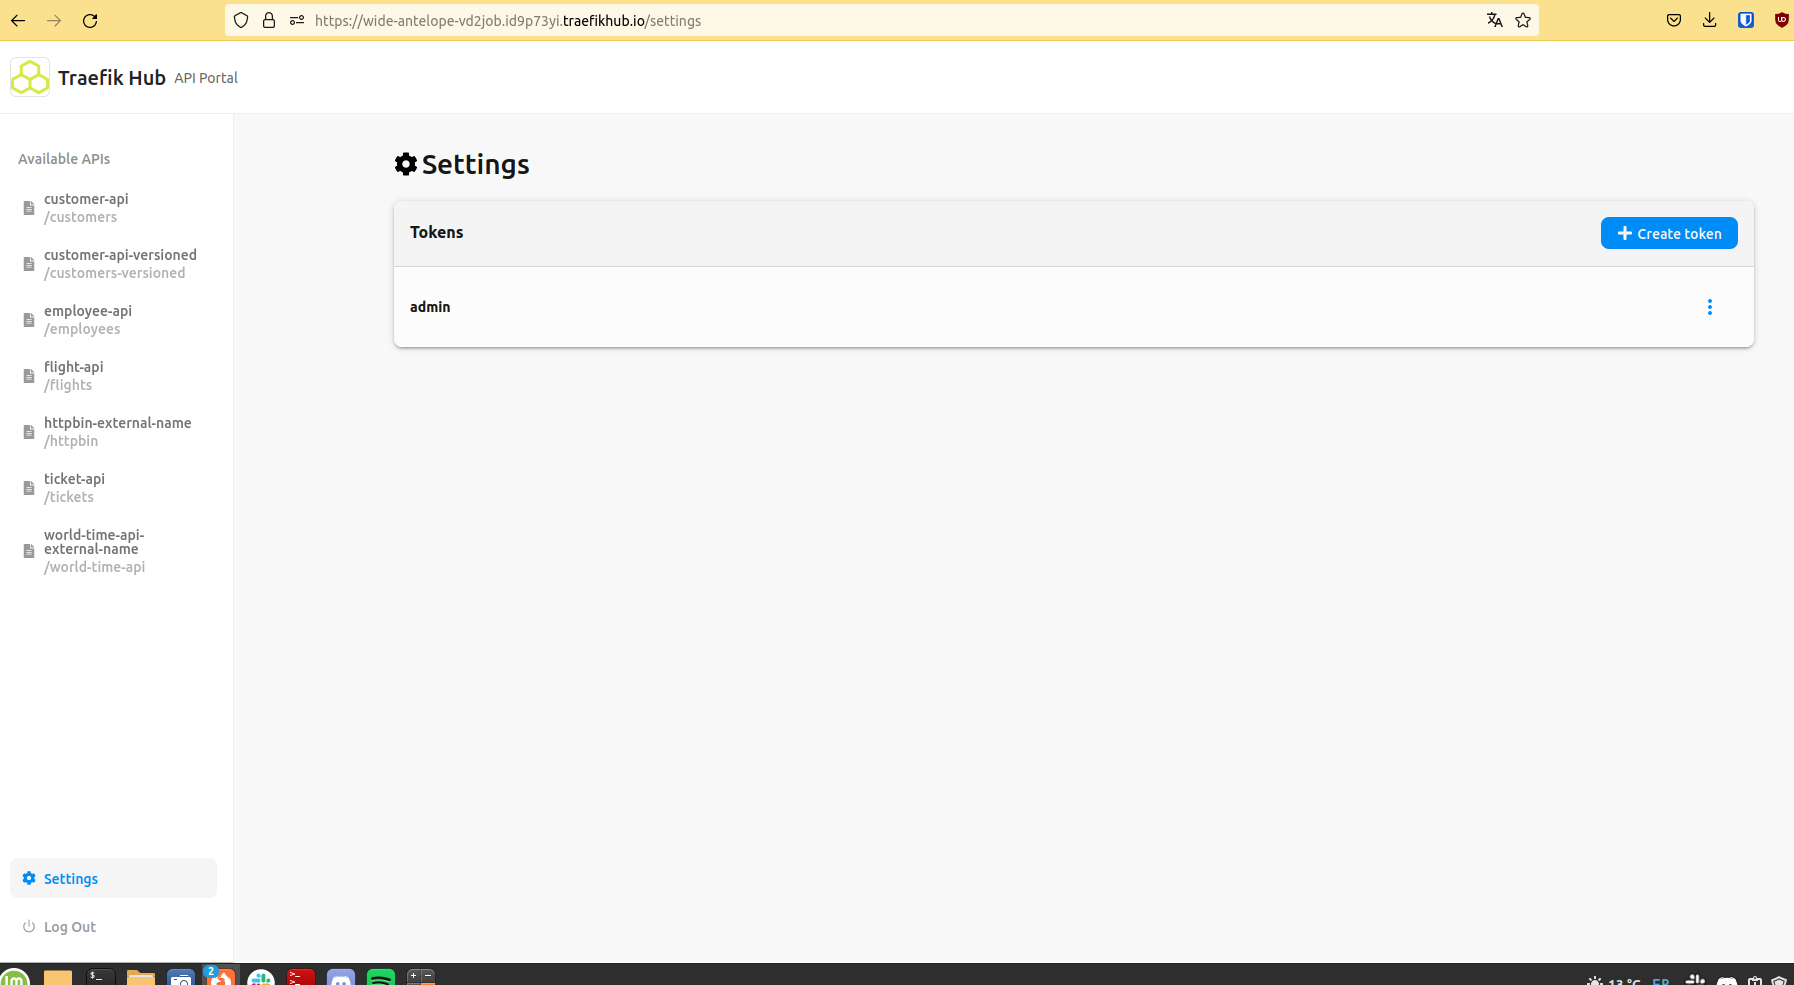
Now, create API tokens for both users.
Create a Kubernetes secret containing the tokens to enable the traffic app to generate load:
export ADMIN_TOKEN="xxx"
export SUPPORT_TOKEN="yyy"
kubectl create secret generic tokens -n traffic --from-literal=admin="${ADMIN_TOKEN}" --from-literal=support="${SUPPORT_TOKEN}"Grafana is accessible on http://grafana.docker.localhost
Prometheus is on http://prometheus.docker.localhost
Default credentials are login: admin and password: admin.
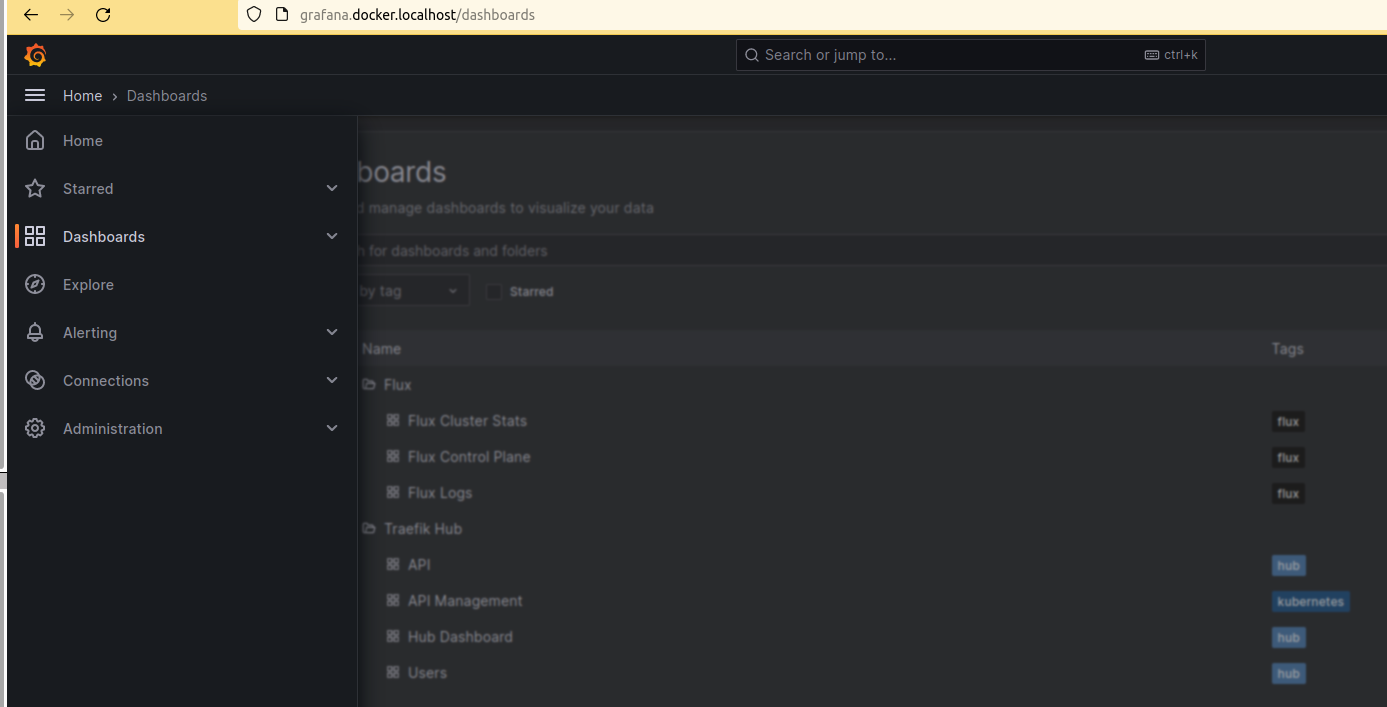
By clicking on the left menu, you can access all dashboards:
Flux events: Add a new Grafana service account with a new key at http://grafana.docker.localhost/org/serviceaccounts
and add the token (starting with glsa_) to the apps/base/monitoring/flux-grafana.yaml file.
export GRAFANA_TOKEN="xxx"
sed -i -e "s/token:\(.*\)/token: \""${GRAFANA_TOKEN}"\"/g" apps/base/monitoring/flux-grafana.yaml
Now, Flux can create annotations of reconciliation events in the dashboards.
GitHub PR merges: Add a new Grafana connection (GitHub data source) at http://grafana.docker.localhost/connections/datasources/grafana-github-datasource You must add a Personal Access Token (PAT) to GitHub at https://github.com/settings/tokens/new, as explained in the Grafana connection creation wizard. When configured, edit the dashboards to add new annotations using the GitHub data source:
- Show in: All panels
- Query type: Pull Requests
- Owner / Repository: your user and the repo name of the fork
- Query: leave it empty
- Time Field: MergedAt
- Annotations:
- Time field:
merged_at (time) - Title:
title (string) - Text:
url (string) - End time + tags + id: leave them empty
- Time field:
Everything is installed in Kubernetes. You can delete the Kubernetes cluster with the following command:
# kind
kind delete cluster --name traefik-hub-gitops
# k3d
k3d delete cluster traefik-hub-gitopsYou may also want to delete the agent in Traefik Hub UI.
The content in this repository is licensed under the Apache 2 License.


