The VoIP COMMUNICATION USING SIP is a server based software that creates and manages a session, where a session is considered an exchange of data between an association of participants. It provides user friendly environment for users to communicate between themselves.
It uses SIP (Session Initiation Protocol) which is one of the most common protocol used in VoIP technology. VoIP is a technology that allows us to deliver voice and multimedia content over the internet. It is one of the cheapest way to communicate anytime anywhere with internet availability.
This is a JAVA based server program which handles clients. The software makes excessive use of JAVA Socket API to receive requests and forward respective responses. It maintains detail of registered clients i.e IP address and local port and their numbers. Upon recieveing a call request by any registered user, it generates an appropriate SIP response and forwards it its destination. This software can also act as a proxy server that can communicate as a proxy with another instance of same software running on different machine.
This readme contains screenshots of working of the software and basic guidelines of its usage. This is an introduction as well as a step by step method of how to use this software.
- NetBeans 8.0.2 IDE
- JDK 1.6 or higher
- Phoner/Jitsi (Virtual phones) or any IP enabled Phone
- Windows (for client if using Phoner)
- A server
1. Create a new Project in NetBeans
2. Fork this repo
3. Copy all the files in this repo to project's folder
4. Run the project (Specific details later in this readme)
- JAVA Socket API
- SIP Protocol (RFC3261)
- UDP (User Datagram Protocol)
A user sends a REGISTER request to the server. The request includes user’s contact list. The SIP Server validates the user’s credentials and if it succeeds then user is successfully registered and server replies with 200 OK response.
In this flow of control, the caller makes a call through an INVITE request which is handled by the server. The server figures out the correct recipient of the call and forwards it. It also sends back a TRYING 100 response back to the caller. The receiver recognizes the INVITE message and there is a ringing bell on the phone of the receiver. He picks up the call and a successful RTP connection is established between both the users. Any user can drop the call by sending a BYE request to the other user. The other user sends an appropriate ACK response and the session terminates.
When the user who is calling, ends the call then a CANCEL request is sent to the server. The server forwards the CANCEL request to the receiver. Receiver sends an 200 OK and a 487 REQUEST TERMINATED response. The session is then cancelled successfully.
When the receiver terminates the call during the ringing phase, then the caller receives 486 BUSY HERE response. In this scenario, reciever is busy and sends a 486 BUSY HERE response to caller’s INVITE. Note that the non 2xx response is acknowledged on a hop-by-hop basis instead of end-to-end. Also note that many SIP UAs will not return a 486 response, as they have multiple lines and other features.
1. DOWNLOAD PHONER ON CLIENT

2. SET UP NETBEANS 8.0.2 or later with JDK 1.6 or later

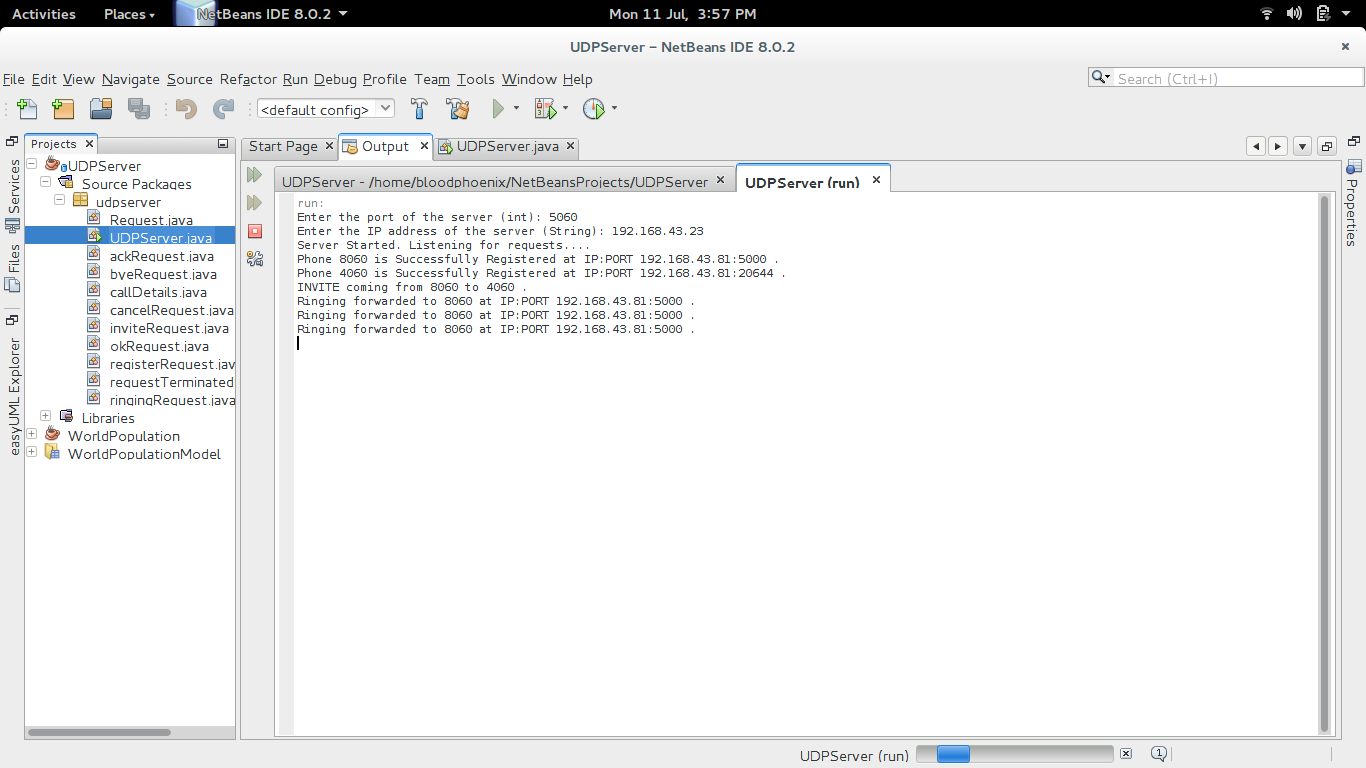
3. RUN THE CODE ON A SERVER SPECIFYING THE PORT AND IP

clients will register one by one...

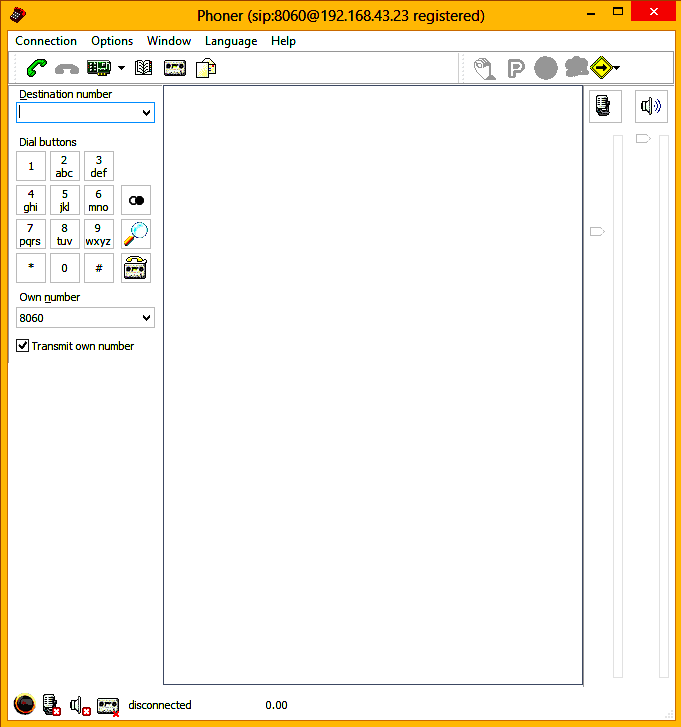
4. RUN PHONER ON CLIENT COMPUTER AND SET SERVER IP AS REGISTRAR
5. NOW DIAL THE NUMBER OF ANY REGISTERED USER AND CALL

6. RTP SESSION IS ETABLISHED WHEN ‘CONNECTED’ IS DISPLAYED

7. CLICK THE RED ‘END CALL’ WHEN FINISHED TALKING
8. LOG SCREEN DURING ‘BUSY HERE’

9. LOG SCREEN DURING NORMAL FLOW

10. LOG SCREEN DURING CANCELATION

Visit me: Rajat Saxena
Contact me: rajat8171@gmail.com