- Import the project in your favorite IDE as maven project
- Review and configure
src/main/resources/application.ymlwith the OIDC client id and secret details
http://localhost:8080/login/oauth2/code/github http://localhost:8080/login/oauth2/code/google http://localhost:8080/login/oauth2/code/gluu http://localhost:8080/login/oauth2/code/azure
You can also build and run the process application with Spring Boot.
- Build the application using:
mvn clean package- Run the *.jar file from the
targetdirectory using:
java -jar target/springboot-oidc-sso-0.0.1-SNAPSHOT.jarFor a faster 1-click (re-)deployment see the alternatives below.
- Build and deploy the process application using:
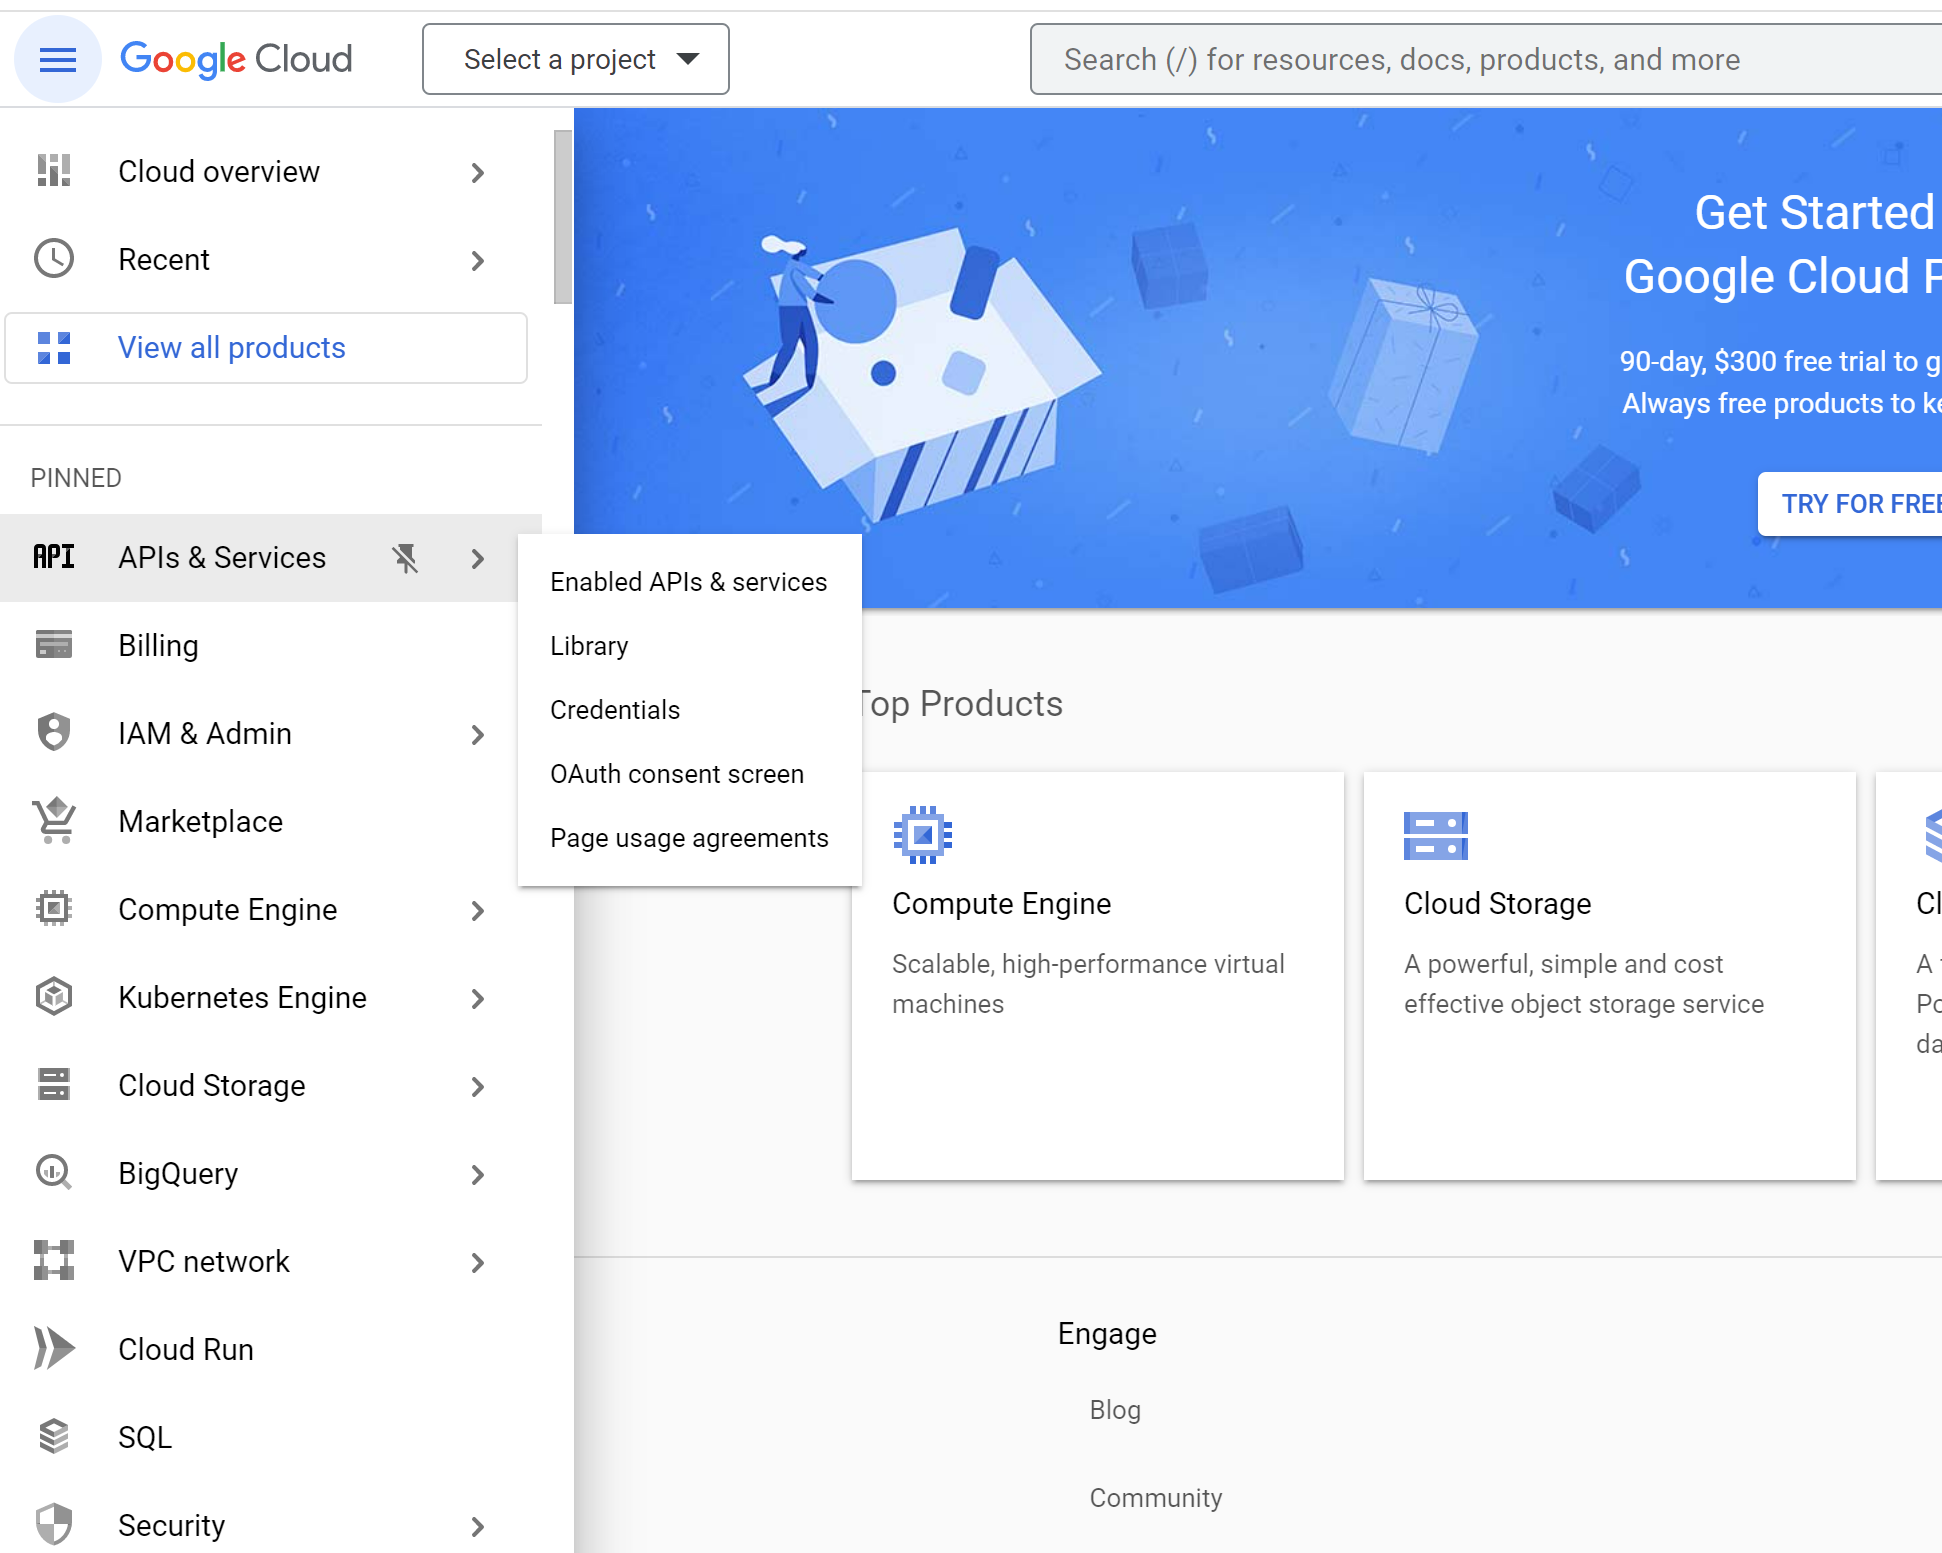
mvn clean package spring-boot:runGo to console.cloud.google.com --> Click APIs & services --> Click Credentials
- Click
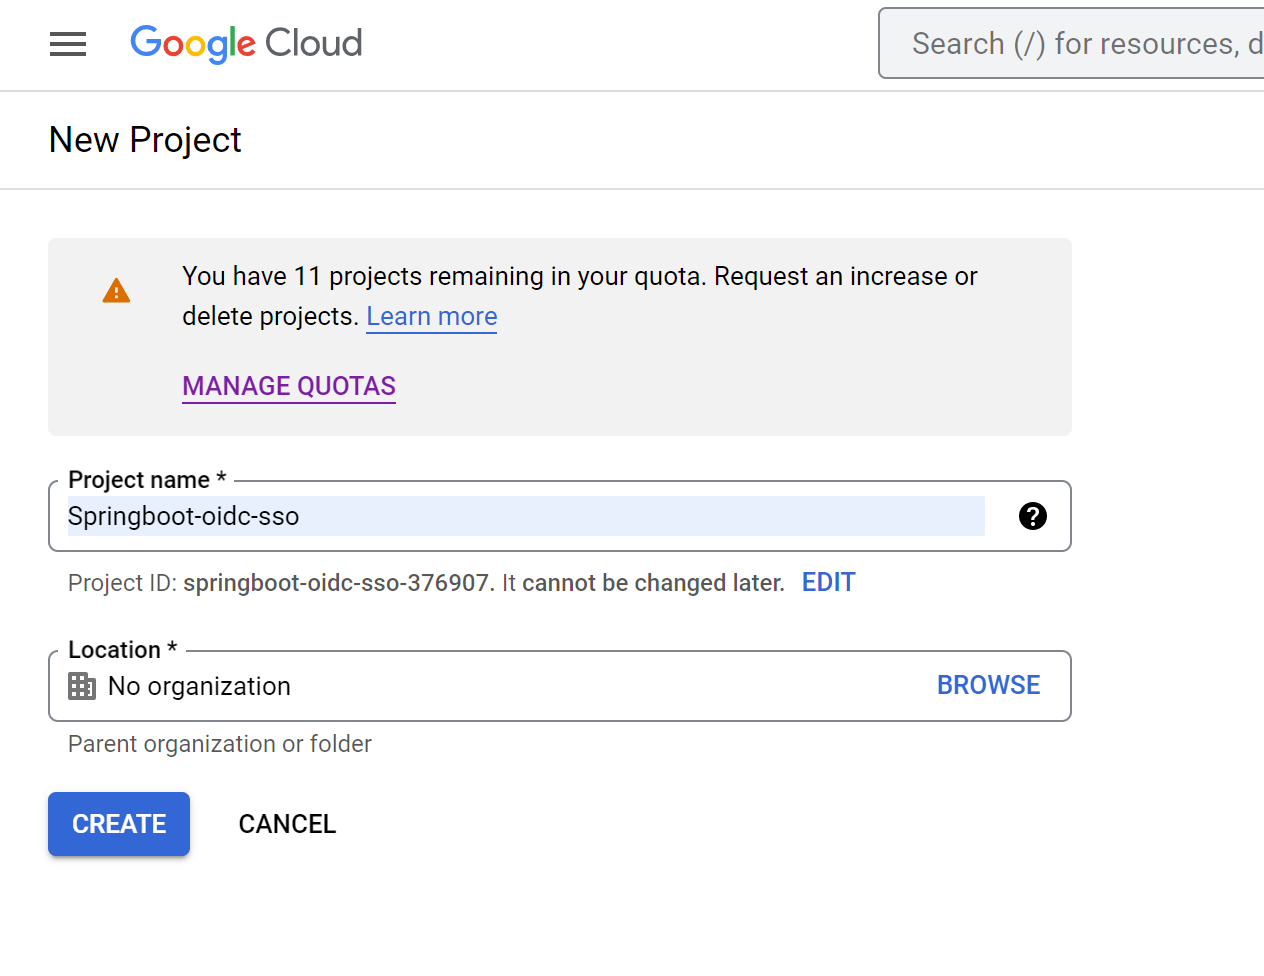
Create Project - Name: springboot-oidc-sso
- Click
Create
- Click
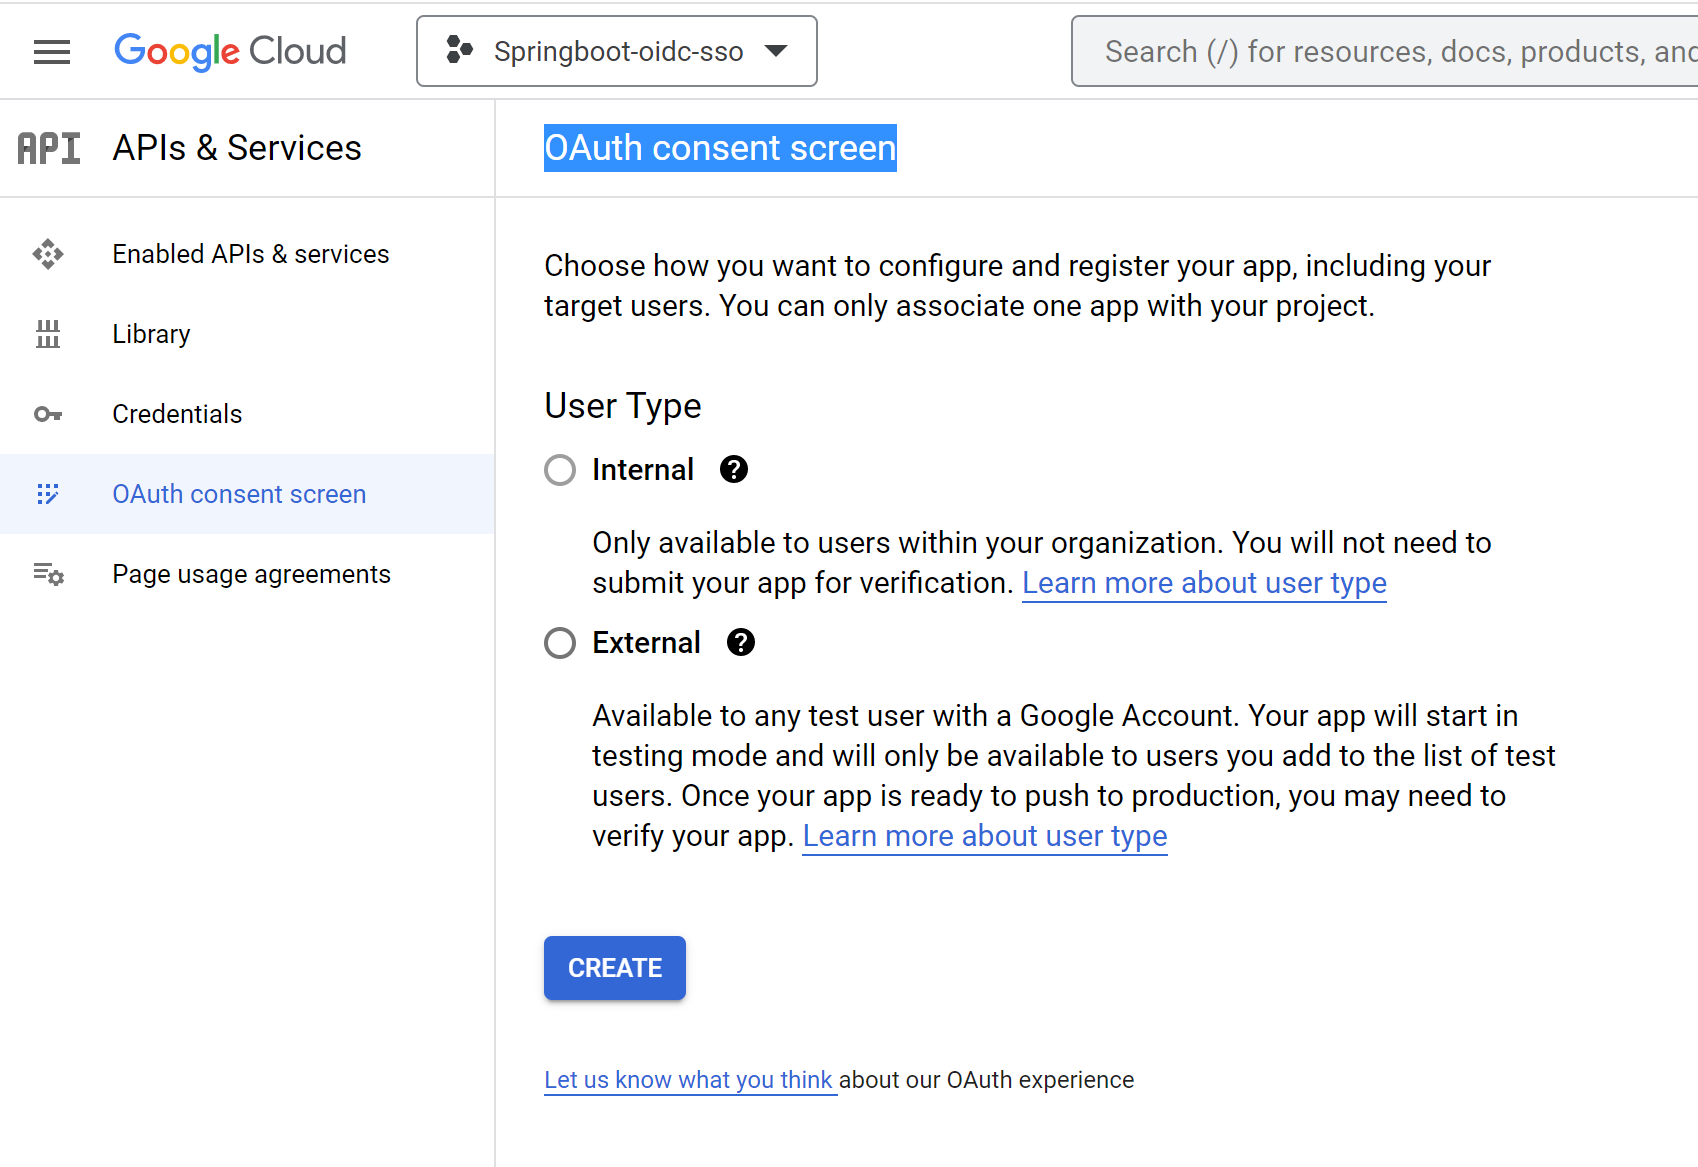
OAuth consent screen - Click
Create
- Click
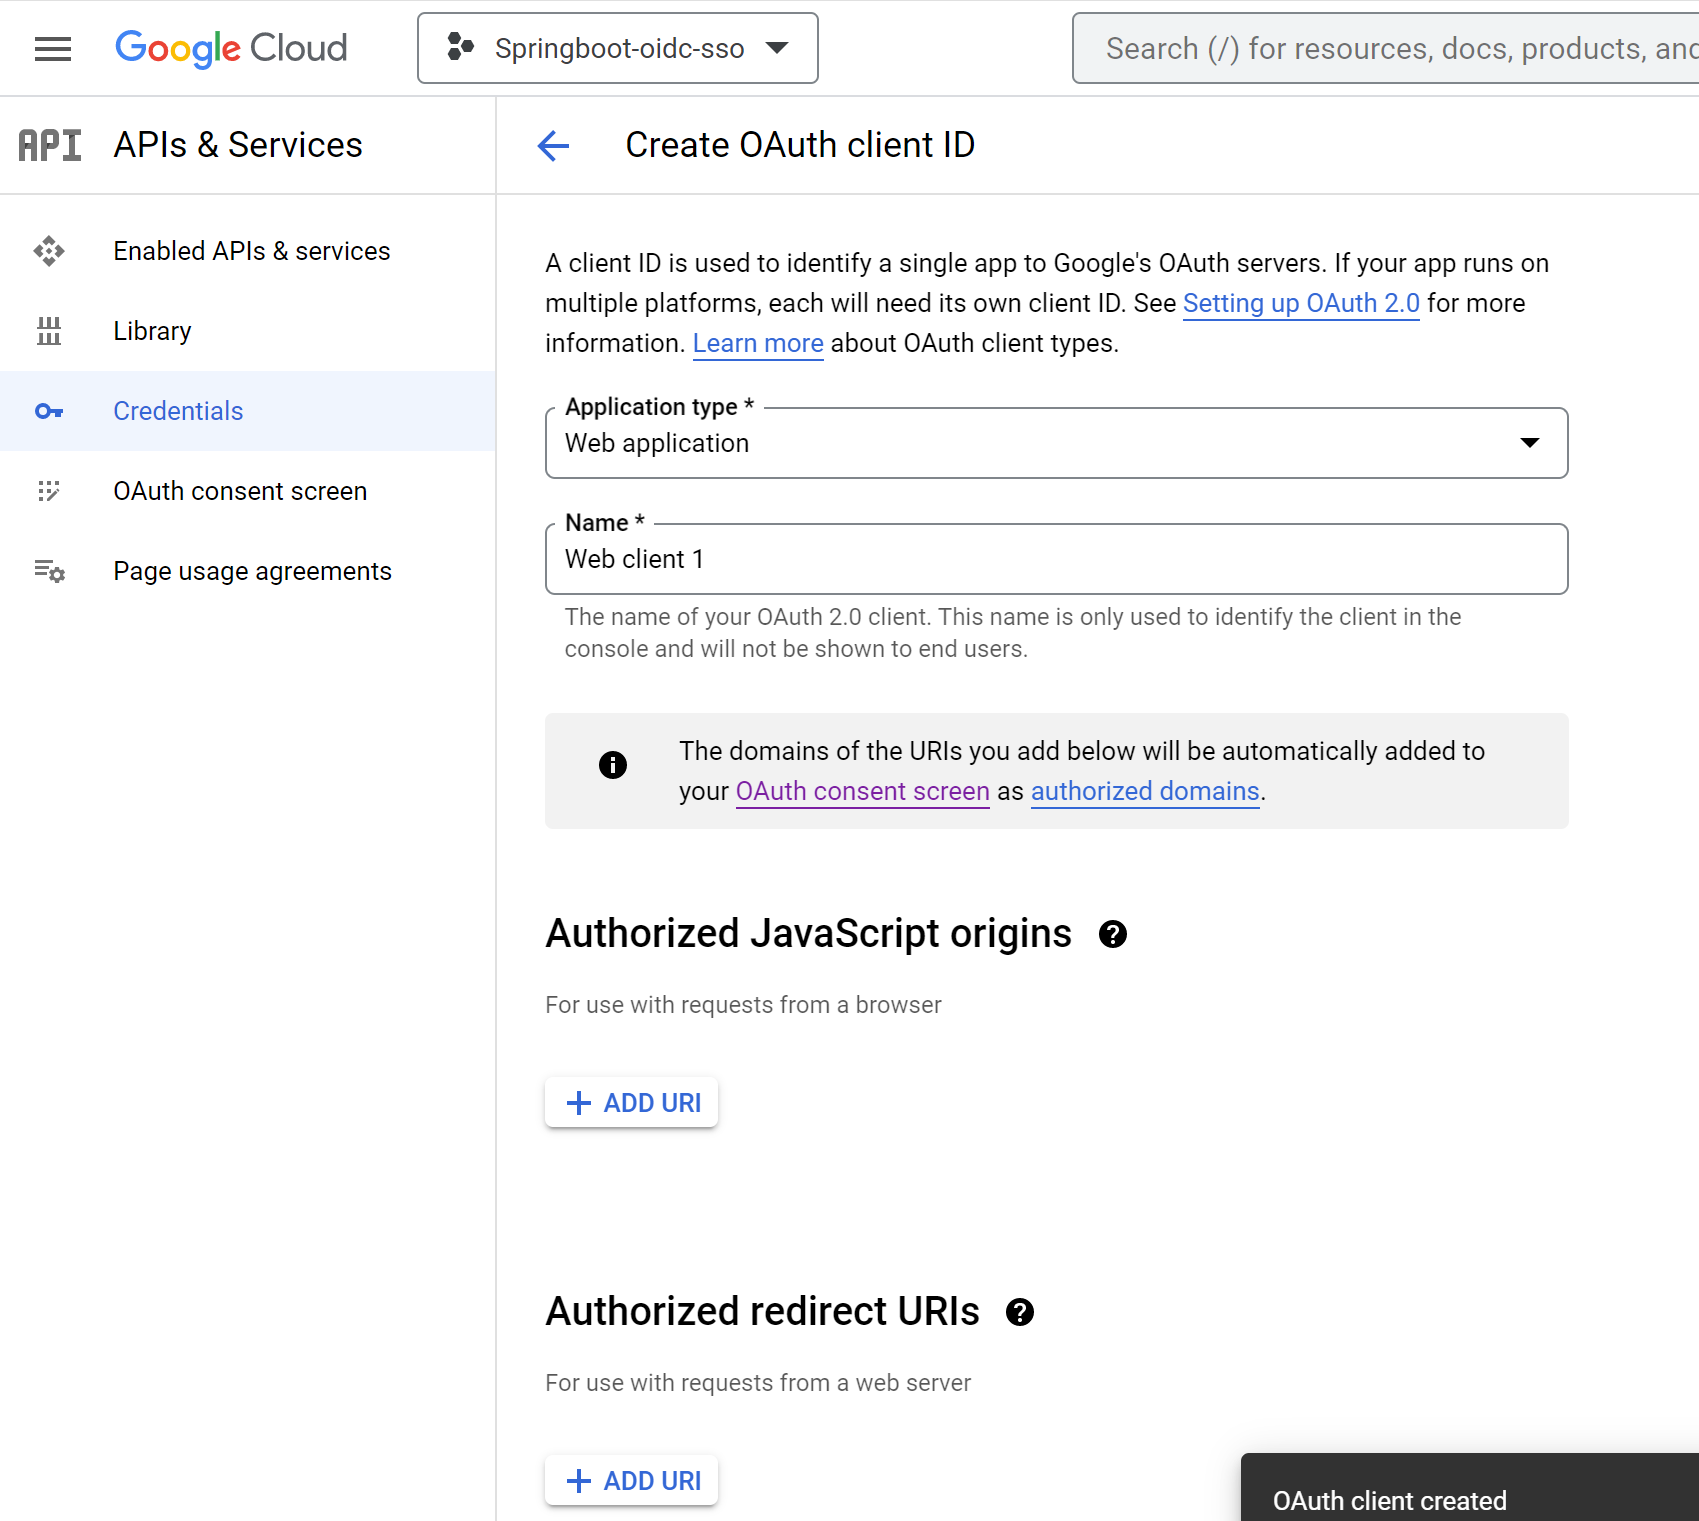
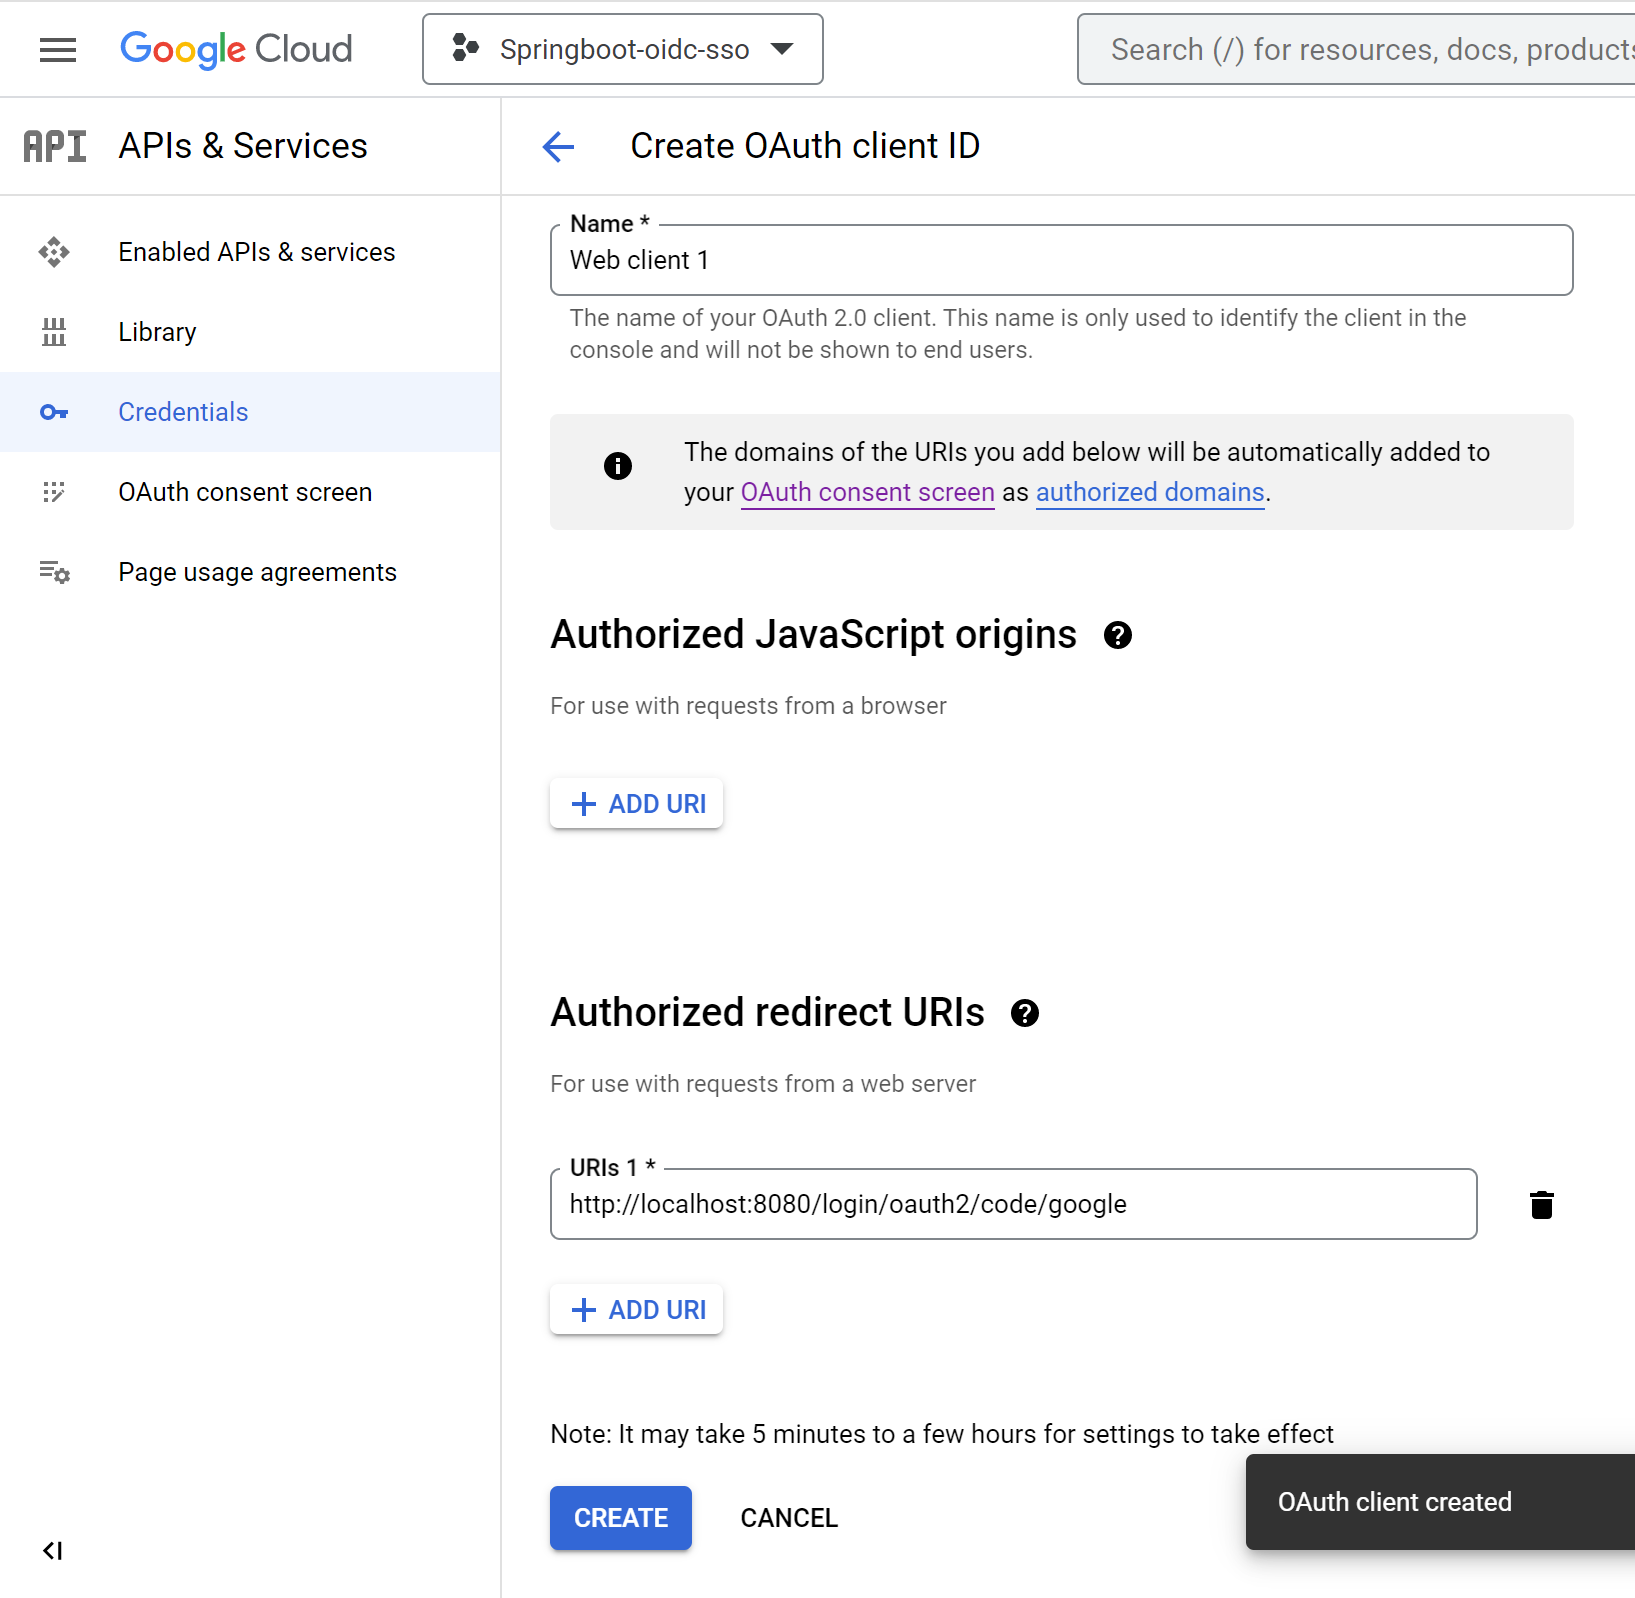
+ Create Credentials - Click
OAuth client ID - Select Application Type
Web application
- Enter
Authorized redirect URIs--> ClickAdd URI - Redirect URI (optional): Web - http://localhost:8080/login/oauth2/code/google
- Click
Create
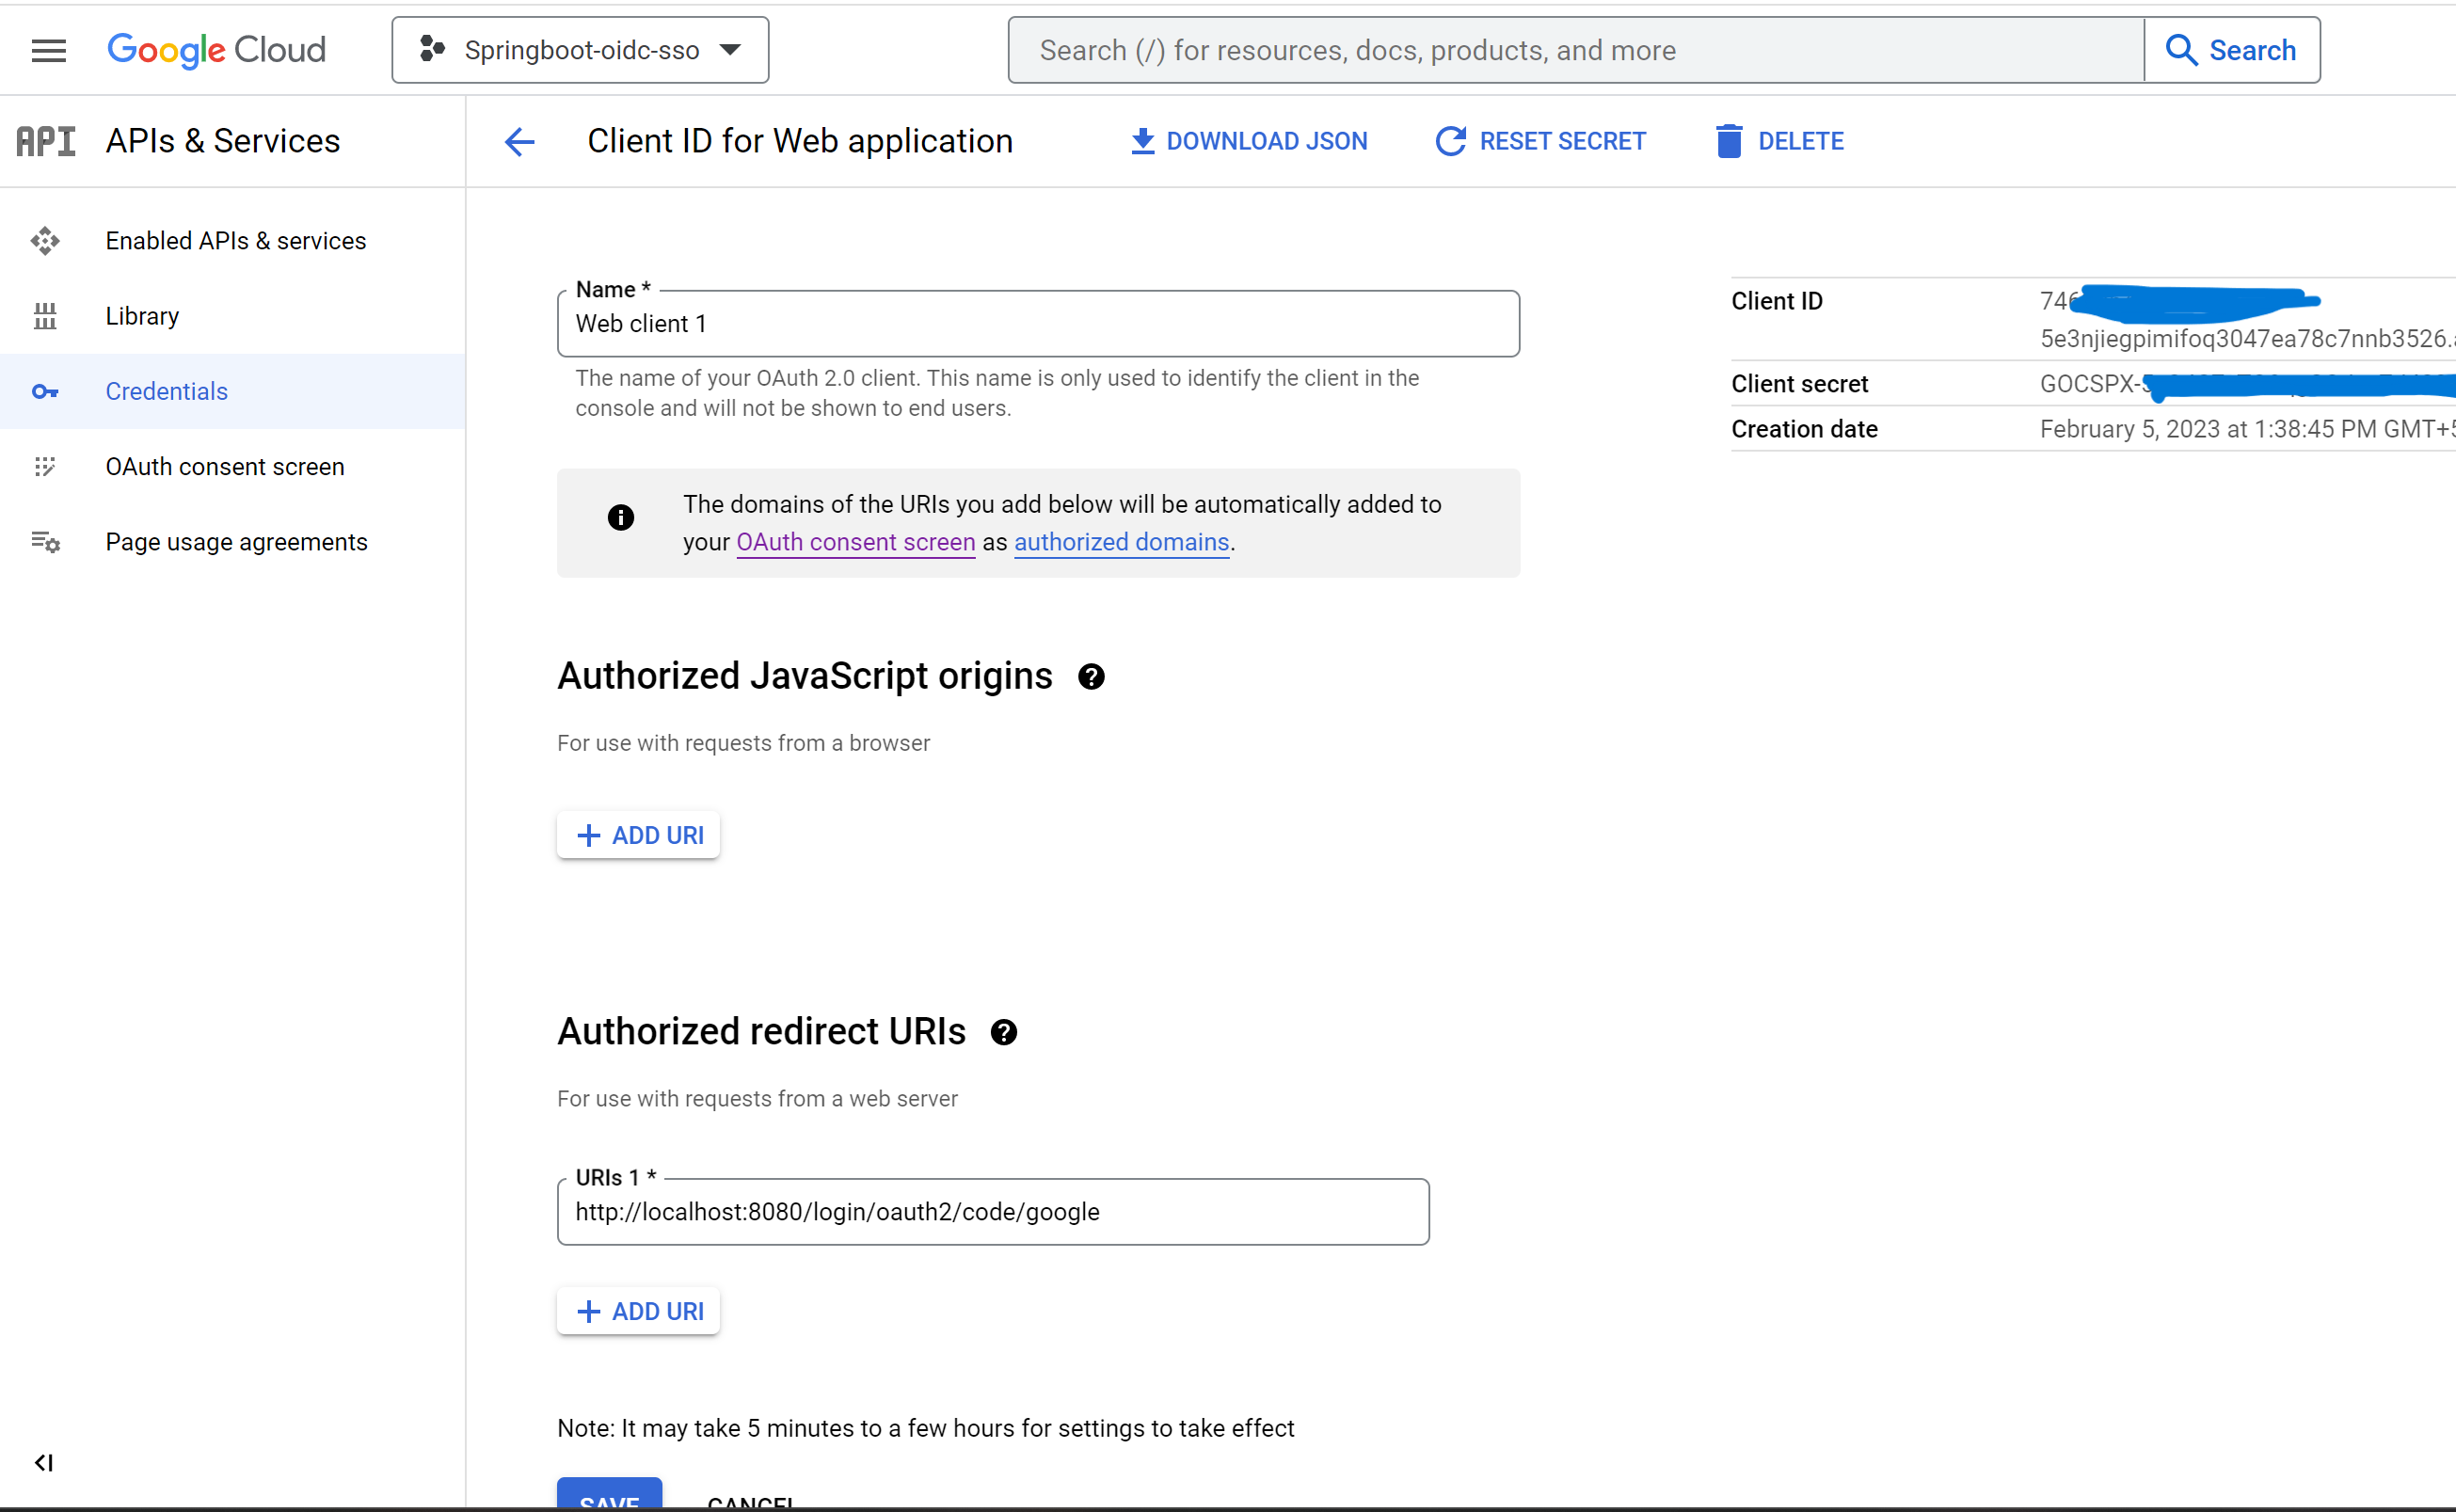
- Click
OAuth web client
- copy
Client IDand update inapplication.ymlatspring.security.oauth2.client.registration.google.client-id - Copy secret
Client secretand update inapplication.ymlatspring.security.oauth2.client.registration.google.client-secret
- GoTo
Settings-->Developer Settings-->OAuth Apps--> clickNew OAuth App - Set these values
Application name: springboot-oidc-sso
Homepage URL: http://localhost:8080
Authorization callback URL: http://localhost:8080/login/oauth2/code/github
- Click
Create Application - Take
Client IDand update it inapplication.ymlatspring.security.oauth2.client.registration.github.client-id - Click
Generate a new client secret - Copy the secret and update it in
application.ymlatspring.security.oauth2.client.registration.github.client-secret - Click
Update Application - (Re)Start the SpringBoot application
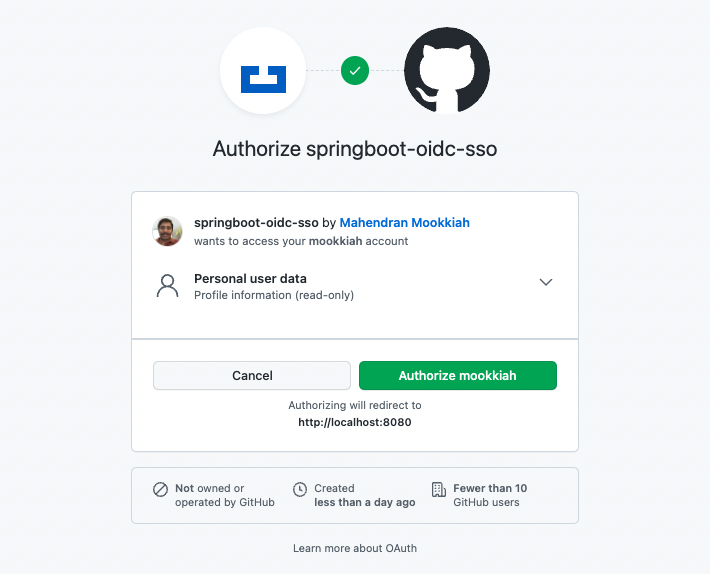
When you(the user) login first time you will see the authorization screen like below...
Once authorized, the application logged in and it has the user information. Read the logs to understand the call exchanges
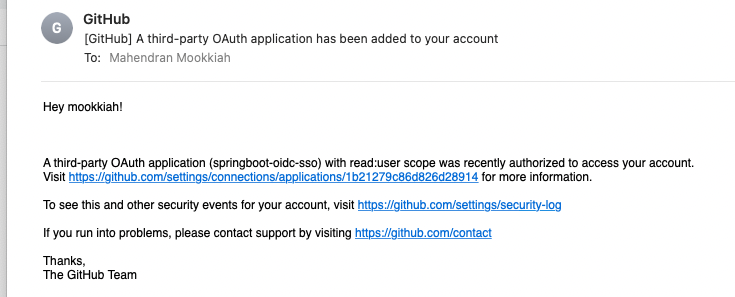
GitHub will send email about the authorization like below
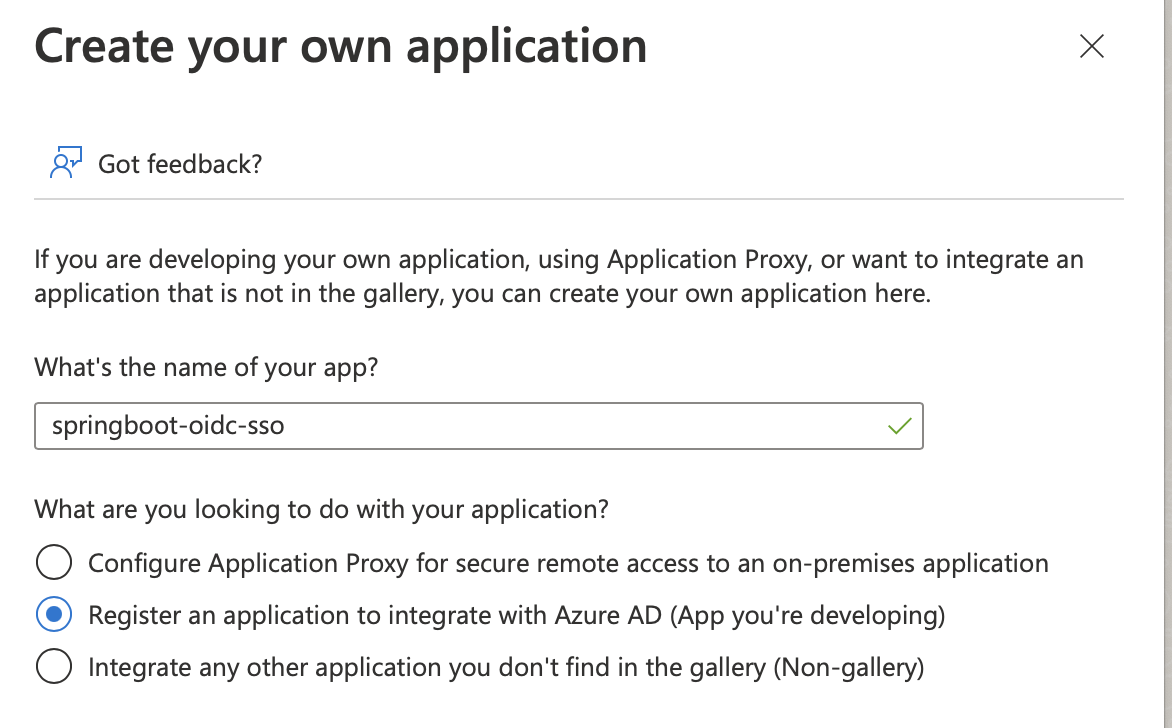
Go to portal.azure.com --> Azure Active Directory --> App registrations --> New registration -->
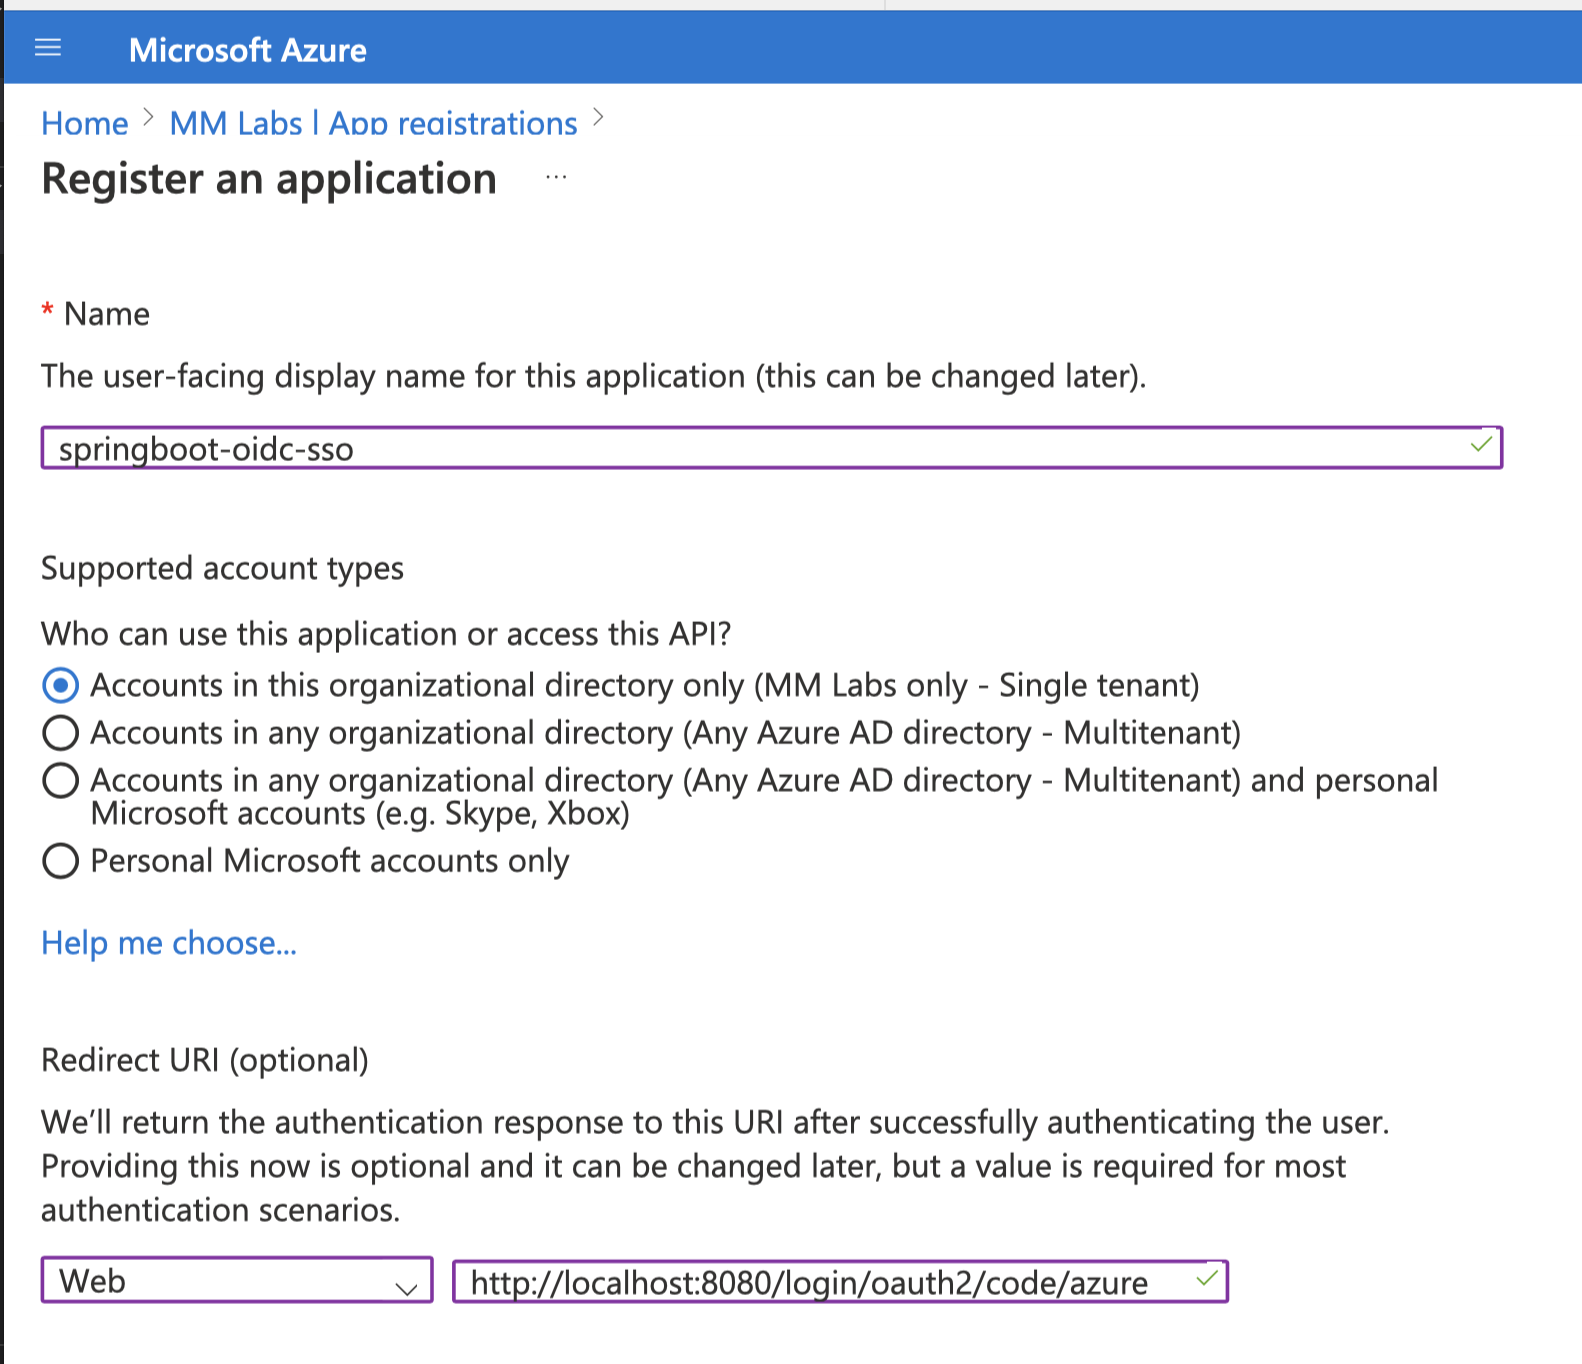
- Register the application
Name: springboot-oidc-sso
Redirect URI (optional): Web - http://localhost:8080/login/oauth2/code/azure
- Click
Register
-
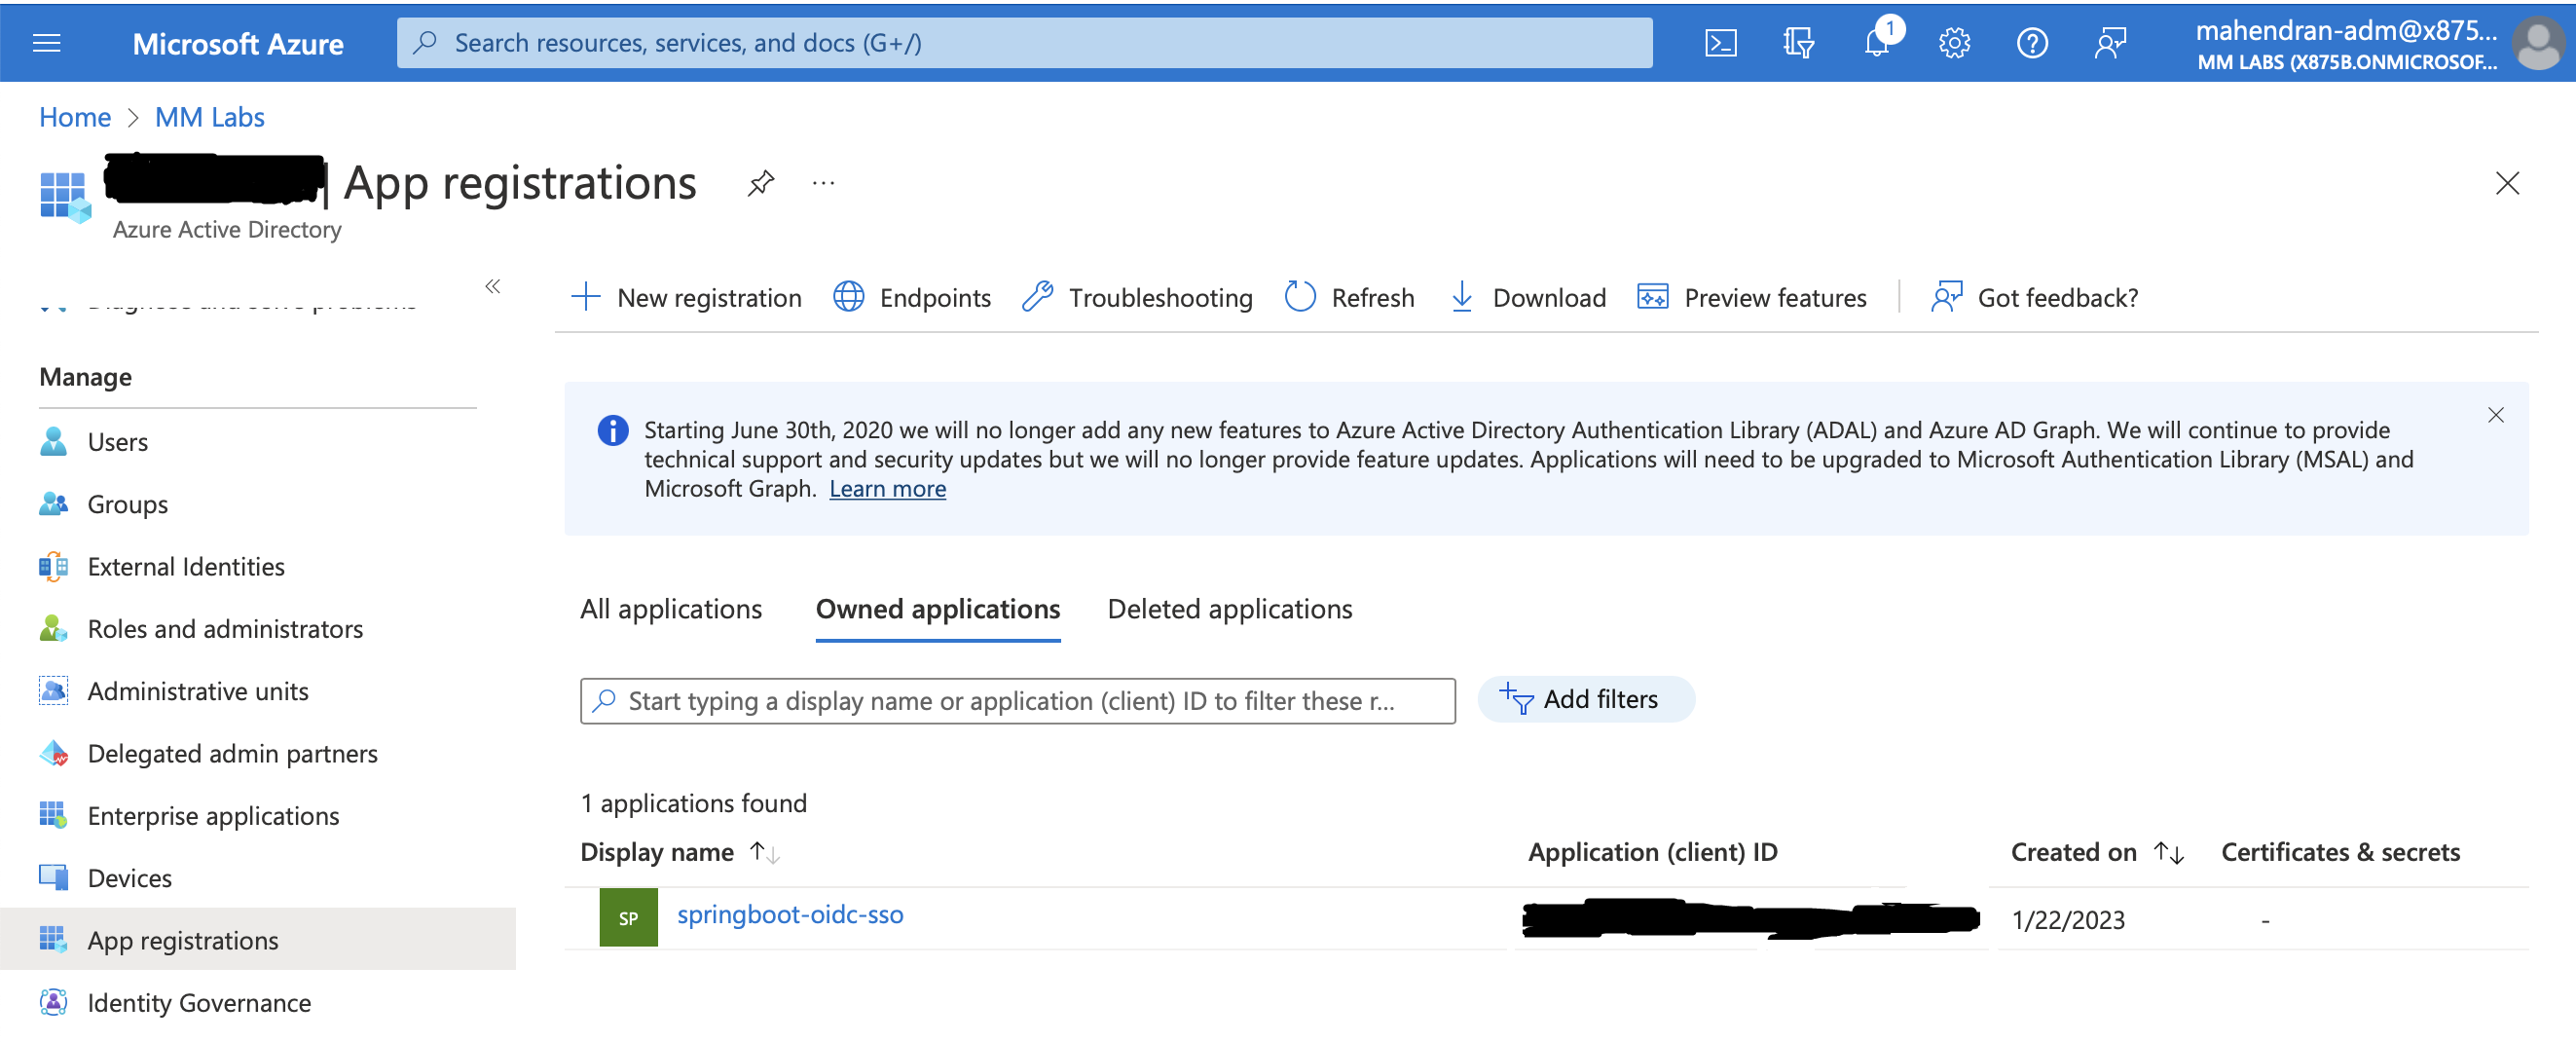
copy
Application (client) IDand update inapplication.ymlatspring.security.oauth2.client.registration.azure.client-id -
Click
Add a certificate or secret -
Click
New Client Secret -
Give a description and choose an expiration period.
-
click
Add -
Copy secret
valueand update inapplication.ymlatspring.security.oauth2.client.registration.azure.client-secret -
Go to application
Click Endpoints, copy the value of OpenID Connect metadata document and update it in application.yml at spring.security.oauth2.client.provider.azure.issuer-uri
Take the client ID and Secret from the application details page
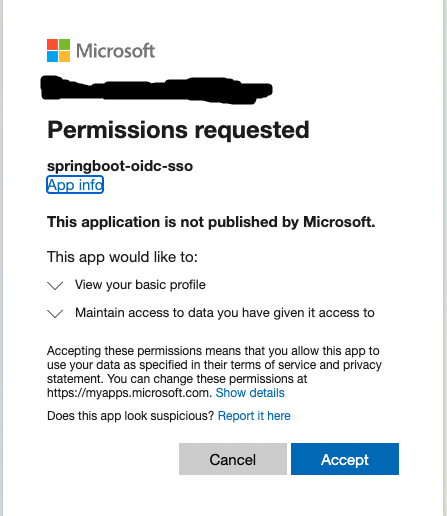
When you(the user) login first time you will see the authorization screen like below...
-
Add client credentials to generate secret.
-
(Re)Start the SpringBoot application
The default redirect URI template is {baseUrl}/login/oauth2/code/{registrationId}
