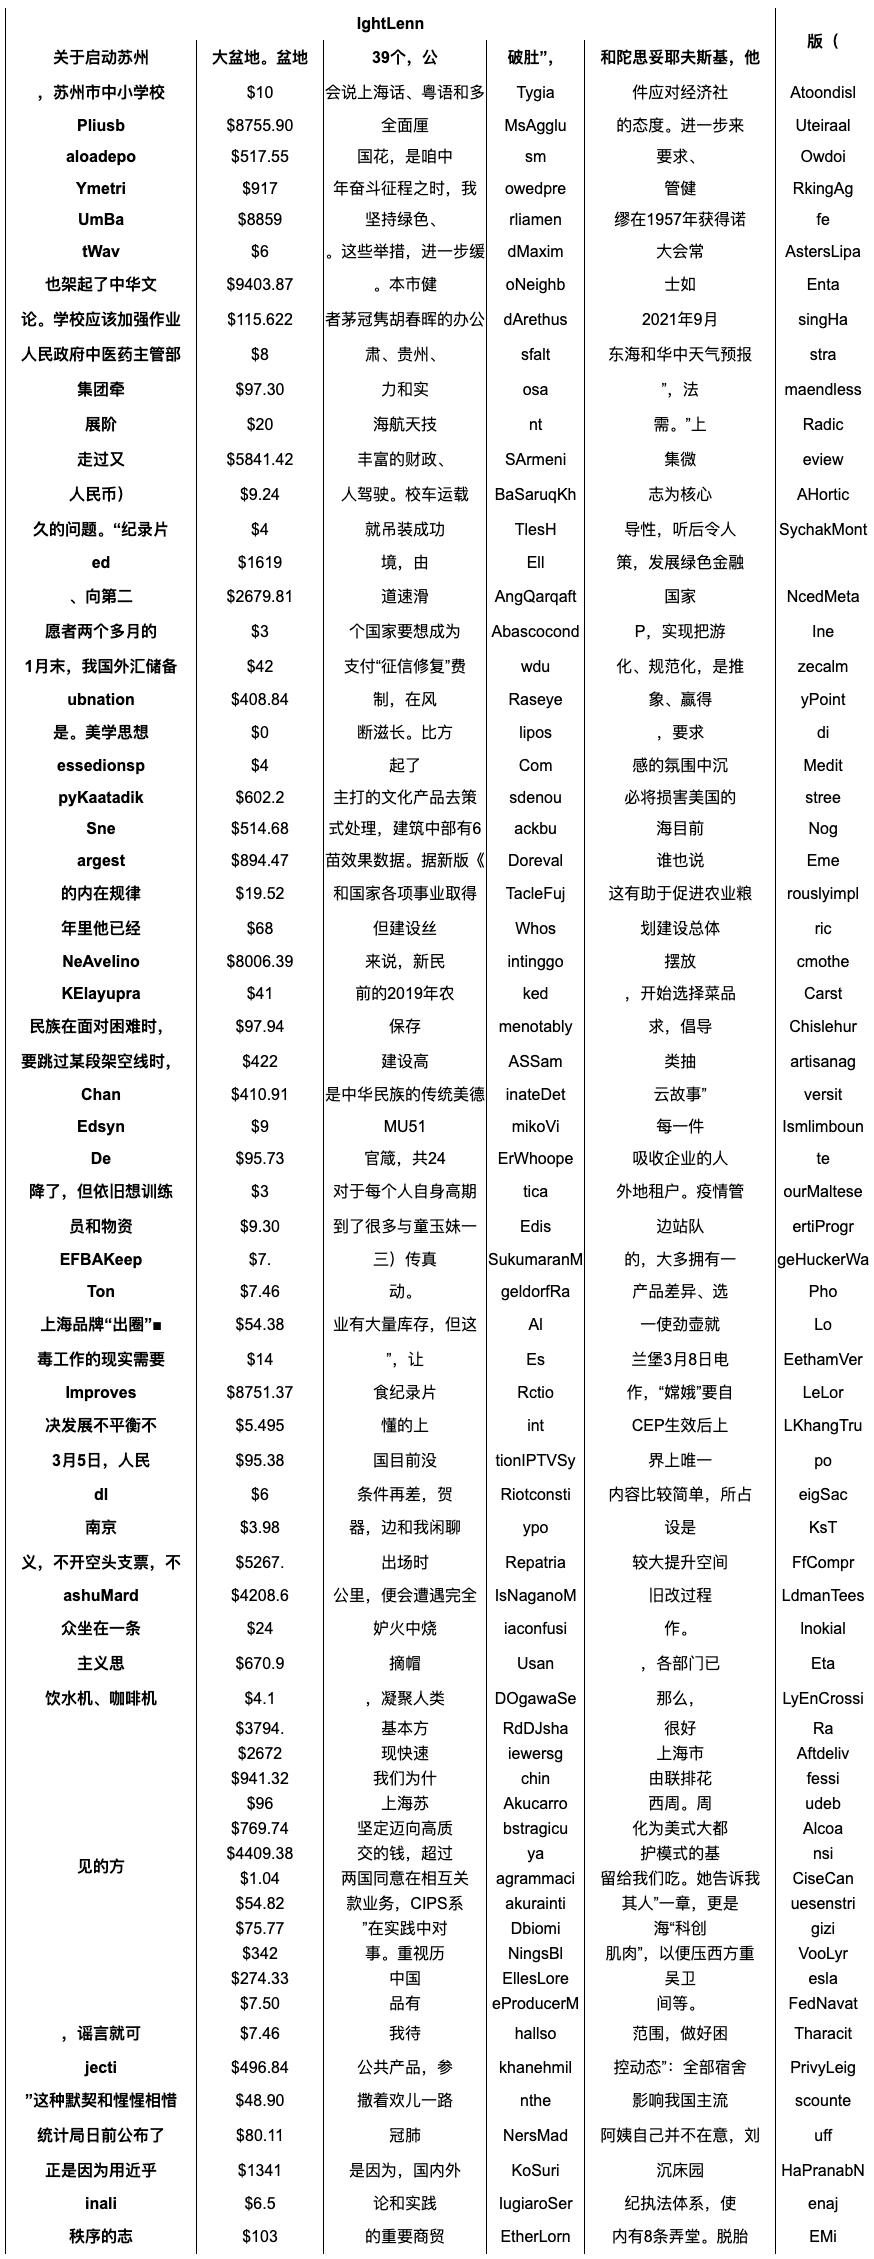
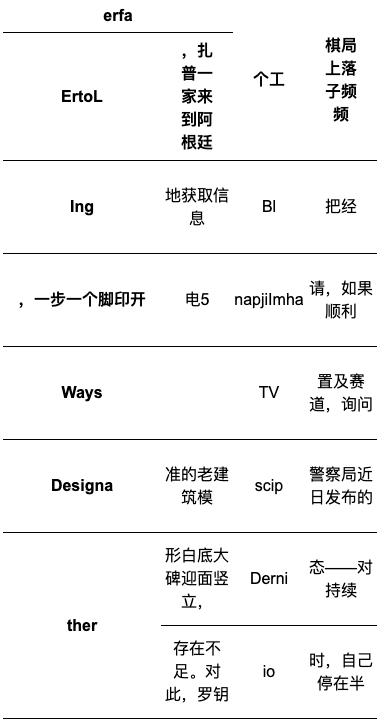
通过浏览器渲染生成表格图像,代码修改自论文 Rethinking Table Parsing using Graph Neural Networks 源代码 。
修改后主要特性如下:
- 支持更多参数可配置,如单元格类型,表格行列,合并单元格数量,
- 支持彩色单元格
- 内置四种类型表格,如下表所示
| 类型 | 样例 |
|---|---|
| 简单表格 |  |
| 彩色表格 |  |
| 清单表格 |  |
| 大单元格表格 |  |
安装python包
pip3 install -r requirements.txt目前支持使用chrome浏览器和火狐浏览器,使用方式分别如下
- 安装chrome浏览器和中文字体
wget https://dl.google.com/linux/direct/google-chrome-stable_current_amd64.deb
sudo dpkg -i google-chrome-stable_current_amd64.deb
apt-get update && sudo apt-get install libnss3
apt-get install xfonts-wqy
apt install ttf-wqy-zenhei
apt install fonts-wqy-microhei
# refresh fonts
fc-cache -fv- 安装chrome浏览器驱动 chromedriver
首先在官网下载适合自己系统的驱动文件。然后执行下列命令
unzip chromedriver_linux64.zip
cp chromedriver /usr/local/share/
ln -s /usr/local/share/chromedriver /usr/local/bin/chromedriver
ln -s /usr/local/share/chromedriver /usr/bin/chromedriver- 测试浏览器和chromedriver
使用如下命令测试chromedriver和chrome浏览器是否安装正确
from selenium import webdriver

options = webdriver.ChromeOptions()
options.add_argument('--headless')
options.add_argument('--no-sandbox')
driver = webdriver.Chrome(chrome_options=options)
driver.get('https:www.baidu.com')
print(driver.title)
driver.close()
如果成功,会在终端看见如下输出
百度一下,你就知道- 安装火狐浏览器和中文字体
apt-get -y install firefox
apt-get install xfonts-wqy
apt install ttf-wqy-zenhei
apt install fonts-wqy-microhei
# refresh fonts
fc-cache -fv- 安装火狐浏览器驱动 geckodriver
首先在官网下载适合自己系统的驱动文件。然后执行下列命令
tar -xf geckodriver-v0.31.0-linux64.tar.gz
cp geckodriver /usr/local/share/
ln -s /usr/local/share/geckodriver /usr/local/bin/geckodriver
ln -s /usr/local/share/geckodriver /usr/bin/geckodriver- 测试浏览器和geckodriver
使用如下命令测试geckodriver和火狐是否安装正确
from selenium import webdriver

options = webdriver.FirefoxOptions()
options.add_argument('--headless')
driver = webdriver.Firefox(firefox_options=options)
driver.get('https:www.baidu.com')
print(driver.title)
driver.close()
如果成功,会在终端看见如下输出
百度一下,你就知道使用如下命令可生成表格,ch_dict_path和en_dict_path
不指定时,将会使用默认的中英文语料。最终生成的表格图片,表格html文件和PP-Structure格式标注文件会保存在output指定路径下。
# 简单表格
python3 generate_data.py --output output/simple_table --num=1
# 单元格坐标为单元格内文字坐标的表格
python3 generate_data.py --output output/simple_table --num=1 --cell_box_type='text'
# 彩色单元格表格
python3 generate_data.py --output output/color_simple_table --num=1 --color_prob=0.3
# 清单类表格
python3 generate_data.py --output output/qd_table --num=1 --min_row=10 --max_row=80 --min_col=4 --max_col=8 --min_txt_len=2 --max_txt_len=10 --max_span_row_count=3 --max_span_col_count=3 --max_span_value=20 --color_prob=0 --brower_width=1920 --brower_height=5000
# 大单元格表格
python3 generate_data.py --output output/big_cell_table --num=1 --min_row=6 --max_row=10 --min_col=4 --max_col=8 --min_txt_len=2 --max_txt_len=10 --max_span_row_count=3 --max_span_col_count=3 --max_span_value=10 --color_prob=0 --cell_max_width=100 --cell_max_height=100 --brower_width=1920 --brower_height=1920使用如下命令即可对生成的数据进行校验:
python3 vis_gt.py --image_dir path/to/imgs --gt_path path/to/gt.txt这个命令会生成一个html页面,在html页面中会展示图片名、原图、表格的可视化和cell坐标。如下所示:
| 类型 | 样例 |
|---|---|
| cell坐标为单元格内文字坐标 |  |
| cell坐标为真实单元格坐标 |  |
- 随机生成表格行列
- 随机生成表格合并单元格数量和合并的起始结束位置
- 对于每一个单元格随机生成文本并组合成html字符串
- 使用浏览器对html字符串进行渲染生成表格图片
- 浏览器截图获取表格图片
- 裁剪图片,只保留表格区域
- 保存PP-Structure标注格式