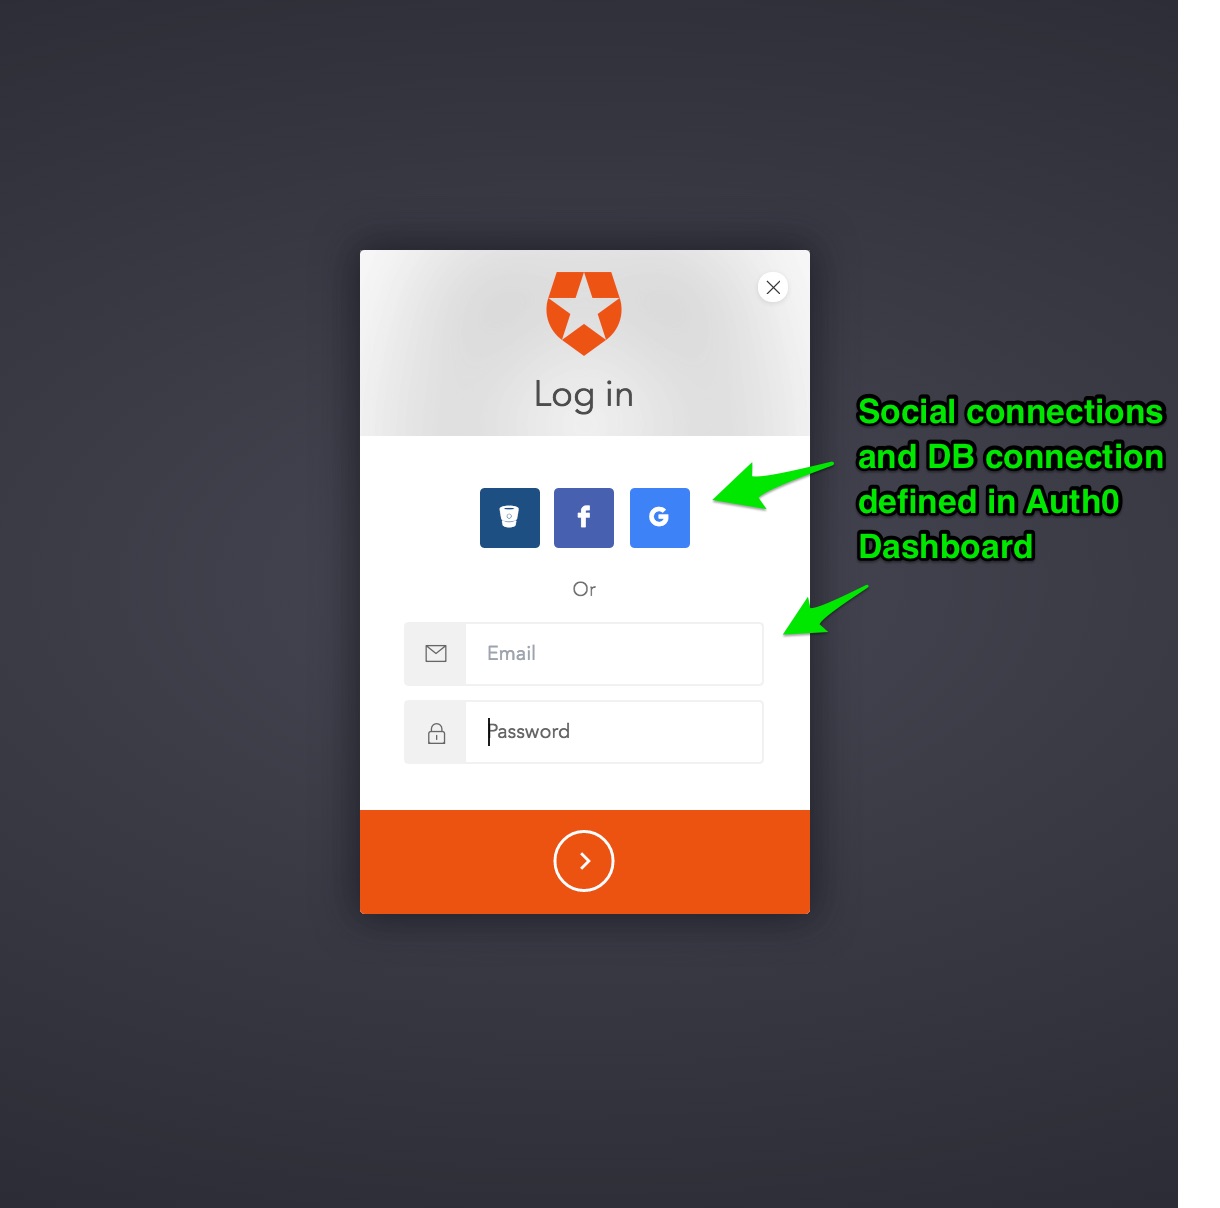
This is a companion sample for the Auth0 Spring MVC library. Please refer to that library and documentation for further information specific to the library itself.
Allows you to use Auth0 with Java Spring for server-side MVC web apps. Leverages Spring Boot dependencies. Validates the JWT from Auth0 in every API call to assert authentication according to configuration. If your application only needs secured endpoints and the ability to programmatically work with a Principal object for GrantedAuthority checks this library is a good fit. However, if you are already using Java Spring and wish to leverage fully Java Spring Security - with powerful support for Security Annotations, Security JSTL Tag libraries, Fine-grained Annotation level method security and URL endpoint security at the Role / Group level - then see this project Auth0 Spring Security MVC and associated sample Auth0 Spring Security MVC Sample
In order to run this example you will need to have Java 7+ and Maven installed.
Check that your maven version is 3.0.x or above:
mvn -vThis project relies upon Spring Boot.
Benefits of Spring Boot, in particular for traditional server-side web application / microservices architectures:
Automatic configuration - Spring Boot can automatically provide configuration for application functionality common to many Spring applications.
Starter dependencies - Tell Spring Boot what kind of functionality you need, and it will ensure that the libraries needed are added to the build.
Command-line interface - Optional feature of Spring Boot lets you write complete applications with just application code, but no need for a traditional project build.
The Actuator - Gives you insight into what's going on inside of a running Spring Boot application.
Create an Auth0 Account (if not already done so - free!).
Create an application - for the purposes of this sample - app
Ensure you add the following to the settings.
Allowed Callback URL:
http://localhost:3099/callback
Ensure you add the following to the settings.
Allowed Logout URLs:
http://localhost:3099/logout
Add one or more connections to your application - for instance Google Social Connection,
or username-password DB connection.
Enter your:
auth0.domain, auth0.issuer, auth0.clientId, and auth0.clientSecret information into src/main/resources/auth0.properties.
Note:
auth0.issuer should have the value https://YOUR_DOMAIN.auth0.com/ (the trailing slash is important).
For example, if your auth0.domain is example.auth0.com then auth0.issuer should have value https://example.auth0.com/.
In order to build and run the project execute:
mvn spring-boot:runThen, go to http://localhost:3099/login.
The 01-Login step comes with a docker maven plugin configured to
run this sample as an executable war file.
Entirely optional of course, if you'd like to run this sample inside a docker container then first please ensure you have Docker installed on your local machine.
From the Auth0 Dashboard, update your allowed callbacks URL, using the IP address of your docker machine
(use docker-machine ip). For example,
http://192.168.99.100:3099/callback
Run:
mvn clean package docker:build
Now, when you issue docker images, you should see a fresh image called auth0/auth0-spring-mvc-sample
Next, run:
docker run -it -p 3099:3099 auth0/auth0-spring-mvc-sample
This runs docker in interactive terminal mode, maps the port 3099 on your local machine to port 3099 inside
the docker container. All going well, you should see the usual output on the terminal, similar to running locally,
however start up time may be significantly longer.
Next, in your web browser, go to:
http://192.168.99.100:3099/login
If you want to take a look inside the container, run docker ps -a, note the container id of this sample, and then run:
docker exec -t -i <container id> /bin/bash
It is that simple to have this sample running in a docker container!
Finally, in addition, using Spring Boot actuator we can easily verify various health and performance statistics for our running application.
Here are just a few of the available endpoints:
http://localhost:3099/metrics
http://localhost:3099/health
http://localhost:3099/mappings
http://localhost:3099/env

