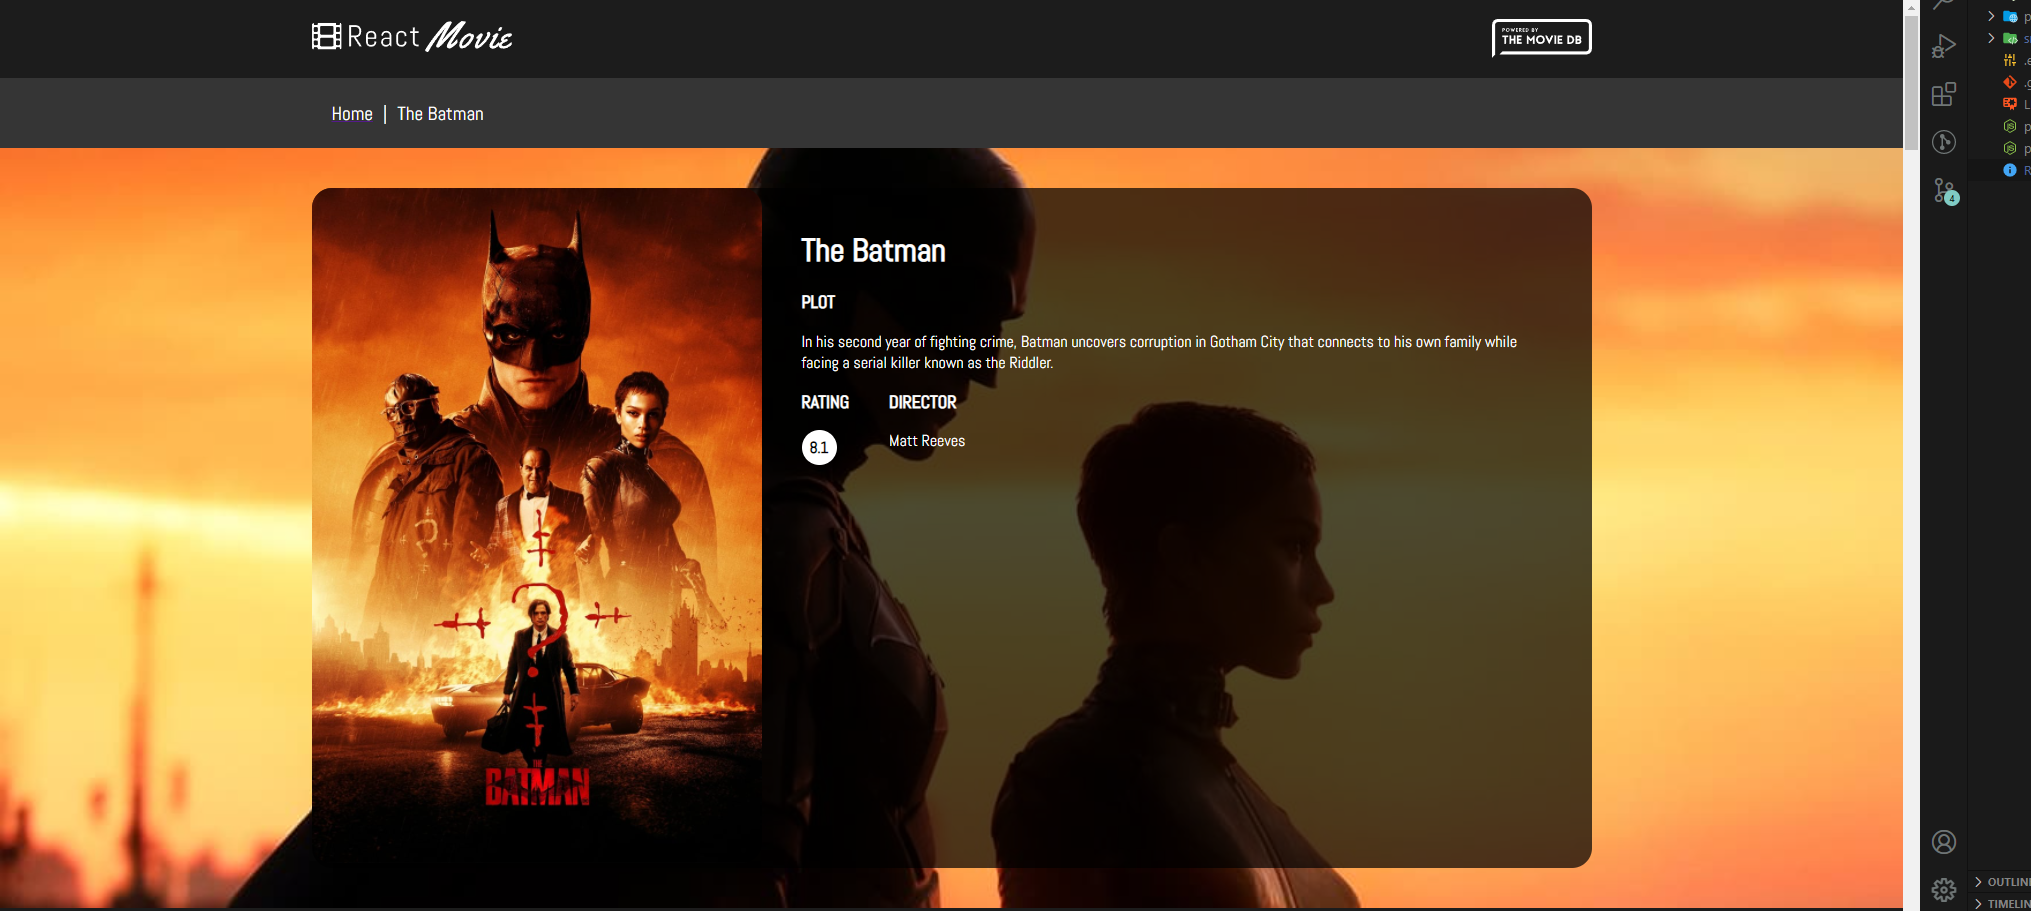
This project handles the free movie updates API from movie db website. You can search any kind of movie to see it's background (Title, plot, rating, grid of actors, etc) on Movie view, you can login using local data on local storage.
-
React.
-
React router dom.
-
Browser's Local Storage.
-
Styled components.
-
Movie db API.
⭐ Live Demo ⭐
To get a local copy up and running follow these simple example steps:
-
On the project, GitHub page, navigate to the main page of the repository
-
Click on a button named
code -
Copy the project URL as displayed on HTTPS tab
-
If you're running Windows Operating System, open your command prompt. On Linux, Open your terminal
-
Change the current working directory to the location where you want the cloned directory to be made. Leave as it is if the current location is where you want the project to be.
-
Type
git clone, and then paste the URL you copied in Step 3.$ git clone git@github.com:mrigorir/react-theater.gitPress Enter key -
Your local copy will be created.
-
Please note that you must have Git installed on your PC, this can be done here
-
After you get the project aiming to the desired directory, you need now to install dependencies by running npm install.
To make sure the linters' checks using Github Actions work properly, you should follow the next steps:
-
On your recently forked repo, enable the GitHub Actions in the Actions tab.
-
Create the
feature/branchand push. -
Start working on your milestone as usual.
-
Open a PR from the
feature/branchwhen your work is done.
-
Make sure you have npm and node installed.
-
I recommend the use of VS code as a code editor, but you can use any code editor.
-
Run in your terminal
npm startORyarn startto see the run the app in your default browser. -
You should see the todo form ready to be used.
-
Add a name for the task owner (description is optional).
-
hit create button to create your todo.
-
You can either check it when DONE or remove it by hitting the trash icon.
👤 Marco Parra
- GitHub: @mrigorir
- Twitter: @marcoparra311
- LinkedIn: @marco-alonso-parra
Contributions, issues, and feature requests are welcome!
Feel free to check the issues page
Give a ⭐️ if you like this project!
- Creation inspired on this React course
This project is MIT licensed.
