Welcome to VetManager®! VetManager® is a service which allows you to manage your veterinary practice easily. You can have an ordered storage with all things that matters: clients, pets, inventory, appointments, diagnoses…
Your clients can request appointments online even adding some info/pictures about their pet problem so you can have an approach to the problem before they arrive to your clinic.
Once you are attending them, you have the option to store everything you need without losing the focus on your daily work, the service is almost transparent to you, you can configure what data you need to save and its order.
The web portal will be designed as responsive, so you or your clients can use it in your laptop, tablet, phone, desktop computer... The only thing you need is: internet access or a server running our VetManager® core.
IntelliSearch®: What are you looking for? Just type it! (Name, ID, Last Name, phone…)

The endpoint is the same whoever you are, your clients can access to their pet history (or not, depending your configuration) introducing some personal data.
Based on the role, you have the following capabilities:
As veterinary:
- Manage all your clients, adding or updating them.
- View and configure the appointments
- Register the appointment's details
- Manage your inventory and customize the reminders in order to avoid out of stock situations.
- Check pets history.
As client:
- Request new appointments
- Check your pet history
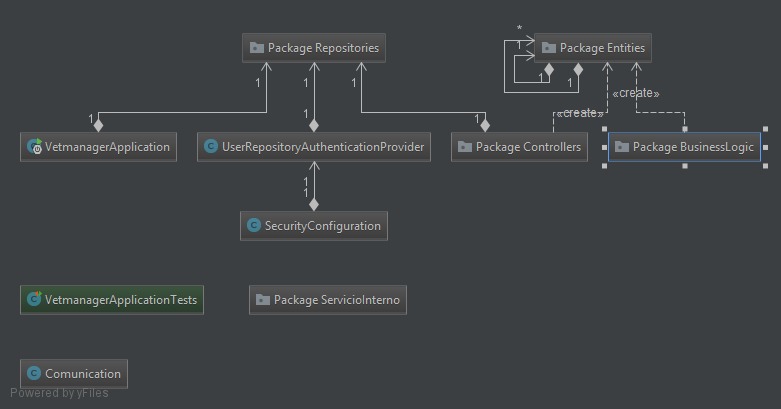
- Owner Personal info about client: name, owned pets, contact data…
- Appointment (N:1 Pet) Data containing appointment date, pet involved, subject…
- Pet (1:1 Client)
- Pet details
- Anamnesis / Diagnosis / Treatment (N:1 Pet)
- Inventory List of vaccines, equipment… All the stuff used in the veterinary practice that may be wasted in time or have a maximum date to be used.
- Personnel (N:N Pet appointment)
- Settings All settings related with the veterinary clinic: Appointment configuration, veterinary practice name, reminders settings, opening hours, contact info…
- Emailing service for appointment reminders
- Access based on roles
- mongoDB for Managers
- MaterializeCSS (Frontend)
-
Generate Artifacts: Execute
mvn package -DskipTestsfor each microservice and the webapp -
Build docker images: Now we need generate our local Docker images for each microservice and the web app with this Docker command:
docker build -t name:version . -
Run local version: In the webapp parent directory execute
docker-compose upit will configure an initial installation of the whole requirements needed to start the app:- MariaDB Server
- mongoDB Server
- internal REST microservice
- multiple webapp instances
- HAProxy configured as load-balancer with TCP redirections to each instance of the webapp (this is the only container exposed to localhost)
-
Run distributed/production version: As we use Docker to deploy in local, using Dockerfile to deploy in production is a good idea also. You need to edit each Dockerfile environment variables and match to your resources private IPs. The command used to run standalone images will be
docker run imagename:version
Our Trello dashboard: https://trello.com/b/d1yQOm1i/dad-development
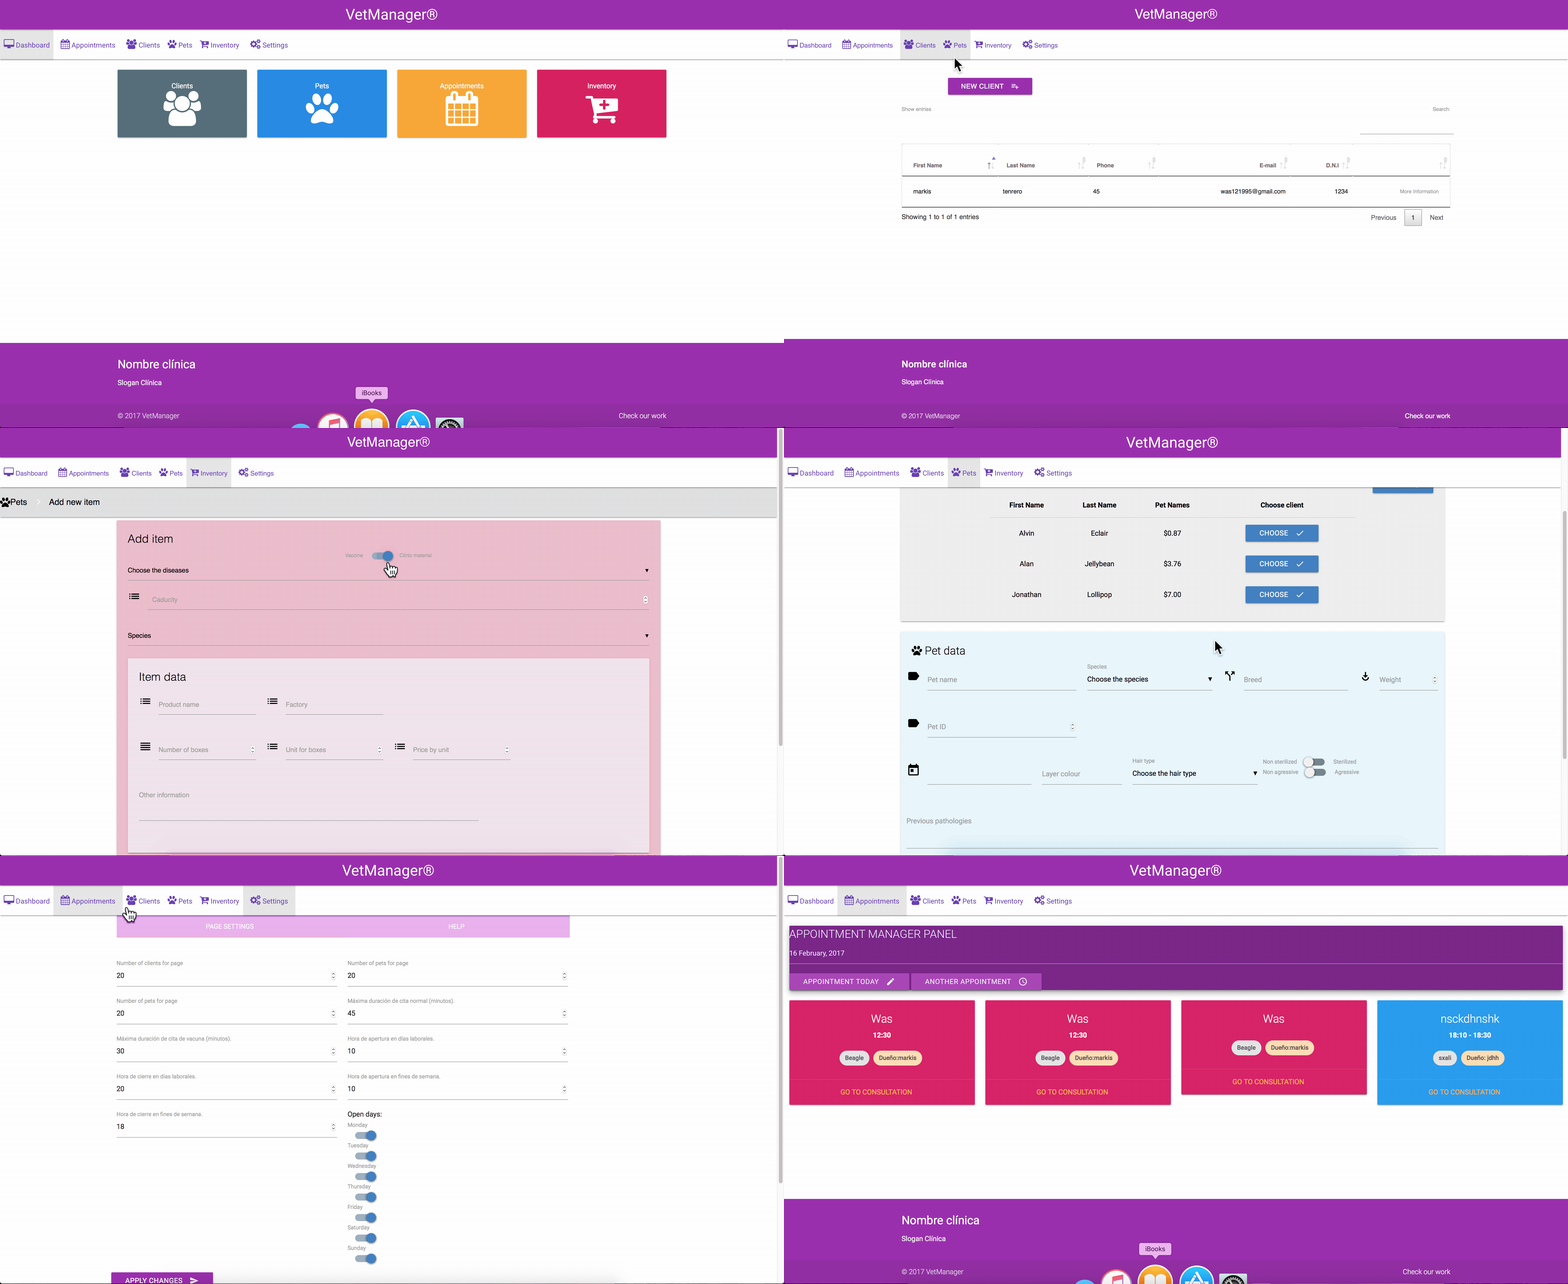
Index: Home page of the application and only public page. You can access or create a user besides you can consult relevant information about the veterinary clinic.
Dashboard: Main window of the private part with addresses to the four main windows
Client: Page to consult all veterinary clients
Add client: Page to add a new customer
Client information: Page for detailed customer information
Pet: Page to consult all veterinary pets
Add Pet: Page to add a new pet
Pet information: Page for detailed pet information
Appointments: Window in which you can see the appointments corresponding to a day, with the data of the mascot and owner. The type of visit is characterized by the color of the business card.
Appointments information: Page showing details of the appointment
Inventory: Page to consult all veterinary items
Add Item: Page to add a new item
Item information: Page for detailed item information
Settings: Page to edit basic settings
-
Clone repository inside azure service using git
git clone https://github.com/mtenrero/vetManager.git -
Compile project by typing the command (Maven must be installed) Maven Installation instructions for Ubuntu
mvn package -
Setup enviroment variables to your desired values:
PORT= DB_HOST= DB_USERNAME= DB_PASSWORD= MONGO_HOST= MONGO_PORT= MONGO_DOCUMENT= MONGO_USERNAME= SSL_PASSWORD= -
Run .jar file located at target/vetmanager-version-SNAPSHOT.jar changing the version for the desired one
java -jar target/vetmanager-<version>-SNAPSHOT.jar
Our whole architecture are dockerized, so we need to expose some ports to host in order to achive communitcation between services:
For example our Docker command to launch webservices is: sudo docker run -i --name webservice -p 8443:8990 -e SPRING_DATASOURCE_URL="jdbc:mysql://VM:PORT/vetmanager" -e spring.data.mongodb.host="VM:PORT" webservice:1.1
And the command to run the HAProxy servcie : sudo docker run -d -p 80:80 -p 443:443 -v $(pwd)/haproxy:/usr/local/etc/haproxy/ loadbalancer:1.0


