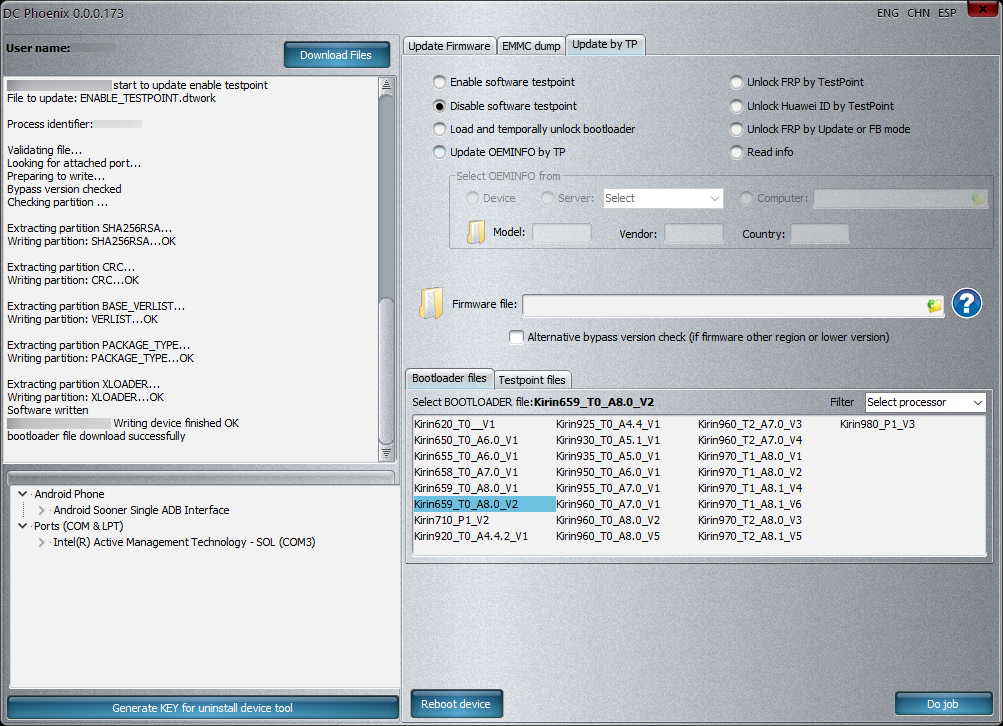
This write-up protocols the steps I made in order to unlock my Huawei ANE-LX1's bootloader. The paid tools DC-Unlocker and HCU Client were used, which yields the benefit that the ANE-LX1 didn't have to be physically opened. An alternative method which requires opening the ANE-LX1 but doesn't require paid tools is mashed-potatoes/PotatoNV.
Make sure that ADB and fastboot are available.
Some tools required cannot be run in Wine or a Windows Virtual Machine. Therefore, I ran DC-Unlocker and HCU Client on a PC running Windows but performed all tasks relying on ADB or fastboot on another PC running GNU/Linux.
Warning
I strongly recommend, that you first read all steps before starting.
Unlocking your bootloader might be irreversible and/or brick your ANE-LX1.
- Backup data
- Backup all data on your ANE-LX1 including data on the memory card (if you've inserted one) and either upload your backup to some cloud drive or copy it onto another device.
- Verify on PC that your backup is not corrupted.
- Downgrade your ANE-LX1 to EMUI 8, if you're running EMUI 9
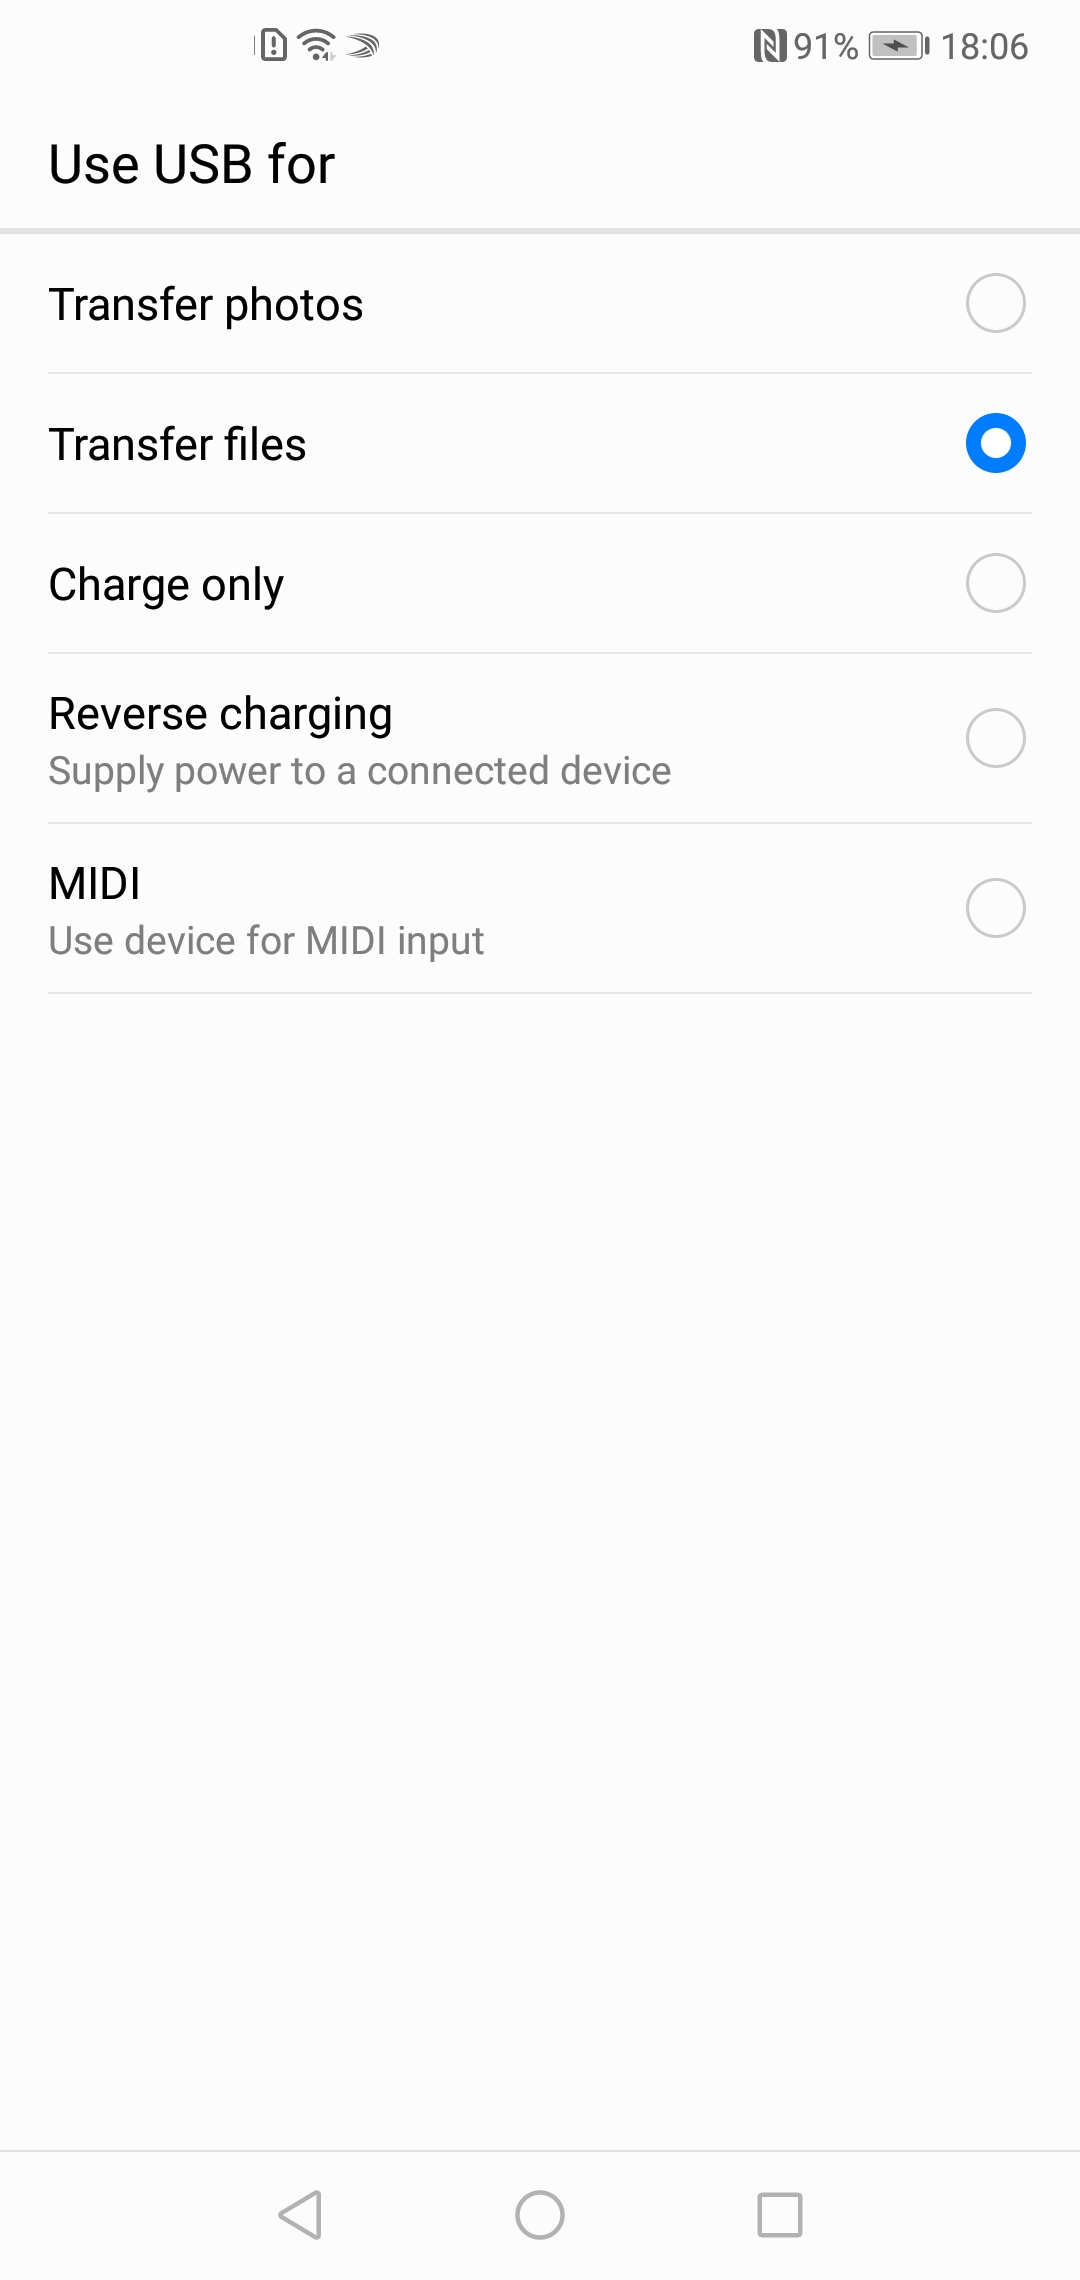
- Connect PC with ANE-LX1 using a USB A ↔ USB C cable
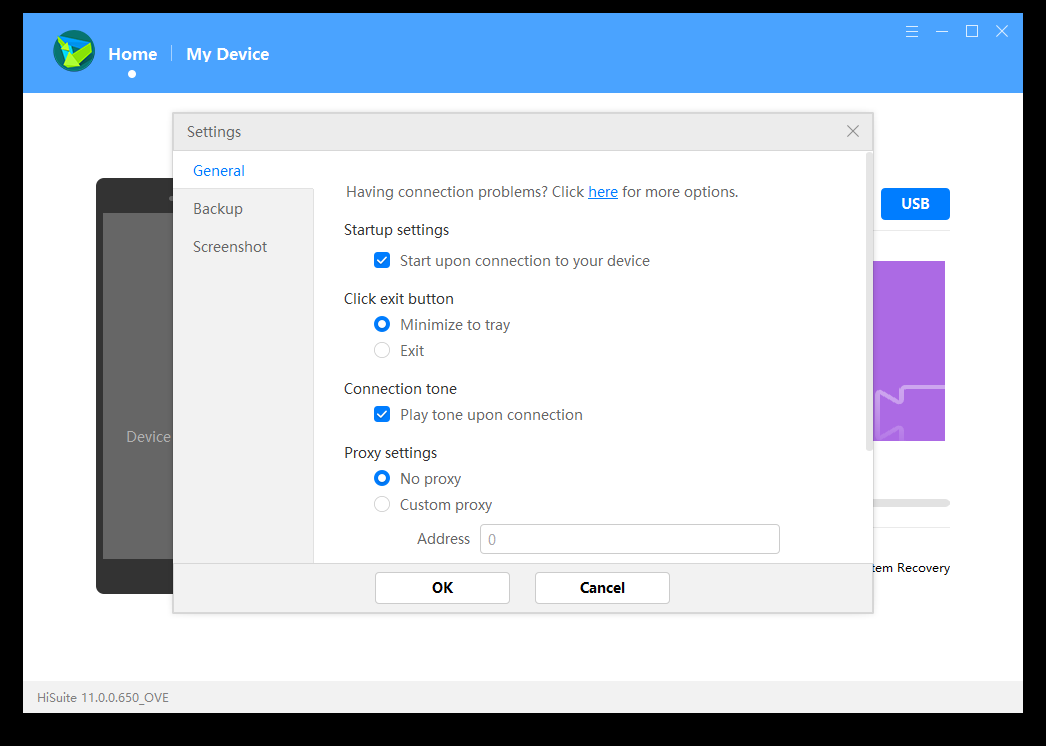
- On PC, install HiSuite
- On PC, run HiSuite
- On PC, confirm installing Huawei HiSuite on ANE-LX1

- On ANE-LX1, confirm permissions for HiSuite
- On PC, enter 8-digit verification code displayed on ANE-LX1

- HiSuite is now connected to your ANE-LX1

- On PC, select “Update”
- On PC, click on “Switch to Other Version>”

- On PC, click on “Earlier Versions”
- You should be presented the option to downgrade to ANE-LX1 8.0.0.180(C432)(Official)
- On PC, click on “Restore”

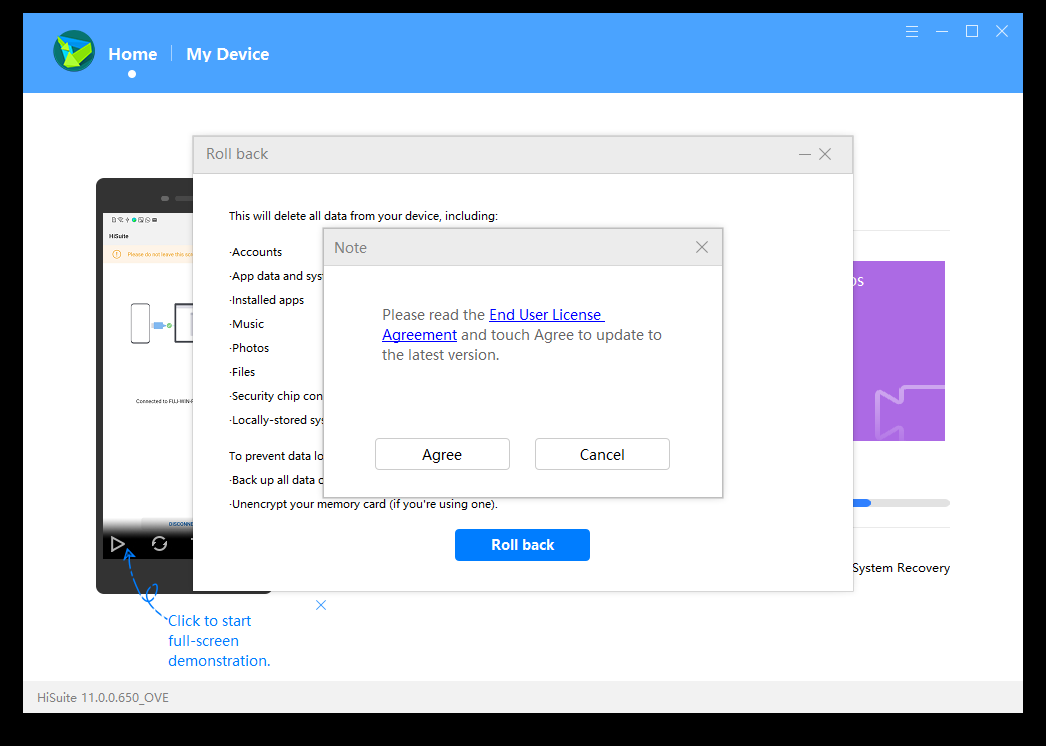
- On PC, click on “Roll back”

- On PC, click on “Agree”
⚠️ This will delete all data from your ANE-LX1
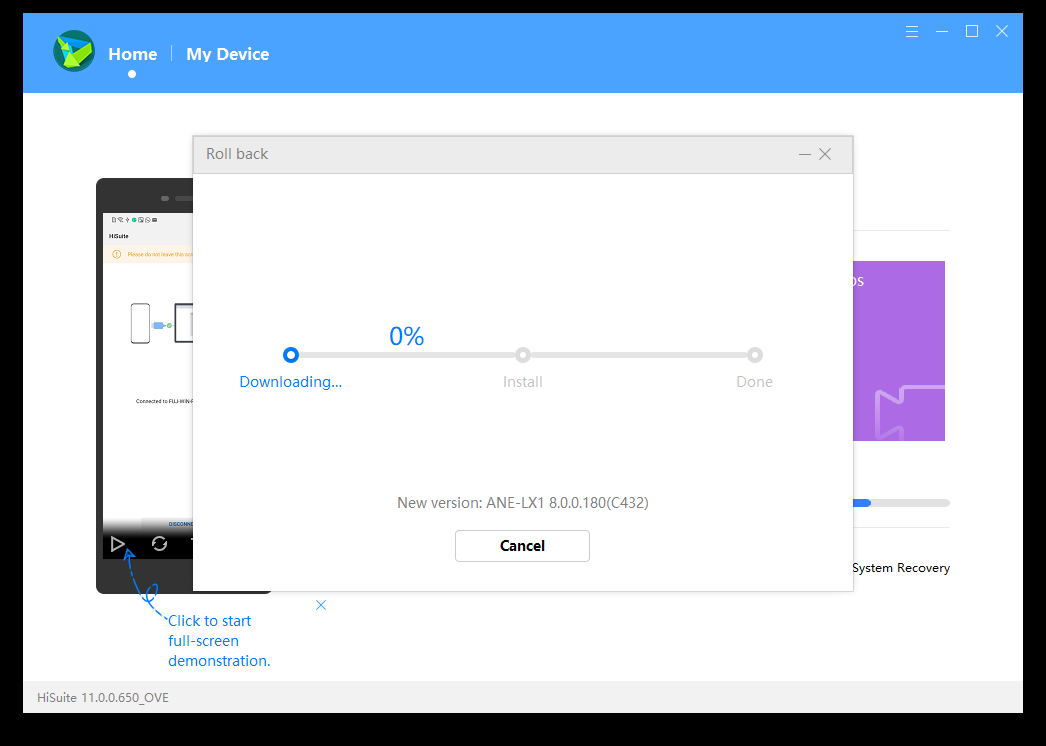
- HiSuite will now download the firmware which it is about to flash onto the ANE-LX1. This process will take a few minutes. If the progressbar is stuck at 99 % notably longer than it needed for previous 1-%-increments then click on “Cancel” and restart the process.
- Afterwards it will install the firmware
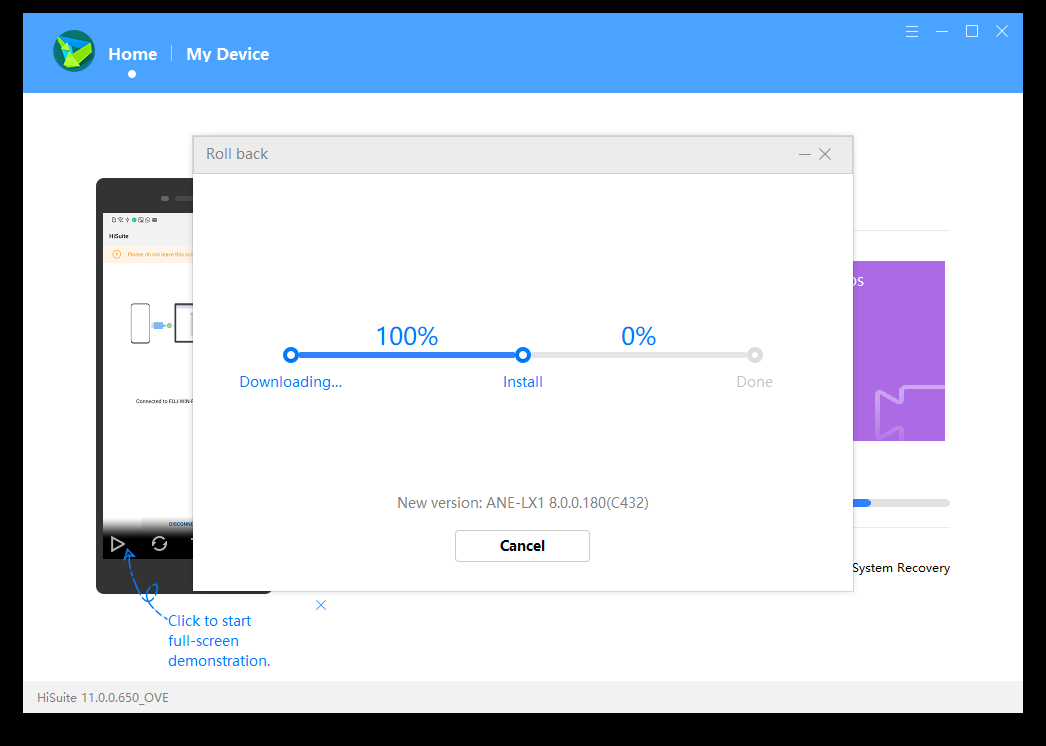
- On PC, click on “OK”

- The downgrade will commence on your ANE-LX1
- Await the “Factory reset lowlevel…”
- Configure your device
- ℹ️ You can probably skip “Configure your device” and “Setup ADB” by just booting into fastboot mode, i.e. holding Vol- and Power while your ANE-LX1 is connected to your PC via USB and proceeding with “Purchase DC-Unlocker / HCU Client”. I didn't test that, though
- Select a language and tap “NEXT >”

- Tap “SKIP”

- Tap “AGREE”

- Tap “AGREE”

- Tap “AGREE”

- Tap “LATER”

- Tap “DISAGREE” and then “NEXT >”

- My ANE-LX1 forced me to sign in with Google, so I had to enter WiFi credentials. Enable WiFi and choose your network
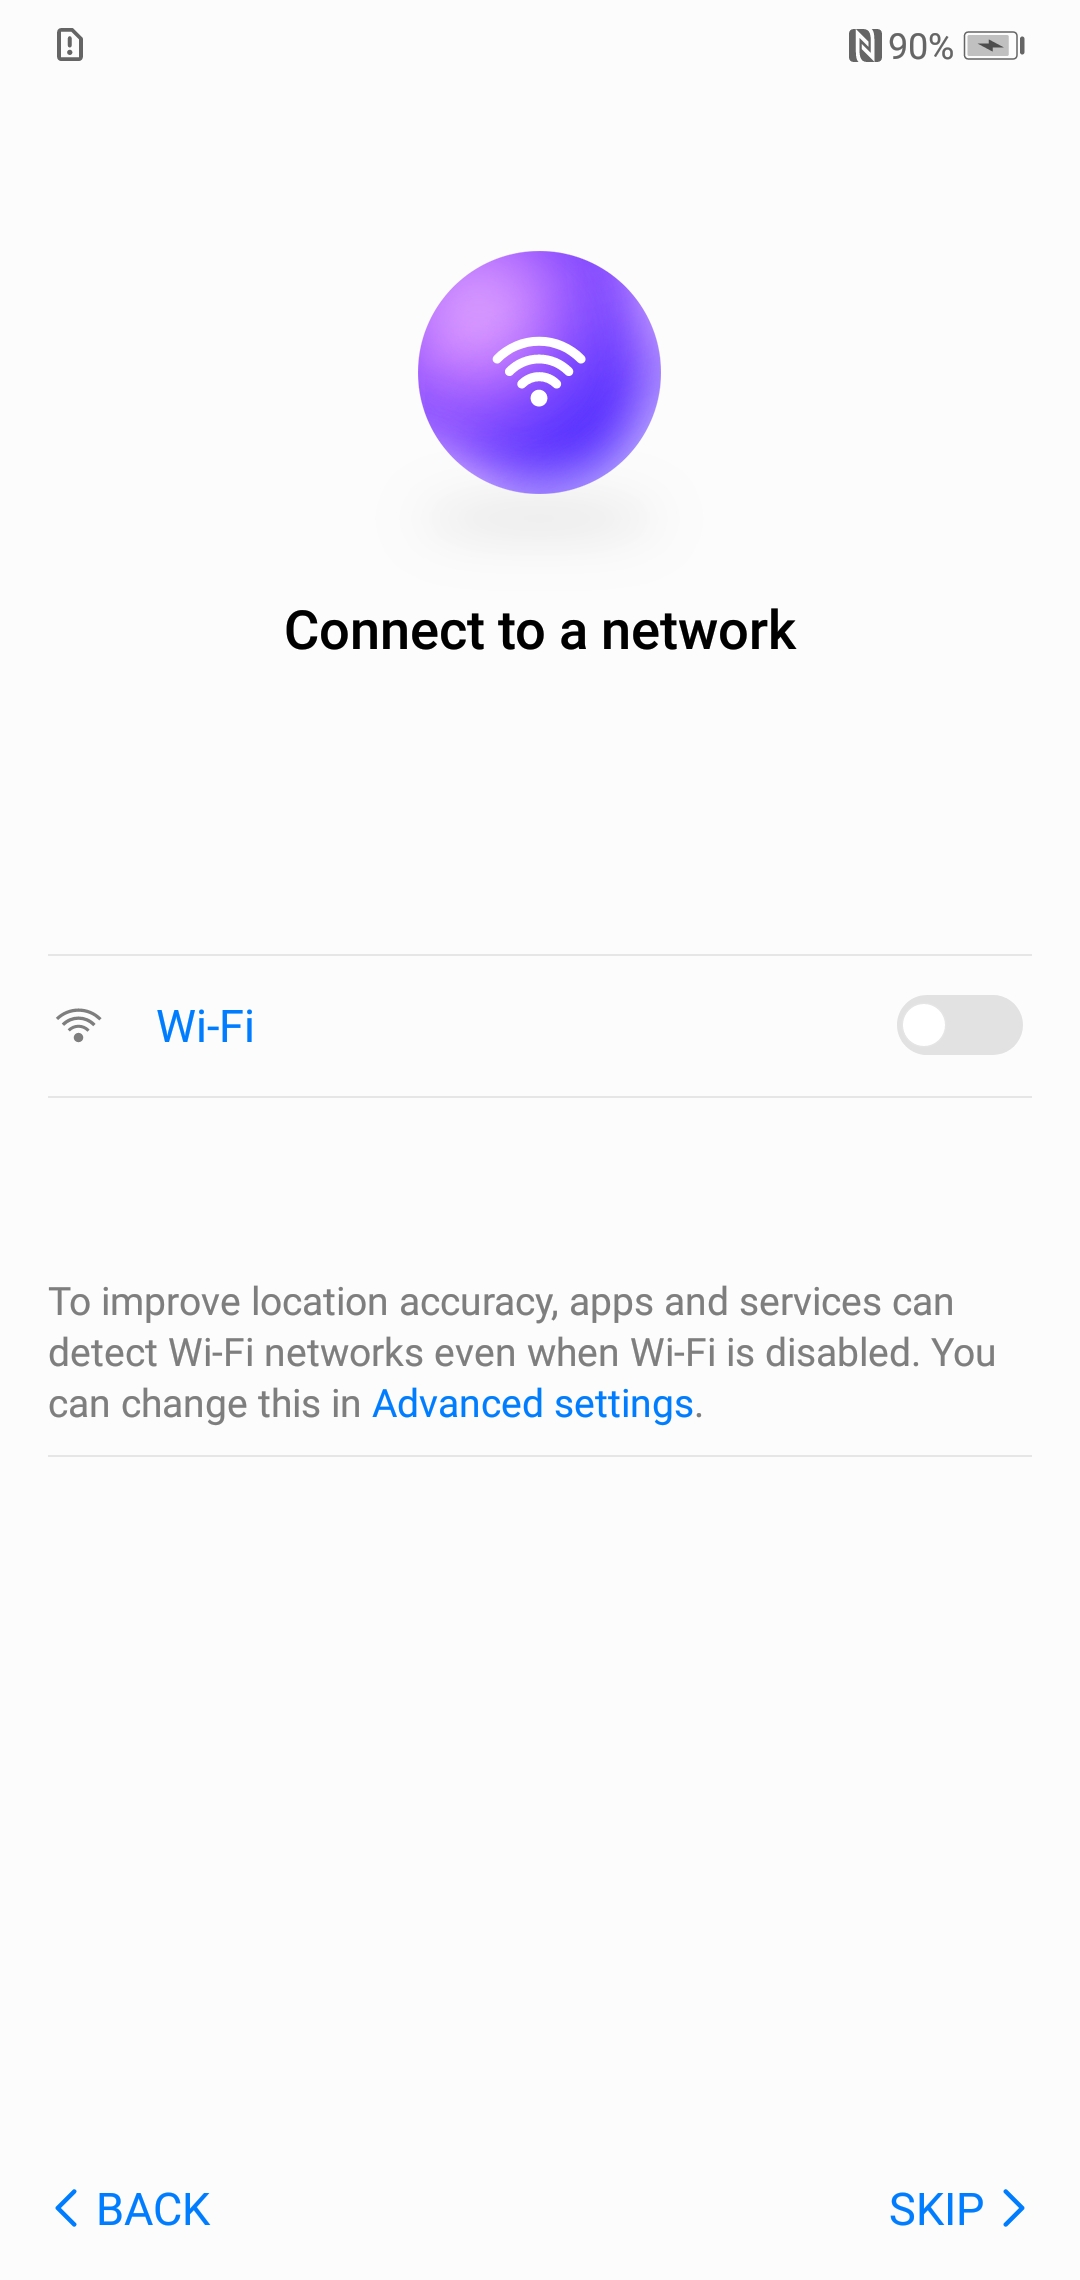
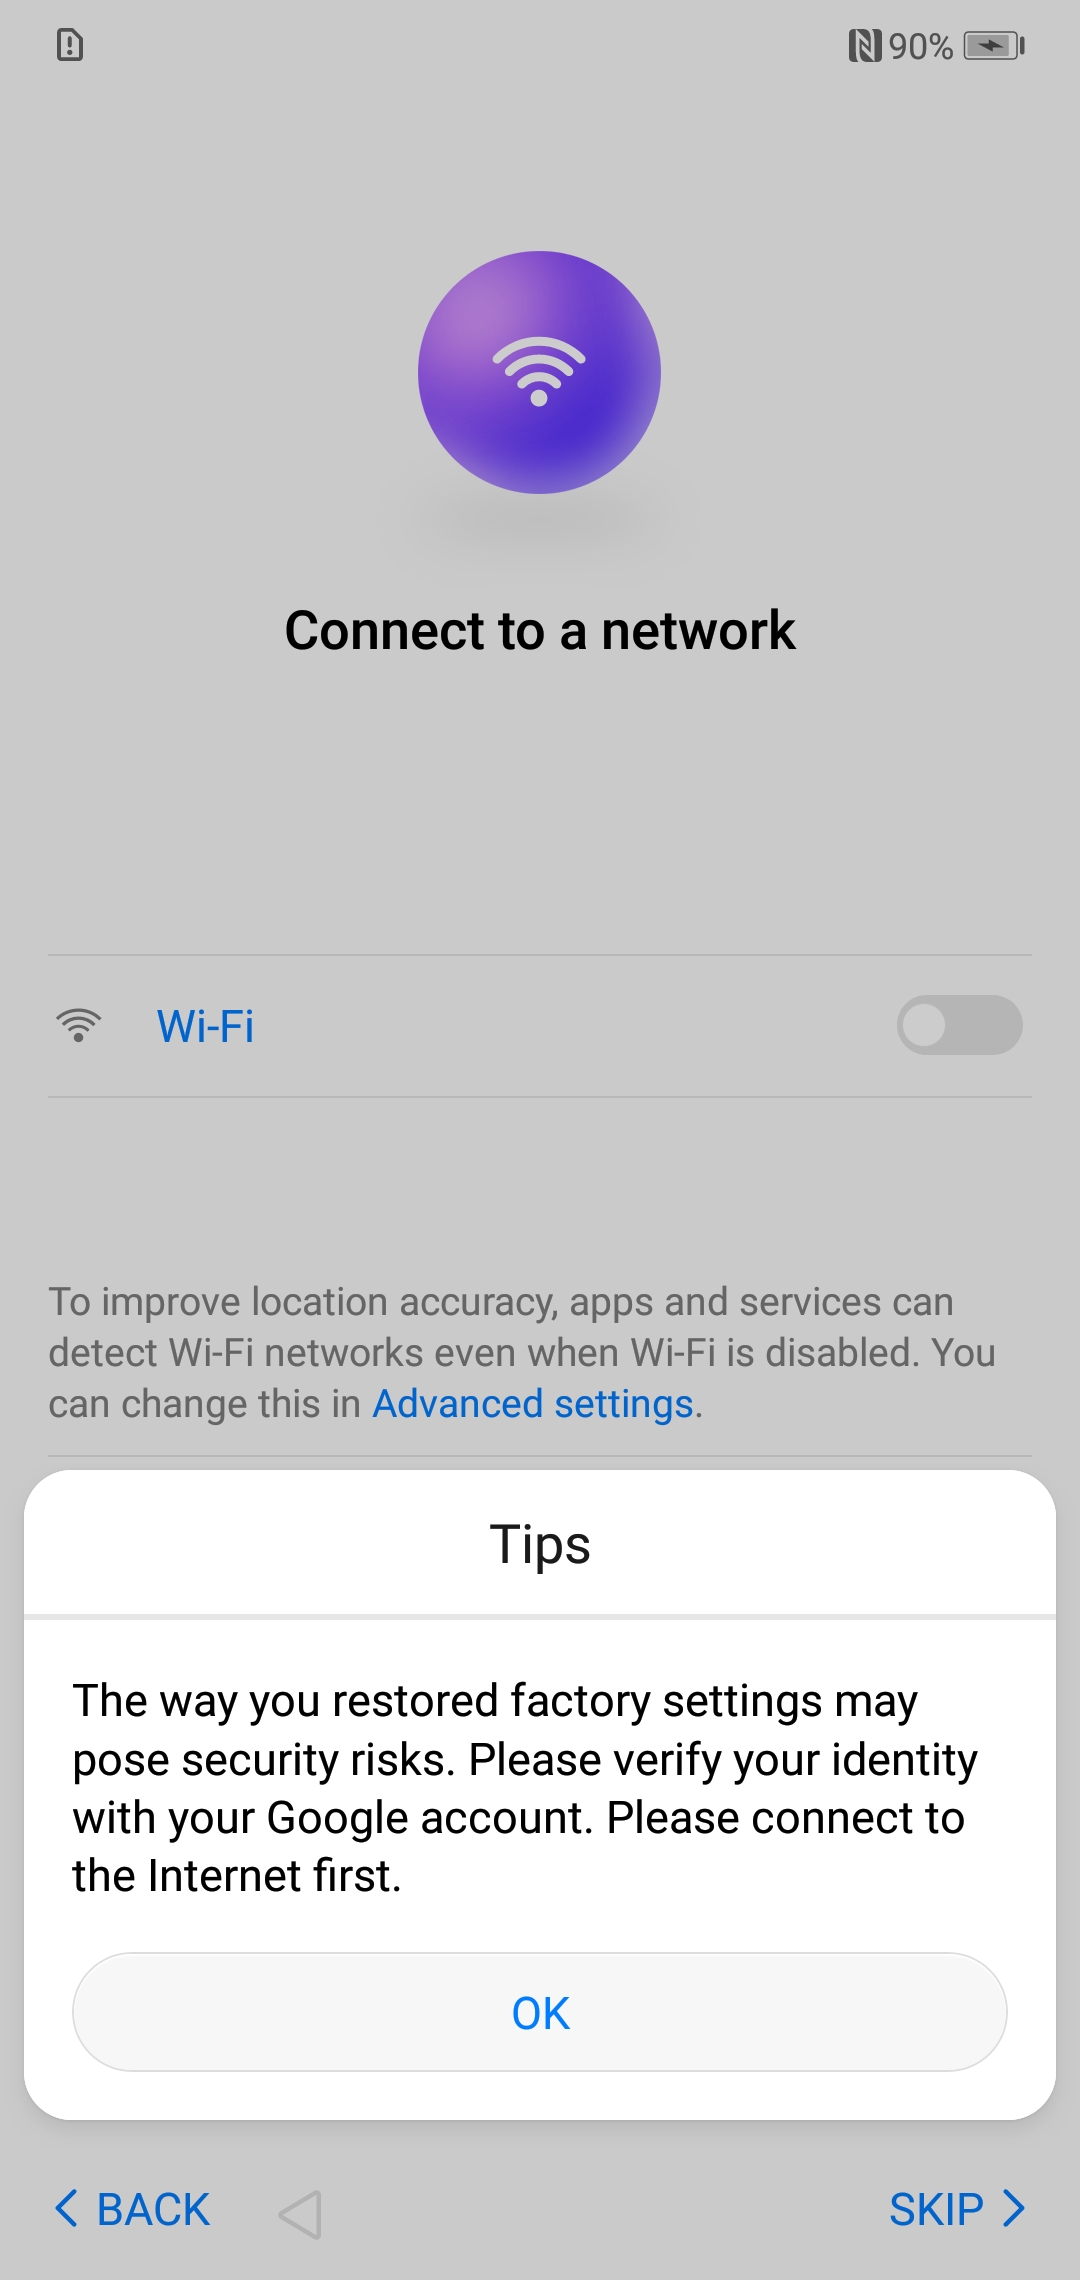
- Enter your network's credentials and tap “CONNECT”

- Sign in into your Google accounts

- Deselect everything and proceed

- Tap “Skip”

- Tap “Skip”

- Tap “SKIP >”

- Tap “OK”

- Tap “SKIP >”

- Tap “LATER”

- Tap “GET STARTED”

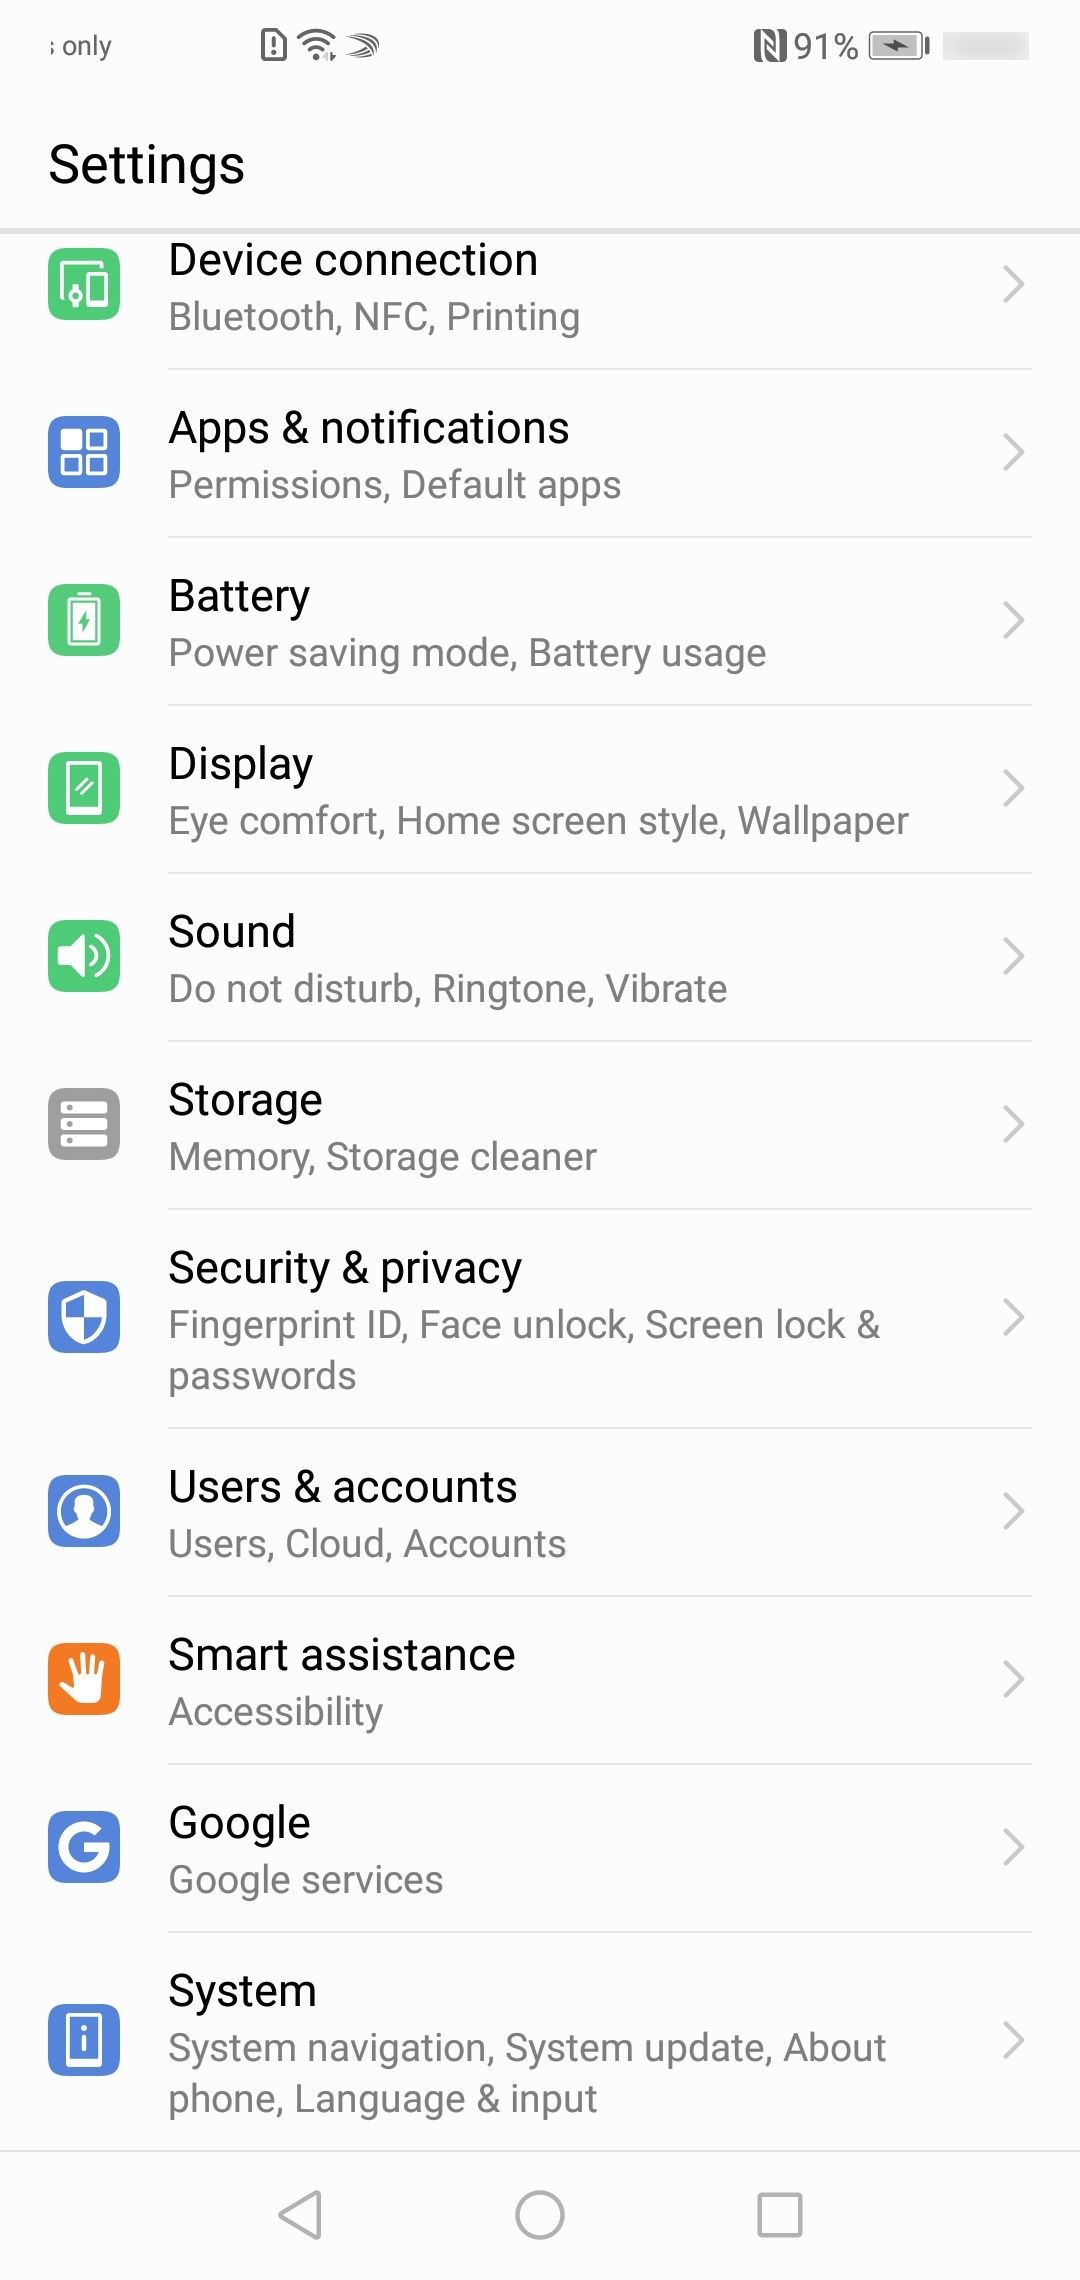
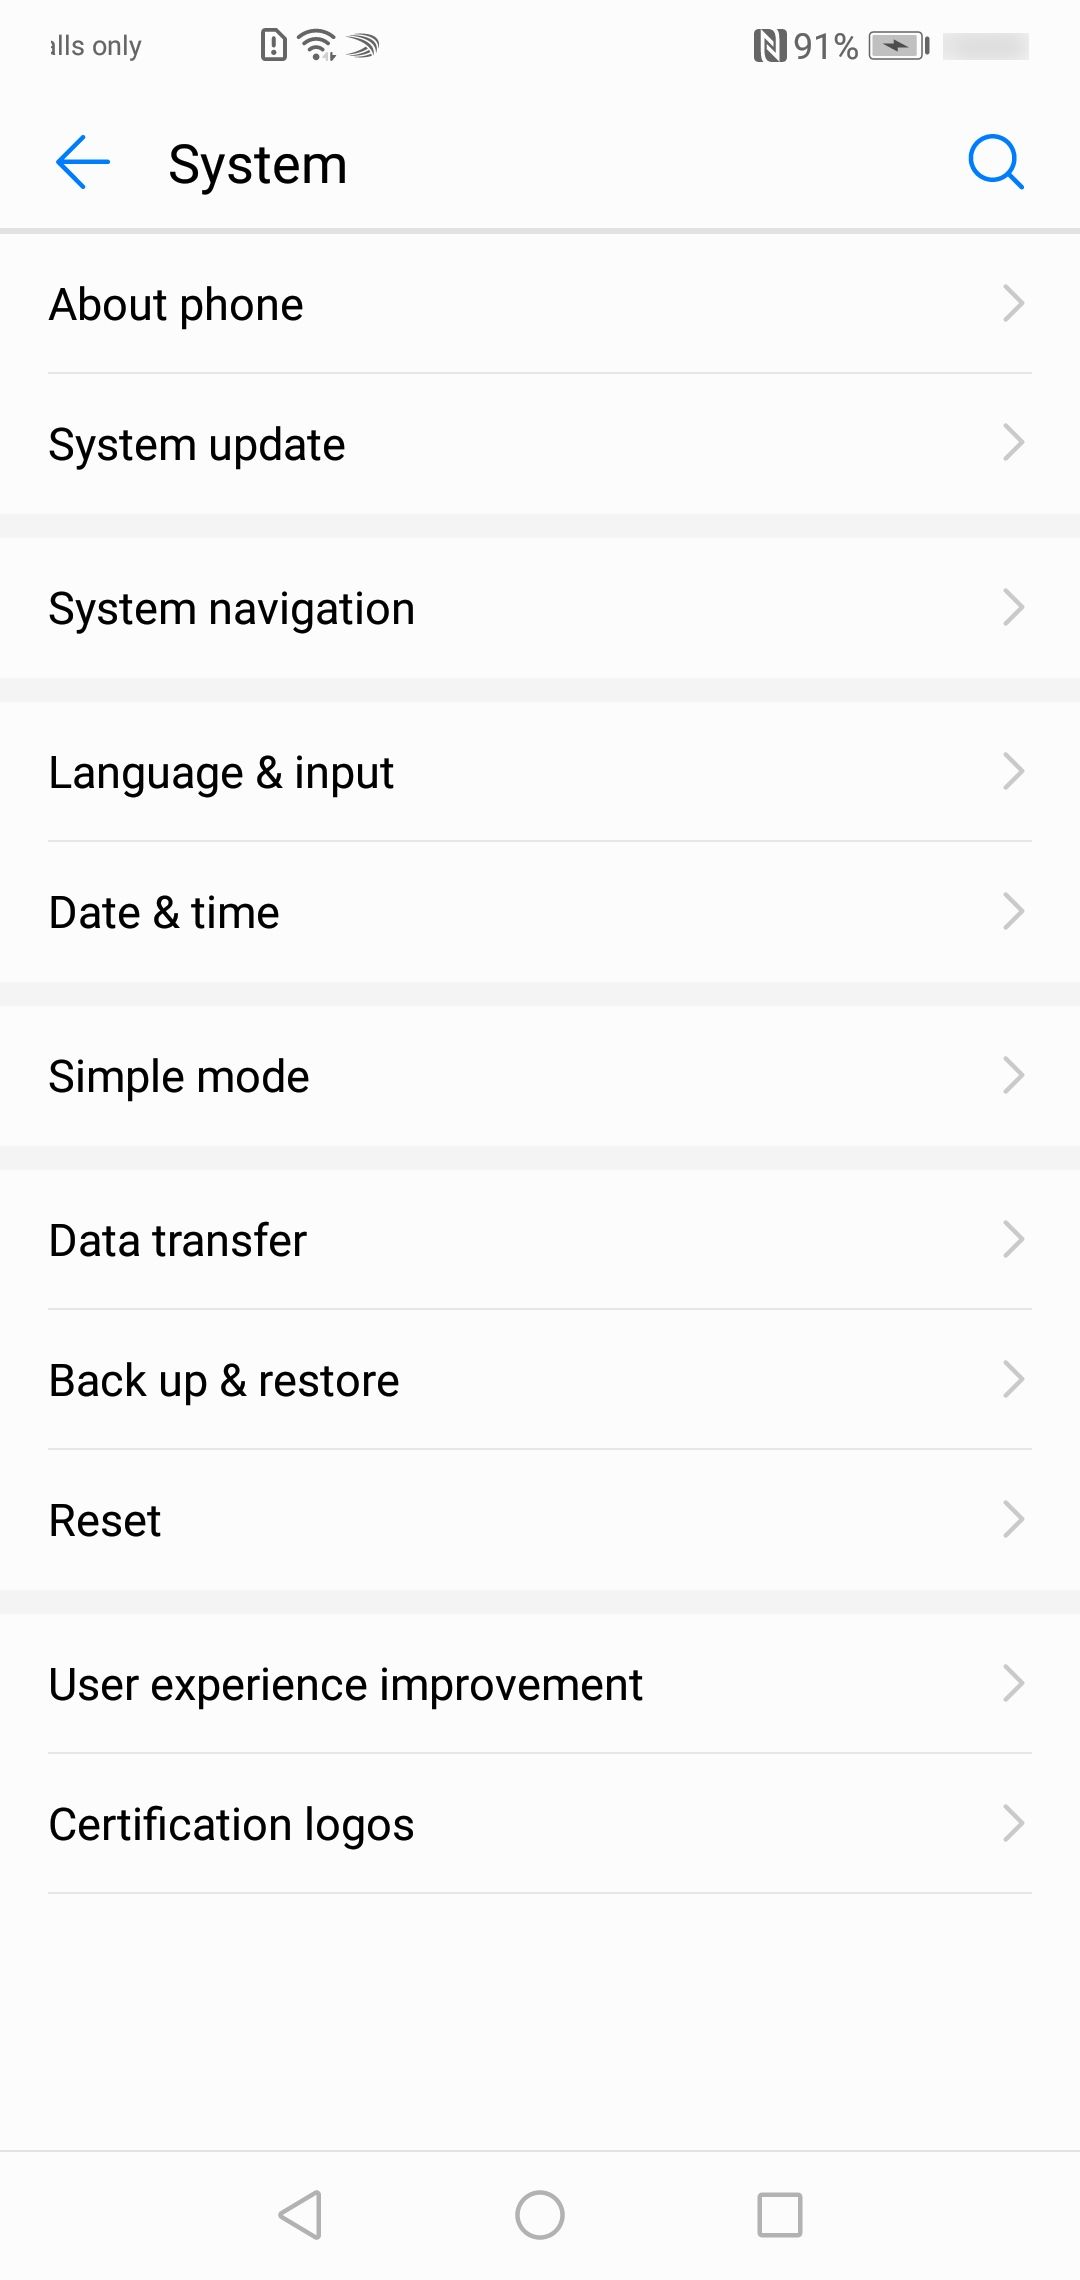
- Setup ADB
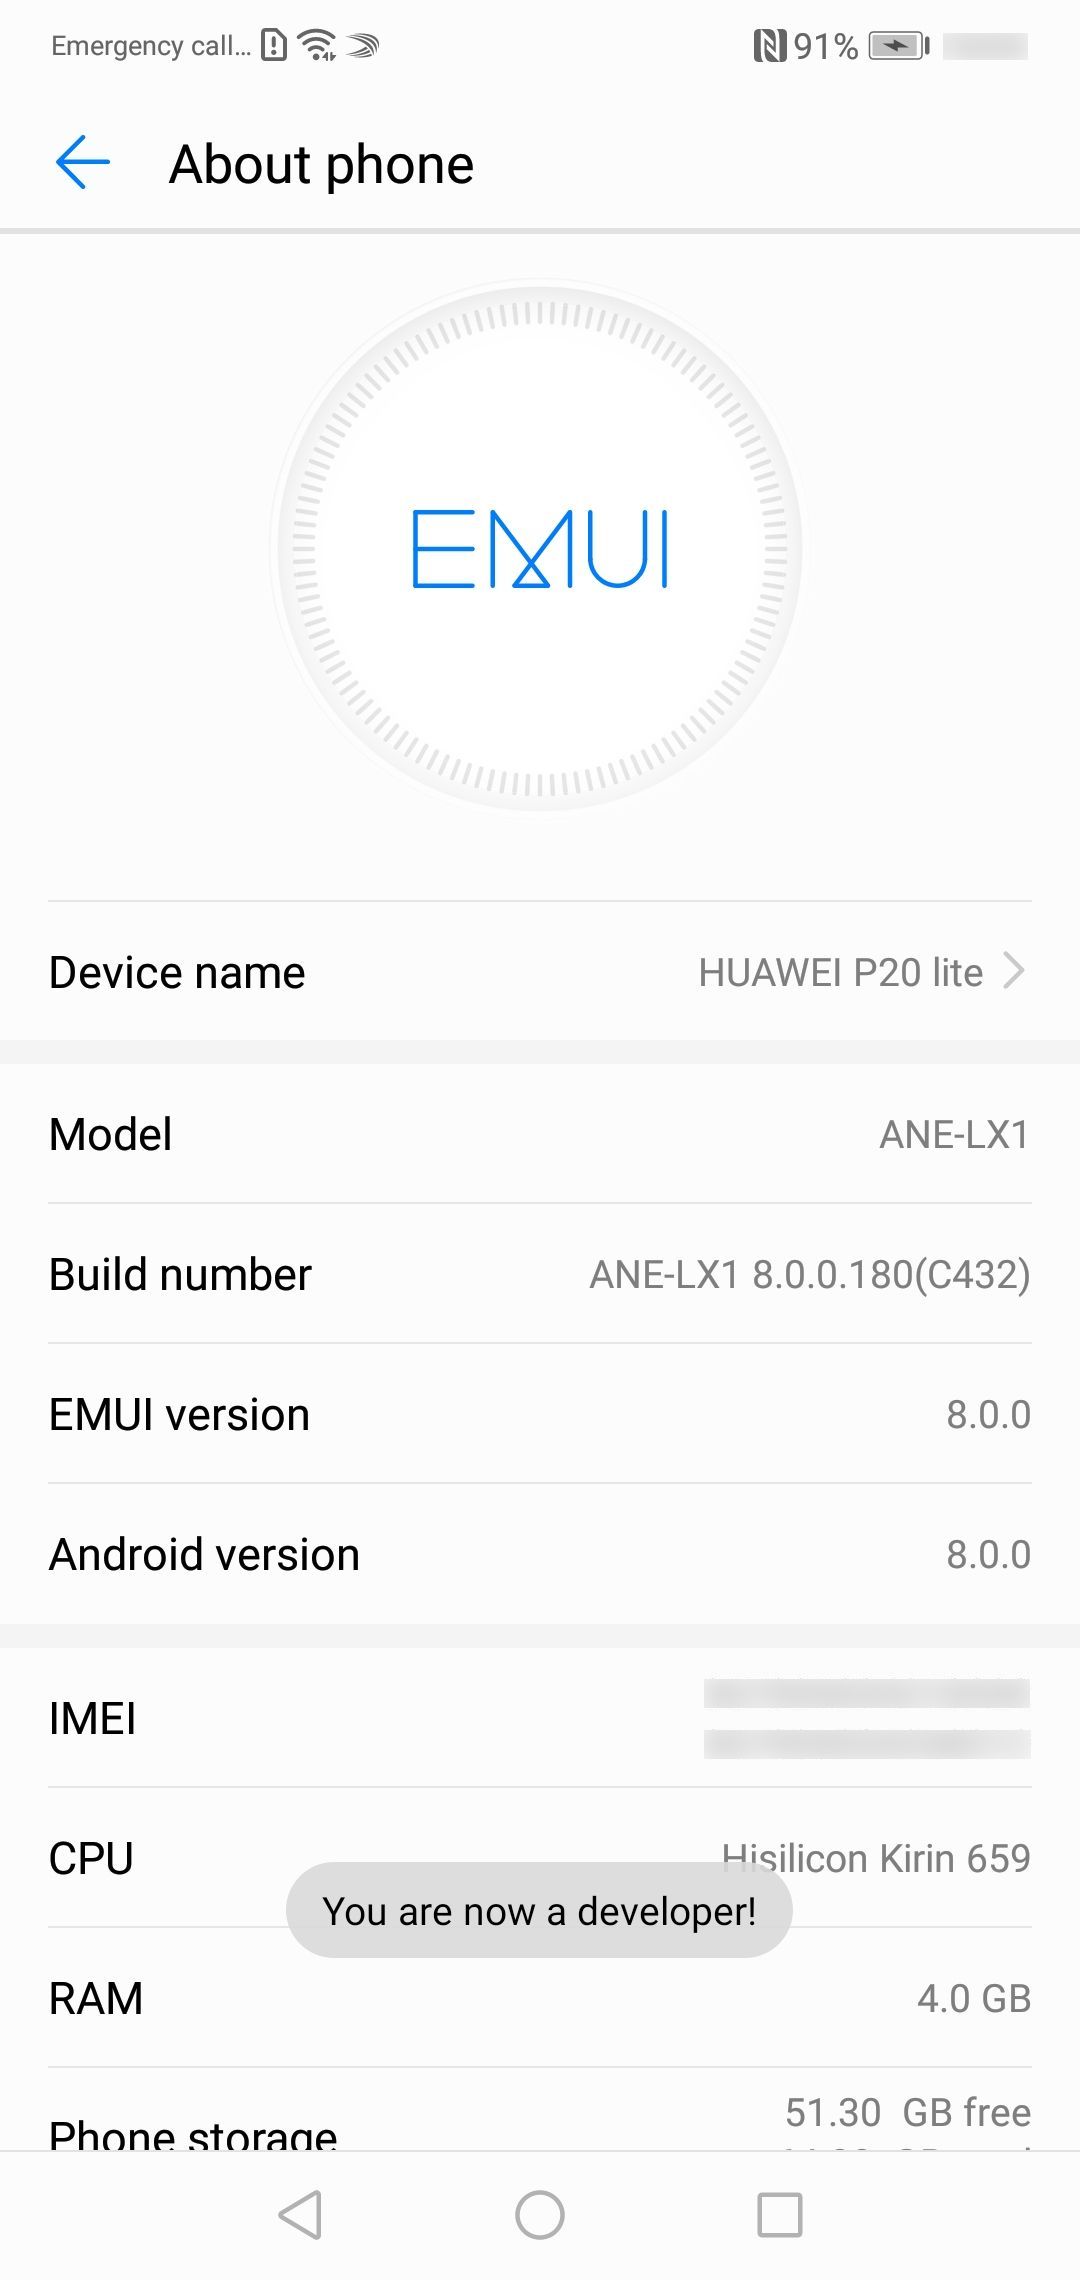
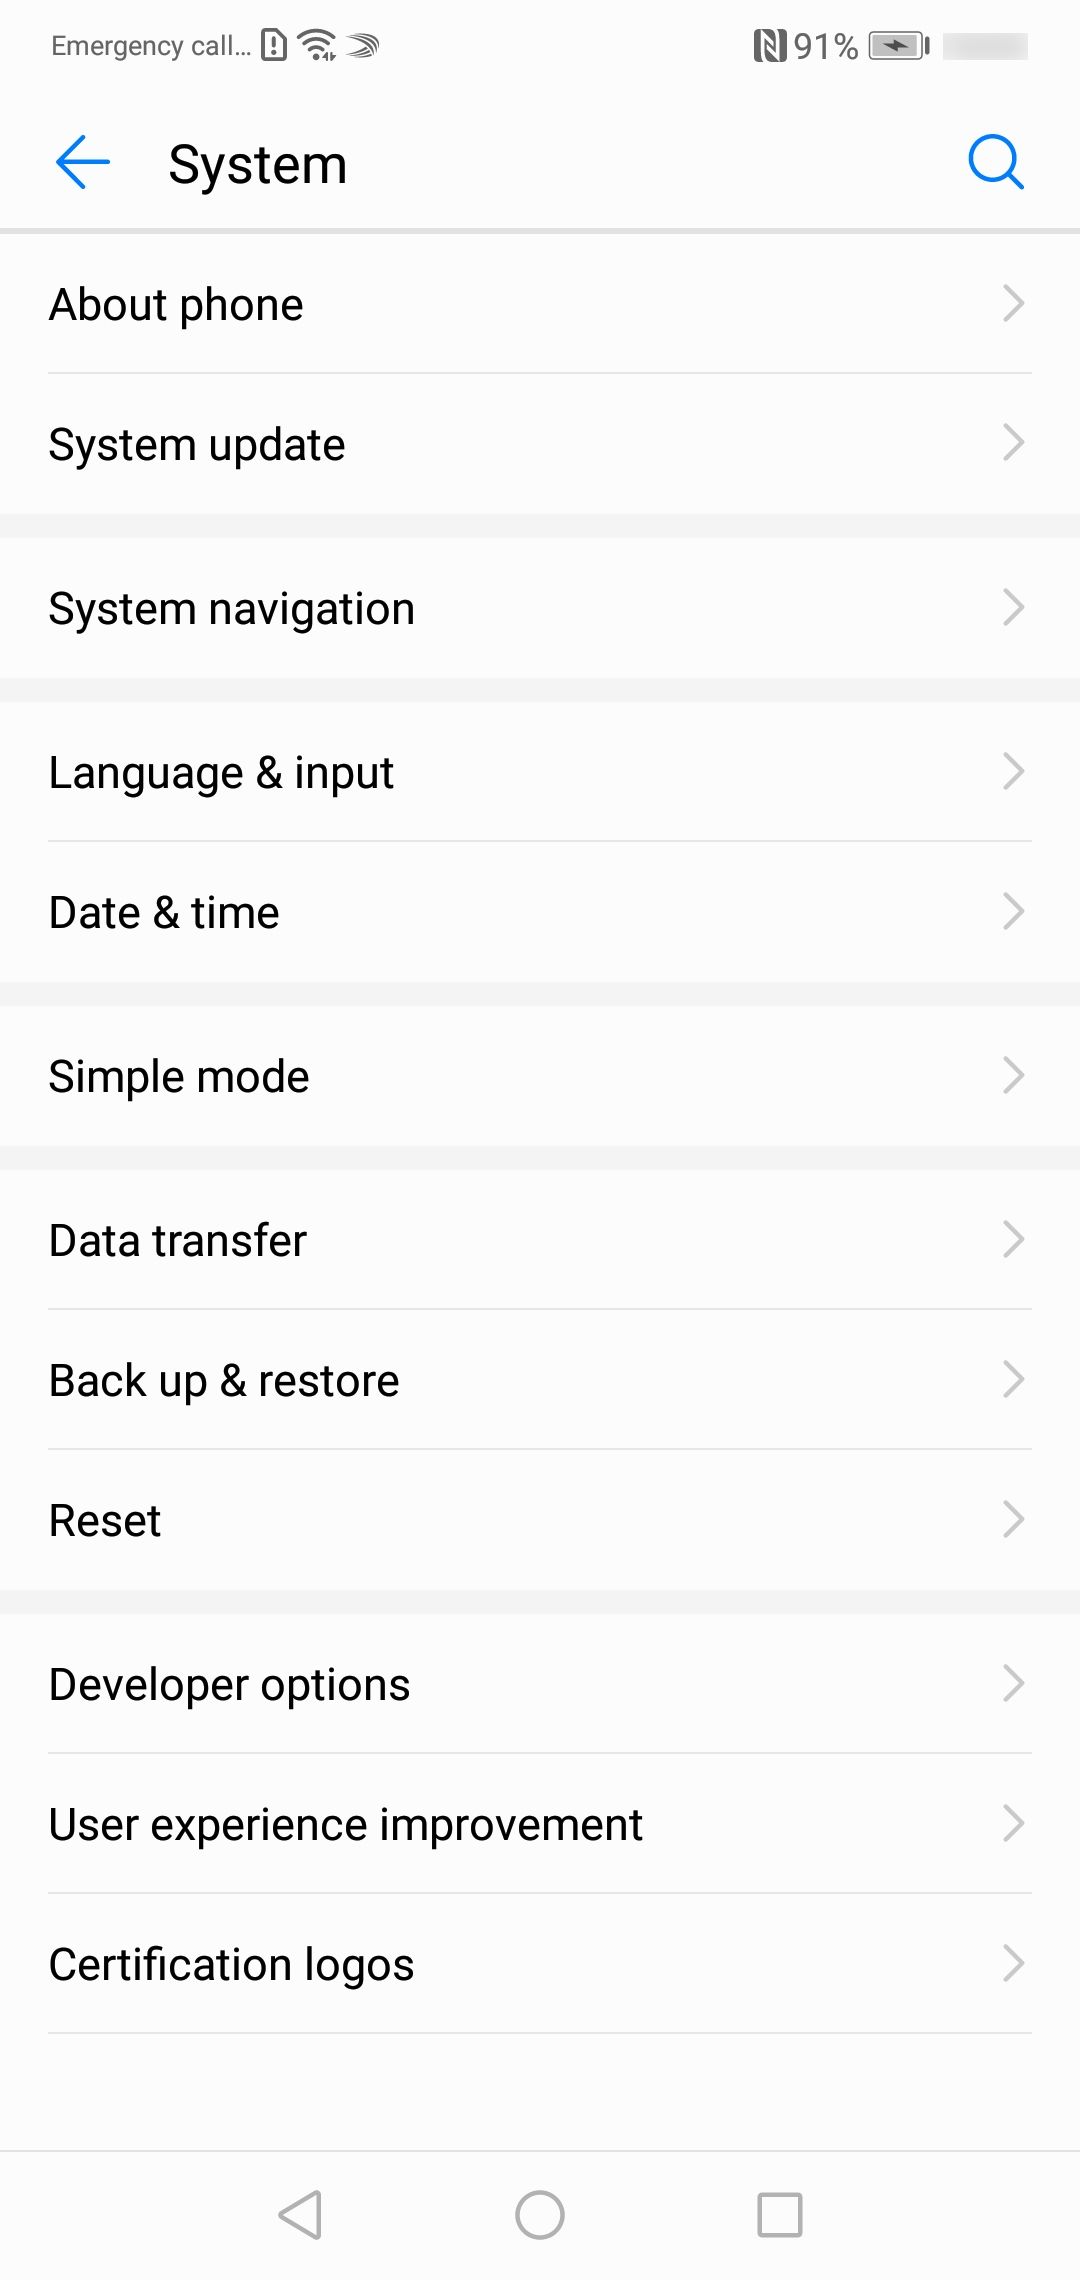
- Enable developer mode
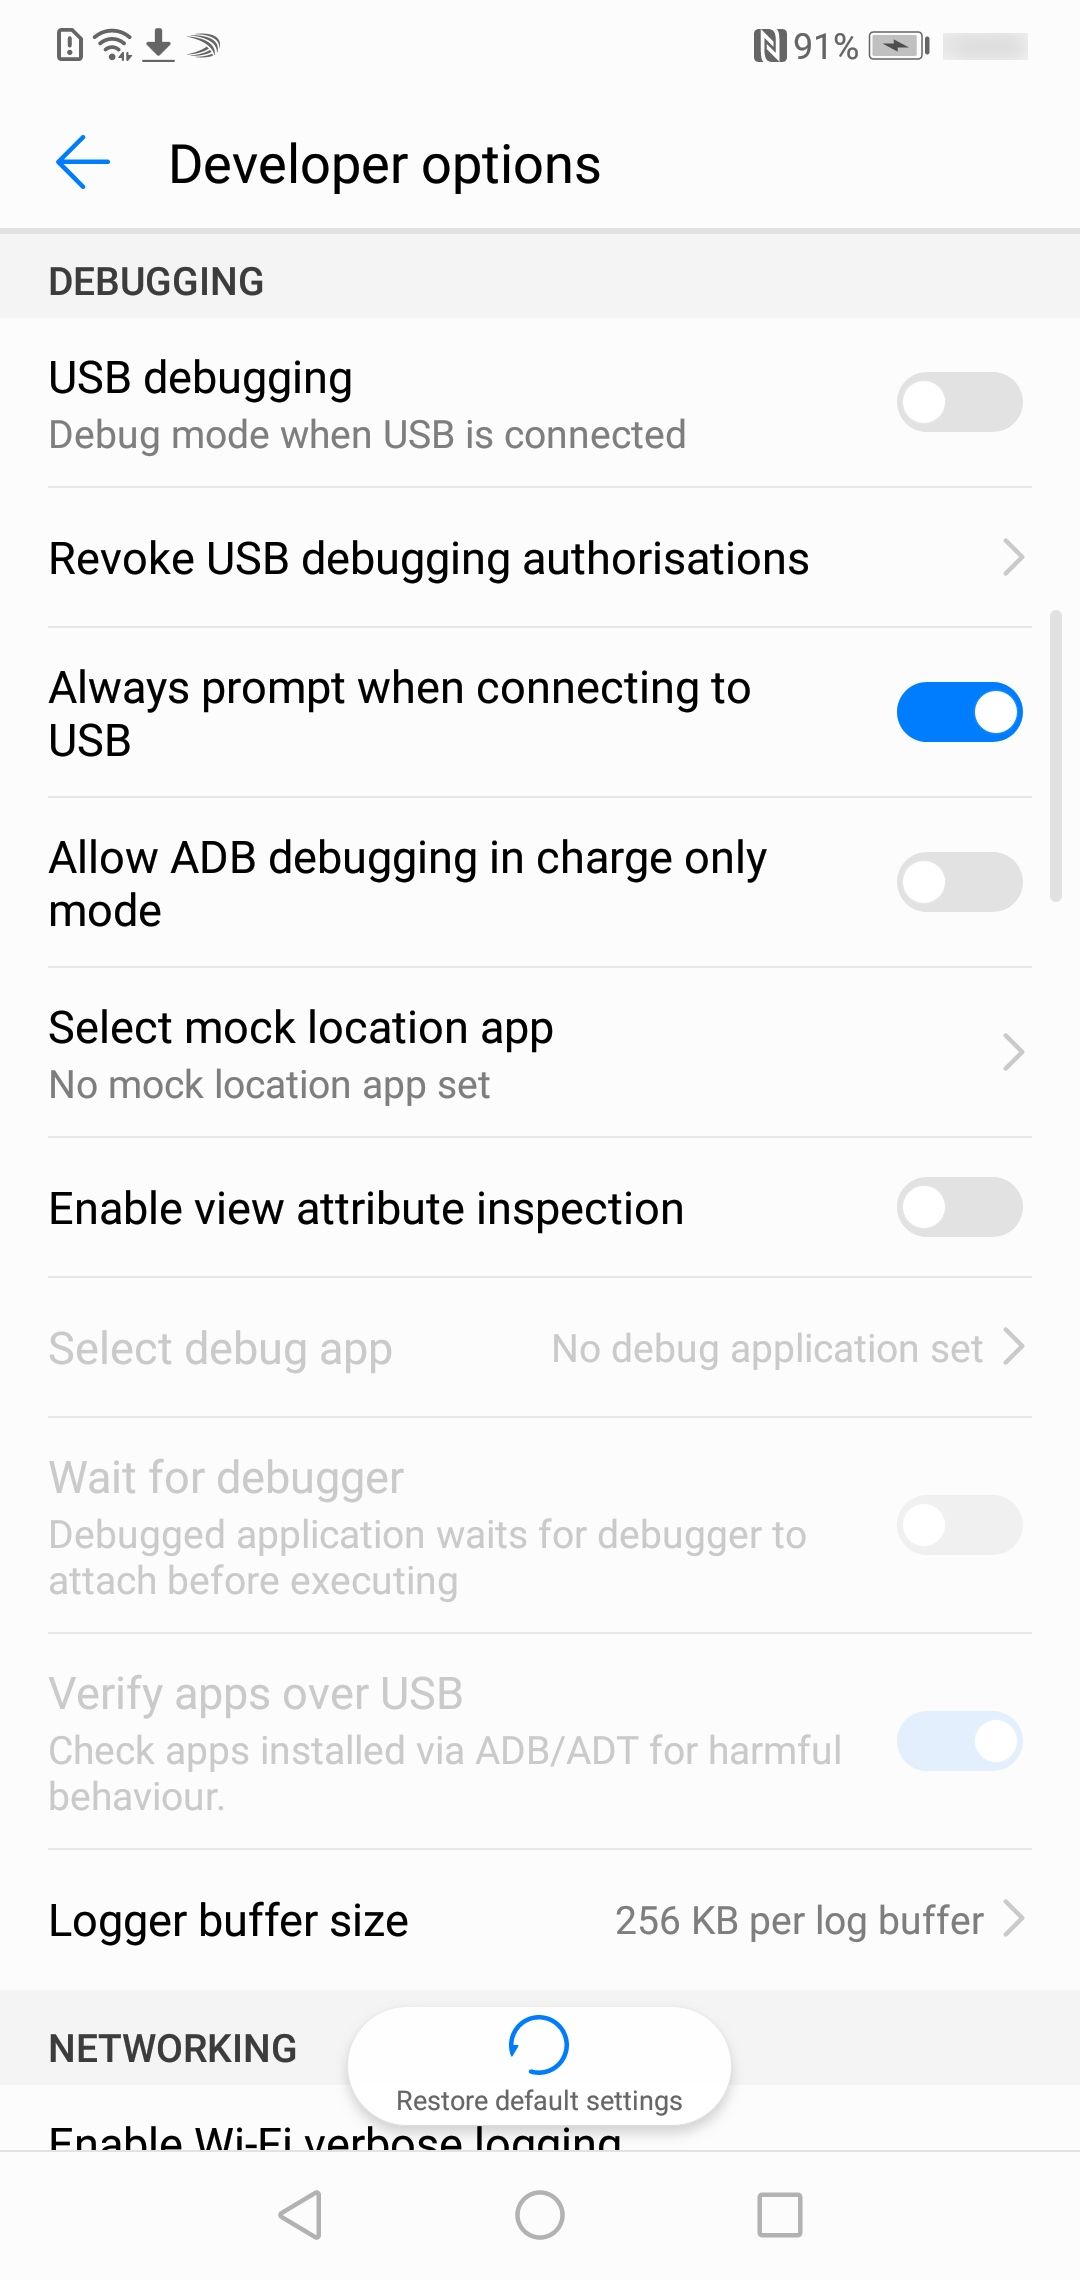
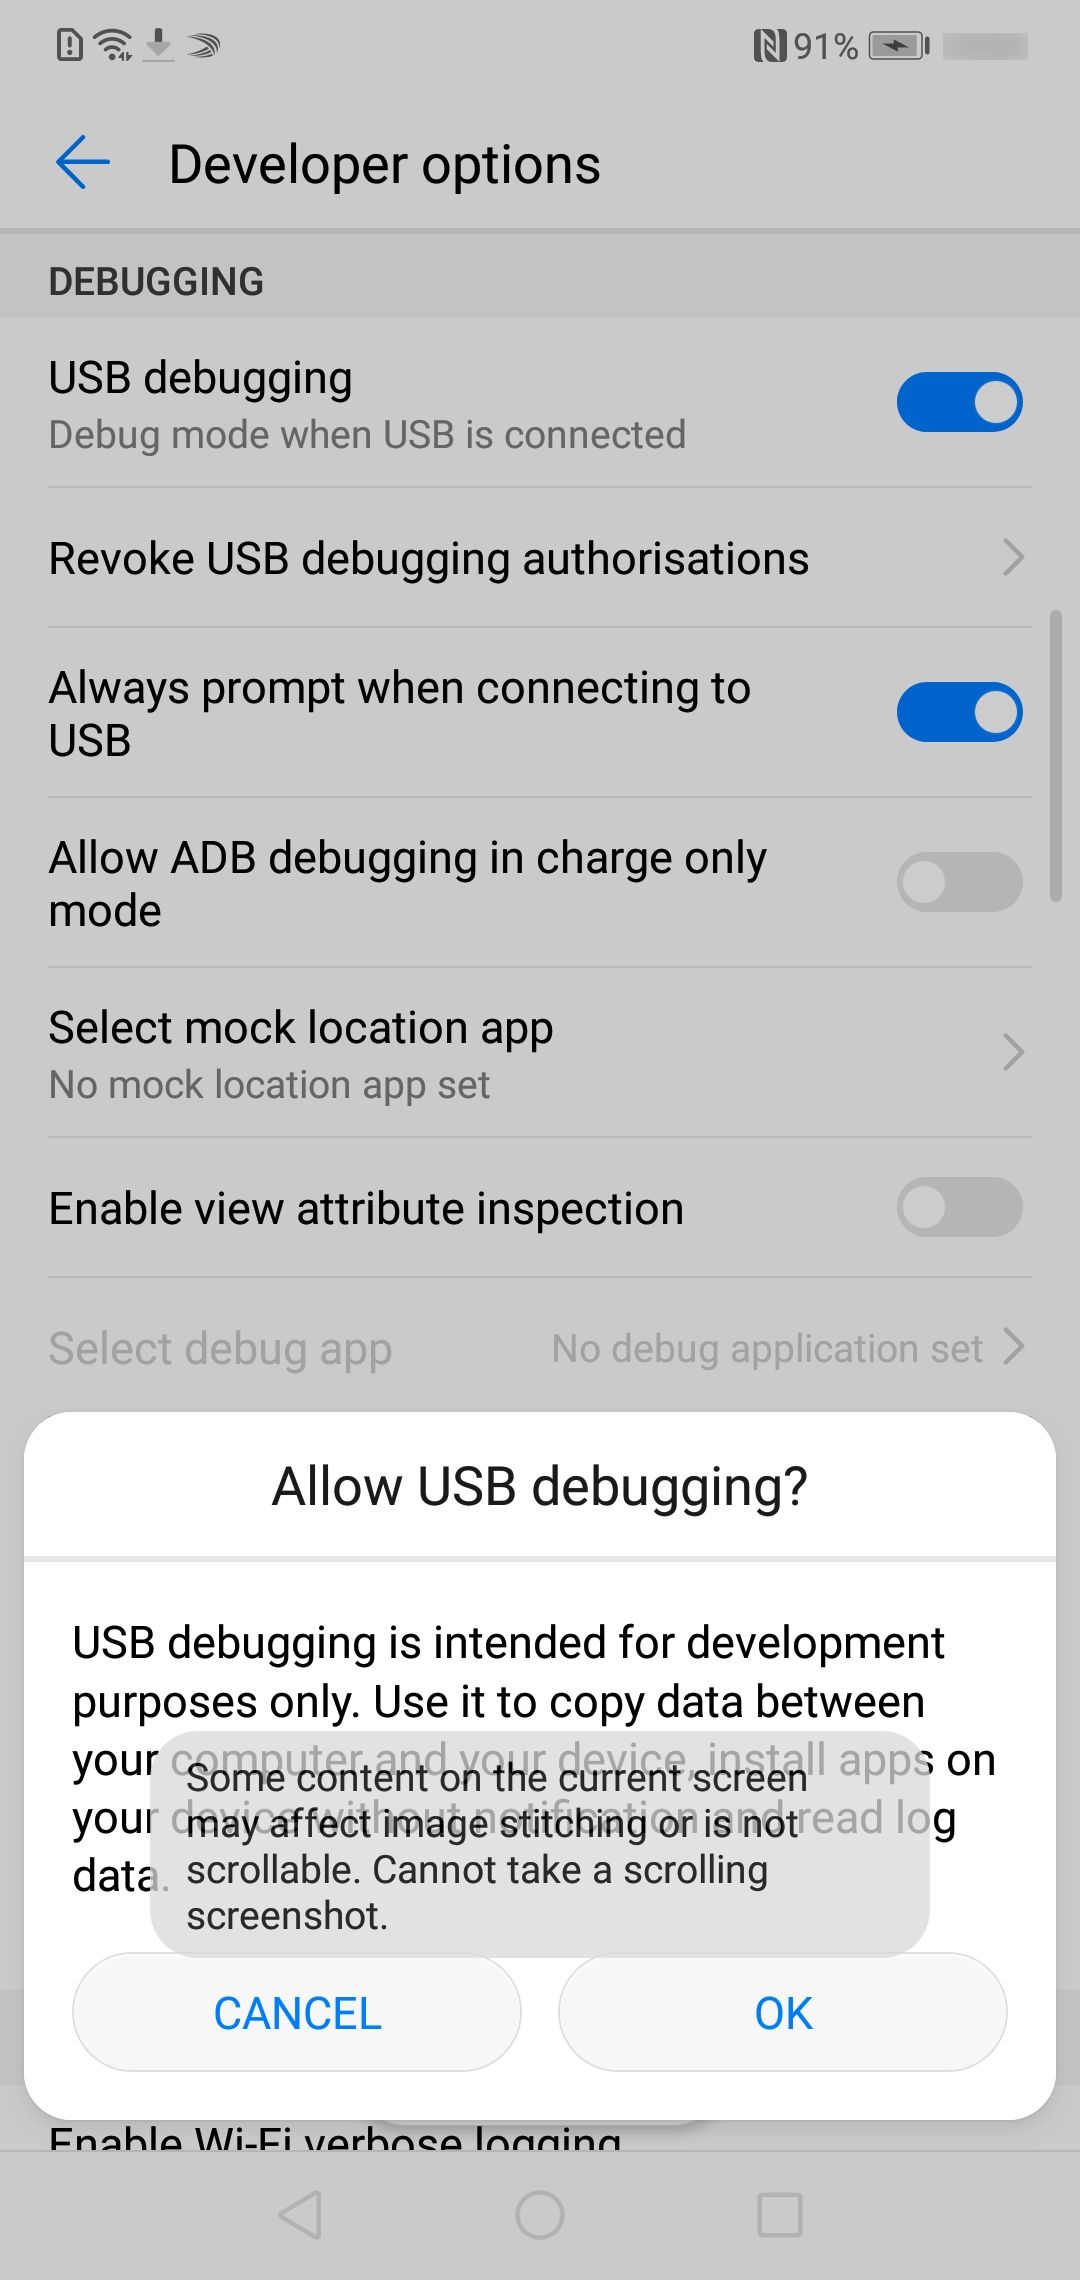
- Enable ADB
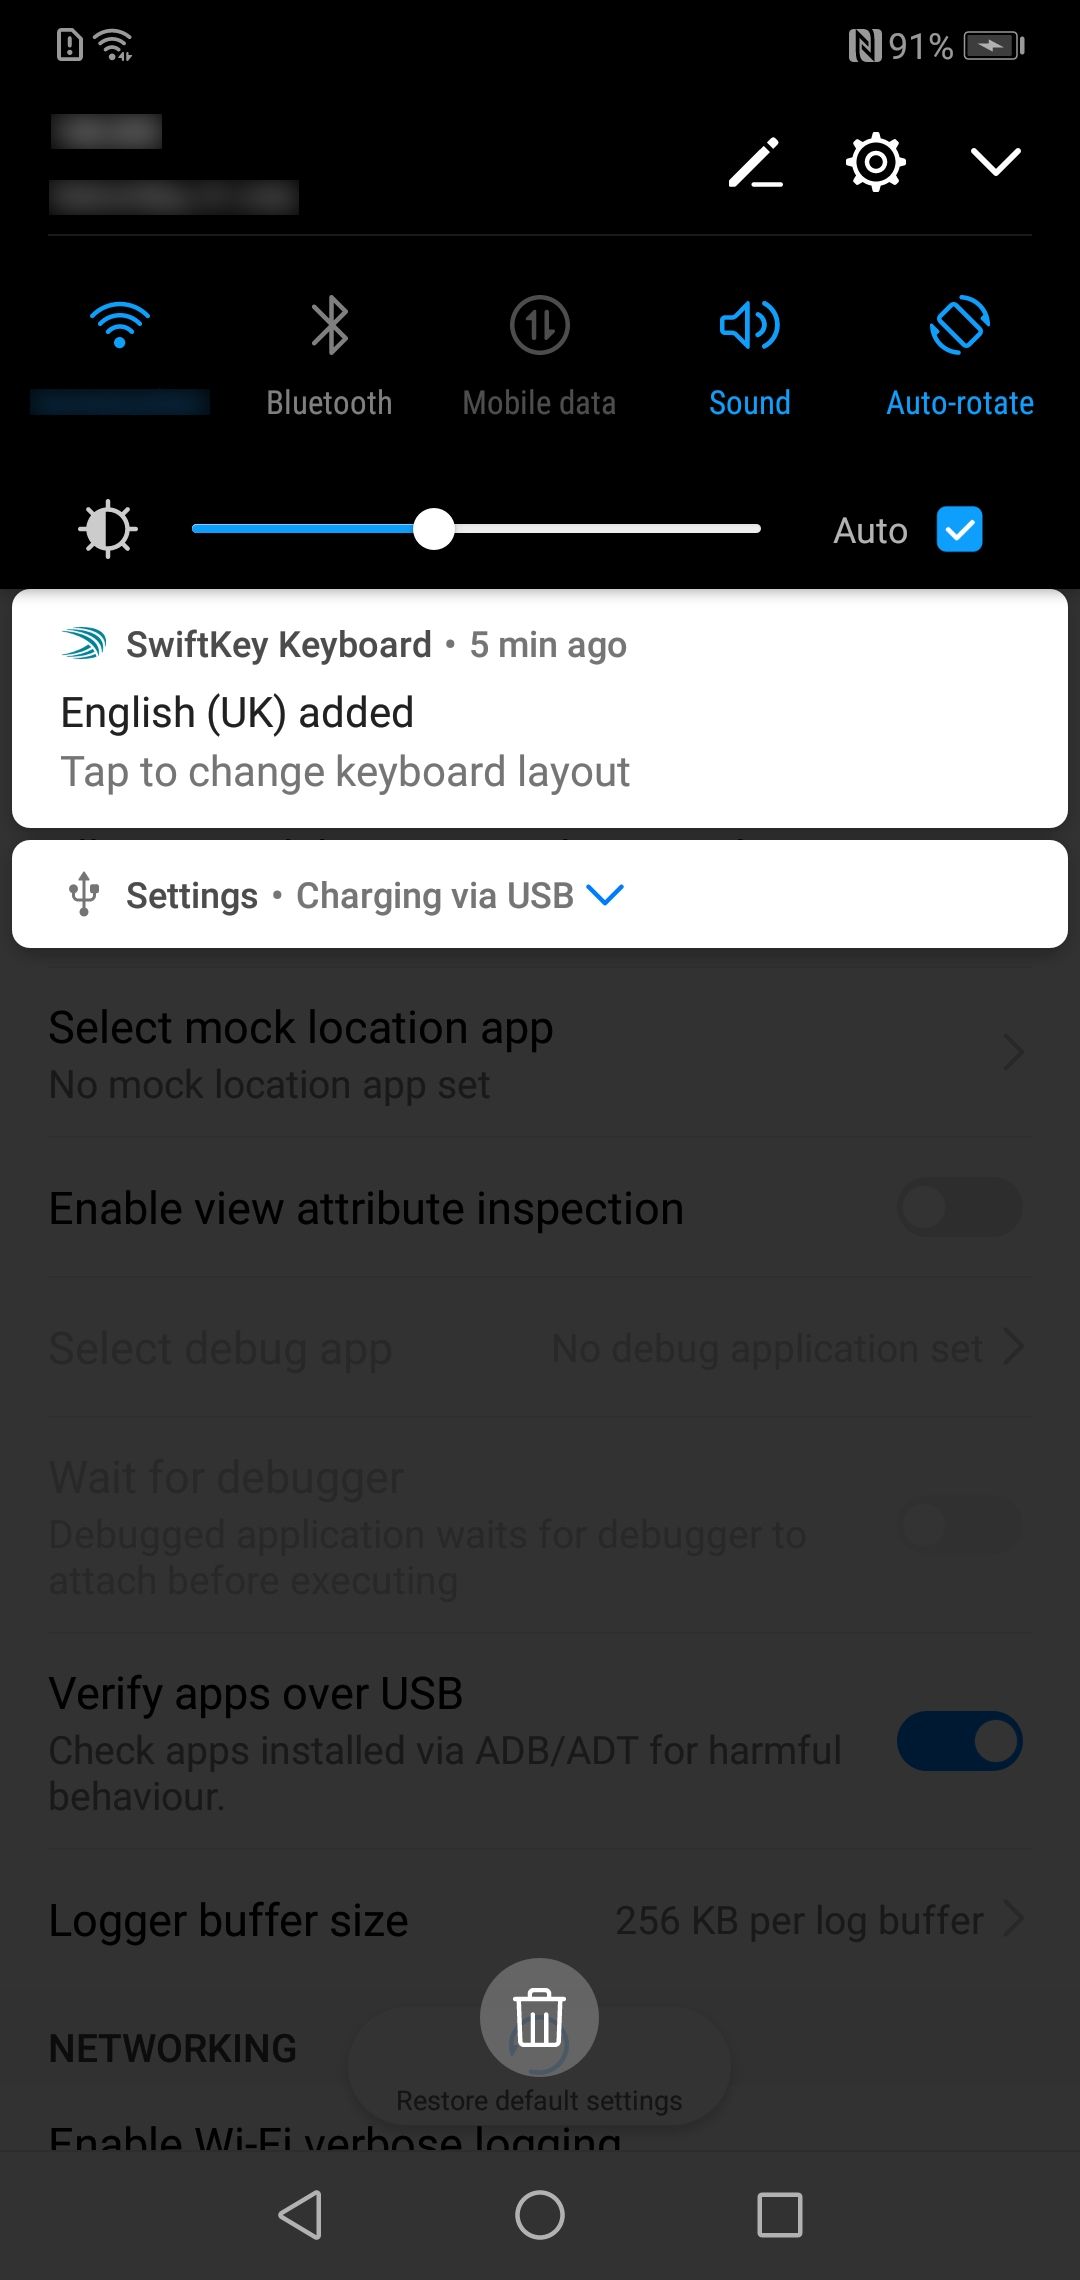
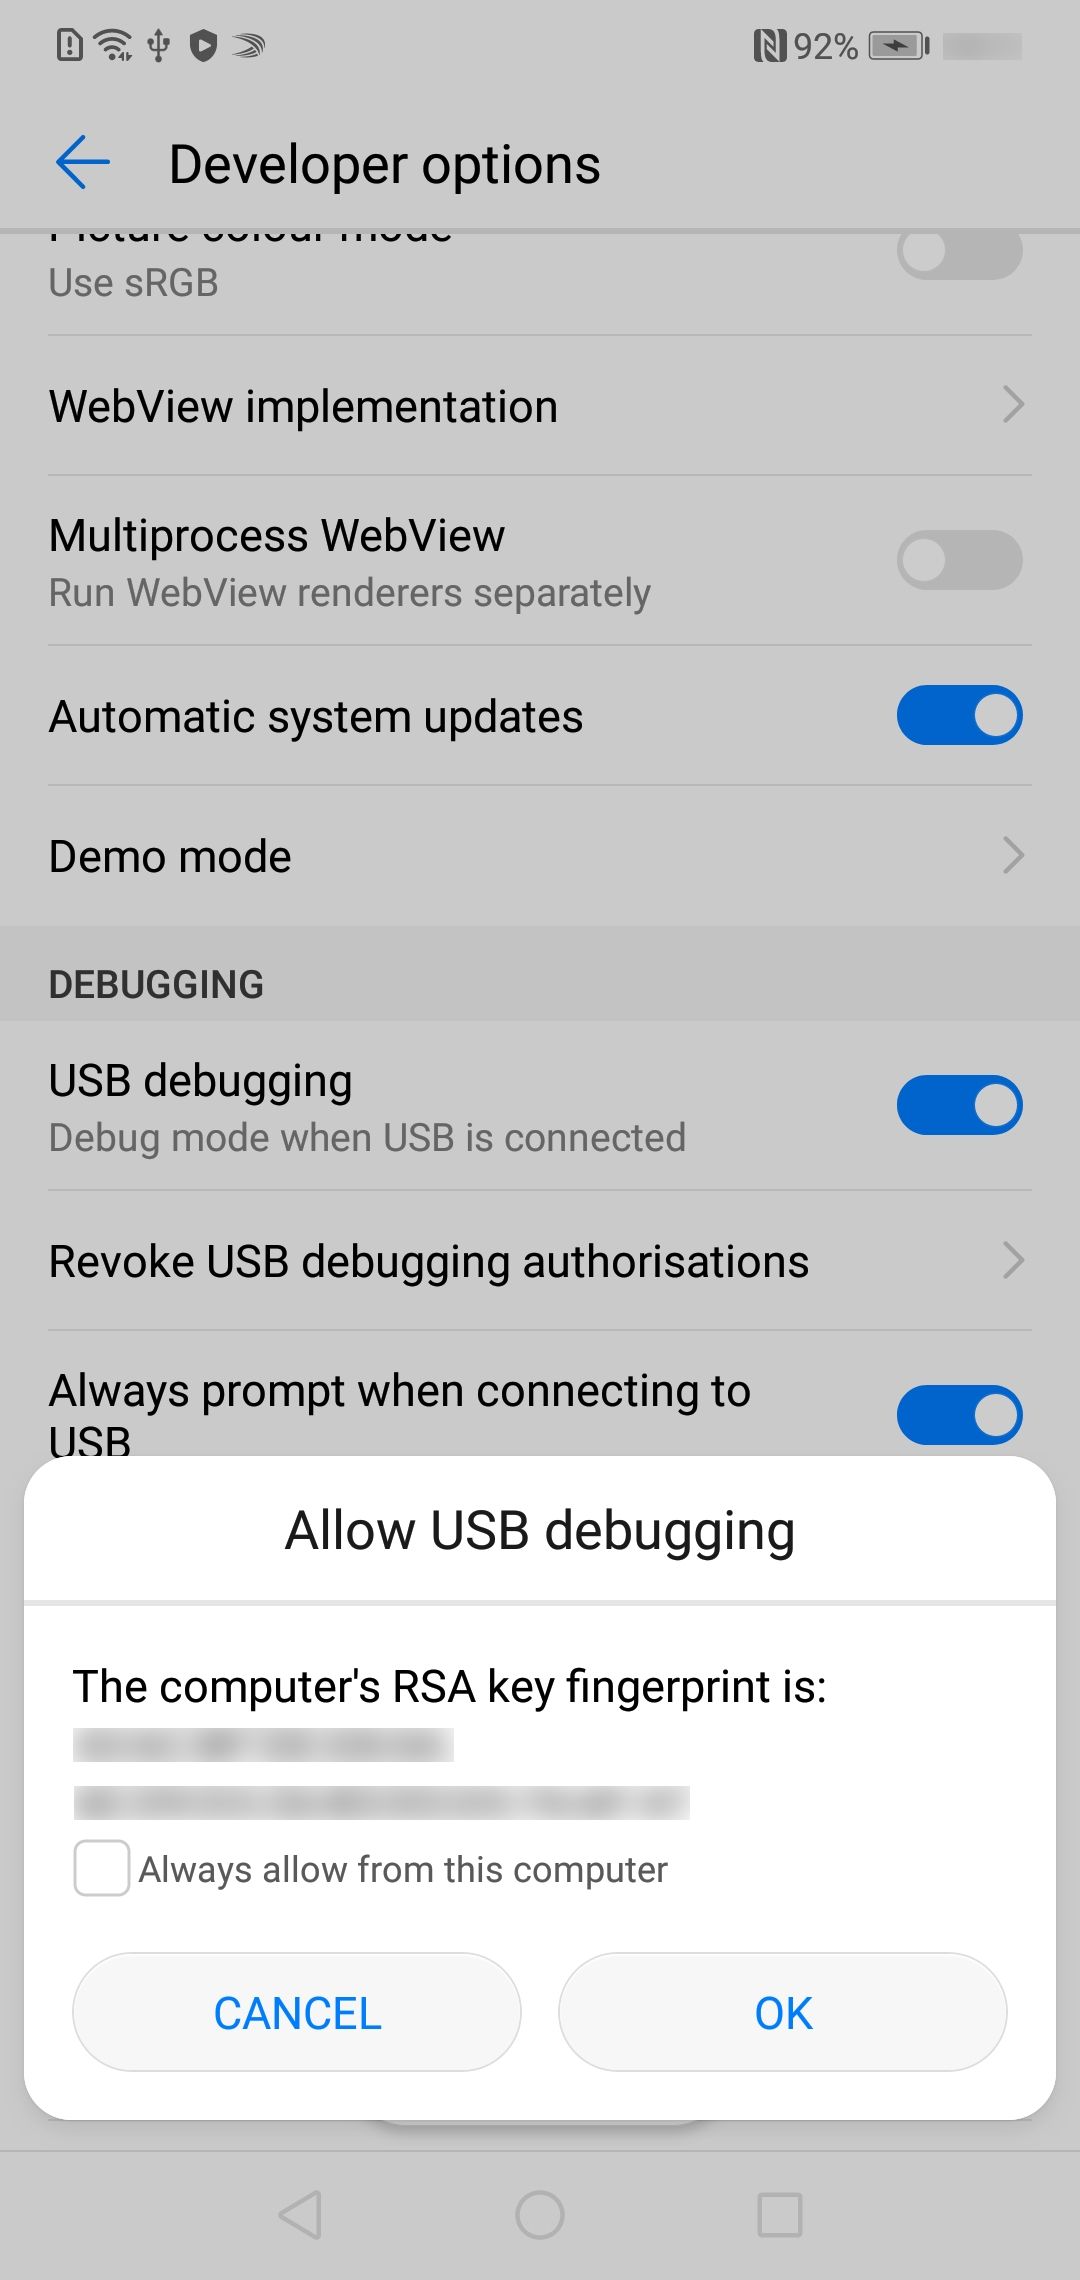
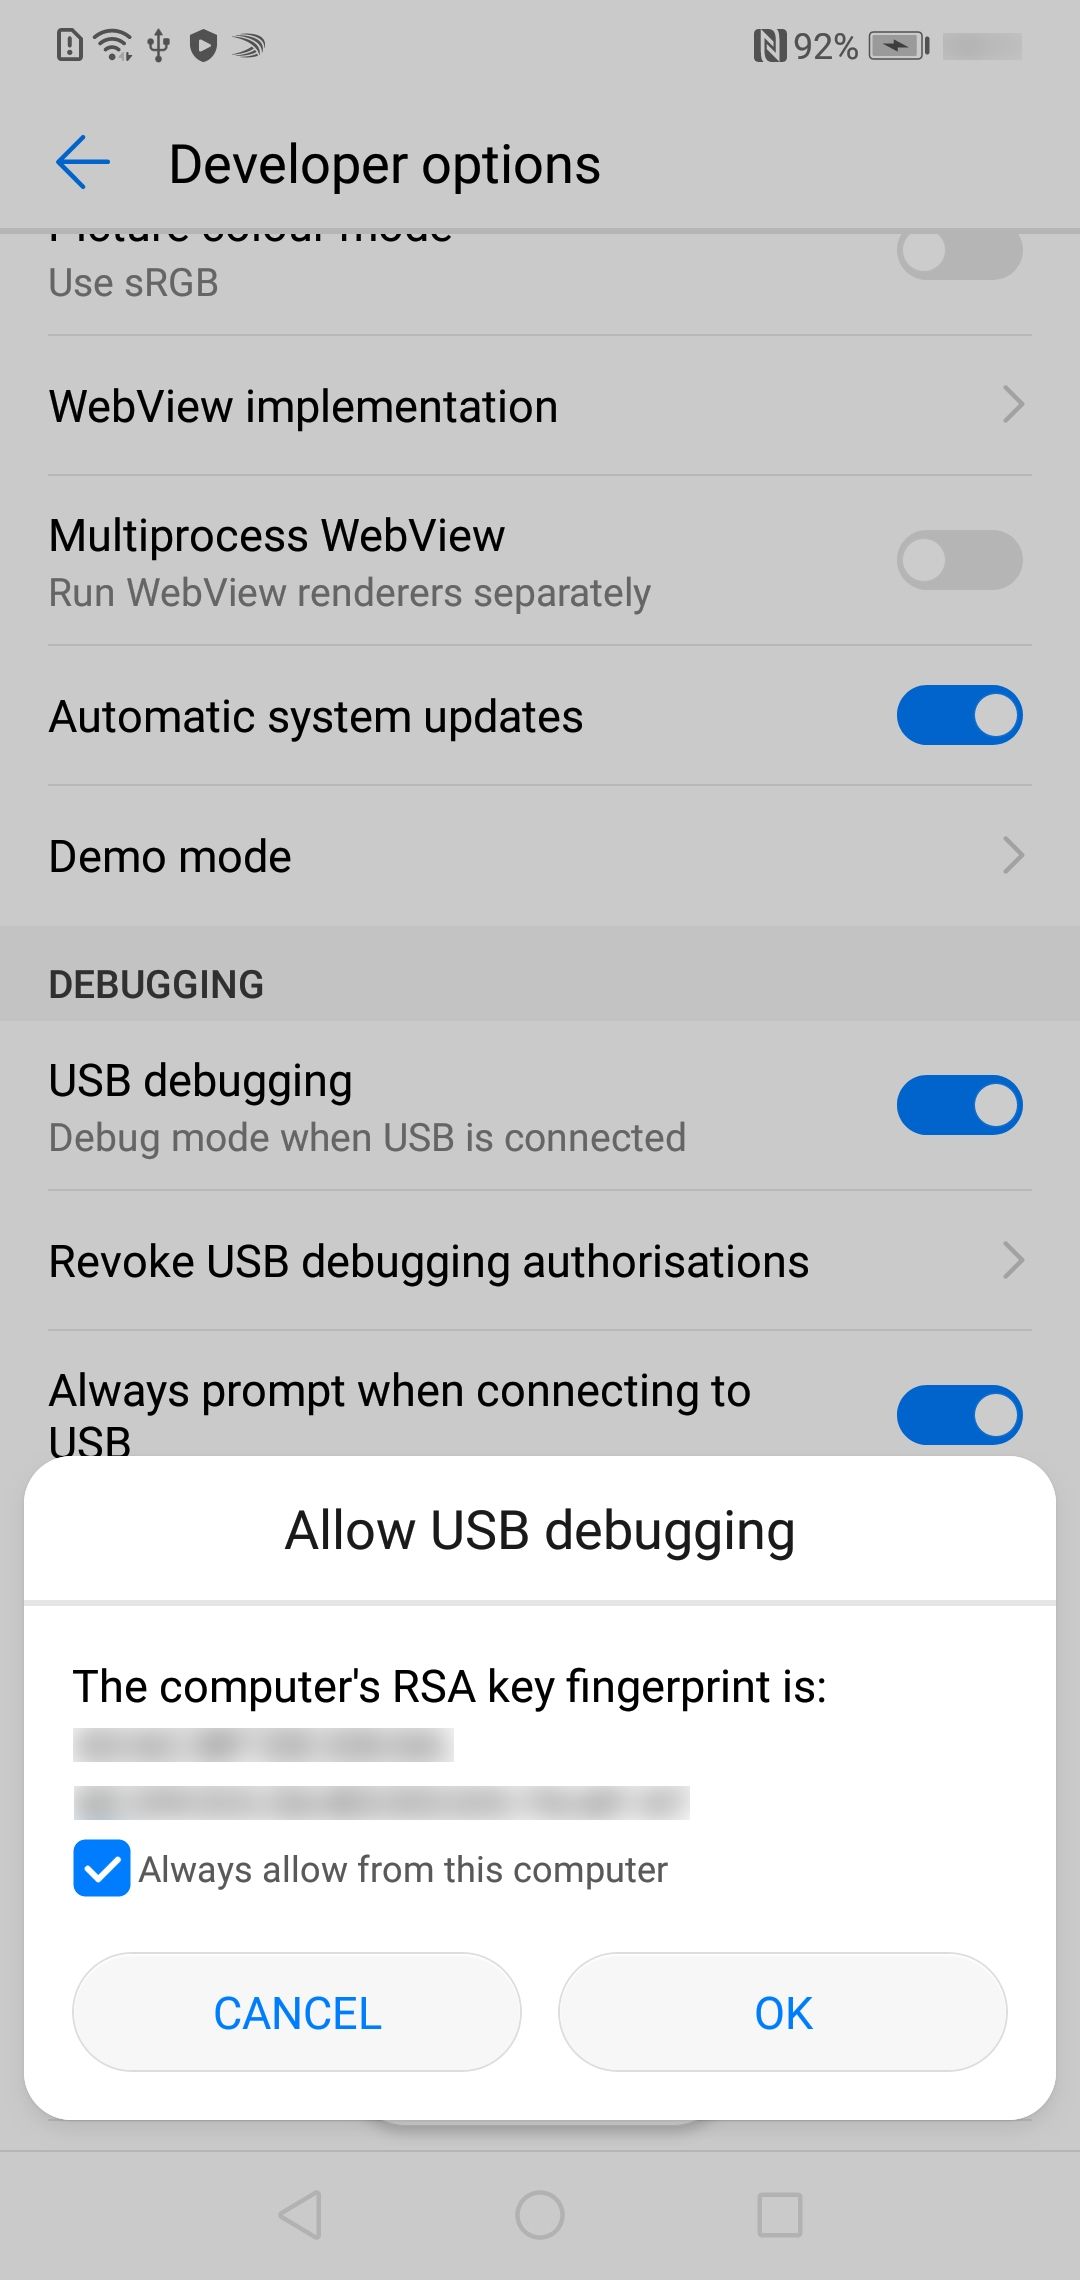
- Grant ADB access to computer
- Purchase DC-Unlocker / HCU Client
- Purchase a 72 Hours license for DC-Unlocker and HCU Client. Personally, I used the DC Huawei Bootloader Codes app and paid via a Google Play in-app purchase. Per July 2023 the price was 19 €.
- You'll receive an e-mail with your credentials. Take note of your username and password.
- Read Bootloader Unlock Code
- Download DC Phoenix and HCU Client
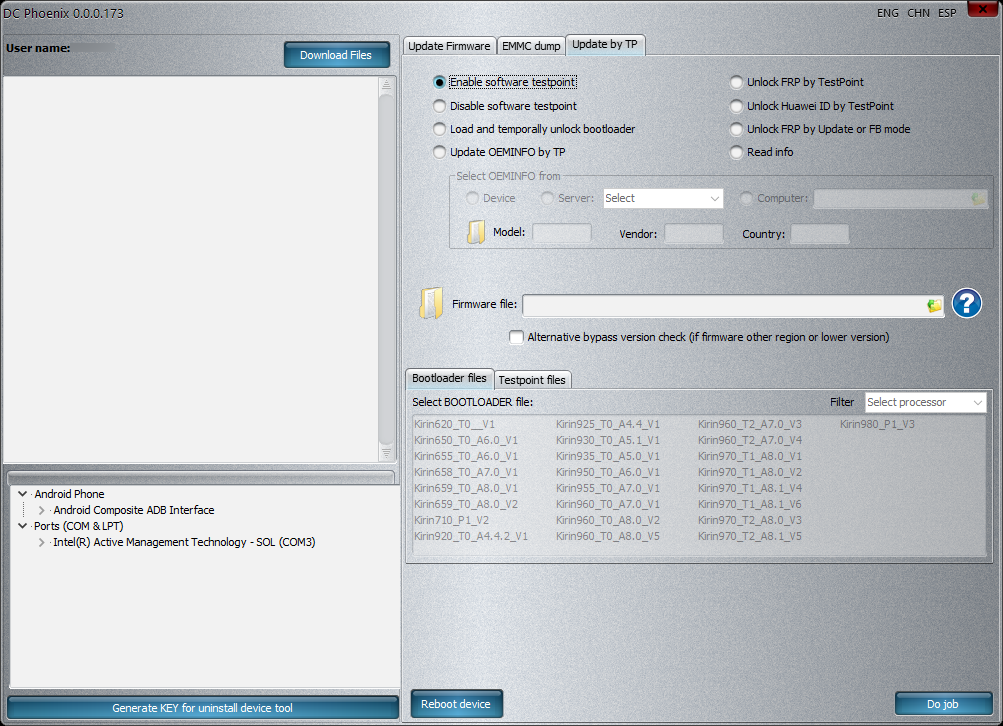
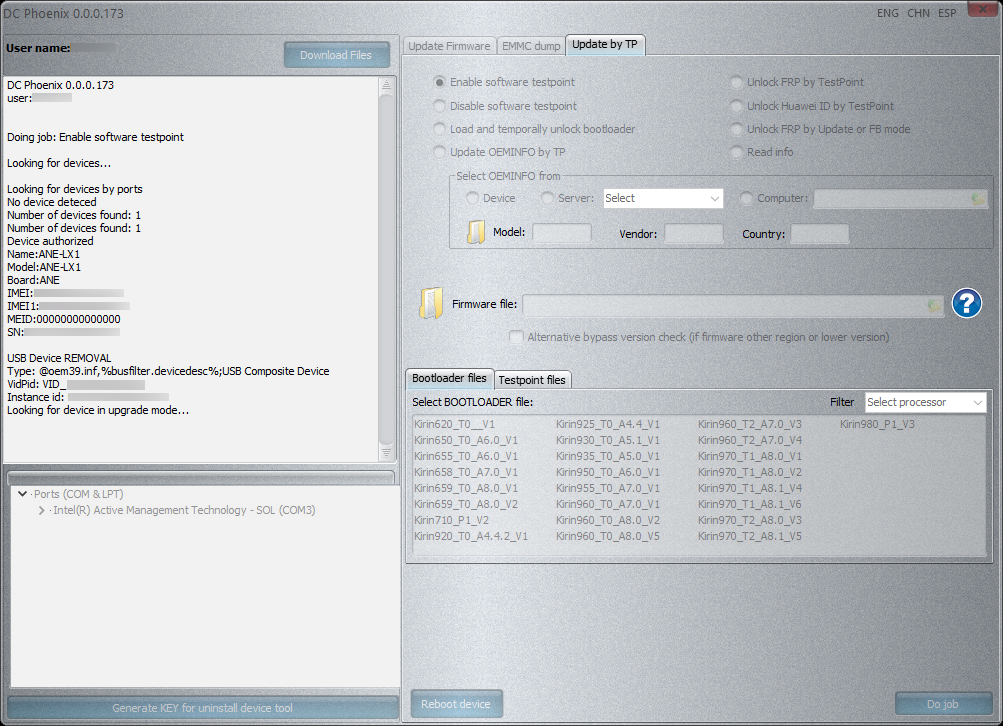
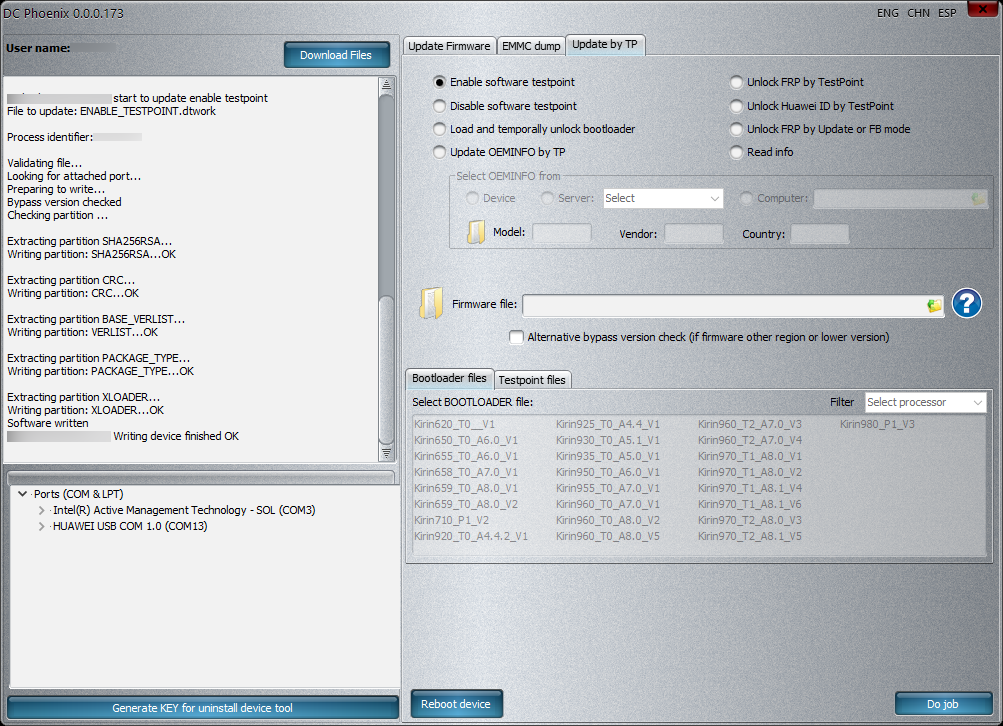
- Enable Software testpoint
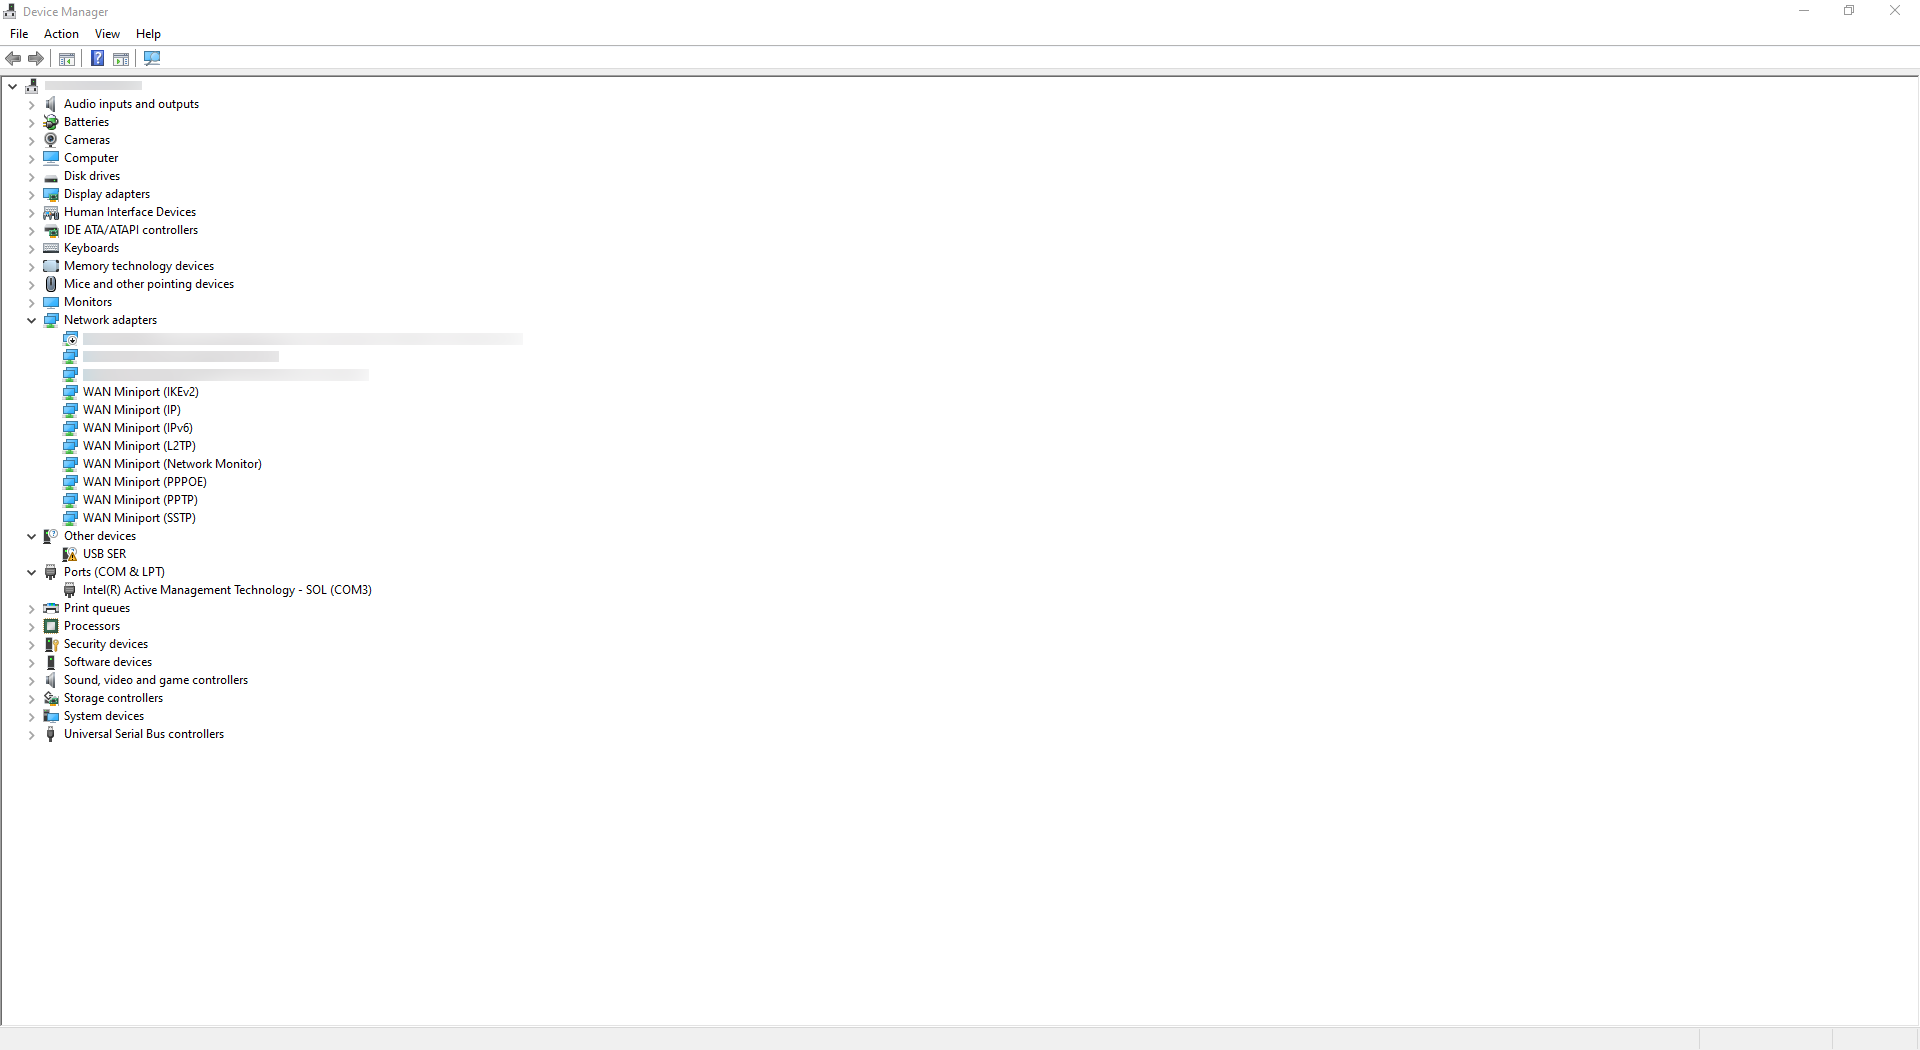
- Setup driver in Windows
- Open Device Manager
- Expand “Other devices”
- Open “Properties” of “USB SER”
- Click “Update Driver…”
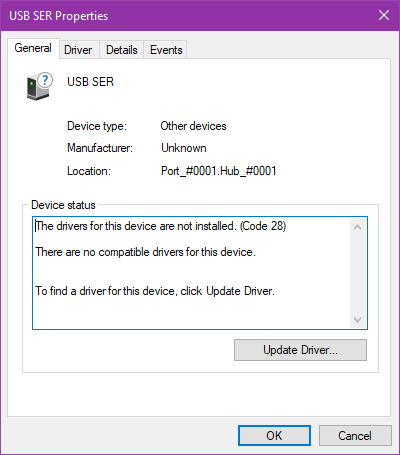
- Click “Browse my computer for drivers”
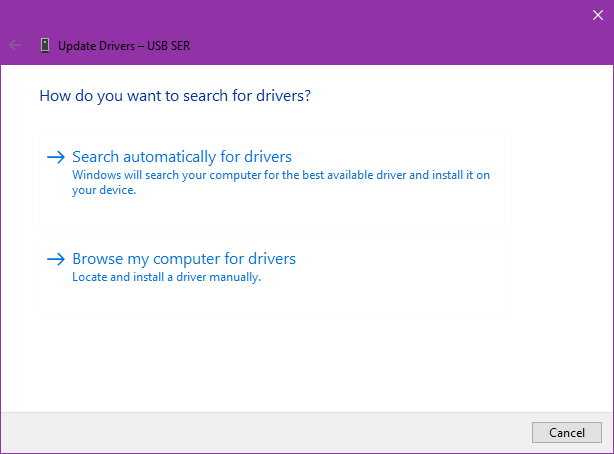
- Click “Let me pick from a list of available drivers on my computer”
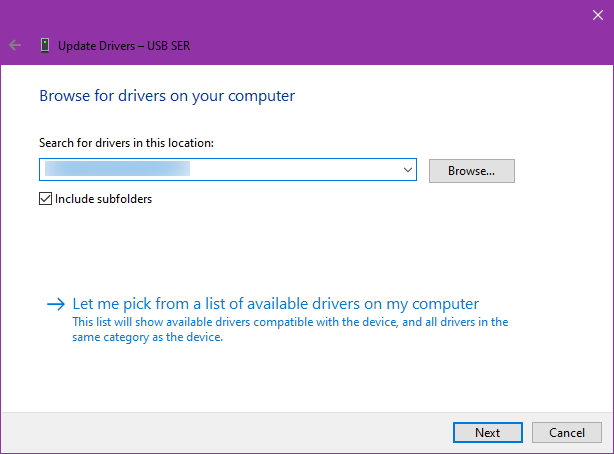
- Select “Ports (COM & LPT)”
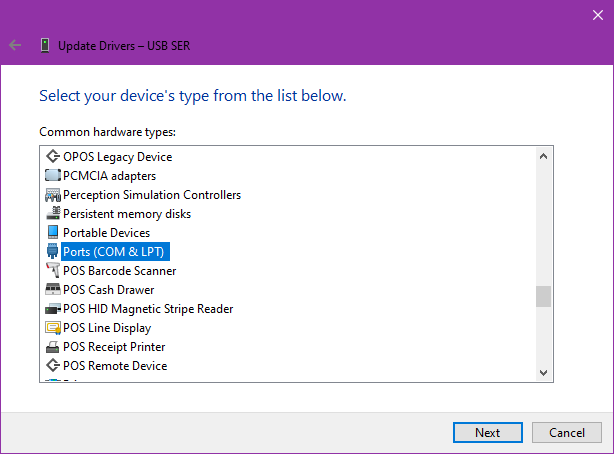
- Click on “Next”
- In the left list, select “Huawei Incorporated”
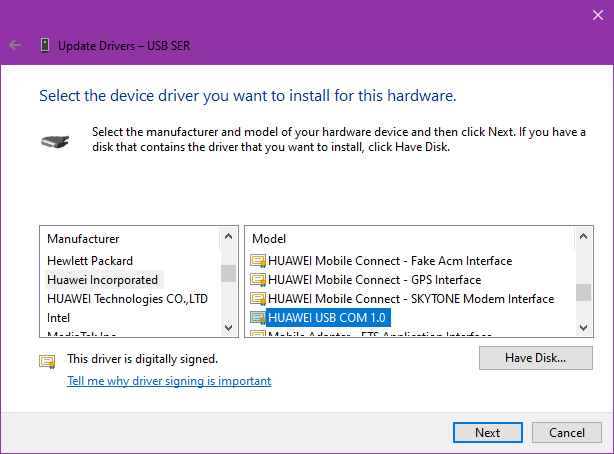
- In the right list, select “HUAWEI USB COM 1.0”
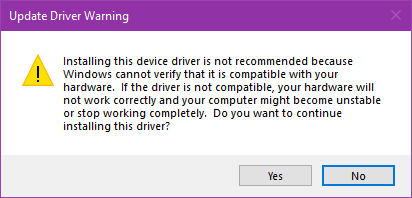
- Click “Next”
- Click “Yes”
- Click “Close”
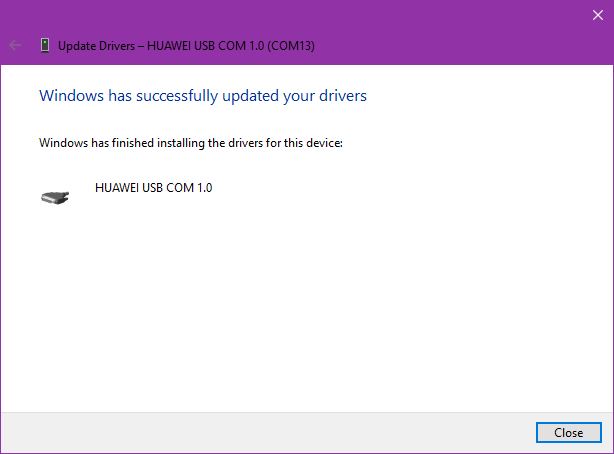
- Click “Close”
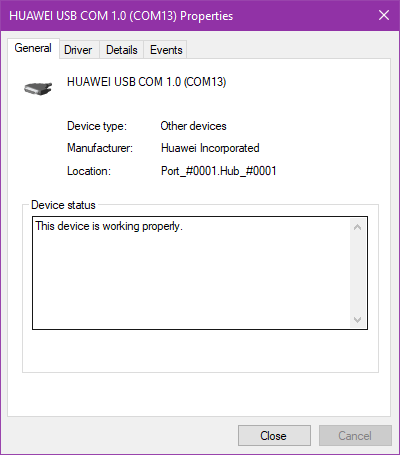
- Read Bootloader Unlock Code
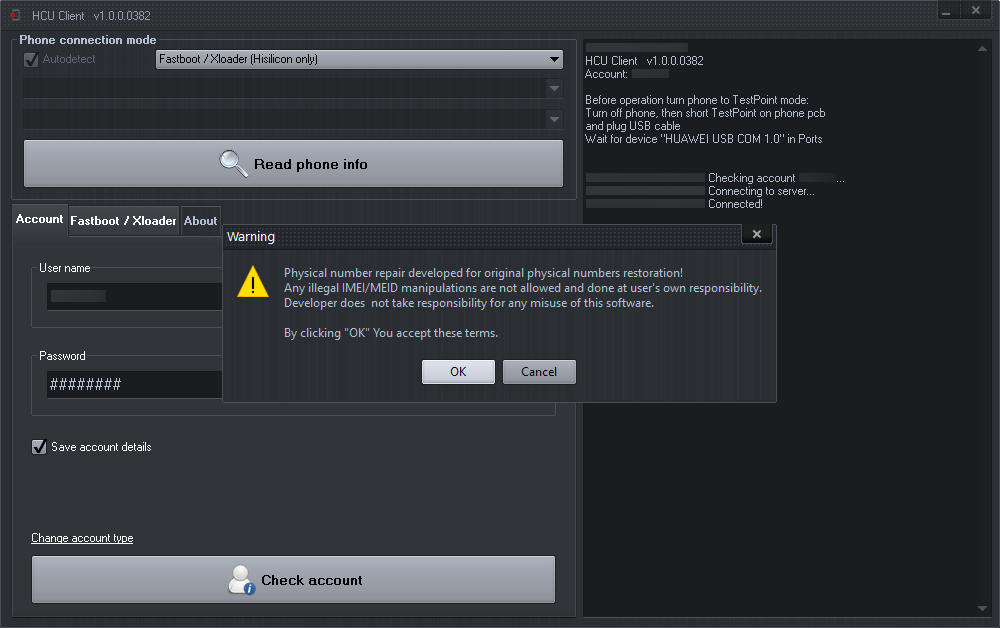
- Start HCU Client
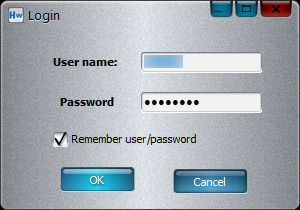
- Login using the credentials that were previously emailed to you by clicking on “Check account”
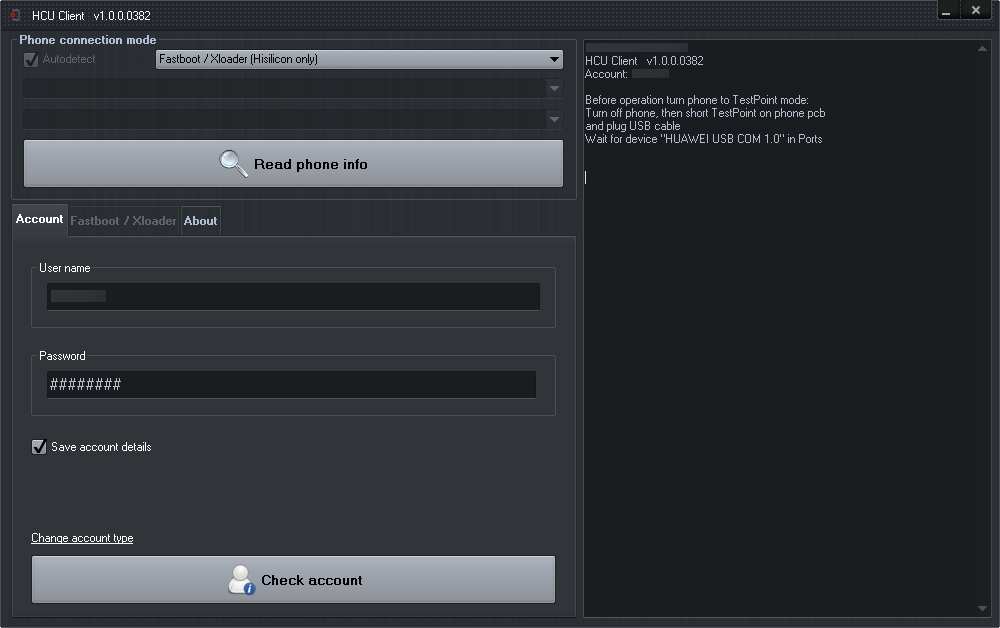
- Switch to tab “Fastboot / Xloader”
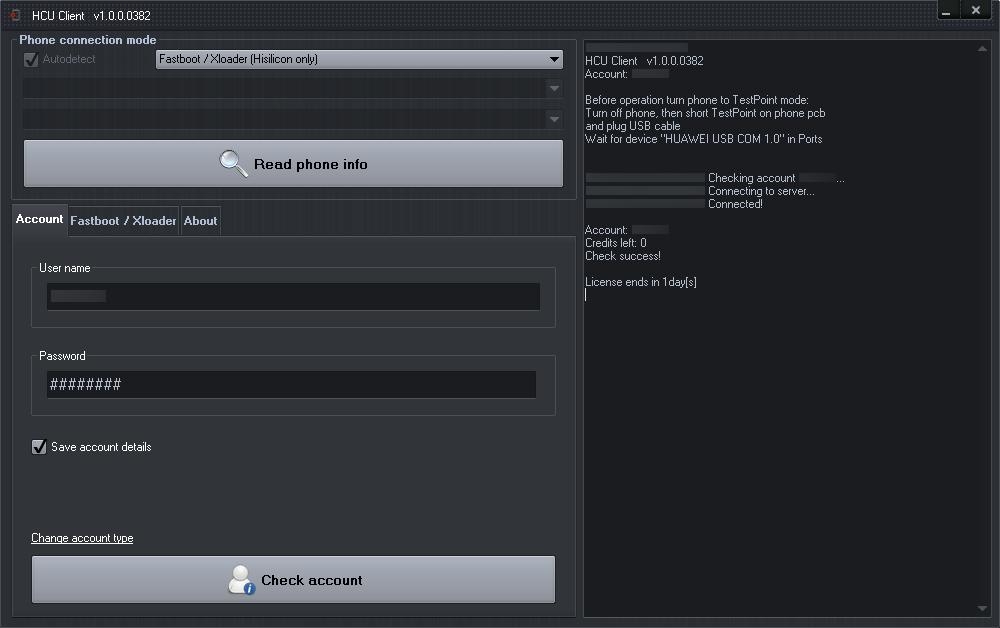
- Click “OK”
- Check “Write bootloader code”
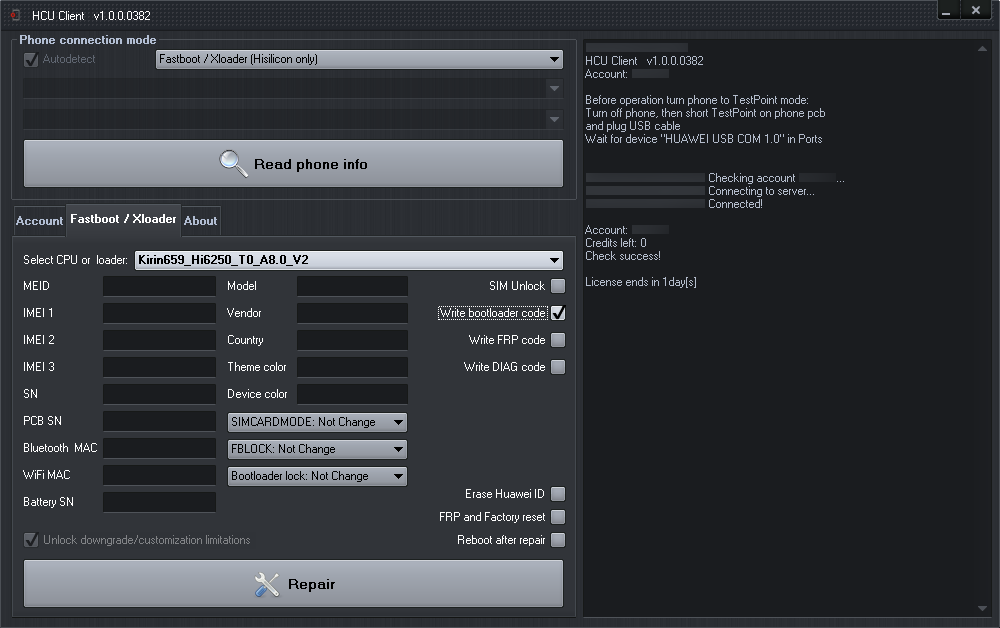
- Click “Repair”
- Wait for process to finish and take note of the bootloader code which is printed in the right panel preceded by “Write bootloader code success! Code:”

- Close HCU Client
- Disable Software testpoint
- Unlock Bootloader
- Reboot your ANE-LX1 into fastboot mode by holding Vol- and Power while your ANE-LX1 is connected to your PC via USB
- In a terminal, run
fastboot oem unlock ⟨Bootloader Unlock Code⟩⚠️ This step might be irreversible. I was unable to find a fastboot command for relocking an unlocked Bootloader. DC Unlocker provides options to set the Bootloader's status to locked, but I didn't test those.
- Upgrade your ANE-LX1 to EMUI 9
- Switch to HiSuite
- On PC, confirm installing Huawei HiSuite on ANE-LX1

- On ANE-LX1, confirm permissions for HiSuite
- On PC, enter 8-digit verification code displayed on ANE-LX1

- Click “Update”

- Click “Update”

- Click “Agree”

- HiSuite will now download the firmware which it is about to flash onto the ANE-LX1 and afterwards flash it.

- Click “OK”

- Enjoy: Your ANE-LX1's bootloader is now unlocked and EMUI 9.1 installed
