Builders Guide now available on Instructables !
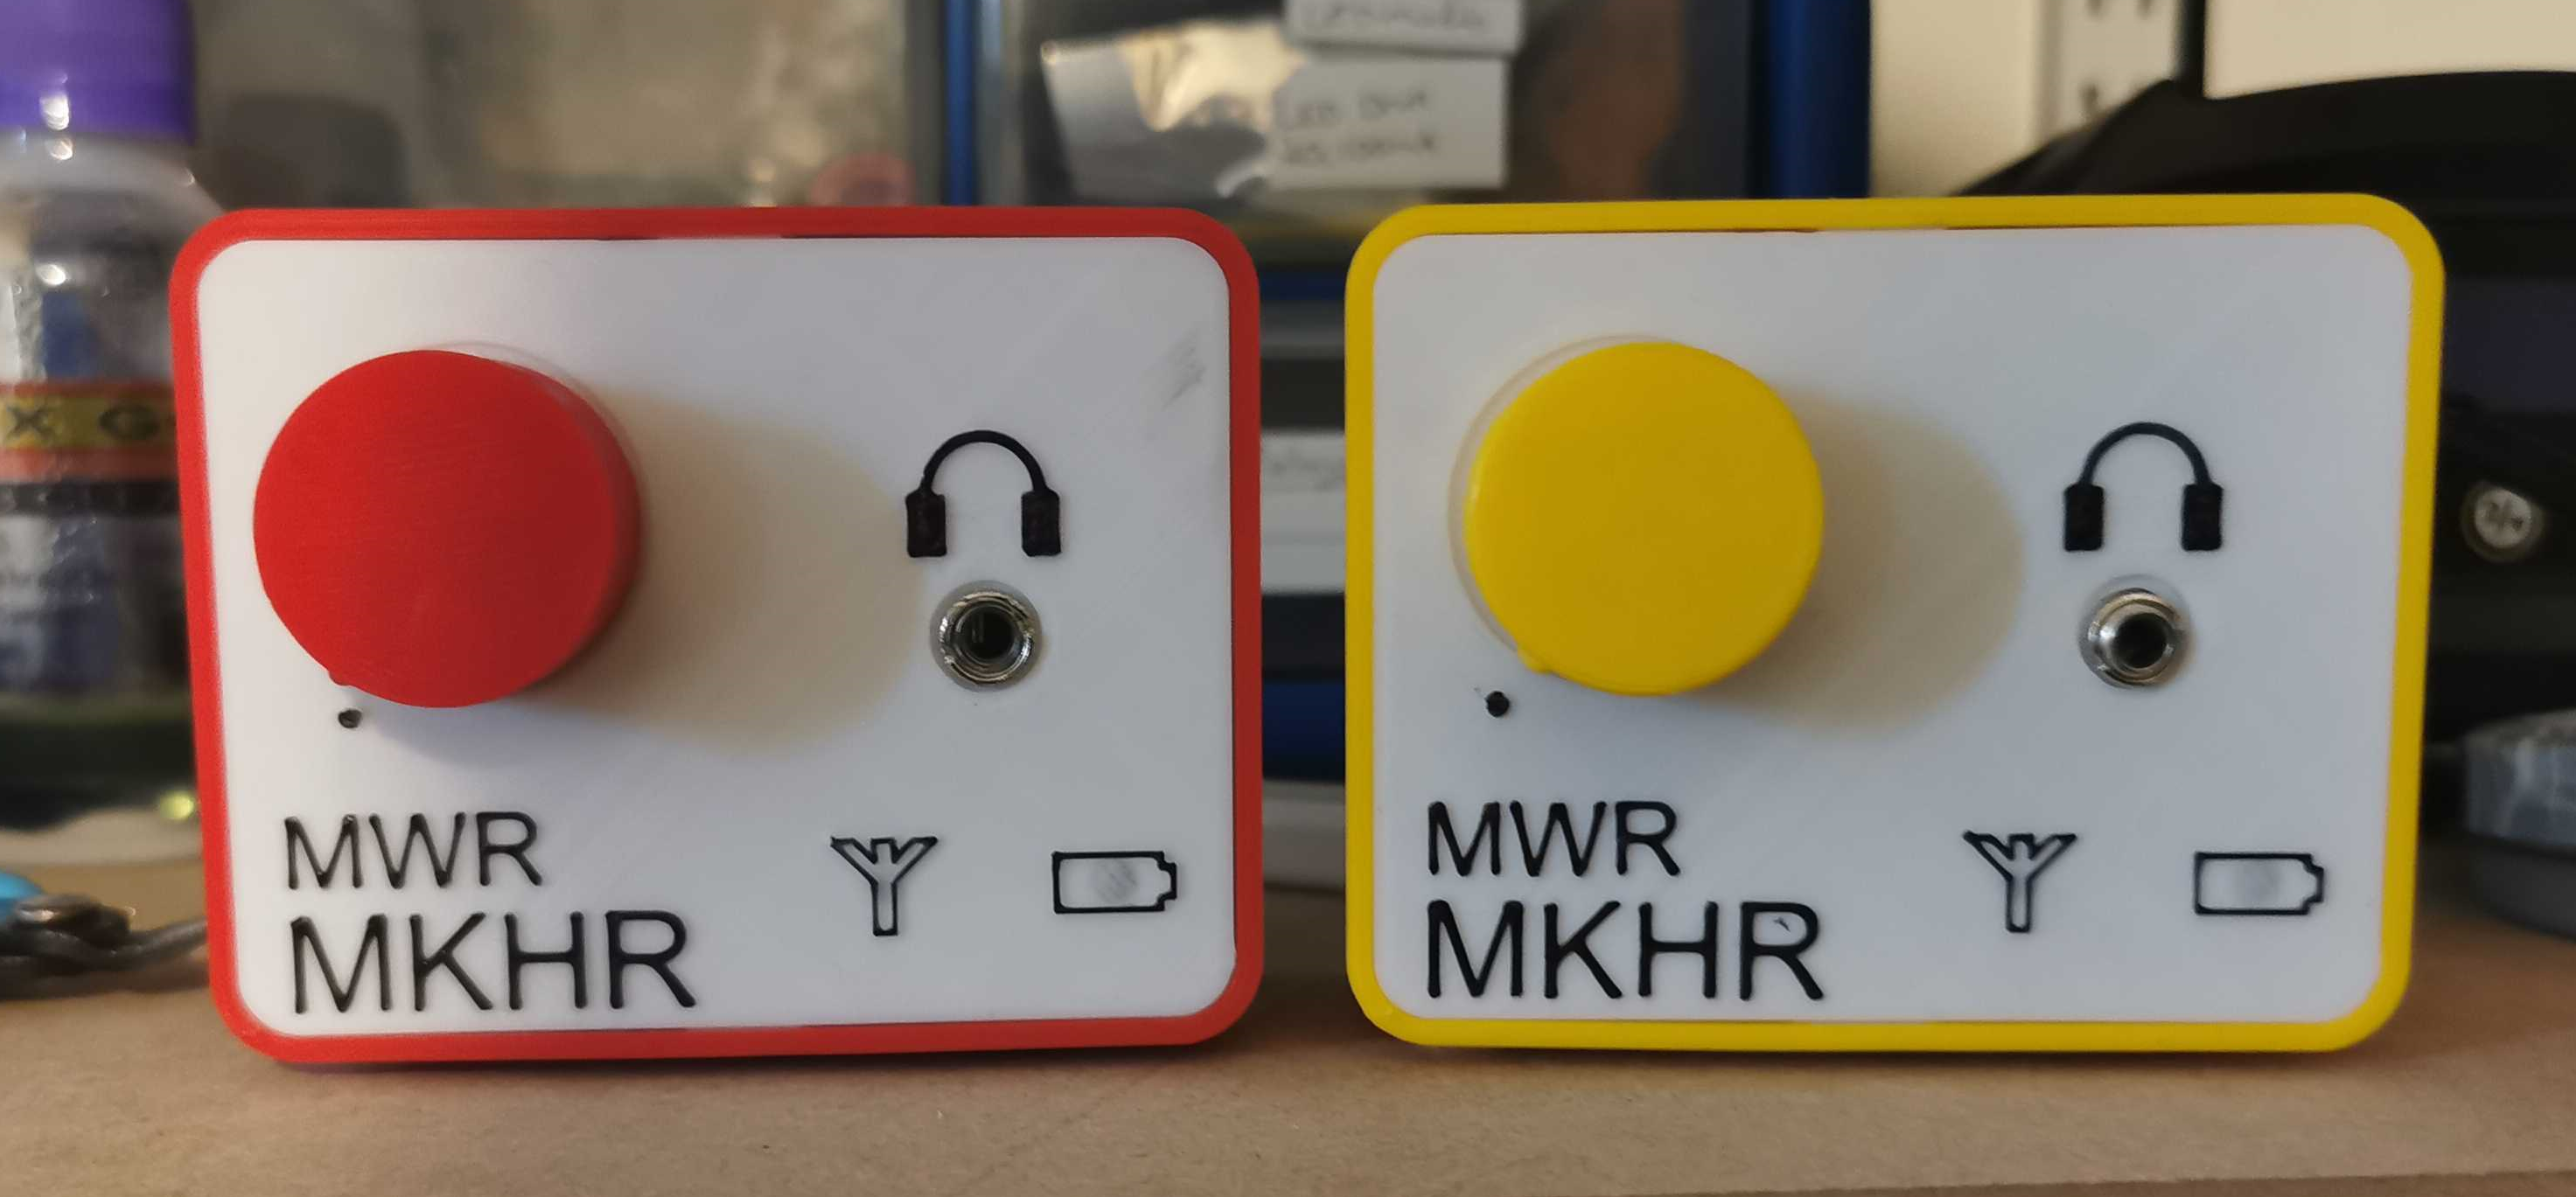
Originally designed as a charity project, the MWR is a simple single-station battery powered internet radio. The design features a combined power-volume dial and 3.5mm headphone socket, utilising a 3D printed case and is based around:
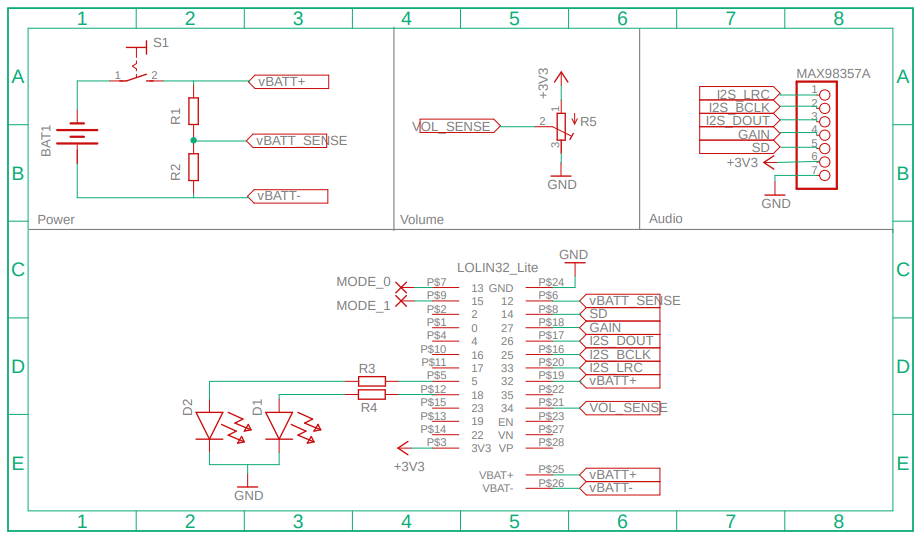
- WeMos Lolin32 Lite (ESP32)
- MAX98357A I2S Dac Amplifier
- 18650 Lithium Battery
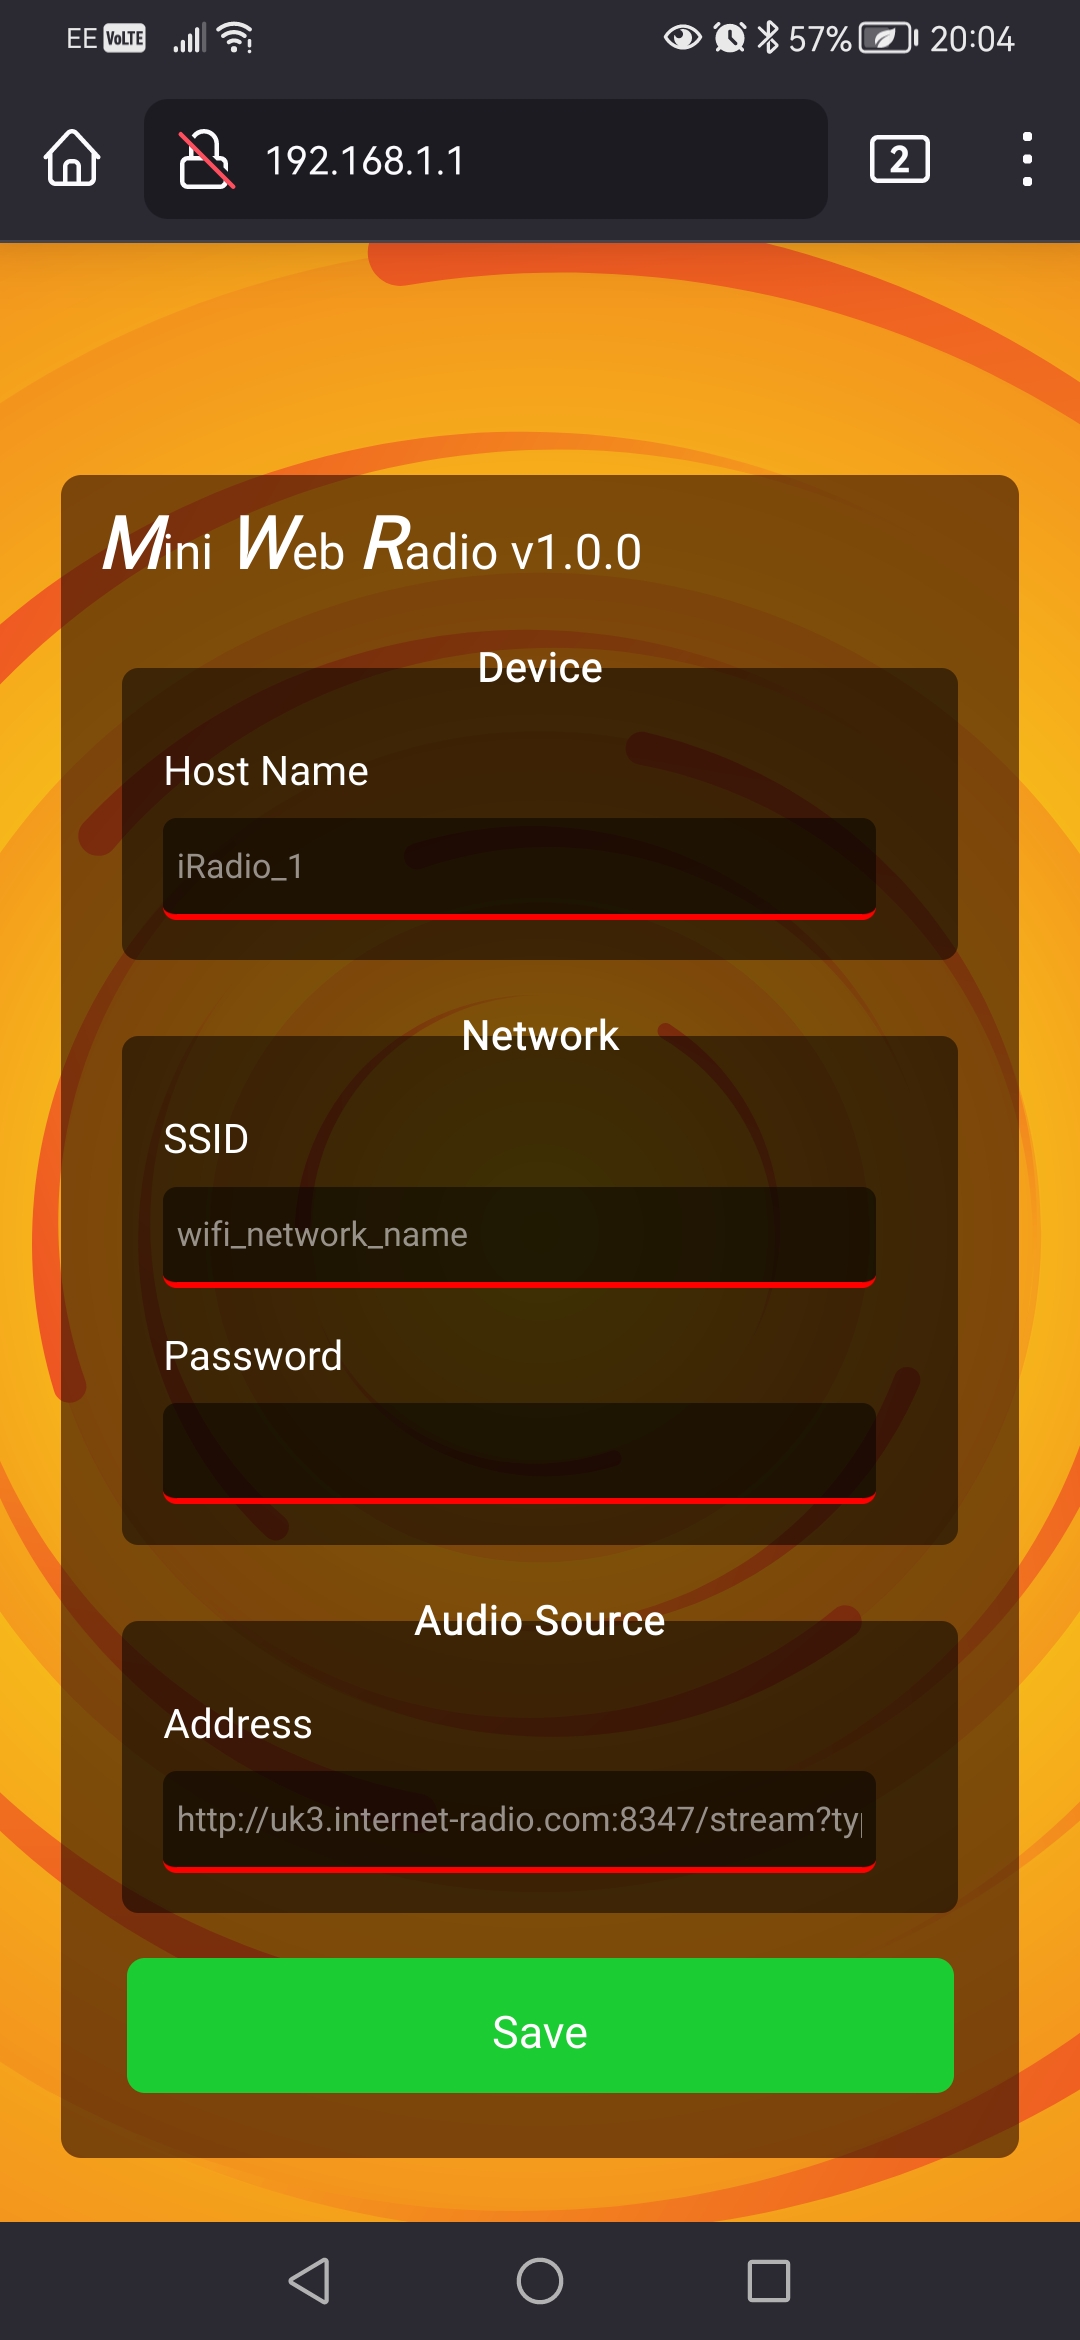
The MWR has built-in browser based configuration which allows you to define the Hostname, Wireless network credentials and the playback URL.
Enable Configuration mode
- Switch Off MWR
- Open Faceplate
- Install jumper (2.54mm) or short pins 13 and 15
- Turn On MWR
- Connect to
MWR-WIFI-SETUPnetwork - Remove Jumper
- Navigate browser to
192.168.1.1 - Enter configuration Details and select
Save - The MWR will automatically restart into radio mode and begin playback
Code for both the Arduino IDE and Plaform.io are included under the firmare directory
A more detailed guide for installing and setting up the Arduino IDE can be found on the Wiki
-
Download and install the following libaries:
-
Download and install the following Tools:
-
Add the Additional Board URL to the IDE properties (File > Preferences)
https://raw.githubusercontent.com/espressif/arduino-esp32/gh-pages/package_esp32_index.json -
Using the Board Manager add the board esp32 - by Expressif Systems (Tools > Board Manager)
-
Select the board: Lolin32 Lite
Files for 3D printing the shell, face and dial are provided in the CAD directory. The enclosure uses a snaplock design to secure the face to the shell which can be difficult to lock into place initially, a small screw driver or spudger can make it easier to pry it open and closed.
Print Settings:
These are just the settings that have worked for me, your milage may differ
- 0.4mm Nozzle
- 0.2mm Layer Height
- 5% Infill
- 1.75mm PLA+ Filament


